


andy brookes
Established Member
Afternoon All,
I mentioned I was making some cabinets for my lounge in another thread. Well here they are, lots of WIP pics and a few pics of the trail fitting in primer. I will be spending January in the garage with a HVLP sprayer creating glossy white loveliness....hopefully! The brief from my client (my wife) was cabinets that look simple, float of the floor with underlighting and no handles on the doors, and a draw unit the other side of the chimney breast for storing cd's and DVD's.
First thing I did was make the curved doors, wasn't sure if this was going to work. So wanted to make these before starting the rest of the cabinets.
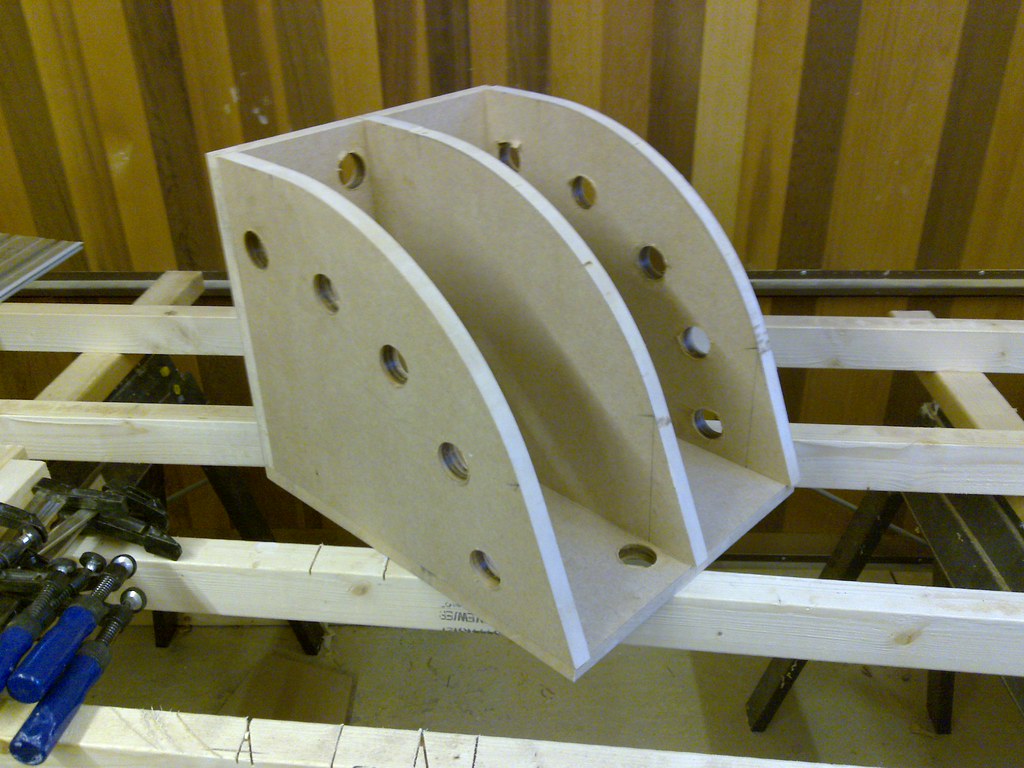
Here's the jig, idea stolen from someone on this forum, but can't remember who. Sorry.
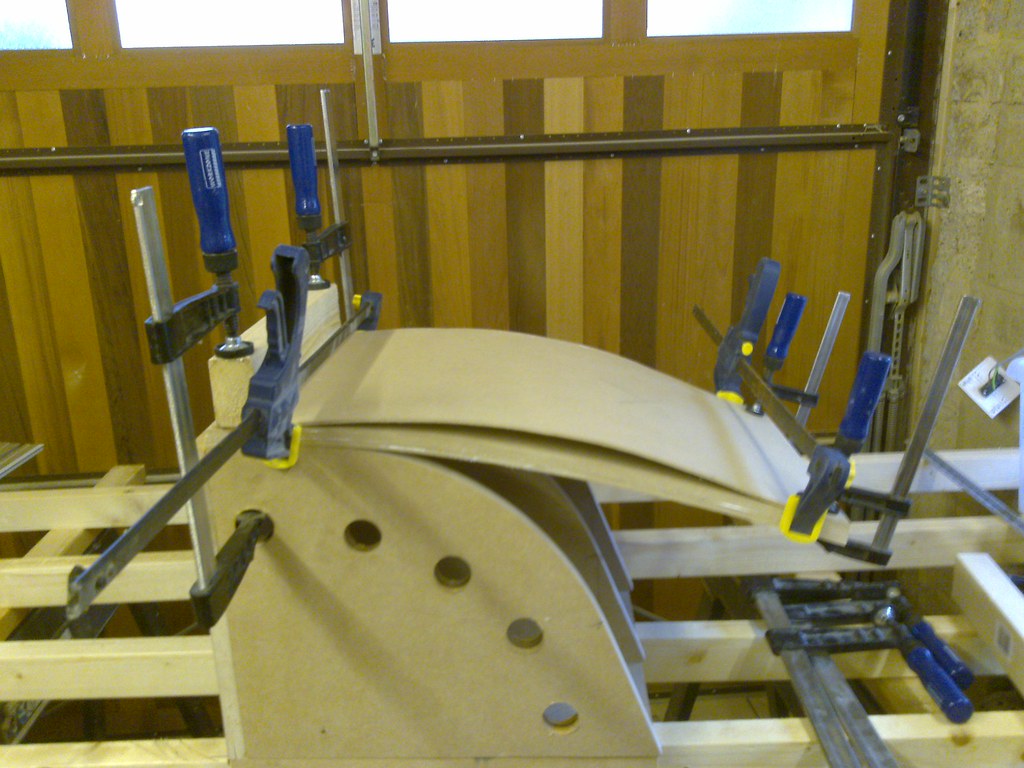
Next few pics show the 5 x 3mm mdf being formed over the jig with PVA inbetween each layer. Couldn't get hold of any 3mm MR, so had to use standard stuff.
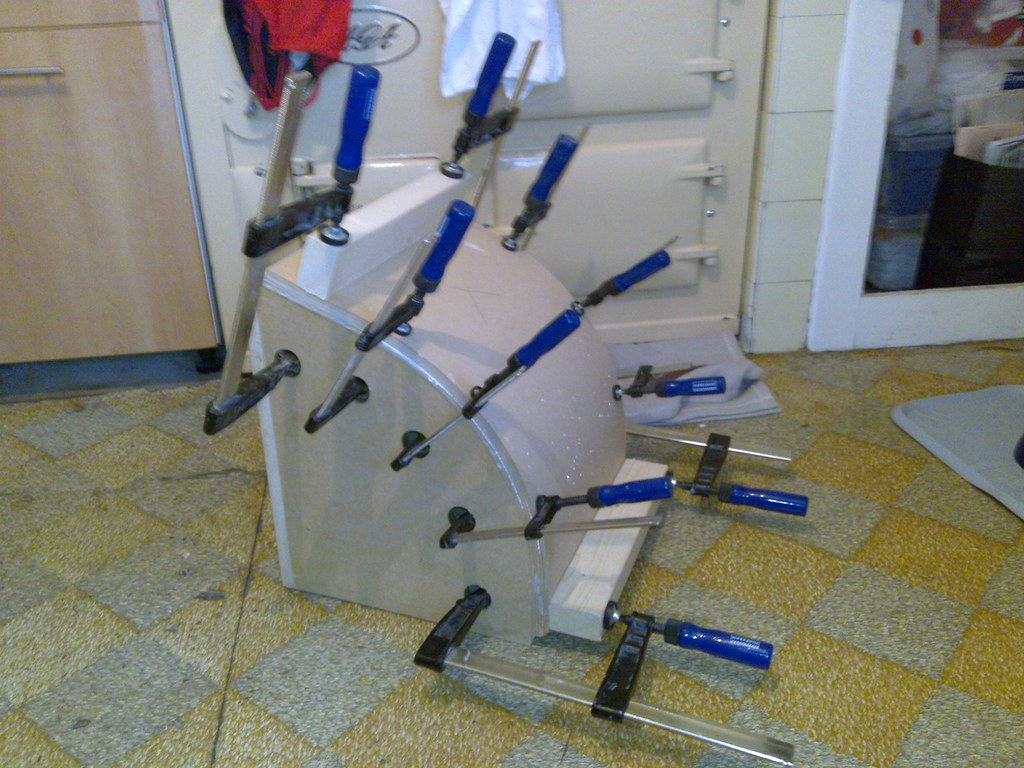
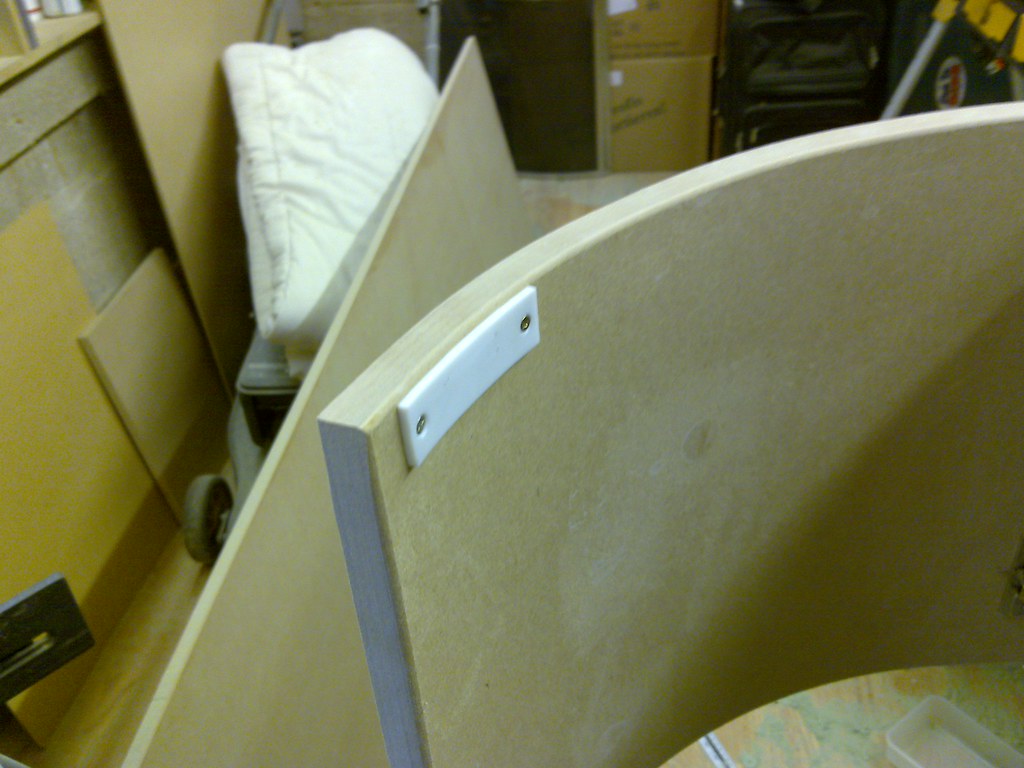
After a night drying off by the aga, I got this... I had about 1mm spring back when I let the clamps off.
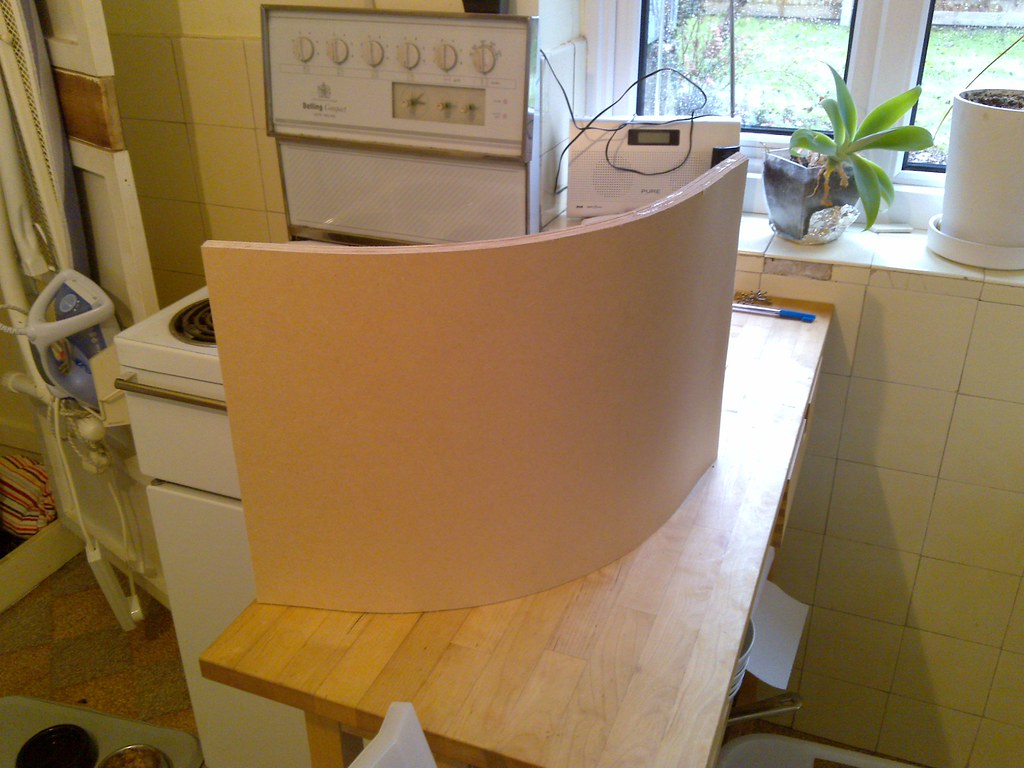
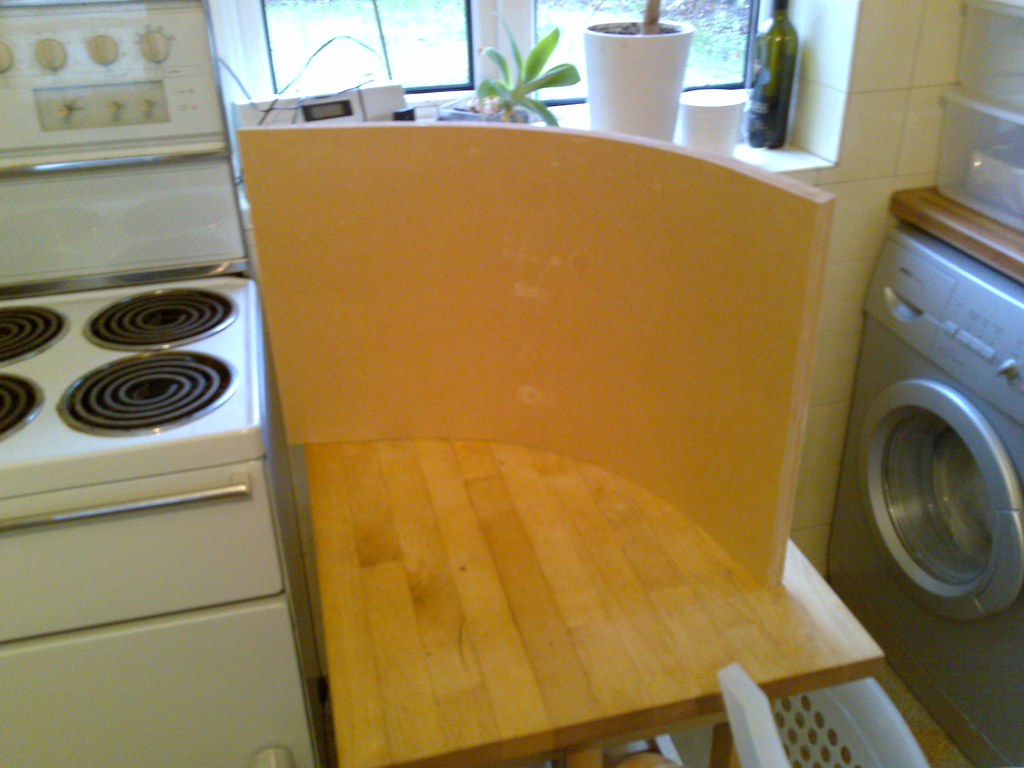
Next I trimmed the doors to length. I made each door 60mm of so longer that needed to give me some adjustment.
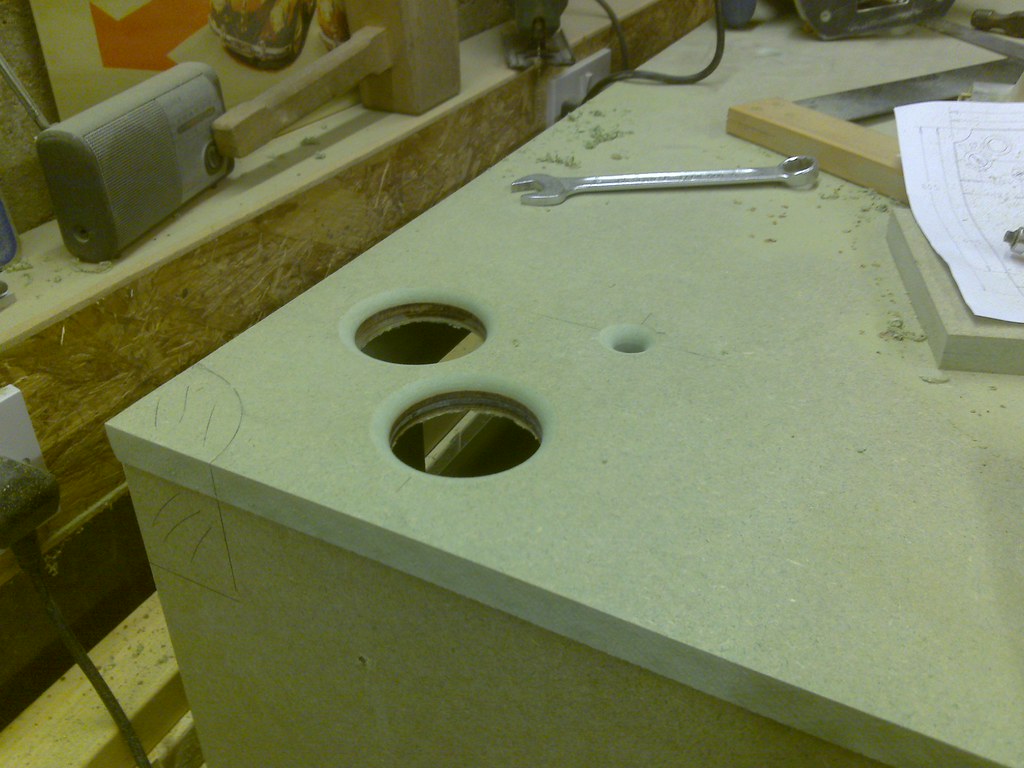
Lots of planning and cad'ing later I had a design and a cutting list. I got my local supplier Christcurch timber to cut up 3 sheets of MR MDF into the sizes I needed. They cut very accurately with a nice sharp blade.
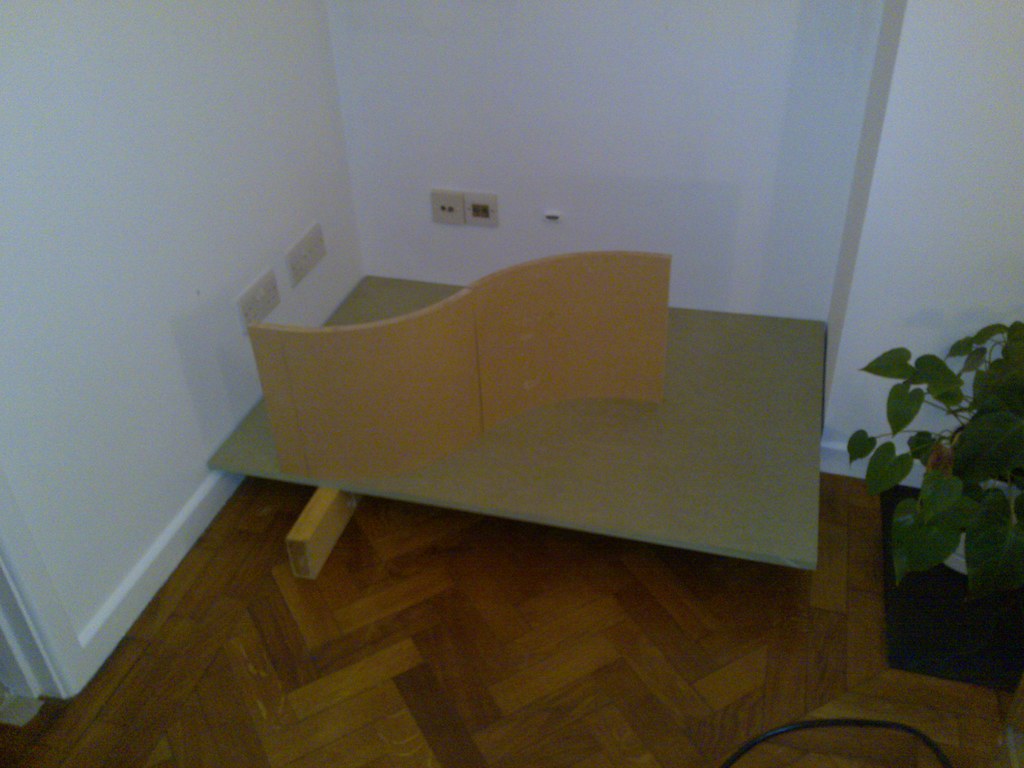
Quick check to see what they may look like!
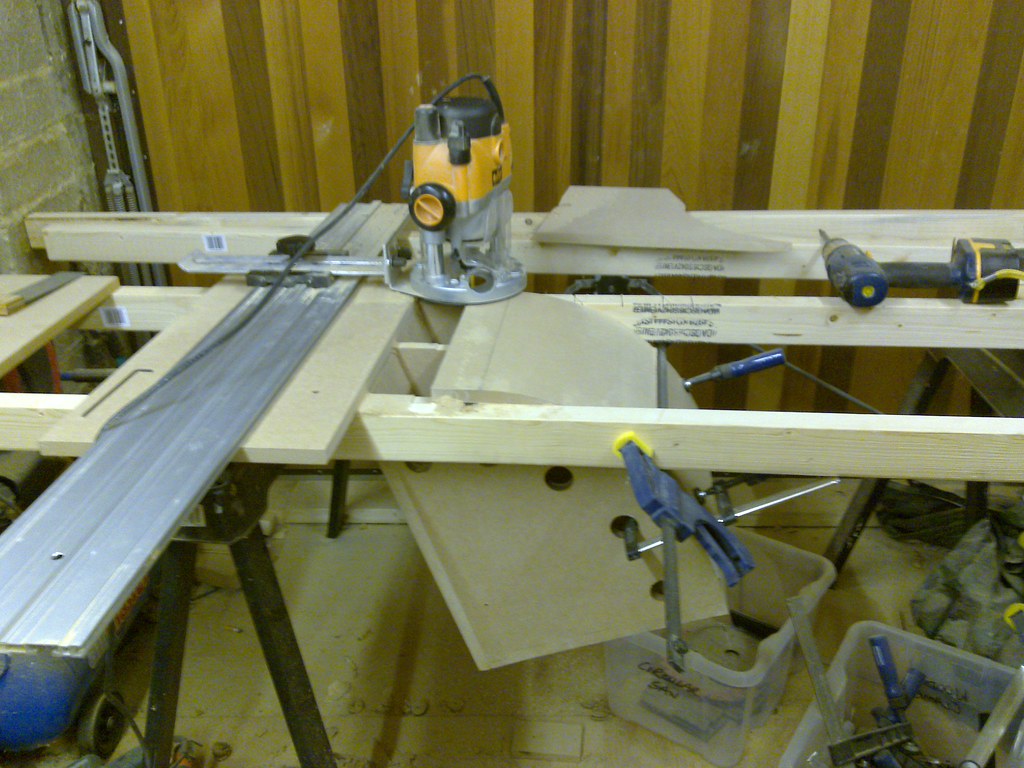
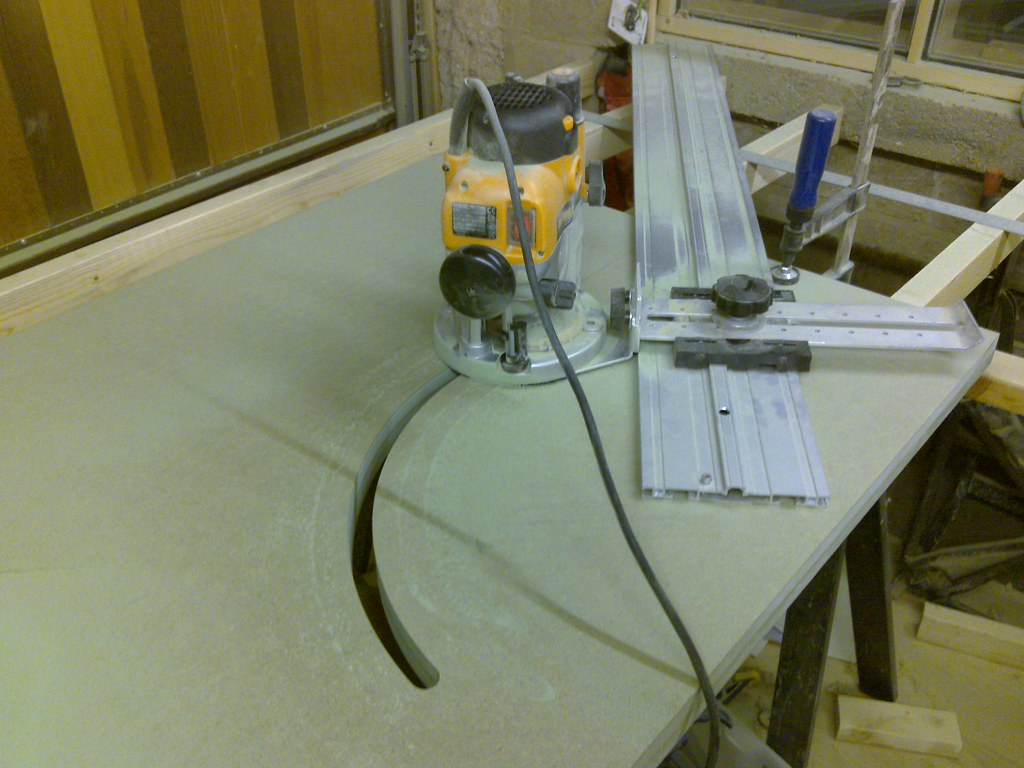
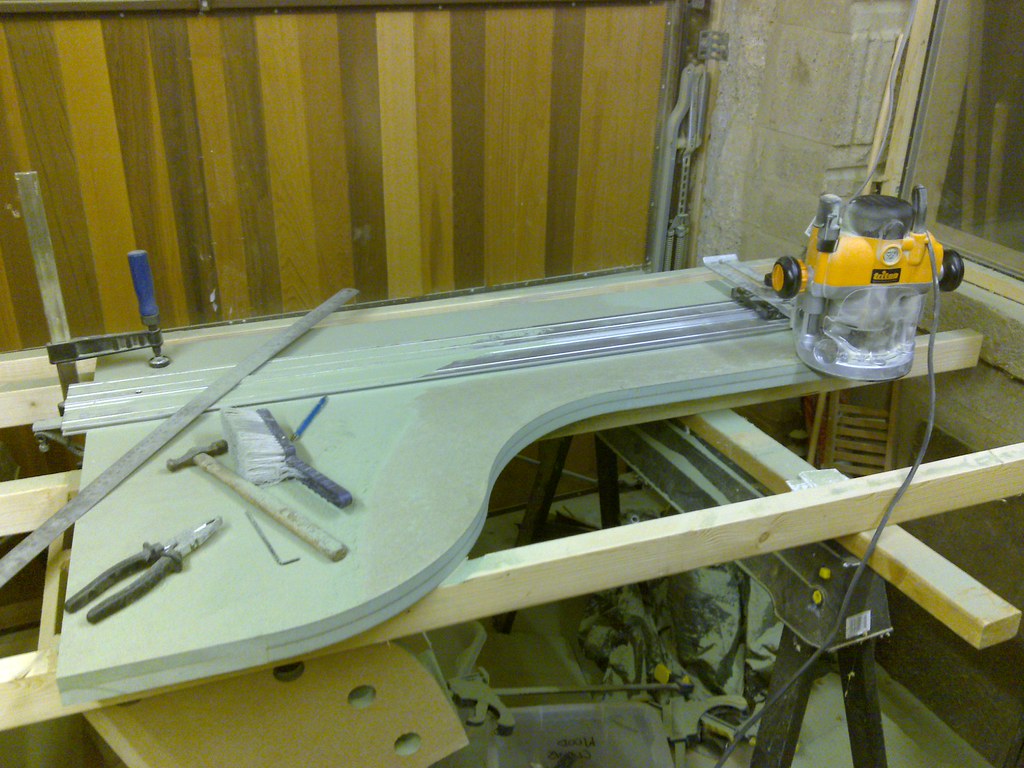
Using the big triton and the smart rail system to create some curves. I did both top and base together.... bit routers are cool!
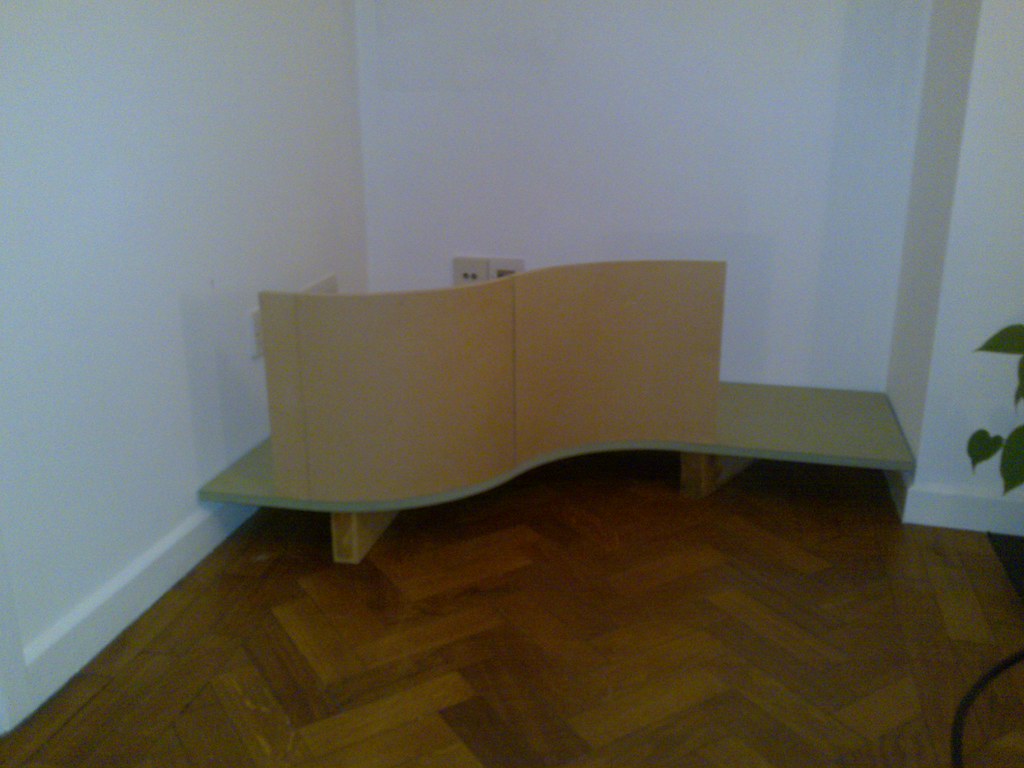
Another quick check to see how if will look.
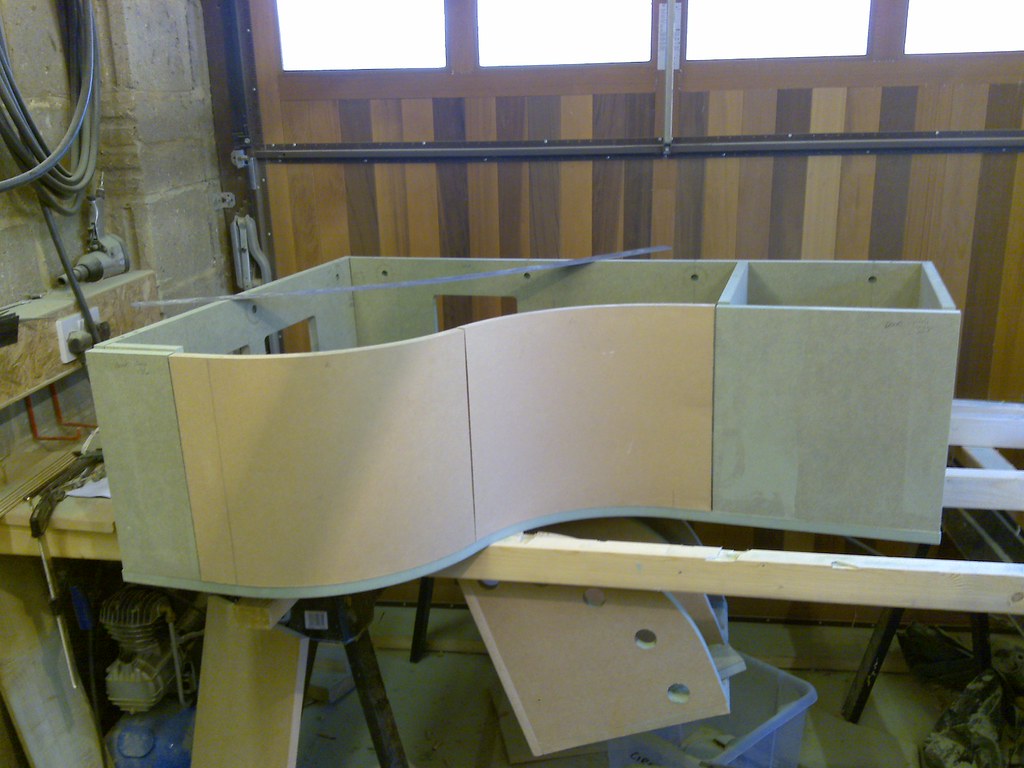
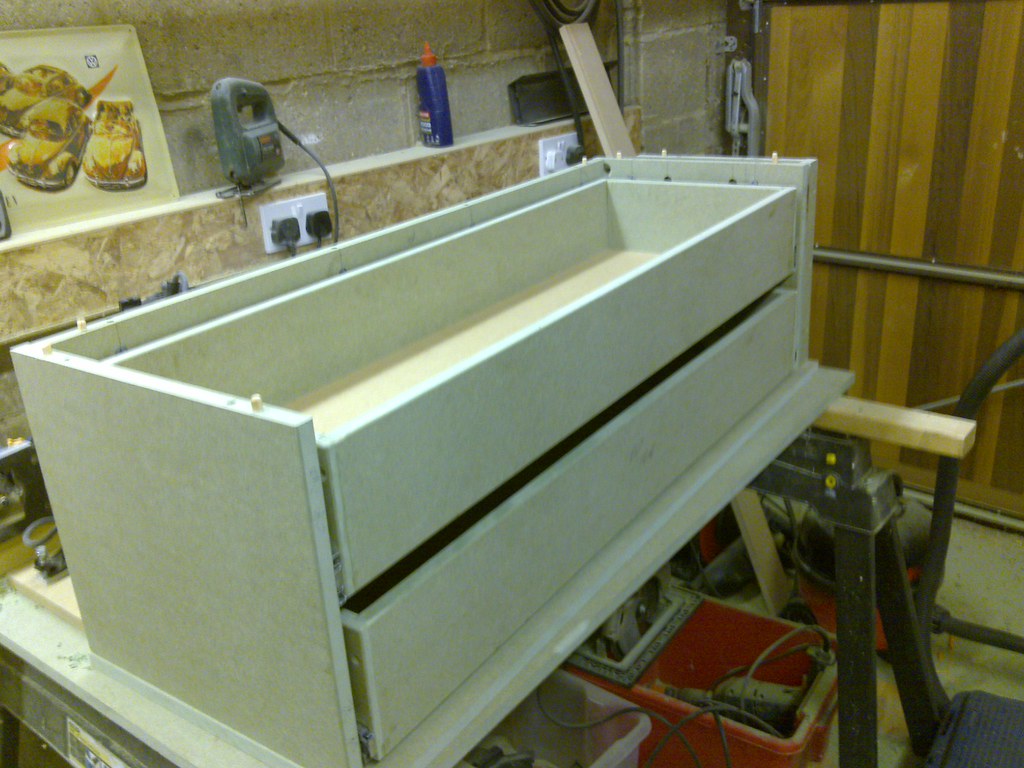
Now for the backs and sides. I used camlocks and dowels for all the joints, as I need to assemble the unit in position to fit around the sockets. Also makes it very easy to take the unit apart for painting etc. I used a dowel kit from screwfix for drilling and marking all the holes, this worked very well.

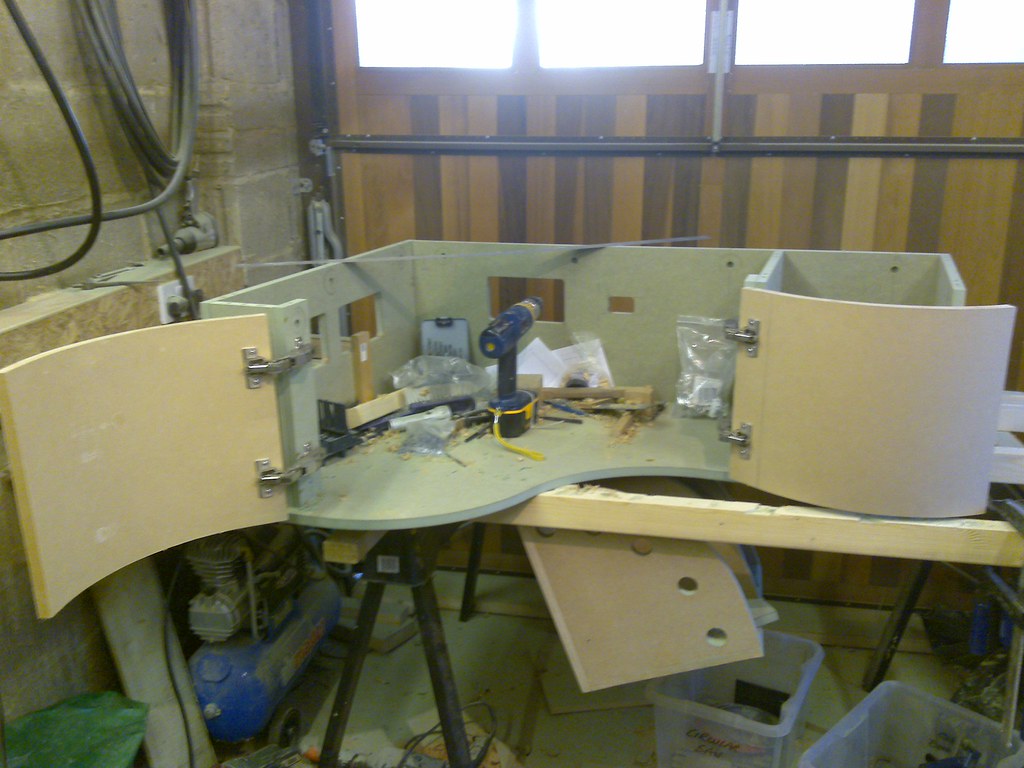
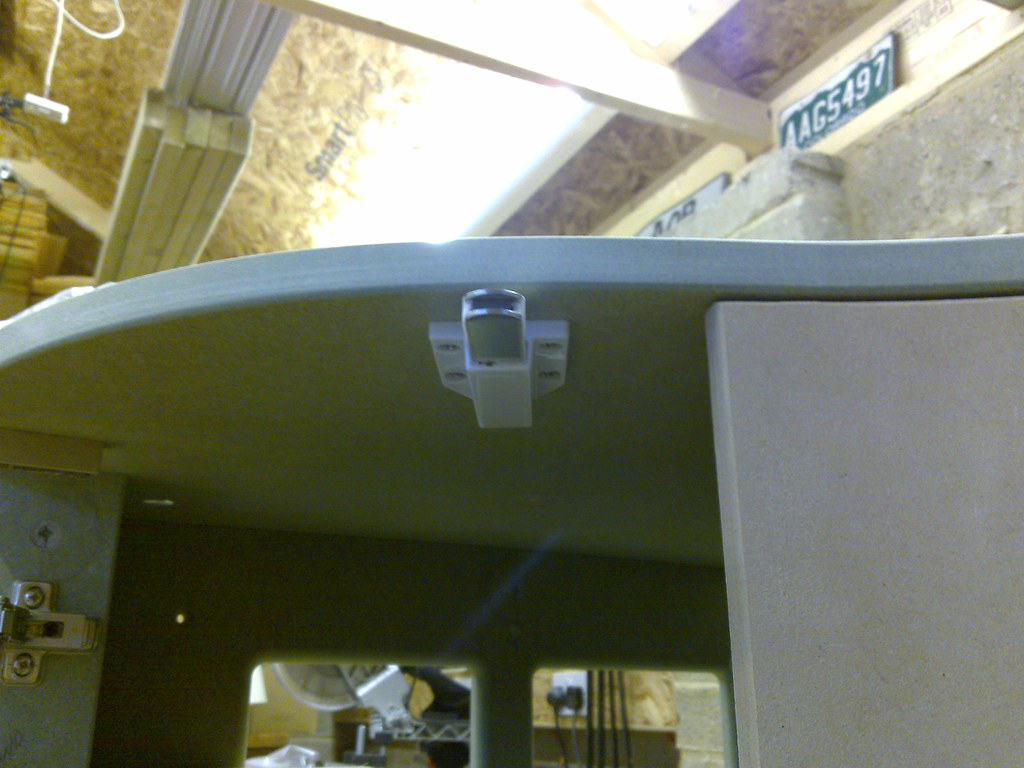
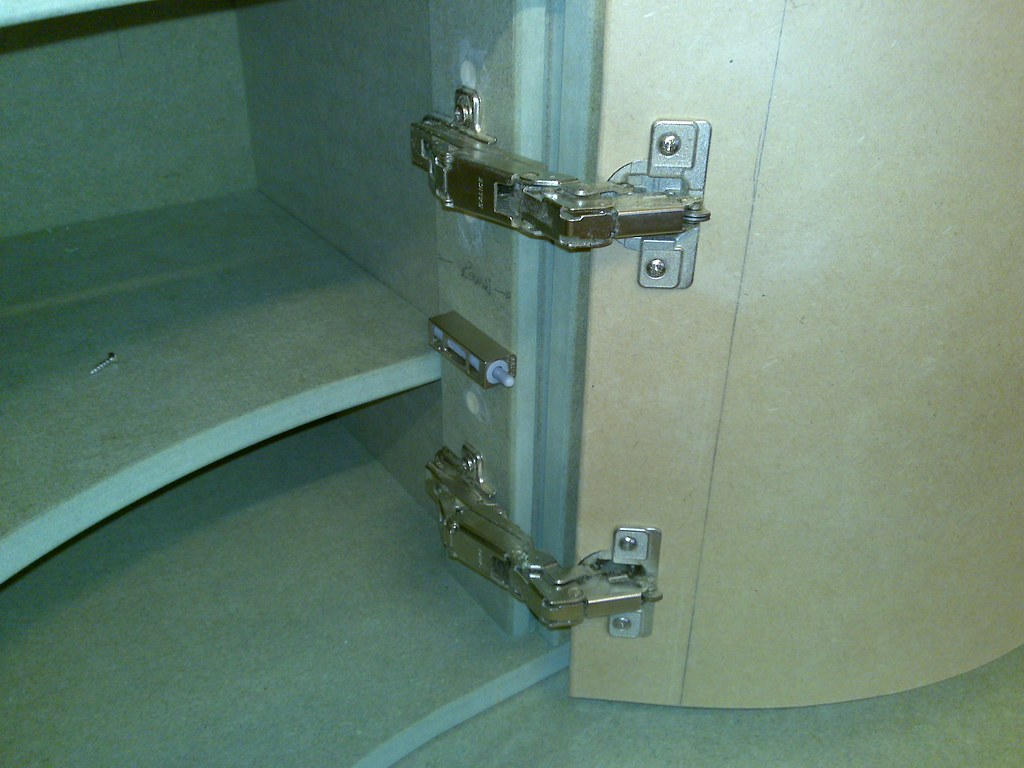
Next up some hinges. I used Salace 165 deg hinges, a bit pricey at 5.99 a pair from Screwfix, but they are worth it. Really nice hinges that unclip.

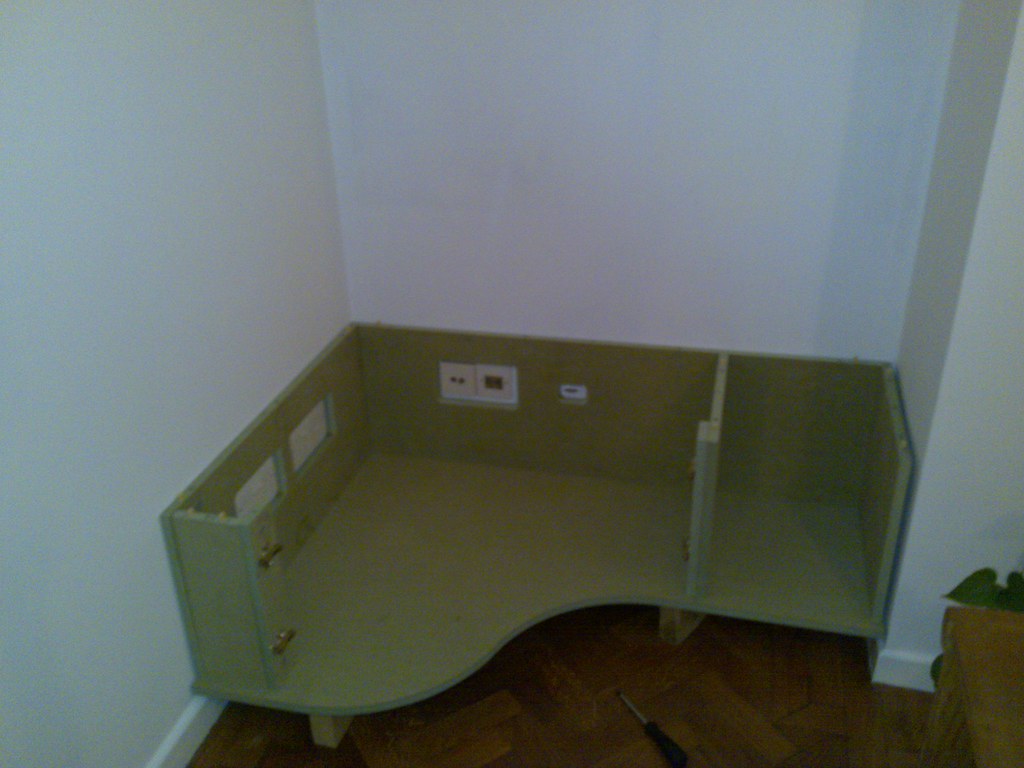
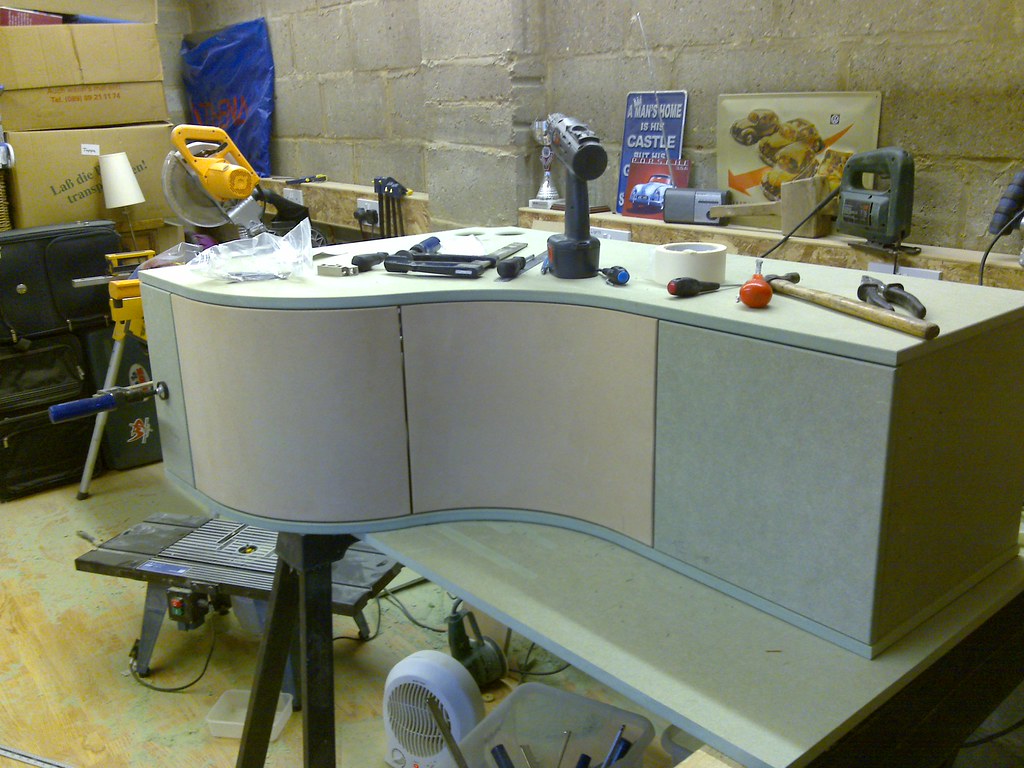
Another trial fit to make sure everything fits nice, excuse the blurred pics.

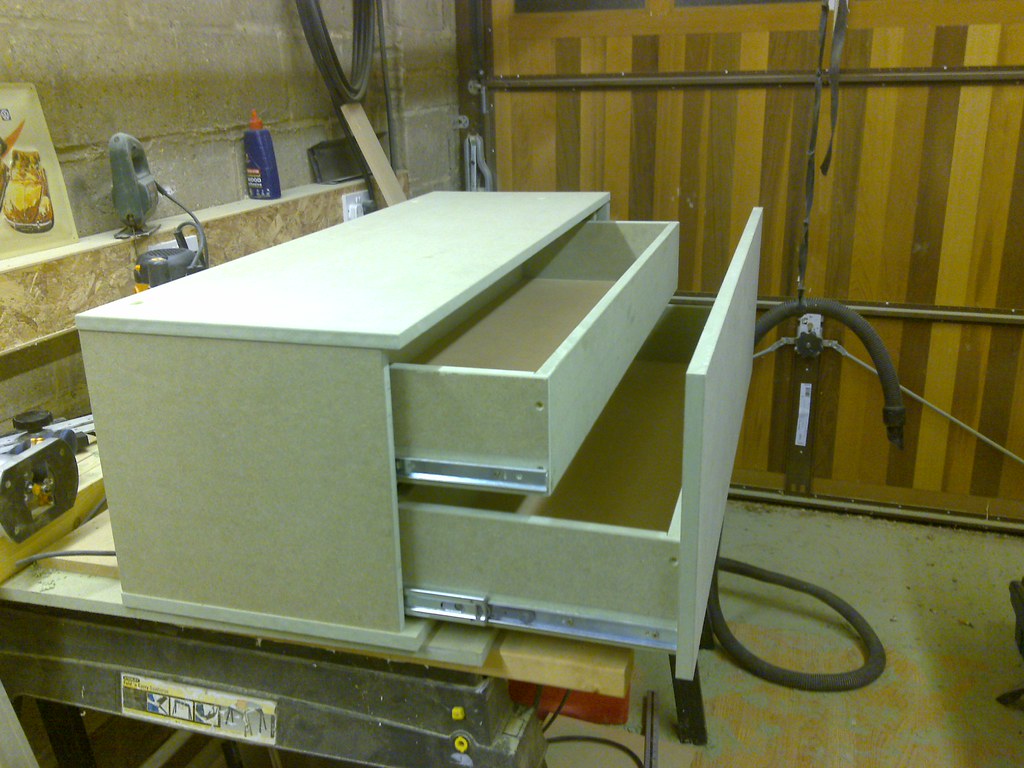
Next up the draw unit for the other side, using a set of push to close draw runners from the great supplier I found. No curves here, so quite easy.
Both units in position now, drilled all the mounting holes into the walls while in position.
Units back in the garage for any adjustments and holes for wires etc. Rounded off all the edges with 3.2mm roundoff cutter in a small router.
The long reach spring loaded door openers and ptfe block on the door.
Salace Smoothers for cushioned door closing
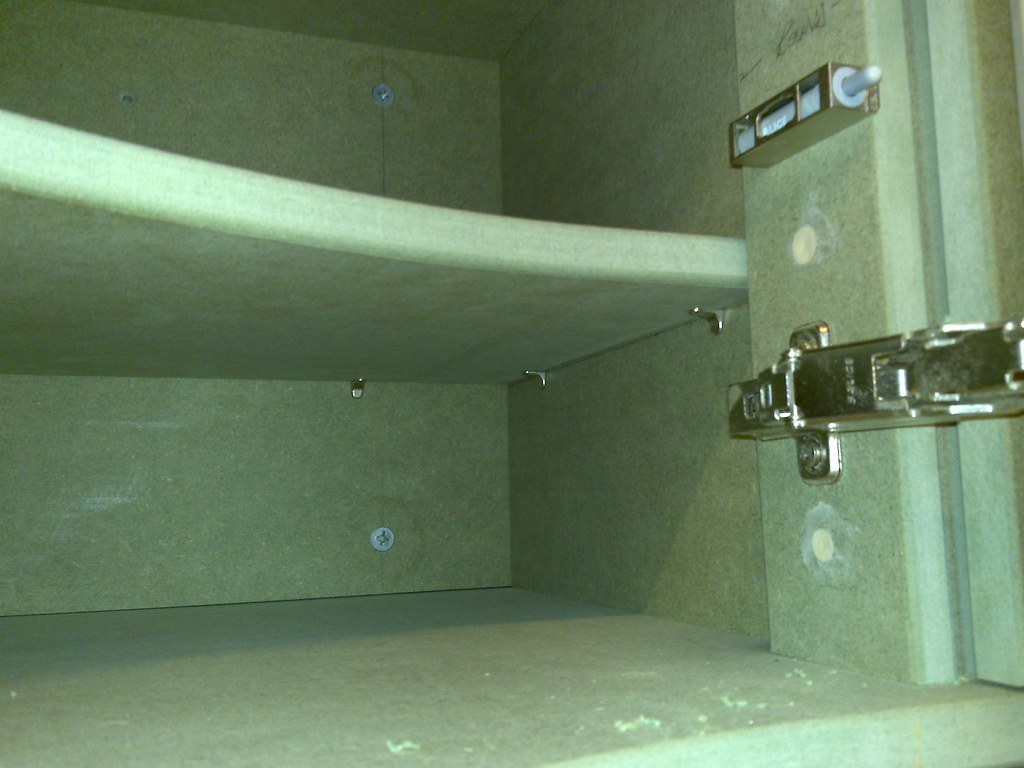
Little shelf supports for the shelf
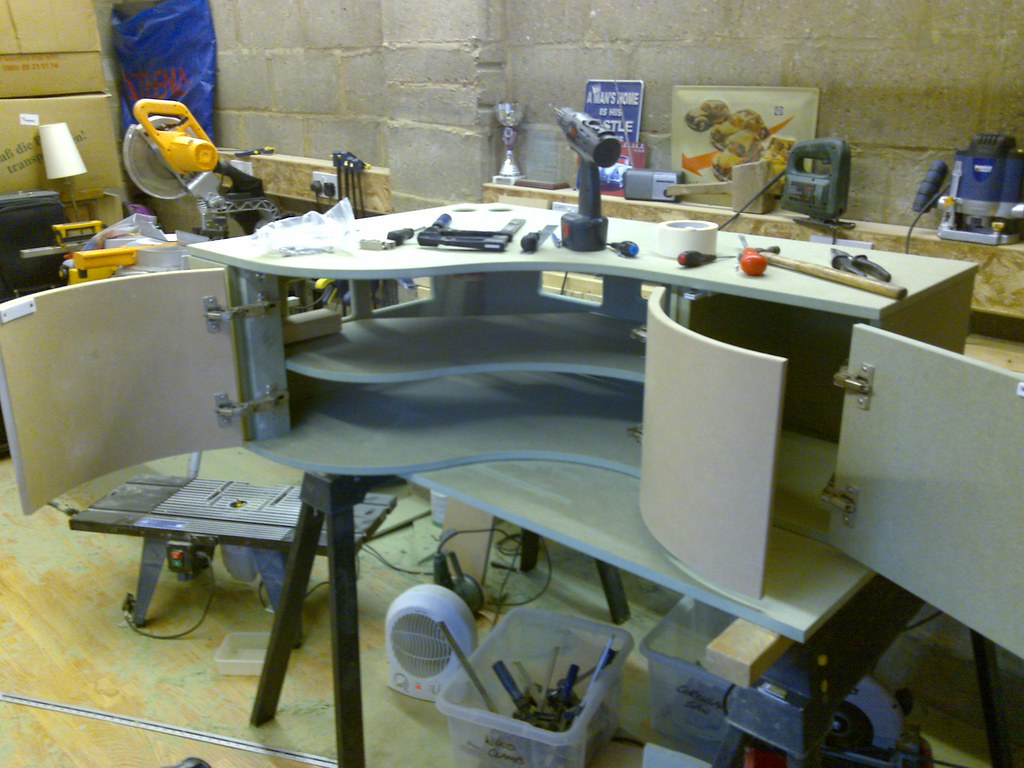
All finished and ready for sealing and priming.
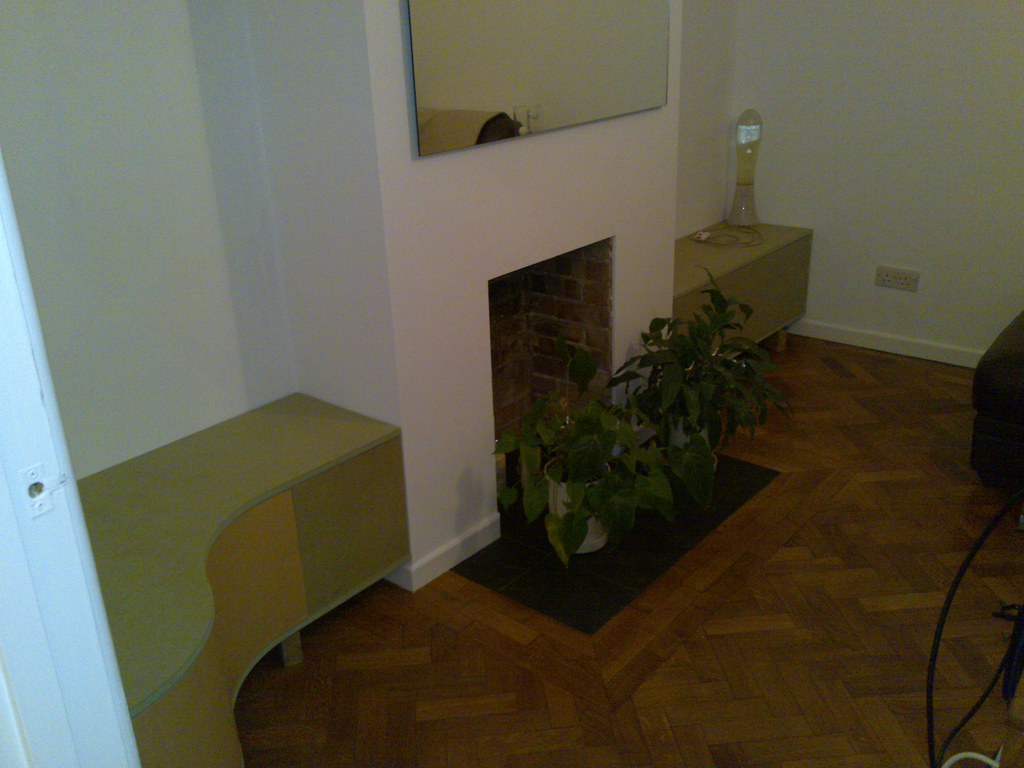
Took the units all apart again, removing all the hinges and fixings. I sealed all the surfaces with a couple of coats of Rustins MDF sealer. Then a couple of roller applied wickes proffessional oil based undercoat. Couple of days later I assembled all the fixings back onto the undercoated bits and assembled the units back into the lounge ready for christmas! The lighting underneath is rope lighting. The lighting is more subtile than the camera images show.
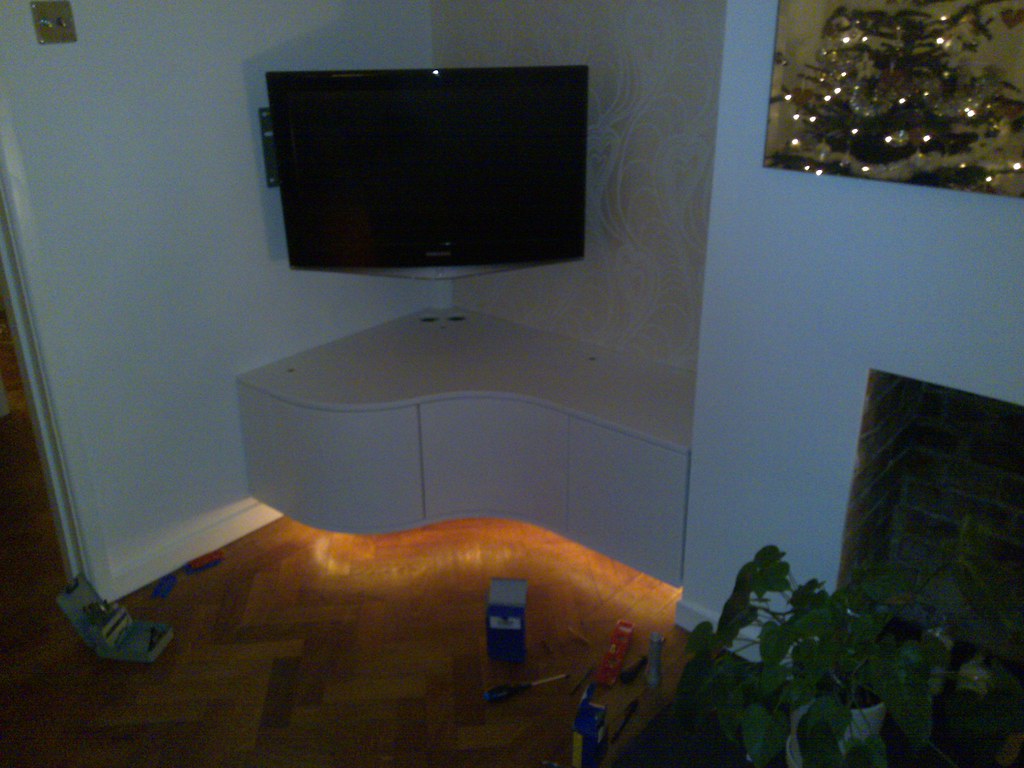
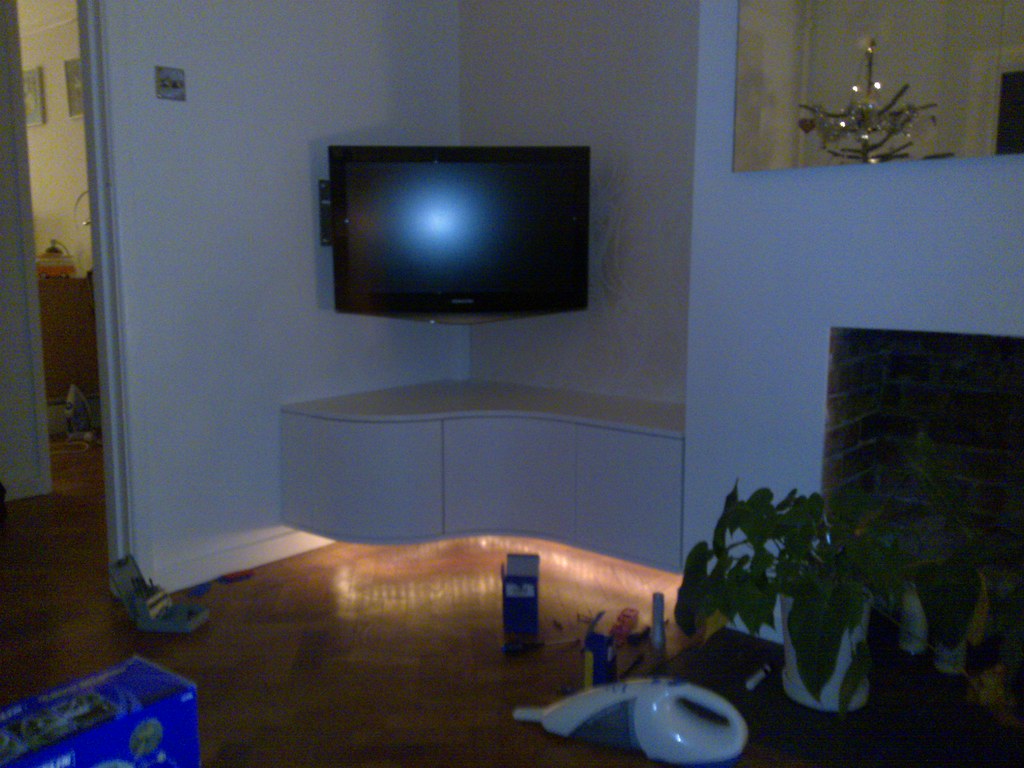
The LCD is now mounted on a bracket on the wall. The ducting down the corner below the TV is actually a poo pipe! I cut a quarter from the pipe and made an little bracket to support it at the top. I couldn't find any ducting big enough to take a scart socket.
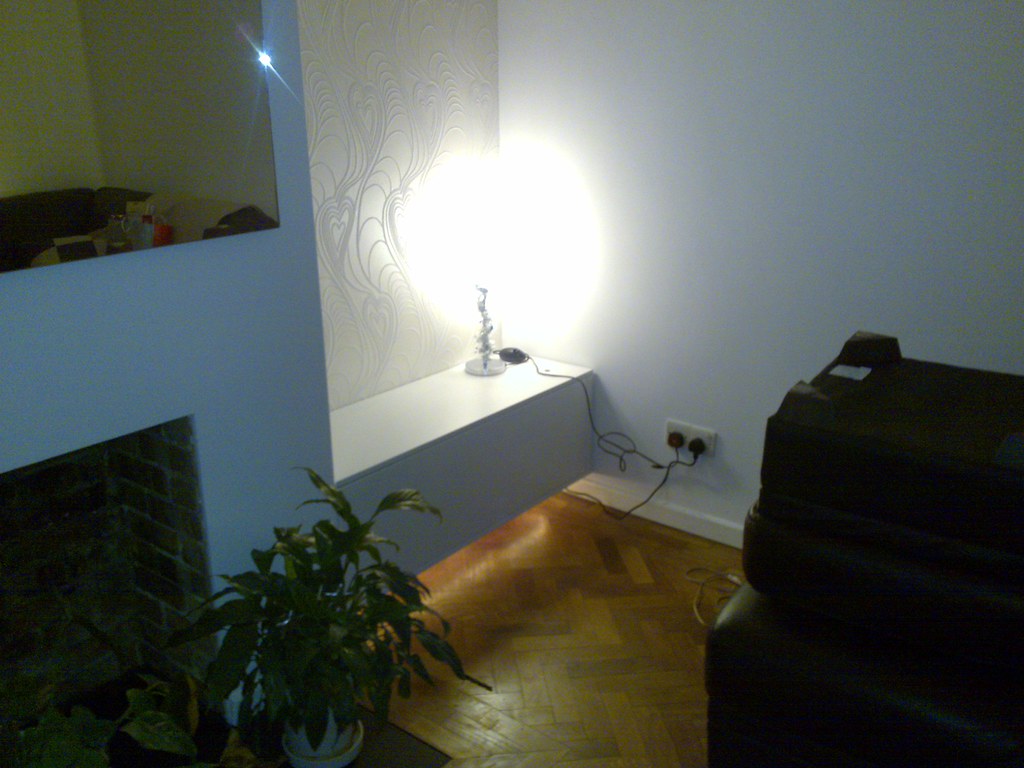
Heres the draw unit in place, all the wiring will be hidden within the cabinets at final assembly.
Thats it for now....I need a rest! I think I have put approx 60 to 80 hours in over the last few weeks. I have also decorated the lounge and hall. Made a new loft hatch and a cupboard door in the hall. It's been a busy few weeks. After Christmas tthe cabinets wil be coming out again for gloss spraying.
Cheers Andy
I mentioned I was making some cabinets for my lounge in another thread. Well here they are, lots of WIP pics and a few pics of the trail fitting in primer. I will be spending January in the garage with a HVLP sprayer creating glossy white loveliness....hopefully! The brief from my client (my wife) was cabinets that look simple, float of the floor with underlighting and no handles on the doors, and a draw unit the other side of the chimney breast for storing cd's and DVD's.
First thing I did was make the curved doors, wasn't sure if this was going to work. So wanted to make these before starting the rest of the cabinets.
Here's the jig, idea stolen from someone on this forum, but can't remember who. Sorry.
Next few pics show the 5 x 3mm mdf being formed over the jig with PVA inbetween each layer. Couldn't get hold of any 3mm MR, so had to use standard stuff.
After a night drying off by the aga, I got this... I had about 1mm spring back when I let the clamps off.
Next I trimmed the doors to length. I made each door 60mm of so longer that needed to give me some adjustment.
Lots of planning and cad'ing later I had a design and a cutting list. I got my local supplier Christcurch timber to cut up 3 sheets of MR MDF into the sizes I needed. They cut very accurately with a nice sharp blade.
Quick check to see what they may look like!
Using the big triton and the smart rail system to create some curves. I did both top and base together.... bit routers are cool!
Another quick check to see how if will look.
Now for the backs and sides. I used camlocks and dowels for all the joints, as I need to assemble the unit in position to fit around the sockets. Also makes it very easy to take the unit apart for painting etc. I used a dowel kit from screwfix for drilling and marking all the holes, this worked very well.
Next up some hinges. I used Salace 165 deg hinges, a bit pricey at 5.99 a pair from Screwfix, but they are worth it. Really nice hinges that unclip.
Another trial fit to make sure everything fits nice, excuse the blurred pics.
Next up the draw unit for the other side, using a set of push to close draw runners from the great supplier I found. No curves here, so quite easy.
Both units in position now, drilled all the mounting holes into the walls while in position.
Units back in the garage for any adjustments and holes for wires etc. Rounded off all the edges with 3.2mm roundoff cutter in a small router.
The long reach spring loaded door openers and ptfe block on the door.
Salace Smoothers for cushioned door closing
Little shelf supports for the shelf
All finished and ready for sealing and priming.
Took the units all apart again, removing all the hinges and fixings. I sealed all the surfaces with a couple of coats of Rustins MDF sealer. Then a couple of roller applied wickes proffessional oil based undercoat. Couple of days later I assembled all the fixings back onto the undercoated bits and assembled the units back into the lounge ready for christmas! The lighting underneath is rope lighting. The lighting is more subtile than the camera images show.
The LCD is now mounted on a bracket on the wall. The ducting down the corner below the TV is actually a poo pipe! I cut a quarter from the pipe and made an little bracket to support it at the top. I couldn't find any ducting big enough to take a scart socket.
Heres the draw unit in place, all the wiring will be hidden within the cabinets at final assembly.
Thats it for now....I need a rest! I think I have put approx 60 to 80 hours in over the last few weeks. I have also decorated the lounge and hall. Made a new loft hatch and a cupboard door in the hall. It's been a busy few weeks. After Christmas tthe cabinets wil be coming out again for gloss spraying.
Cheers Andy
