I was given some truly awful Chinese rifflers about a month ago, worse than useless in fact... So i'm still planning on buying a few nice Italian or French hand cut ones...
But they did present an opportunity to have a crack at making some of my own...

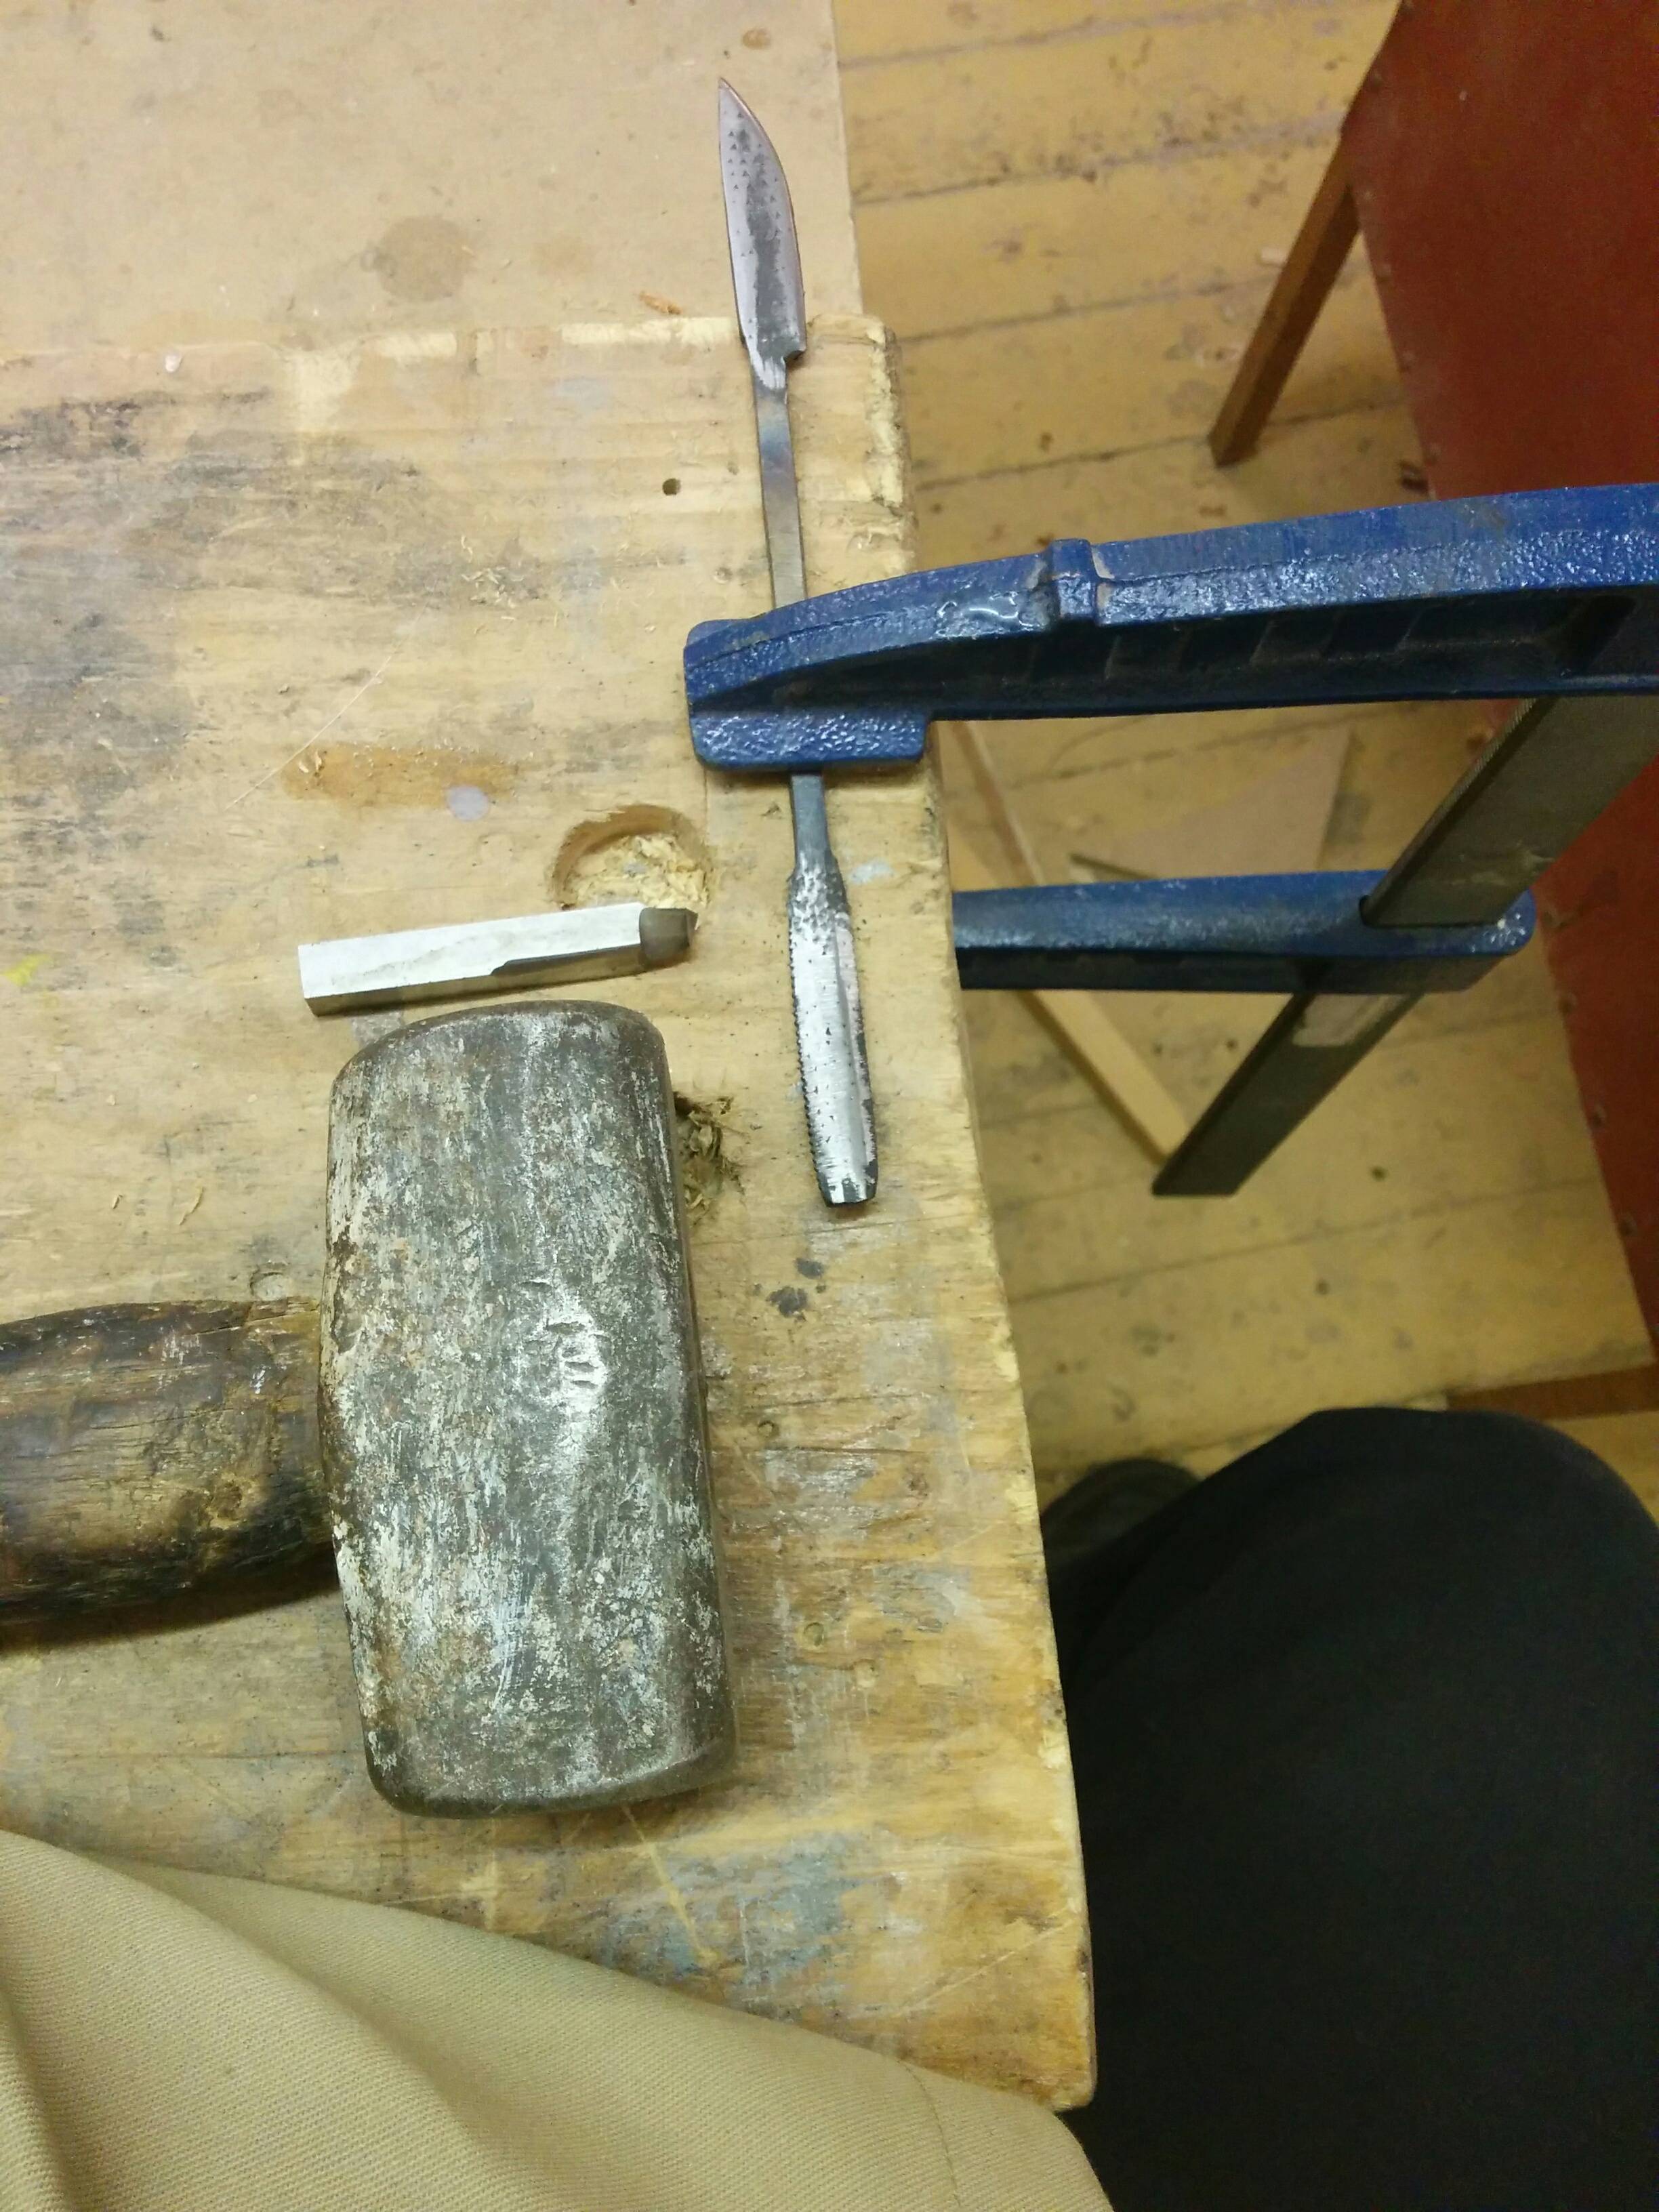
I removed the awful uneven stitching by freehand grinding, annealed them by heating to a bright orange glow with a slightly reducing flame from the oxyacetylene torch on top of some refractory brick and letting them cool naturally with the bricks over 2 hours or so.
Touched up on the power file, and gave them a quick polish, so I could see the impact I made on the surface.
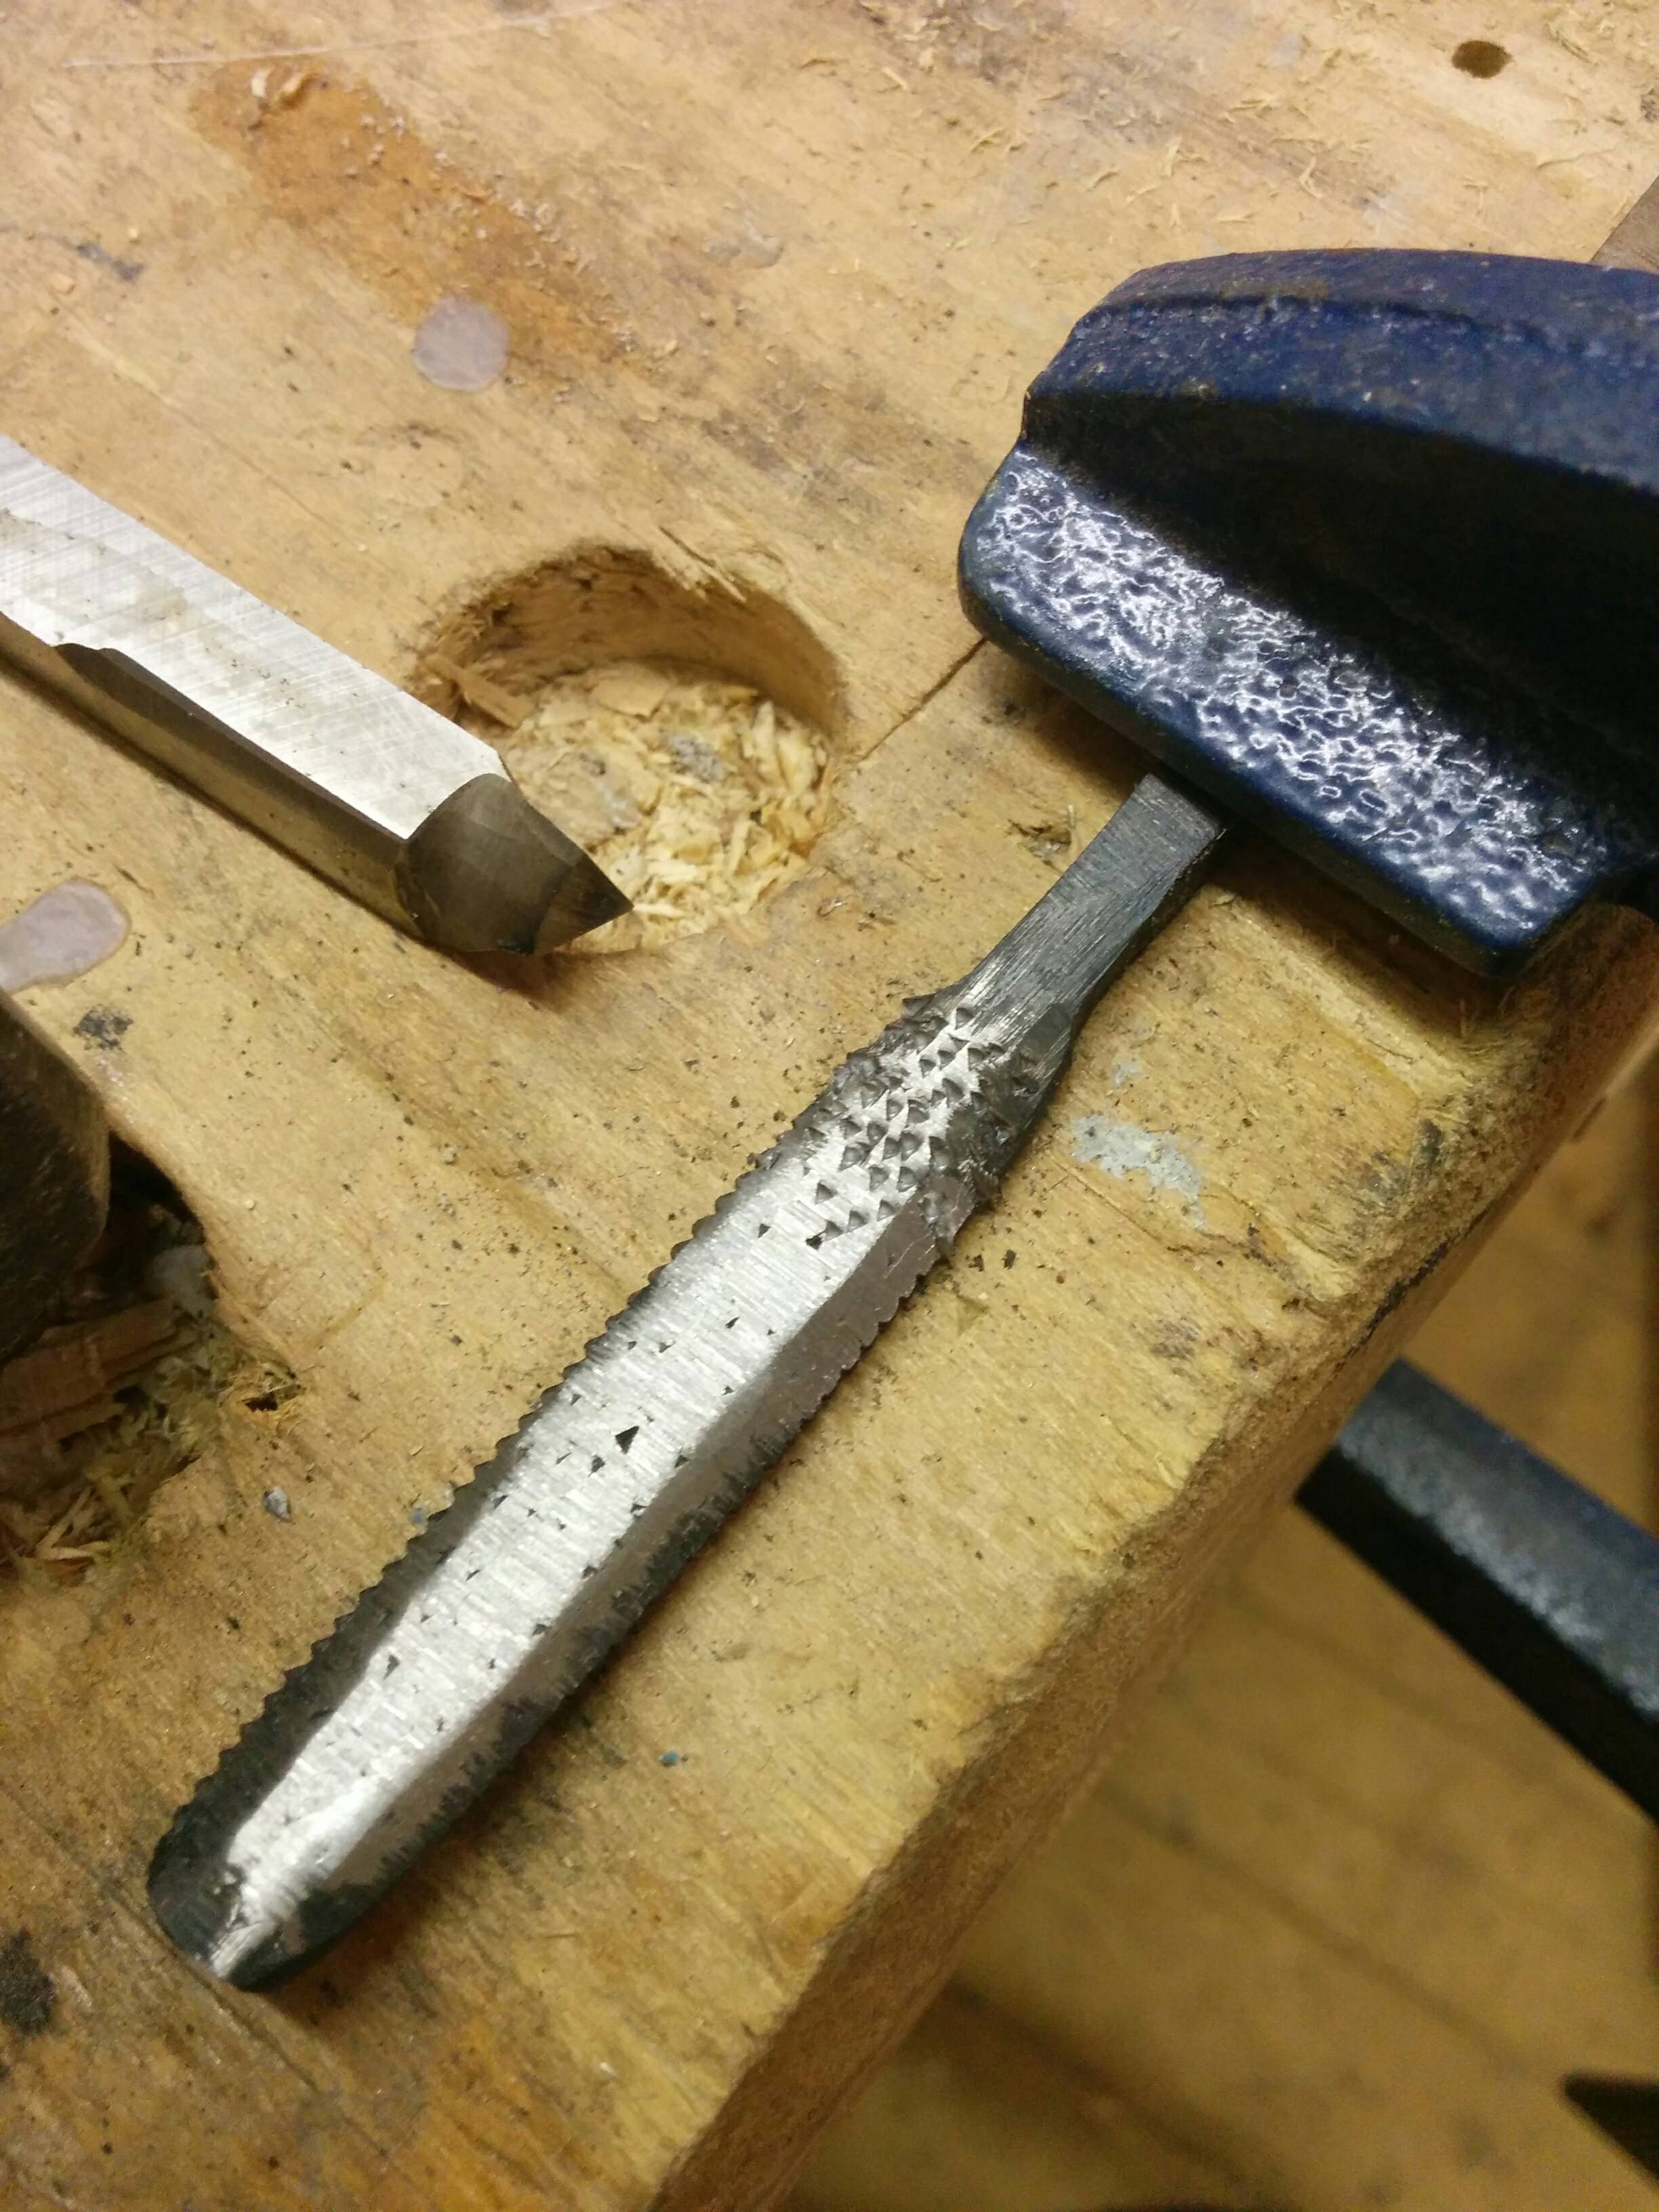
The stitching tool is a ⅜" HSS lathe tool which has been used and sharpened until there was nothing really left of it... ground to a non-regular trigonal pyramid shape (arrived at by trial and error).
I've concluded I should make a new tool that's longer, so I can see what I'm doing, as the tooth spacing is all over the shop; the tooth height is very regular though, which means I've already got a slight improvement over the original stitching.

Also, I now appreciate why Auriou and Lioger charge what they do... I'd say they were cheap, given the difficulty of doing fine stitching.
But they did present an opportunity to have a crack at making some of my own...

I removed the awful uneven stitching by freehand grinding, annealed them by heating to a bright orange glow with a slightly reducing flame from the oxyacetylene torch on top of some refractory brick and letting them cool naturally with the bricks over 2 hours or so.
Touched up on the power file, and gave them a quick polish, so I could see the impact I made on the surface.
The stitching tool is a ⅜" HSS lathe tool which has been used and sharpened until there was nothing really left of it... ground to a non-regular trigonal pyramid shape (arrived at by trial and error).
I've concluded I should make a new tool that's longer, so I can see what I'm doing, as the tooth spacing is all over the shop; the tooth height is very regular though, which means I've already got a slight improvement over the original stitching.

Also, I now appreciate why Auriou and Lioger charge what they do... I'd say they were cheap, given the difficulty of doing fine stitching.


