Bridle Plough Plane

UKworkshop.co.uk

Help Support UKworkshop.co.uk:

This site may earn a commission from merchant affiliate links, including eBay, Amazon, and others.

Derek Cohen (Perth Oz)

Established Member
Joined
2 Mar 2005
Messages
3,403
Reaction score
1,940
Location
Perth, Australia
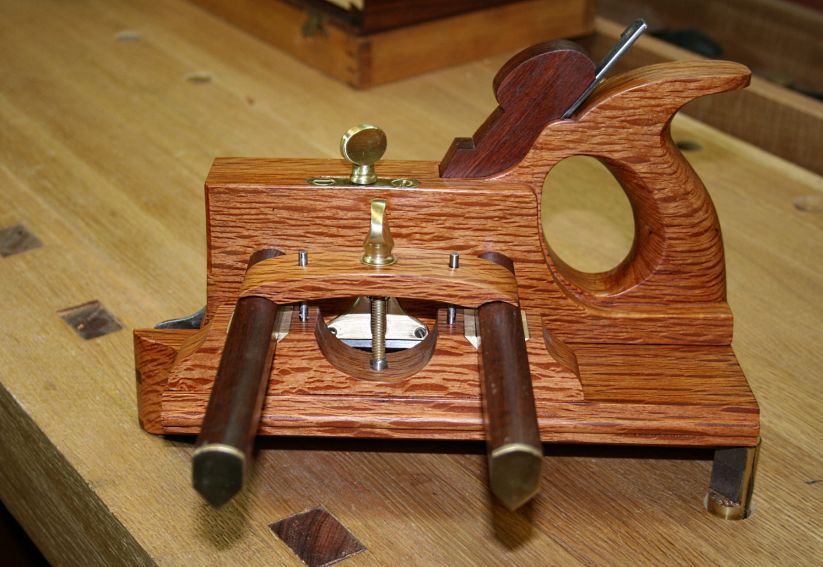
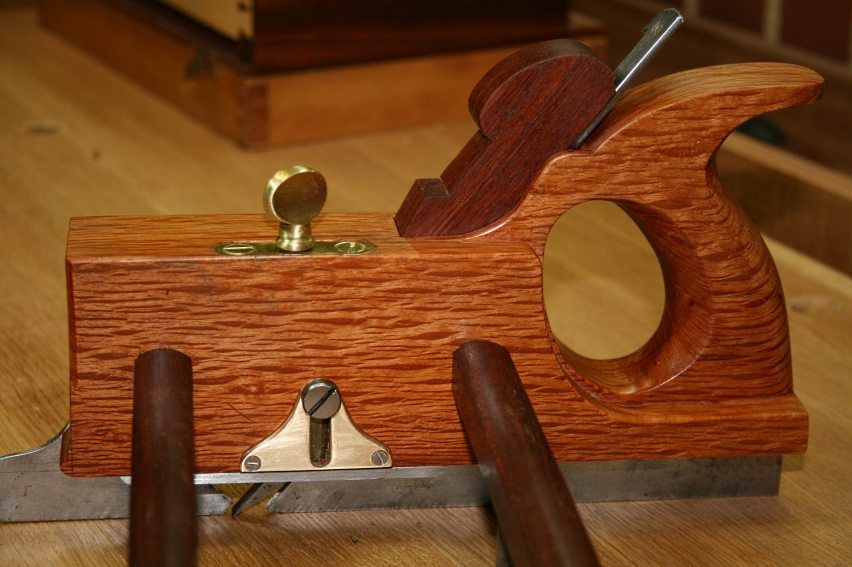
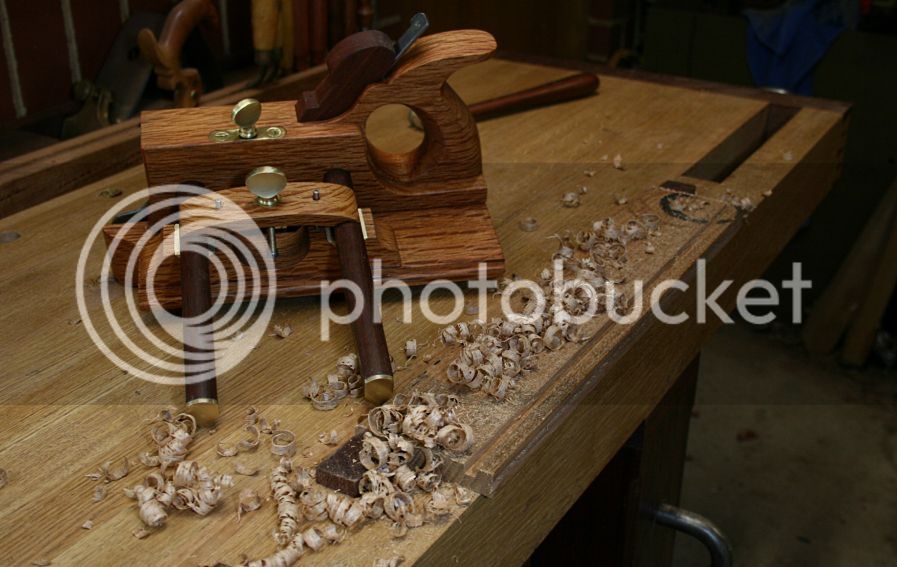
Ever since the 2007 tool competition at Wood Central, in which Kyle Barrett won very deservedly with his amazing bridle plough, I have wanted to build one. It was based on the Mathieson bridle plough, as is mine below.

This has to be my toughest plane build to date. The number of times I wished for a short cut, then stopped myself, or wondered whether the next saw stroke would destroy the many hours of work. That is partly the reason I built this plane - because I thought it too difficult.

There is a record of the build, with many pictures - many! - but thankfully little text, so you can skim through them if you desire: http://www.inthewoodshop.com/ShopMadeTo ... Build.html

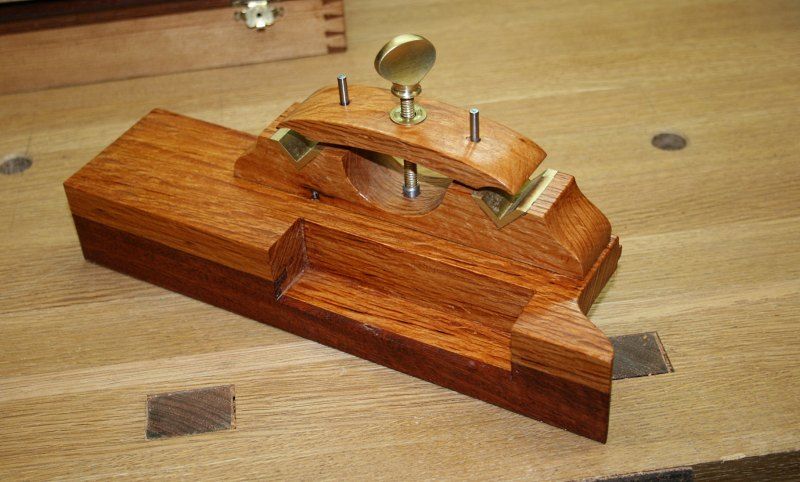
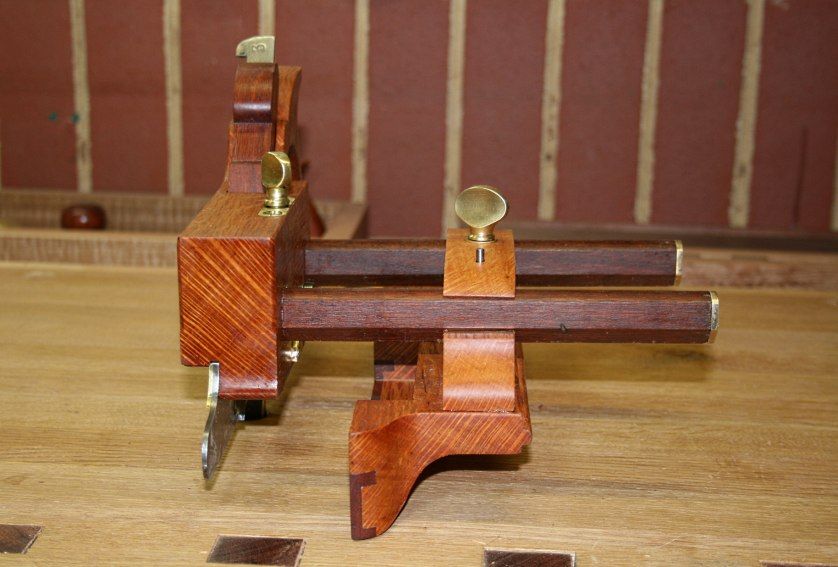
The wood is West Australian She-oak, with Jarrah as a contrast. Most of the brass work is mine, although the depth stop came from a parts Mathieson wedged plough. Finish is Organoil buffing oil and wax.

Here are a few images ...
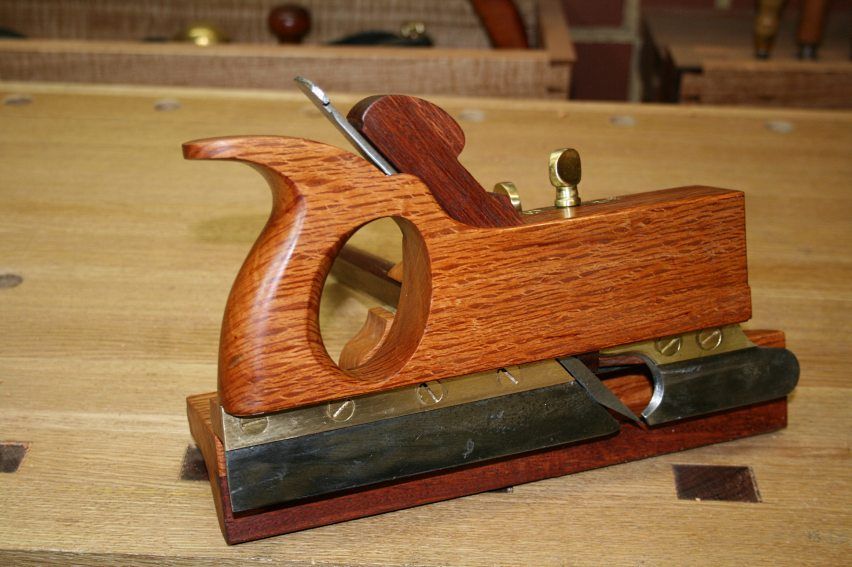
110.jpg


111.jpg


112.jpg


The bridle fence ...

117.jpg


113.jpg


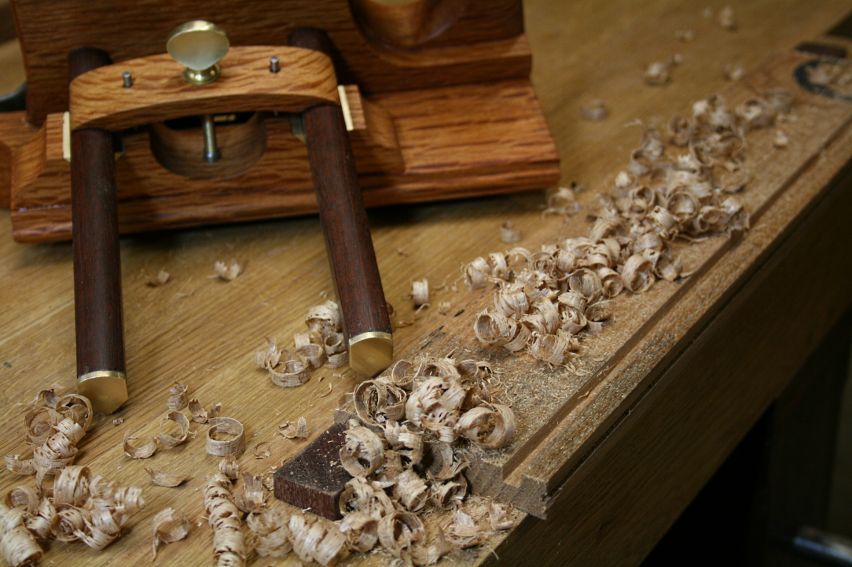
The plough works very well ...

114.jpg


Nice square and clean grooves ...

115.jpg


There is a full set of 8 unused vintage irons ..
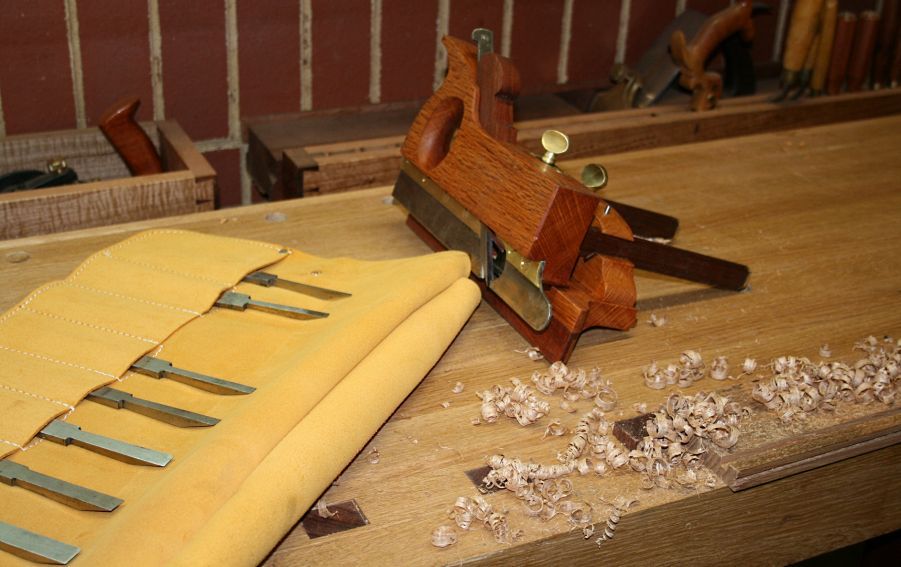
116.jpg


Regards from Perth

Derek
 
..


Top quality work, Derek.

I bet you weren't working to the clock, but have you any idea of the total outlay in time?

All best from Wales

.
 
Hi Argus

I really do not want to know how much time I spent! :)

In all, I built the plane over 3 months, working a several hours each weekend (when I had the opportunity). I never do any woodworking during the week or evenings. That is not to say that I never obsess during the week ... so I know exactly what needs to be done when I do get into the workshop! :D

Regards from Perth

Derek
 
That's tremendous!
If someone with your skills and experience says it's difficult... well, I believe you! It's a testament to the ability of the old guys in the Mathieson factory who could turn these out at an economic rate - and gives some idea why a design like this was a premium model back when it was new.

I especially like the thinking behind the use of jigs for the sub-tasks such as shaping the bars to the exact size.
 
Derek......SUBLIME! =D> =D>

That's all I'm going to say at this point because you have set out on a very difficult journey and come out the other side a very experienced winner..... 8)

The choice of woods is spot on. I wasn't sure when you said She-Oak ...which I seem to remember from my days on Ascension Island is of the Casuarina family. I wasn't sure if the contrast with Jarrah would be enough. But it's tonal contrast and with the Jarrah darkened...is absolutely beautiful. This is particularly so with the brass highlights which go with Jarrah like nothing else I have seen.

I shall be trying some designs with Jarrah and brass in the near future...I think it works really well.

What make is that back saw...I don't think I have seen that before. It looks really posh!

Your work on the "boxing" is particularly commendable. Having recently made a tiny box insert for an old Gabriel plane which had lost a slice...I can tell you now...to get that all aligned and with only hand tools is the work of a very skilled craftsman. To do it first time and get it so accurate is the work of a perfectionist. I suspect the value of 66s is likely to rise for a while after that demonstration! :wink:

Derek...I make no apologies for being a fan of your work...but mate...you have really excelled this time! =D>

Jim
 
Good grief - that is amazing. I can well imagine the attention that went into every stage of it. The she-oak looks wonderful... it all does really.

p.s. is the stuff we have over here he-oak? And if I made something using a bit of both what would happen?
 
Terrific work, and even more impressive after looking through all the construction photos!
 
condeesteso":ba0lvge7 said:
......p.s. is the stuff we have over here he-oak? And if I made something using a bit of both what would happen?

You'd probably get one of these Douglas....

stanplane002.jpg


(thanks to Paul "WoodAddict") for borrowing the pic)

:mrgreen:

Jim
 
jimi43":evys73f4 said:
Derek......SUBLIME! =D> =D> ....
I shall be trying some designs with Jarrah and brass in the near future...I think it works really well.

What make is that back saw...I don't think I have seen that before. It looks really posh!

Your work on the "boxing" is particularly commendable. Having recently made a tiny box insert for an old Gabriel plane which had lost a slice...I can tell you now...to get that all aligned and with only hand tools is the work of a very skilled craftsman. To do it first time and get it so accurate is the work of a perfectionist. I suspect the value of 66s is likely to rise for a while after that demonstration! :wink:
...

Thanks Jim

I agree, brass and Jarrah look great together. I built a trial bridle out of Jarrah and added brass to that. It was stunning. However the contrast between a She-oak body and a Jarrah fence was too great, so I used She-oak instead.

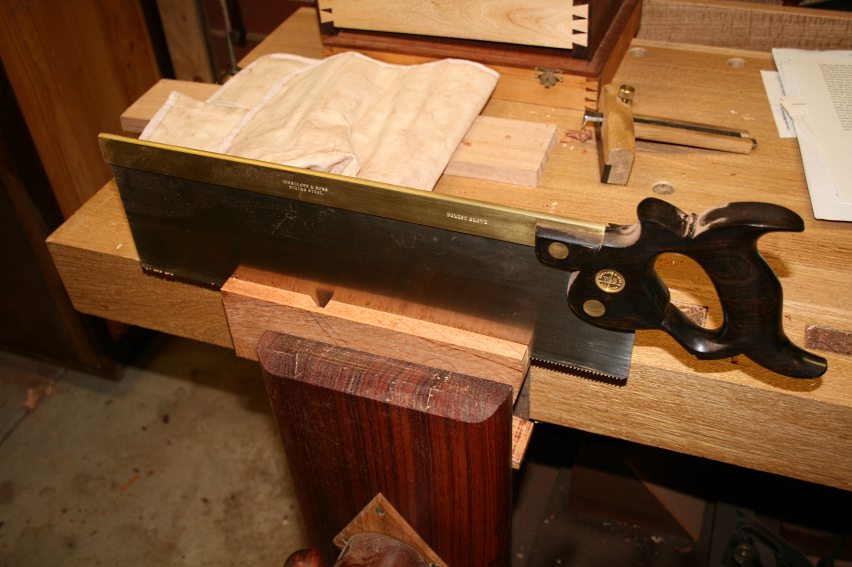
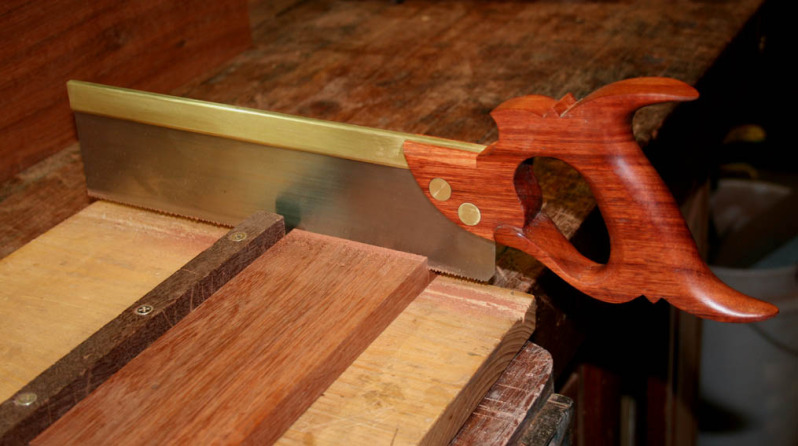
The saw? This one ..

BridlePloughBuild_html_5130c2e7.jpg


That is a Wenzloff and Sons, a 16" tenon saw.

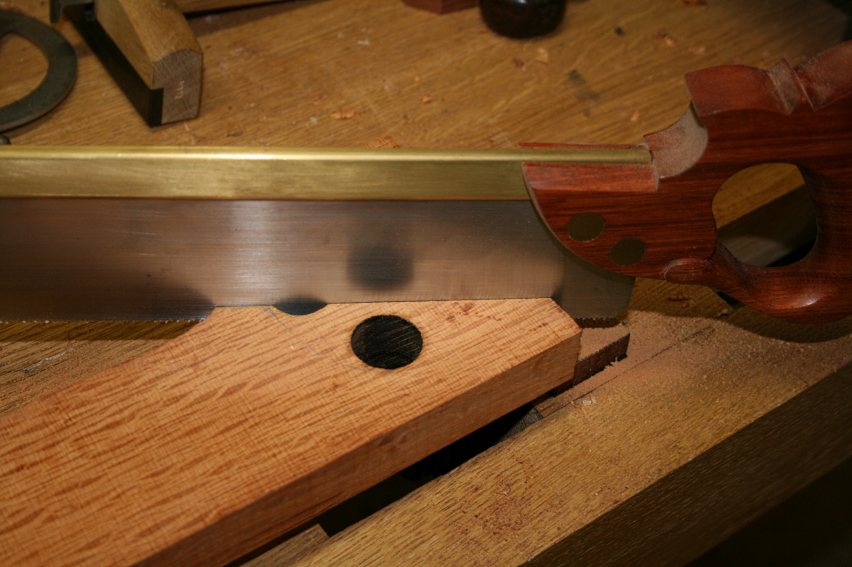
I also used this one - of my own design and build - a 14" carcase saw, for cross cuts ..

BridlePloughBuild_html_m667be6dd.jpg


A better photo ..

CarcaseSaw_html_m3813cbf6.jpg


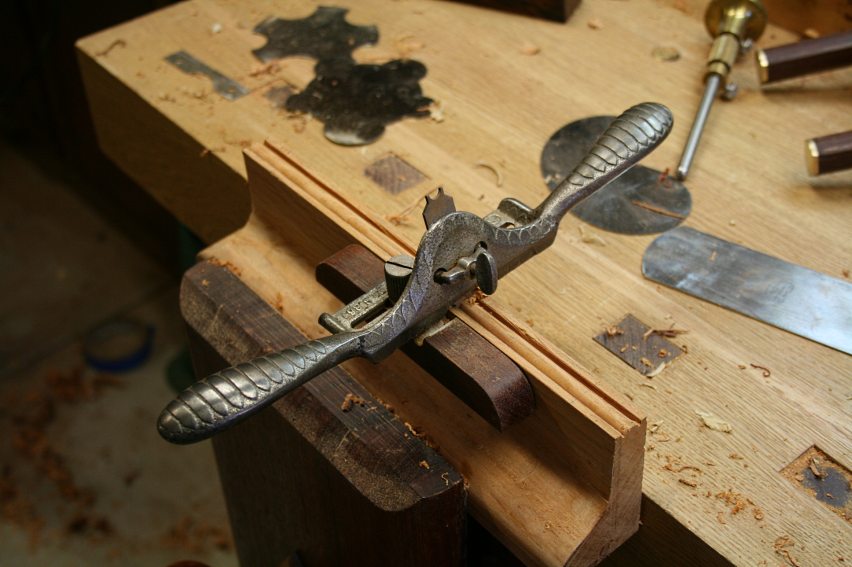
The #66 is modified - isn't everything I own! :D The fence is a design of mine, and I used it here with a LN blade. There an an article on building the fence here: http://www.inthewoodshop.com/ShopMadeTo ... eader.html

BridlePloughBuild_html_m49090385.jpg


Regards from Perth

Derek
 
Derek - that's a very impressive and fine-looking result. If you don't mind my saying so, you do need to sign and date that somewhere on it's anatomy. I like that roll for the irons, too - very smart. Is it felt or soft leather?

From your notes above, I reckon there must be between 100 and 200 hours of work in that, which explains why the originals were expensive tools and consequently now fairly scarce. Even in a production environment, where familiarity with the tasks would improve speed a lot, there's still a lot of hand fitting to be done.

Have you used it enough to form an impression of how this type of plane performs when compared to the metal ploughs and simpler wooden ploughs? For example, is the lack of visibility of the cut an issue, at all?

(In passing, I think if you put Australian she-oak with European he-oak, nothing would happen (not even splinters), because one of them would always be upside down relative to the other.)
 
If you don't mind my saying so, you do need to sign and date that somewhere on it's anatomy. I like that roll for the irons, too - very smart. Is it felt or soft leather?

I have not signed any of my tools. I think I will do so with a question mark and the date. That will drive them insane in the future. :)

The roll is a "Faithfull", which is from the UK. It is suede leather, has a flap to protect the blades, and does up with a in-built strap and buckle. Anything you can tell me about the reliability of the leather.

Have you used it enough to form an impression of how this type of plane performs when compared to the metal ploughs and simpler wooden ploughs? For example, is the lack of visibility of the cut an issue, at all?

Note much use so far ... my impression so far is that the difference between using a heavy-ish plane with such a thick blade, compared with the small Records and LV planes, is quite considerable. The Stanleys/Records are about finesse. These thick blades simply power through the wood as though it was not there!

Regards from Perth

Derek
 
A question about honing these blades ...

They are ground with a 20 degree primary bevel and then honed. It strikes me that this is too low for a plane. I asked this question once before (elsewhere) and was informed that it was OK as the blade was so thick. What do you believe is the correct way to hone these irons? I am considering an additional 5-10 degree secondary bevel.

Regards from Perth

Derek
 
A question about honing these blades ...

They are ground with a 20 degree primary bevel and then honed. It strikes me that this is too low for a plane. I asked this question once before (elsewhere) and was informed that it was OK as the blade was so thick. What do you believe is the correct way to hone these irons? I am considering an additional 5-10 degree secondary bevel.

Regards from Perth

Derek

When using old-style irons in a wooden plough, I have kept the original bevel (which, as you say, looks shallow but is right for the thickness and angle) and honed across the whole face.

I've no evidence for this apart from my own convictions, but I believe that a plough is working properly when it cuts a really thick shaving. The sort that is stiff but breaks into sections as it curls up.

I'm thinking about this in the context of joinery work in softwood mind - grooves to fit sash window boxes together, or hold a window board in place, or in the stiles and rails of a room door. The sort of job where the sides and bottom of the groove will never be seen, and the objective is to get the job done at maximum speed.

It could all be a bit more finessed for cabinet making in hardwoods. And as for Australian hardwoods ... I admire your tenacity!
 
Back
Top