


lucky9cat
Established Member
I must confess that I haven’t posted for a while and it’s not that I have been totally inactive but rather that I've been involved in other things as well. Enough excuses.
I was asked by someone I knew to build a bookcase to fit a particular space on his landing. I’ve only done one commission before but the price was right so I went ahead and prepared a drawing on SketchUp. He wanted the piece to be plain and functional and done in beech. The biggest worry was the size of it, but we worked out that it could be negotiated through his hall and up his stairway to it’s resting place.
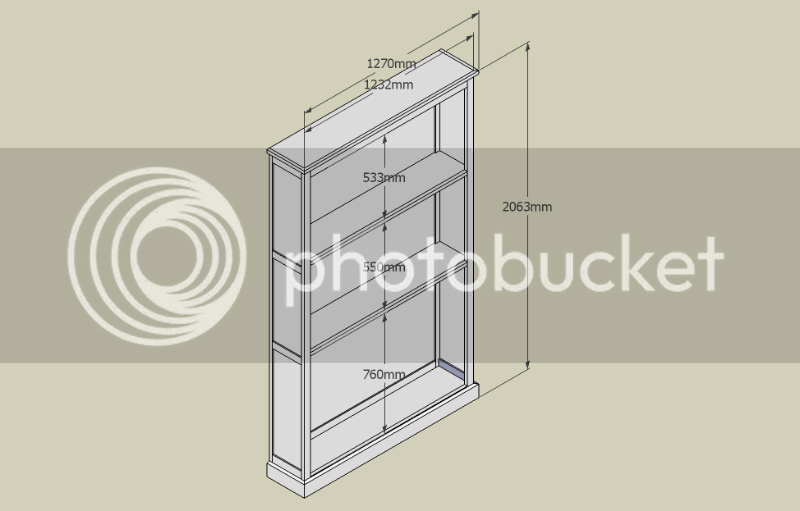
He liked the drawing, we double-checked our measurements and I went off to the wood yard with my (not so happy) dear wife! I got the boards from Goodwillies in Waterlooville for £87. This was priced at £743 per cubic metre including VAT for boards 27mm thick and up to about 250mm wide. I also got a sheet of 8x4 6mm MDF veneered both sides from Bamptons in Southampton for £34. Bamptons were good enough to put 4 cuts in the board for that price which saved me manhandling the thing around! I’d be interested to know how these prices compare with those of others; are they reasonable?
After cutting the boards to just over length and planning/thicknessing them to about 3 or 4mm over thickness I left then to acclimatise to the humidity in my shop for a couple of weeks.
After bringing the boards down to final dimensions I finished each face with my jack plane to take off the ripples left by the planer. I was determined not to use any sandpaper at all!
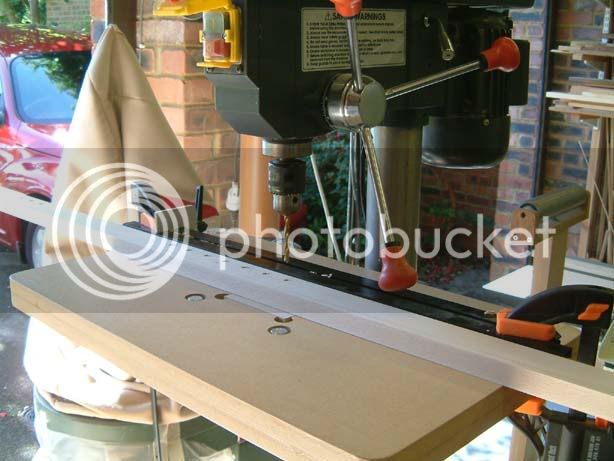
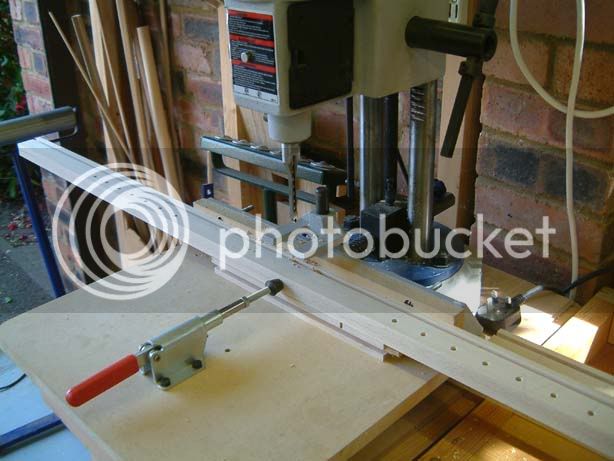
The first job was to drill the shelf support holes in the uprights on the drill press.
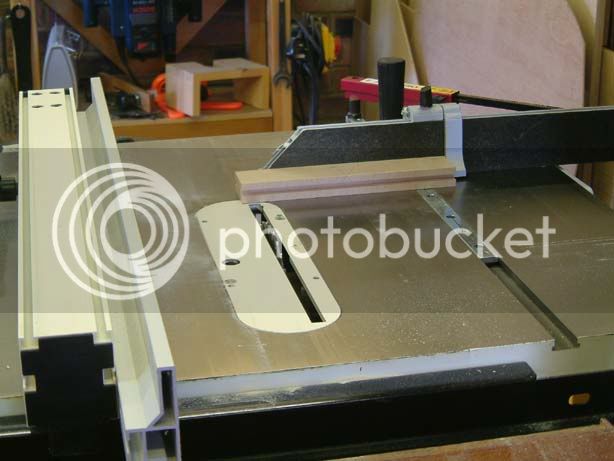
I then cut the groves for the panels on the table saw. Each piece was put through twice, with the wood flipped around for the second cut hence ensuring the groove was central. I was aware I was doing this for a price and hence was looking to save time where possible. I have recently acquired a Record Multiplane from eBay and would have loved to try it out but it would have taken far too long.
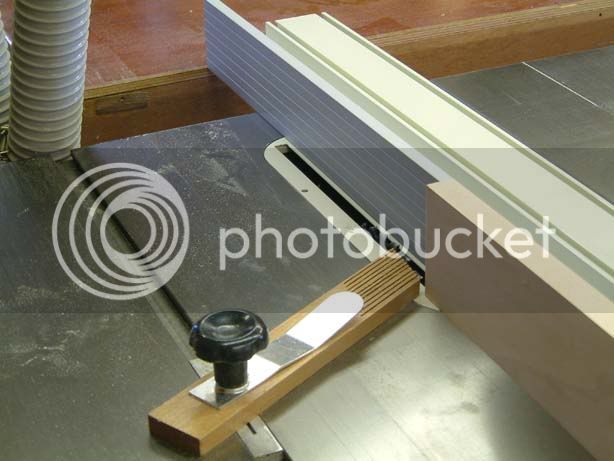
Tenon shoulder cuts were done on the table saw. This is an easy and accurate way of doing them that requires very little marking out. I don’t like working with the blade exposed so take great care especially when the job is a little bit repetitious as this is.
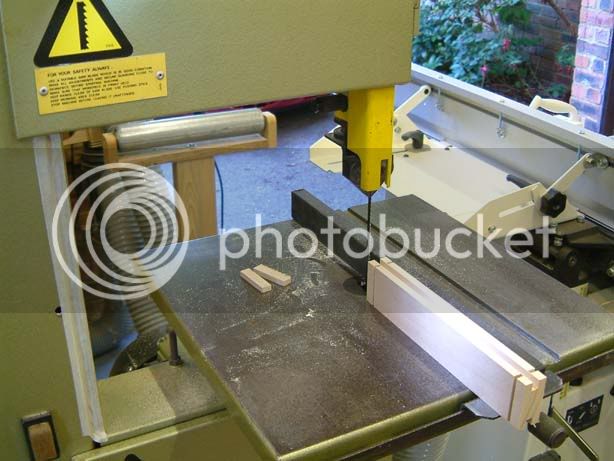
Tenon cheeks are cut on the band saw. I aim to cut them a fraction oversize and trim them to fit with the shoulder plane.
Mortices are cut with the dedicated morticer.
The only exceptions are the mortices for the front rails that support the fixed shelves. There are only 4 and it would have taken longer to set the morticer up than cut them.
The front rails that support the fixed shelves need a large rebate cut into the back of them. These were cut on the router table.
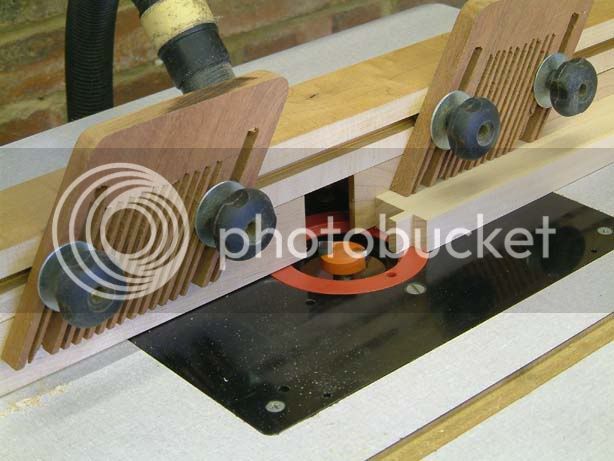
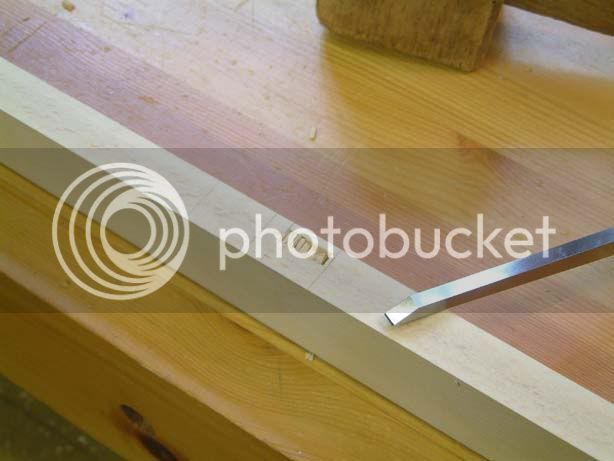
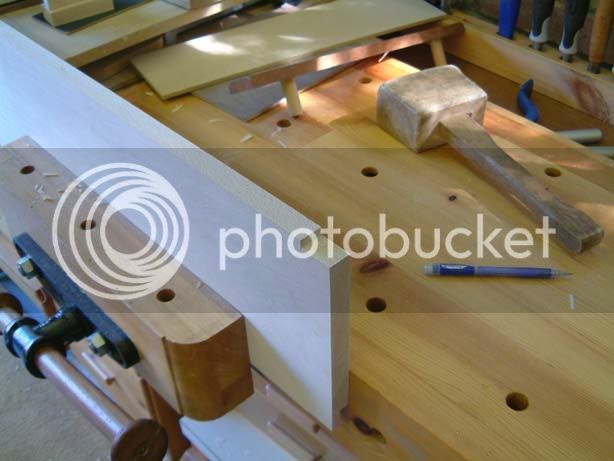
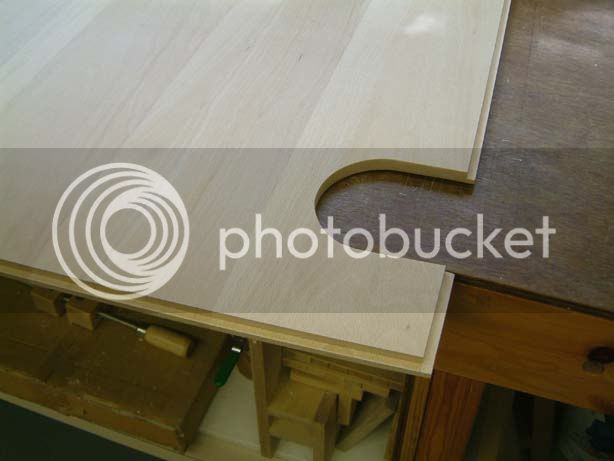
A similar rebate was cut in the front bottom edge of the fixed shelves. This can be seen at the bottom of the wood in the vice. A notch was cut in the back corner of each of these shelves to clear the frame.
The panels were cut next from the MDF. I use masking tape to eliminate tear-out when crosscutting sheets. The sheet is flipped when crosscutting so the tape is facing down.
The side panels were then glued up.
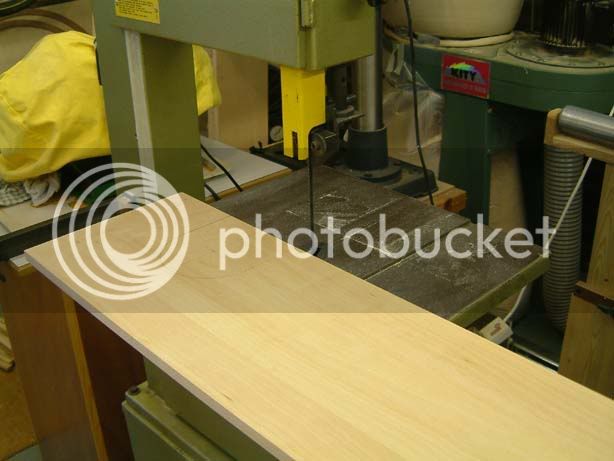
I only had enough 6mm MDF for two and a half back panels so had to glue up boards to make up for the missing half rather than purchase a whole new sheet. Another complication was that the client wanted a hole in the back panel to access an electrical wall socket the bookcase was going to cover up. It’s these little complications that take up a disproportionate amount of time. Here’s the “mouse” hole being cut in part of the made up panel!
Here’s the complete panel in the final gluing stage. As can be seen, it’s made up of the scraps, some not even the full length! It was glued up in sections.

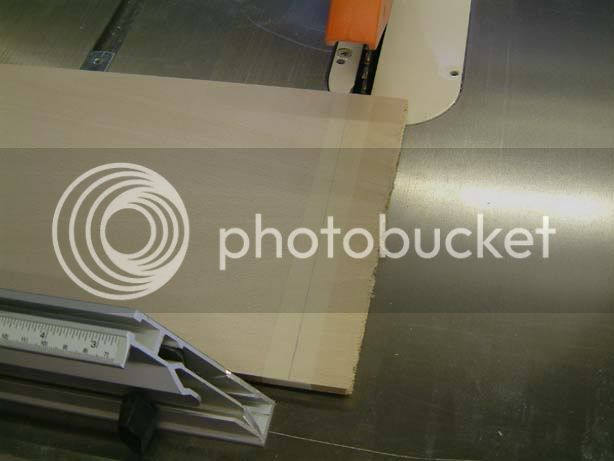
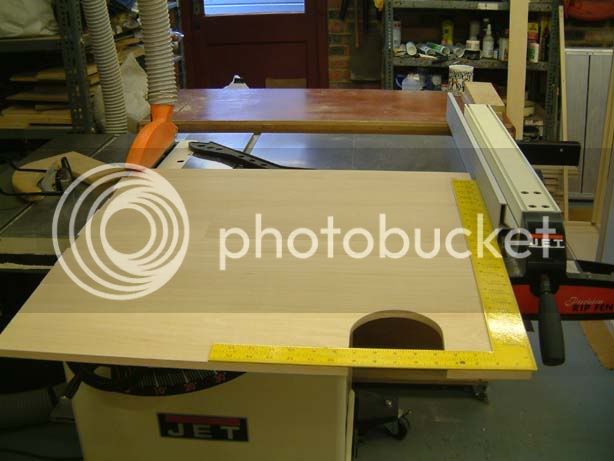
As I haven’t made a cross-cut sled for my table saw yet, to cut it square to the long grain I used double sided tape to attach a large square which was referenced against long grain.
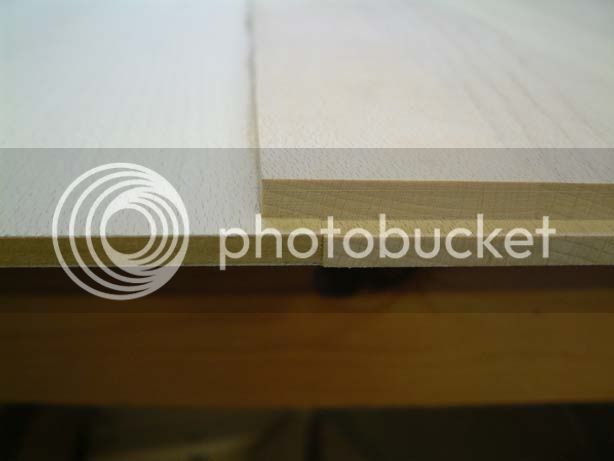
I then rebated three edges to enable it into fit the frame grooves. This was done on the router table.
The forth edge also needed a rebate to accept the MDF to which it is glued. I really should have bought myself another sheet of MDF and saved myself the bother – this all took ages!
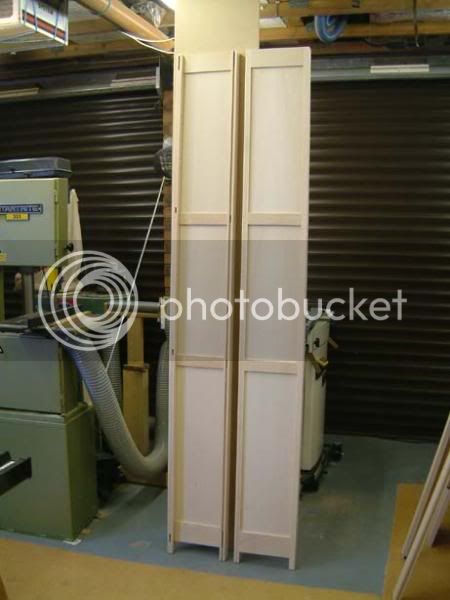
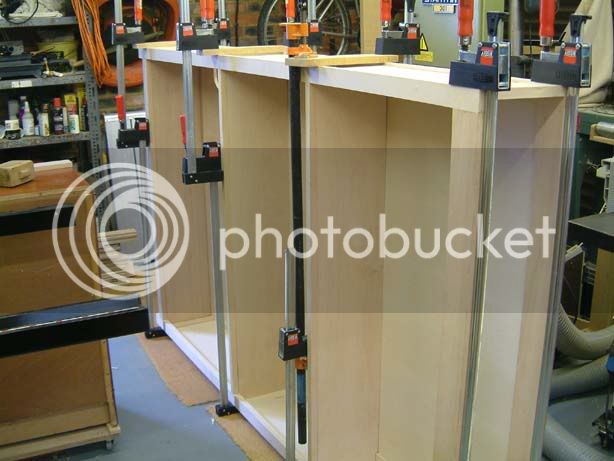
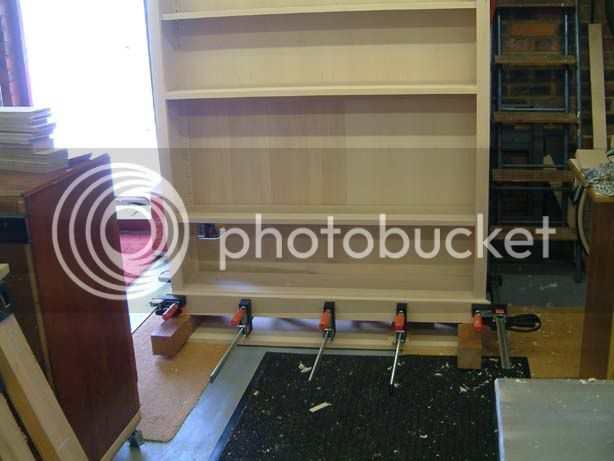
The major glue up. I did this in two stages. With one side panel on the floor, the back rails were glued in place, the panels put in and the other side panel put in place but not glued. The fixed shelves were put in place to hold the assembly square.
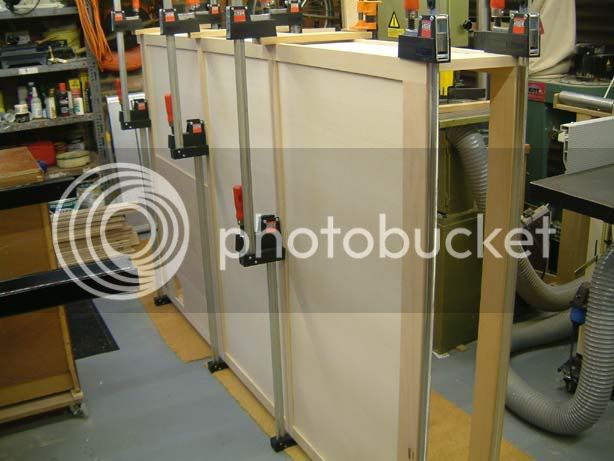
After removing the clamps, the un-glued side was taken off and then glued back in place. The double garage was beginning to get a bit tight for space now and this really was quite tricky. Without the help of my dear wife I couldn’t have done it!
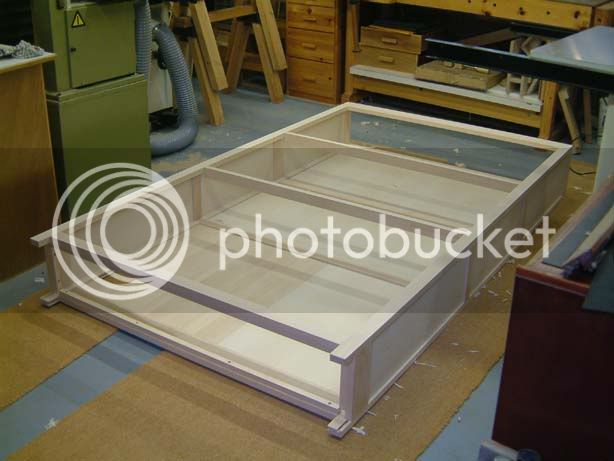
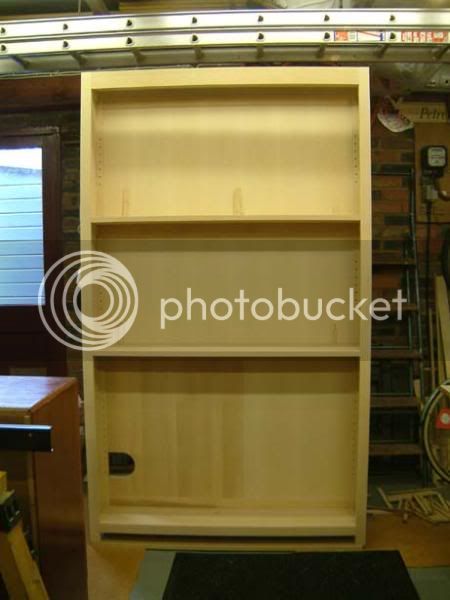
It was now clean up time. I confess to using the random orbit sander here. How do you clean up a mortice and tenon only using a plane? Notice the cleats in place to hold the bottom shelf.
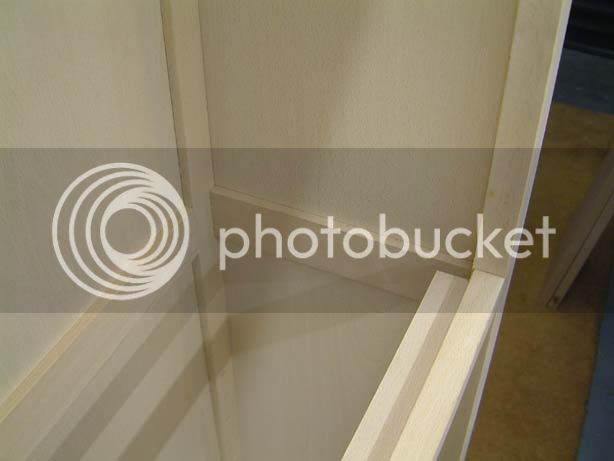
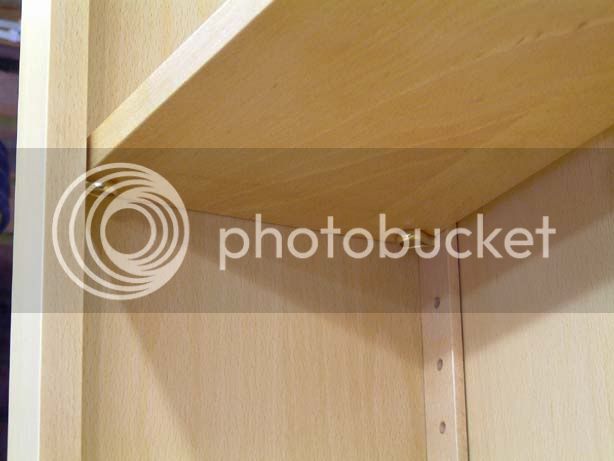
Here’s a detail shot showing how the fixed shelves are supported by the framework and the rabbit in the front rail.
My dear wife now asks why I didn’t build it in two units. It is big and I’m worrying whether it’s going to get up the stairs! It’s hard enough moving it around the garage! The fixed shelves were glued firmly to the front rails with only a spot on the side frame rails. This should eliminate any movement problems.
The skirting and architrave have 15 degree bevels on their top and bottom edges respectively, which were cut on the table saw and then hand planed smooth. The mitres are cut on the table saw being careful to cut both sides of adjoining corners on different sides of the table saw blade. This should compensate for any deviation from 45 degrees the blade might be set at. All of the pieces are glued to the frame work. The top, which is made from the 6mm MDF was pinned on before fitting the architrave.
Detail shot of how the moveable shelves are held in place.
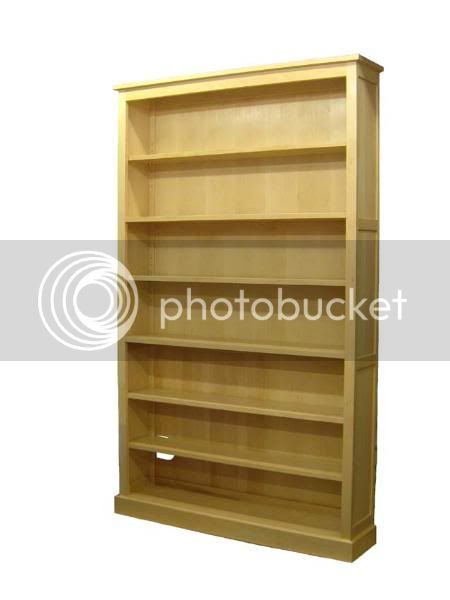
It’s finished with two coats of Danish oil and two applications of beeswax.
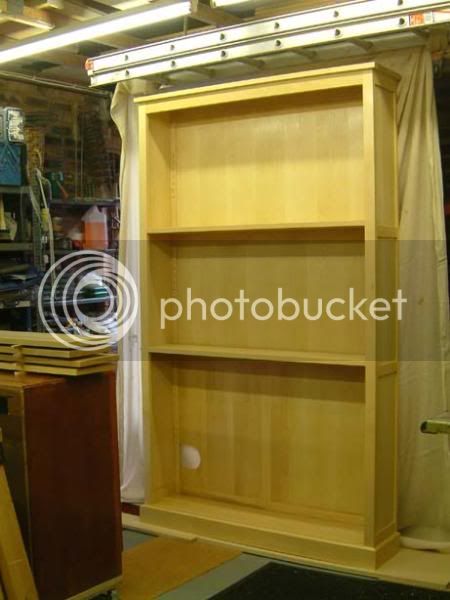
With all of it’s shelves.
Quite to everyone’s surprise it was a breeze getting it up my clients stairs and into place.
The client absolutely loves it so I’m happy. It was my first project in beech and I was really surprised at how much easier I found it to work with than oak. I was pleased with being able to hone my skills on the hand planning. It really was worth the effort as the finish is superior and I hate sanding!
Cheers, Ted
I was asked by someone I knew to build a bookcase to fit a particular space on his landing. I’ve only done one commission before but the price was right so I went ahead and prepared a drawing on SketchUp. He wanted the piece to be plain and functional and done in beech. The biggest worry was the size of it, but we worked out that it could be negotiated through his hall and up his stairway to it’s resting place.
He liked the drawing, we double-checked our measurements and I went off to the wood yard with my (not so happy) dear wife! I got the boards from Goodwillies in Waterlooville for £87. This was priced at £743 per cubic metre including VAT for boards 27mm thick and up to about 250mm wide. I also got a sheet of 8x4 6mm MDF veneered both sides from Bamptons in Southampton for £34. Bamptons were good enough to put 4 cuts in the board for that price which saved me manhandling the thing around! I’d be interested to know how these prices compare with those of others; are they reasonable?
After cutting the boards to just over length and planning/thicknessing them to about 3 or 4mm over thickness I left then to acclimatise to the humidity in my shop for a couple of weeks.
After bringing the boards down to final dimensions I finished each face with my jack plane to take off the ripples left by the planer. I was determined not to use any sandpaper at all!
The first job was to drill the shelf support holes in the uprights on the drill press.
I then cut the groves for the panels on the table saw. Each piece was put through twice, with the wood flipped around for the second cut hence ensuring the groove was central. I was aware I was doing this for a price and hence was looking to save time where possible. I have recently acquired a Record Multiplane from eBay and would have loved to try it out but it would have taken far too long.
Tenon shoulder cuts were done on the table saw. This is an easy and accurate way of doing them that requires very little marking out. I don’t like working with the blade exposed so take great care especially when the job is a little bit repetitious as this is.
Tenon cheeks are cut on the band saw. I aim to cut them a fraction oversize and trim them to fit with the shoulder plane.
Mortices are cut with the dedicated morticer.
The only exceptions are the mortices for the front rails that support the fixed shelves. There are only 4 and it would have taken longer to set the morticer up than cut them.
The front rails that support the fixed shelves need a large rebate cut into the back of them. These were cut on the router table.
A similar rebate was cut in the front bottom edge of the fixed shelves. This can be seen at the bottom of the wood in the vice. A notch was cut in the back corner of each of these shelves to clear the frame.
The panels were cut next from the MDF. I use masking tape to eliminate tear-out when crosscutting sheets. The sheet is flipped when crosscutting so the tape is facing down.
The side panels were then glued up.
I only had enough 6mm MDF for two and a half back panels so had to glue up boards to make up for the missing half rather than purchase a whole new sheet. Another complication was that the client wanted a hole in the back panel to access an electrical wall socket the bookcase was going to cover up. It’s these little complications that take up a disproportionate amount of time. Here’s the “mouse” hole being cut in part of the made up panel!
Here’s the complete panel in the final gluing stage. As can be seen, it’s made up of the scraps, some not even the full length! It was glued up in sections.
As I haven’t made a cross-cut sled for my table saw yet, to cut it square to the long grain I used double sided tape to attach a large square which was referenced against long grain.
I then rebated three edges to enable it into fit the frame grooves. This was done on the router table.
The forth edge also needed a rebate to accept the MDF to which it is glued. I really should have bought myself another sheet of MDF and saved myself the bother – this all took ages!
The major glue up. I did this in two stages. With one side panel on the floor, the back rails were glued in place, the panels put in and the other side panel put in place but not glued. The fixed shelves were put in place to hold the assembly square.
After removing the clamps, the un-glued side was taken off and then glued back in place. The double garage was beginning to get a bit tight for space now and this really was quite tricky. Without the help of my dear wife I couldn’t have done it!
It was now clean up time. I confess to using the random orbit sander here. How do you clean up a mortice and tenon only using a plane? Notice the cleats in place to hold the bottom shelf.
Here’s a detail shot showing how the fixed shelves are supported by the framework and the rabbit in the front rail.
My dear wife now asks why I didn’t build it in two units. It is big and I’m worrying whether it’s going to get up the stairs! It’s hard enough moving it around the garage! The fixed shelves were glued firmly to the front rails with only a spot on the side frame rails. This should eliminate any movement problems.
The skirting and architrave have 15 degree bevels on their top and bottom edges respectively, which were cut on the table saw and then hand planed smooth. The mitres are cut on the table saw being careful to cut both sides of adjoining corners on different sides of the table saw blade. This should compensate for any deviation from 45 degrees the blade might be set at. All of the pieces are glued to the frame work. The top, which is made from the 6mm MDF was pinned on before fitting the architrave.
Detail shot of how the moveable shelves are held in place.
It’s finished with two coats of Danish oil and two applications of beeswax.
With all of it’s shelves.
Quite to everyone’s surprise it was a breeze getting it up my clients stairs and into place.
The client absolutely loves it so I’m happy. It was my first project in beech and I was really surprised at how much easier I found it to work with than oak. I was pleased with being able to hone my skills on the hand planning. It really was worth the effort as the finish is superior and I hate sanding!
Cheers, Ted
")