best way to join picture frame mitres

UKworkshop.co.uk

Help Support UKworkshop.co.uk:

This site may earn a commission from merchant affiliate links, including eBay, Amazon, and others.

markturner

Established Member
UKW Supporter
Joined
11 Mar 2011
Messages
612
Reaction score
1
Location
London UK
Hi, in between my stuff, i have been collared into making some picture frames for SWMBO........

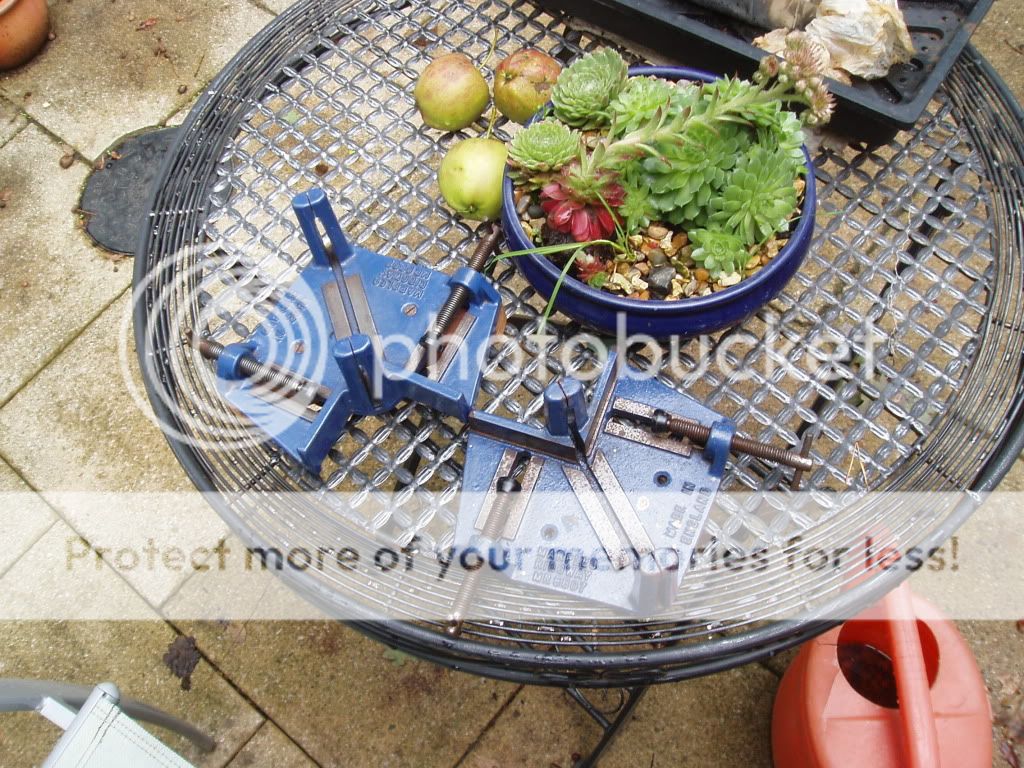
Frame components in solid walnut are made and ready to be mitred together, however, glue surface area is very small, as they are very narrow profile, each side being 10mm & 5mm thick respectively.

I am concerned that glue only will not cut it and want to strengthen the corners. Any ideas? I am thinking some very fine staples, but it will be tricky to find anywhere where they wont show....

Thanks!
 
yes, but I have made them now....! I must see them through....! The problem is that I cant use the techniques shown in that link......because of the profile. Bit tricky to describe, I will post a picture tomorrow, so you can see my problem. Thanks, mark
 
I worked in picture framing a long time ago and the methods of joining were glue and pins through the sides, or glue and V shaped "nails" which were pressed into the back. The holes left by the pins were filled with filler.
 
I used my biscuit joiner, on the back of a frame (made of small architrave moulding) to make a slot across the mitre joint, at right angles to it. I made the biscuits though, out of hardwood scraps, as the grain has to run along the biscuit's length, not across it, and obviously only needed half a biscuit. The frame is really strong after strap-clamping and glueing-up.

If I'd tried to biscuit the mitre faces the jointer would have broken through at the front.

To be honest, any glued key / kerf cut would do it. Mine were invisible from the front, but you might kerf-cut the corners and make it a decorative feature, as in decorative boxes.
 
How about a bit of fibreglass matting and resin across the back. Thin and strong.
Mark
 
Like JohnPW said, the trad way is to clamp one piece in a metalwork vice (above the bench and accessible), glue one mitred end, hold the other end up to it with a pin already started, allowing for it to slide down the slope a bit, then hammer in the pin.
I did a similar technique on a tea tray but clamped the mitre (no sliding) drilled through the corner and glued in two bits of cocktail stick. A bit like oak pegs in timber framing but miniaturised.
 
Two pins, (nails or wood) at right angles will hold and reinforce the joint. a heavy mitre cutting clamp would hold every thing pretty well in place for nailing or drilling, if you don't fully trust the glue.

e.g.

P1010033-1.jpg


BugBear
 
I fit a spline after the frame is glued up.
Glue the frame up as normal, then, when it is dry, run the corner over a thin-kerf tablesaw blade. I mount it on my tenon jig, but any jig that allows you to hold the workpiece upright would do.
At this point the frame is very fragile, as I have removed quite a bit of the glued joint, but I can then glue in a thin strip of wood across the joint. It's very strong. The advantage of this over a short, wide spline is that I don't have to clean up the rebate. The downside is that it is bigger and more visible, which may or may not be a good thing depending on how pretty you make it.
S
 
Back
Top