New shop table - first one finished!!

UKworkshop.co.uk

Help Support UKworkshop.co.uk:

This site may earn a commission from merchant affiliate links, including eBay, Amazon, and others.

gidon

Established Member
Joined
19 Mar 2003
Messages
2,546
Reaction score
0
Location
West Dartmoor, Devon, UK
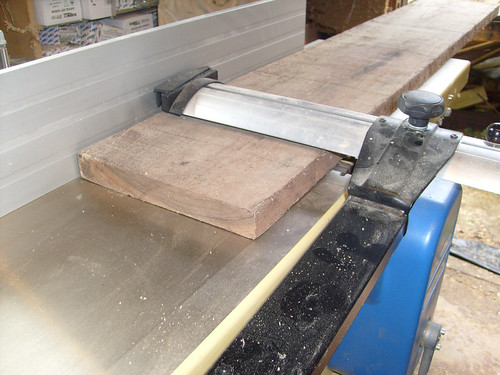
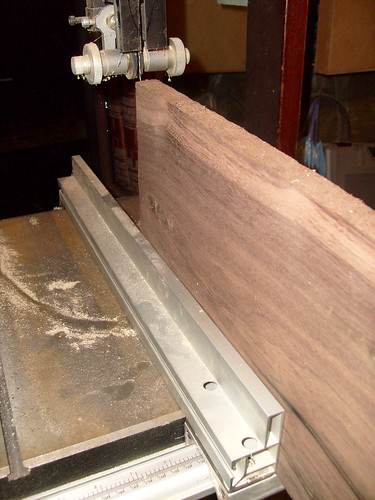
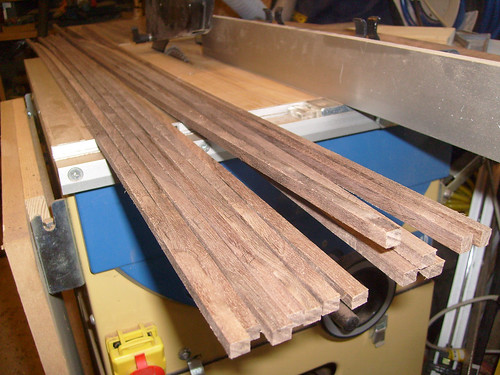
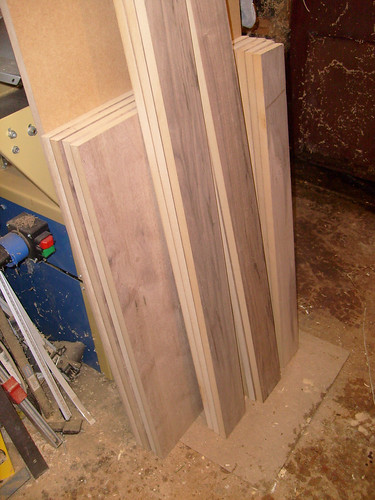
Finally made a start on the tables. See earlier threads on:

Design
Construction tips

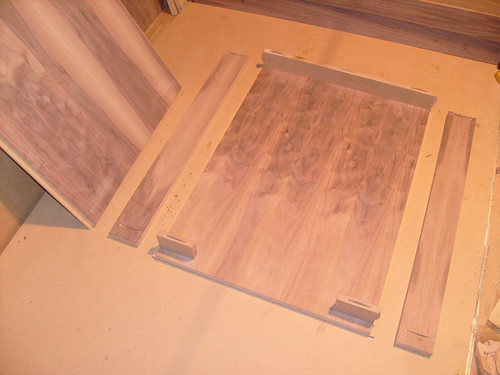
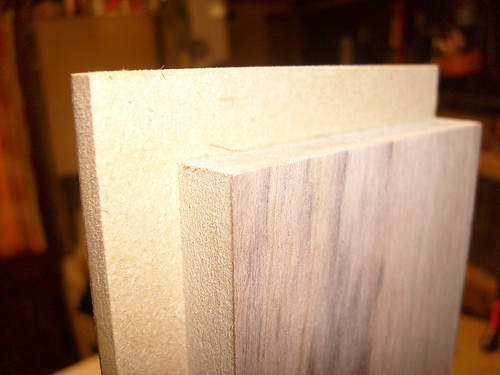
Final design for table (think rest of the pics are self explanatory!


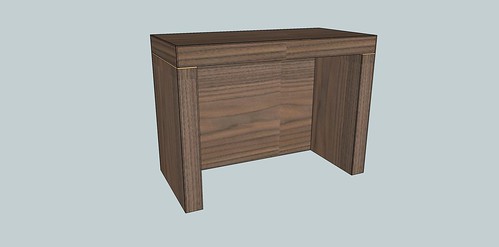
Still not sure how to attach legs to top (don't want permanent fixture). Jason had a nice idea of screwing in through hole in leg bottom but don't think my arm will fit through gap! So was thinking pocket screws on the inside of leg - and maybe some dry biscuits for alignment of the top on the legs? Whayddya' reckon - any better (but quick) suggestions. Am a bit worried that screws on the inside of the legs would mean the legs could hinge on those screws if kicked from the outside. But table top is very heavy and back would also prevent this (which I'm also intending to pocket screw in)?

Cheers

Gidon
 
You could fit pronged T nuts into the underside of the tops of the legs. Fit a bottom to each side of the top corresponding to the width of the legs and the you can bolt through the top into the T nuts, or it might be easier to use studs and nuts.
 
Sorry don't understand how you bolt through the table top into the tee nuts in the legs? "Fit a bottom to each side of the top ..."??.
Would you not use pocket screws?
Also fitting the lipping - how do you normally do it - do you run the vertical filler strips flush with the top and butt the edge strips to these. Or do you make them flush the the bottom of the rebate and then mitre the edge strips?
Thanks Si.
Cheers
Gidon
 
gidon, it might be an idea to post your drawing without the texture so the construction can be seen.
 
wizer - did try doing an exploded diagram but was taking too long!
Basically I'm trying to fix box legs to a box top!
Cheers
Gidon
 
You could still do more-or-less what Oryx was suggesting, if you shove a holesaw through the bottom of the top so you can get your hand in to get the nut onto the stud.

Small children and wheelchair users might notice the holes underneath, but you could cover them over with cable-tidies or something like that (I am assuming the open side of the base faces the shop, if not, that's irrelevant).
 
Jake's got the right idea, I probably wouldn't have put the bit the middle bit in but Jakes idea will work fine, if a little more fiddley.
 
You could use a yankee with a magnetic bit or a couple of long extensions in the cordless that take 1/6" hex bits, I've got enough to reach about 2ft plus the length of my arm.

I did suggest the option of stopping the bottom of the table top short, see the dotted line on my sketch.

I'd do the 4 short verticals first, stopping 6mm short of the top and then run the long ones with a mitre. You could always do a 3 way mitre :wink:

Jason
 
I did toy with leaving a gap in the base for access but thought I'd go with Jason's idea. It's just having glued up - I can't fit my arm in - doh!
I'm still not convinced pocket holes wouldn't do the job - ordered some brown plastic plugs - oh and the K3 master system ;) (bought it cos seem to be spending my time waiting for glue to dry!).
Screwfix sell those extensions - 300m long - so may just do it with two - might need three - not sure if that'd work though? A lot of torque on 900mm of extension!
p4773774_x.jpg

My Yankee wouldn't reach - the legs are 800mm long - can get my wrist in but not even sure can get drill body in!
It's really heavy the top - prolly just resting on dry biscuits with the back ph'ed in would be fine!
Velcro would also be fine I'm sure!
Cheers
Gidon
 
Those extensions will take a lot of load. You would find it easier if you pre screw the fixings into the table base without the legs in place so they cut the "thread" then wind them out again. If you have a hex holder for a yankee one of those will do .

Jason
 
I would have thought that the easiest way would be to fit some inner stub-legs to the table top, which the outer, (main legs) fit over like a sleeve. It would then be simple to screw or bolt through to join the two together.

Mike
 
Yes Mike that is a good idea. I might give that a try if my other methods don't work out.

Some more progress - sorry lots of pics (Flickr page has some descriptions) ...


Anyone used one of these Lamello Dosicols? It says leave it overnight in the water bath - but what do you do with it if you're not going to use it for weeks or months??


One table is almost built - but have all the filler strips etc to finish off and plane down which is going to be time consuming. Plus I'm too messy with the glue and also have a lot of clean up!

Cheers

Gidon
 
This is going slooooly! How do the pros do it so quickly!

Any suggestions on finish? You know the score - quick, easy and relatively tough??

Again Flickr has the descriptions if needed ...


Cheers

Gidon
 
Looking good Gid.

I'd be spraying it myself. Once prepped that would be very quick and easy to spray and be the hardwearing surface you want. If you don't have spray kit then... Osmo?
 
Thanks Matty. Do have spraying equipment but so long since I used it and even then barely knew what I was doing with it! Still possible speed is tempting ... Osmo - will look into that never used it.
Anyone know the shelf life once open of Titebond III - have run out of the new bottle and a have older bottle I opened Feb 08 - too old?
Cheers
Gidon
 
Back
Top