MarkDennehy
Established Member
Right. So, first off, you can blame Custard for this, I'm reasonably aware of how cack-handed my stuff can be, but he's been trying to get my head to inflate to where my ego won't let me out the door, so here we are, a project thread without the lovely warm fuzzies of the Dunning-Kruger effect to ease the butterflies.
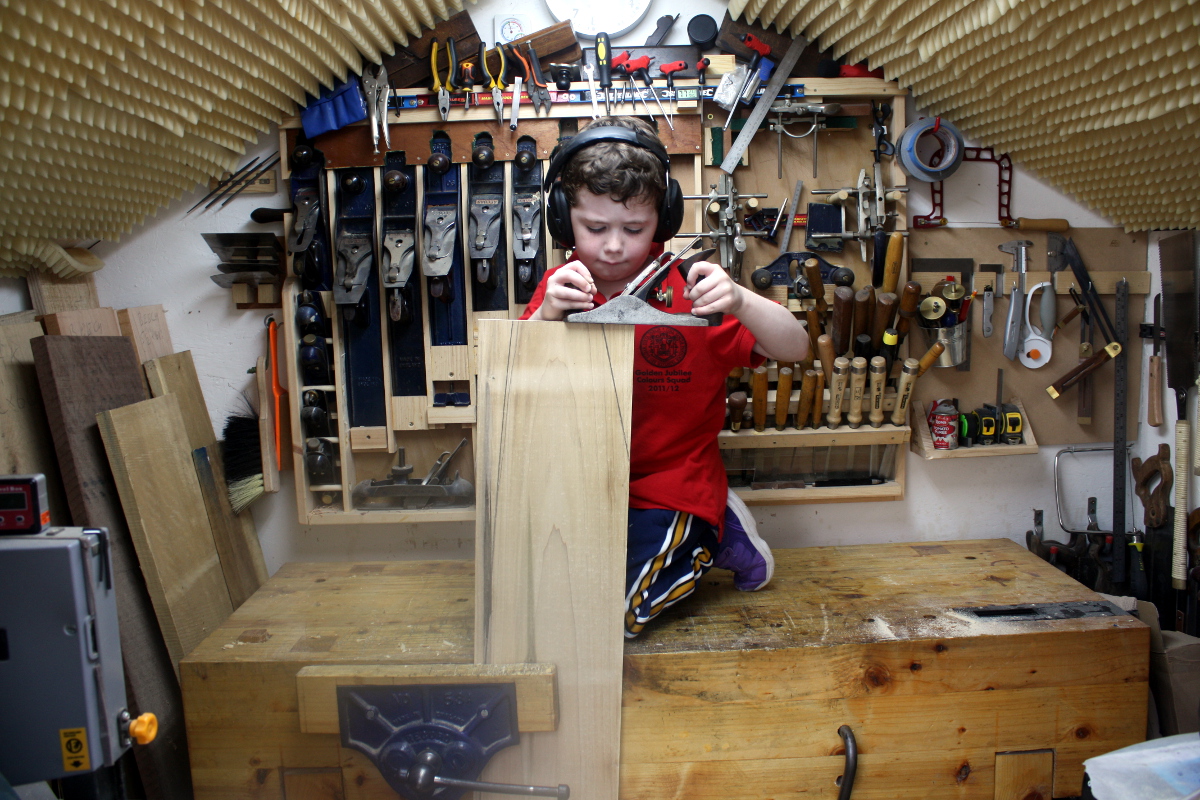
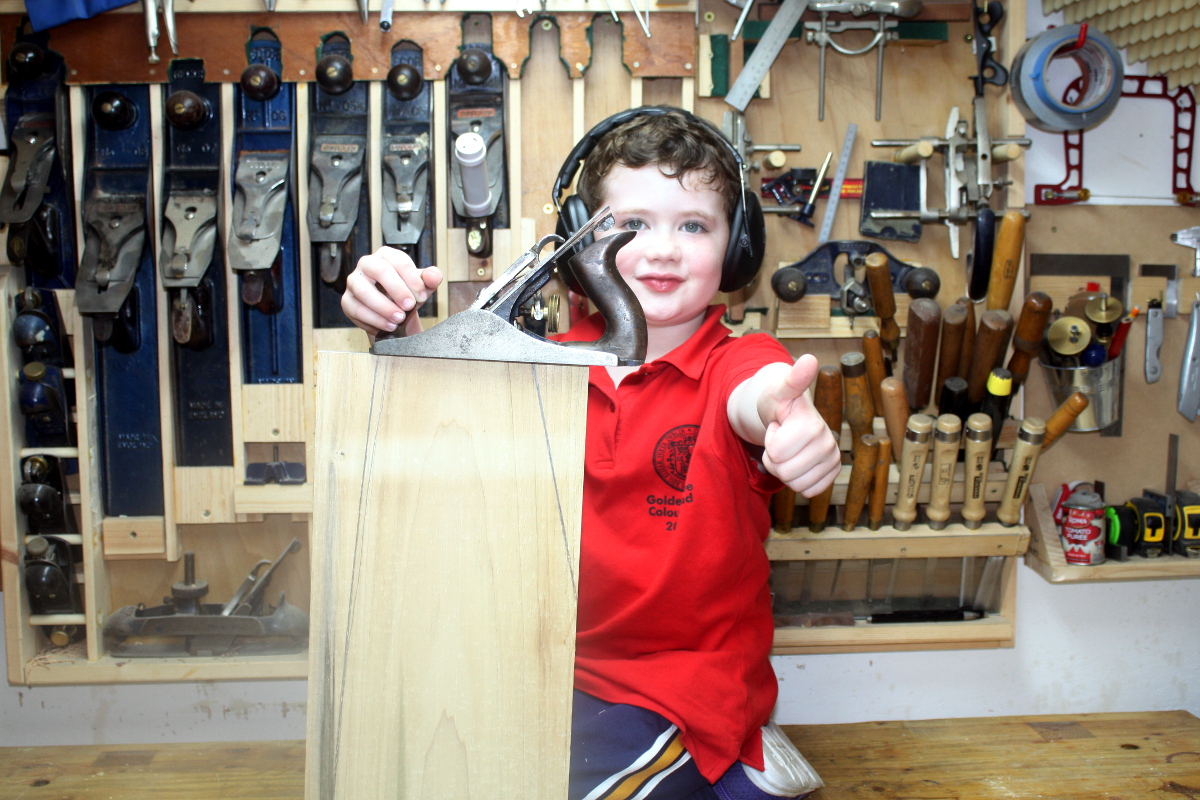
So, first off, meet the client.
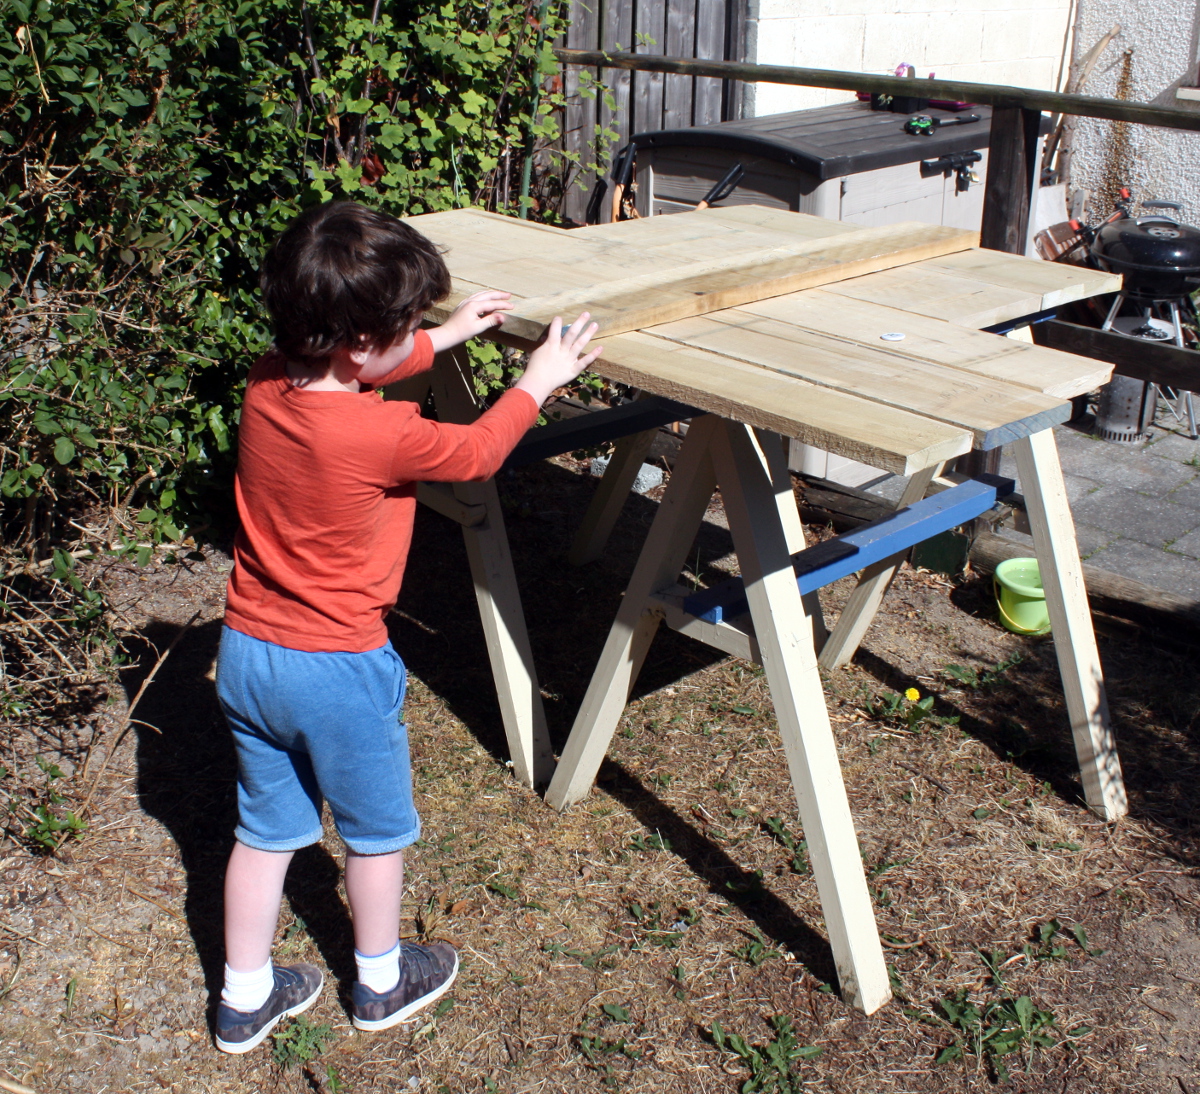
Just turned six, now in Kindergarten and headed into Vorschul in autumn (he's going to a german school because the Irish schools here all have priests in them) and while he's starting to learn to read and has the usual amount of books first kids get bought by well-meaning parents, we haven't gotten him any shelves in his bedroom yet or a desk to do homework on, so, that's the project. A first desk, something that he'll mainly play on with toy cars, with a shelf or two for more toys and his books, kindof as training wheels for when he needs a "real" desk for schoolwork in a few years.
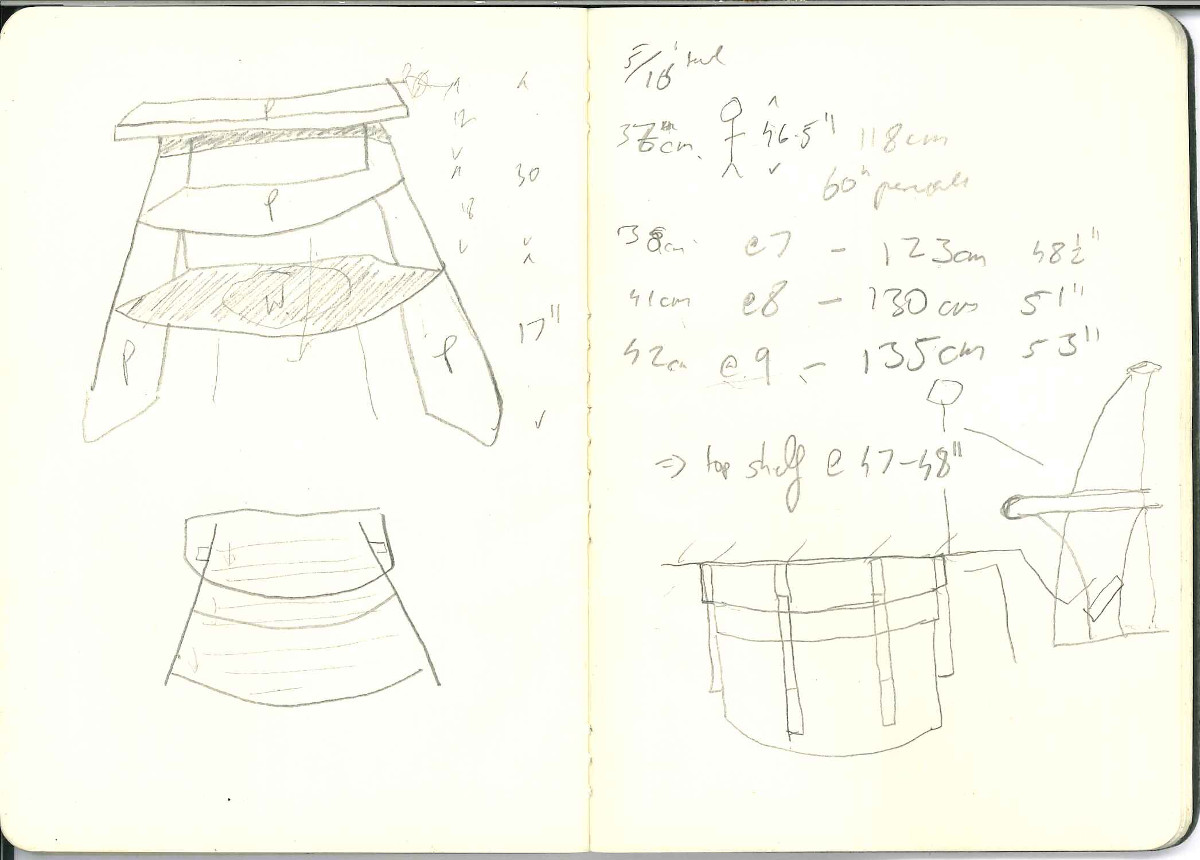
So, I want this thing to be fairly robust.I did some mucking about with the growth charts for boys aged 2-20 (I figure this should last him till he's nine, so that gave me a starting height and a final height for the client to design the piece around), the Woodworker's guide to Furniture Design, took stock of the material I had in the shed and had a think about how I wanted to decorate the finished piece, had a look at Paul Seller's leaning wall shelves which I liked the look of but not the joinery (like I said, this thing is for a six-year-old, it needs to be closer to concrete than fine joinery), and came up with a few design criteria/features/whatever:
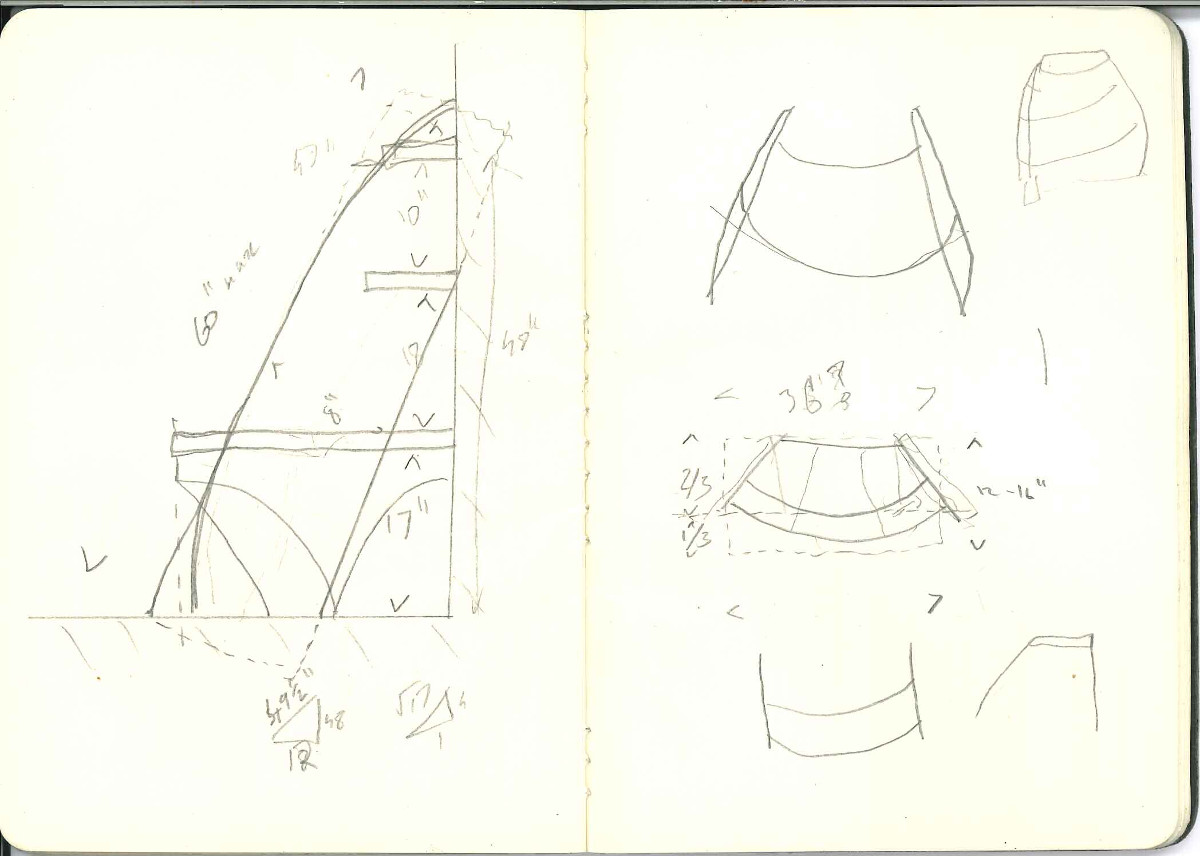
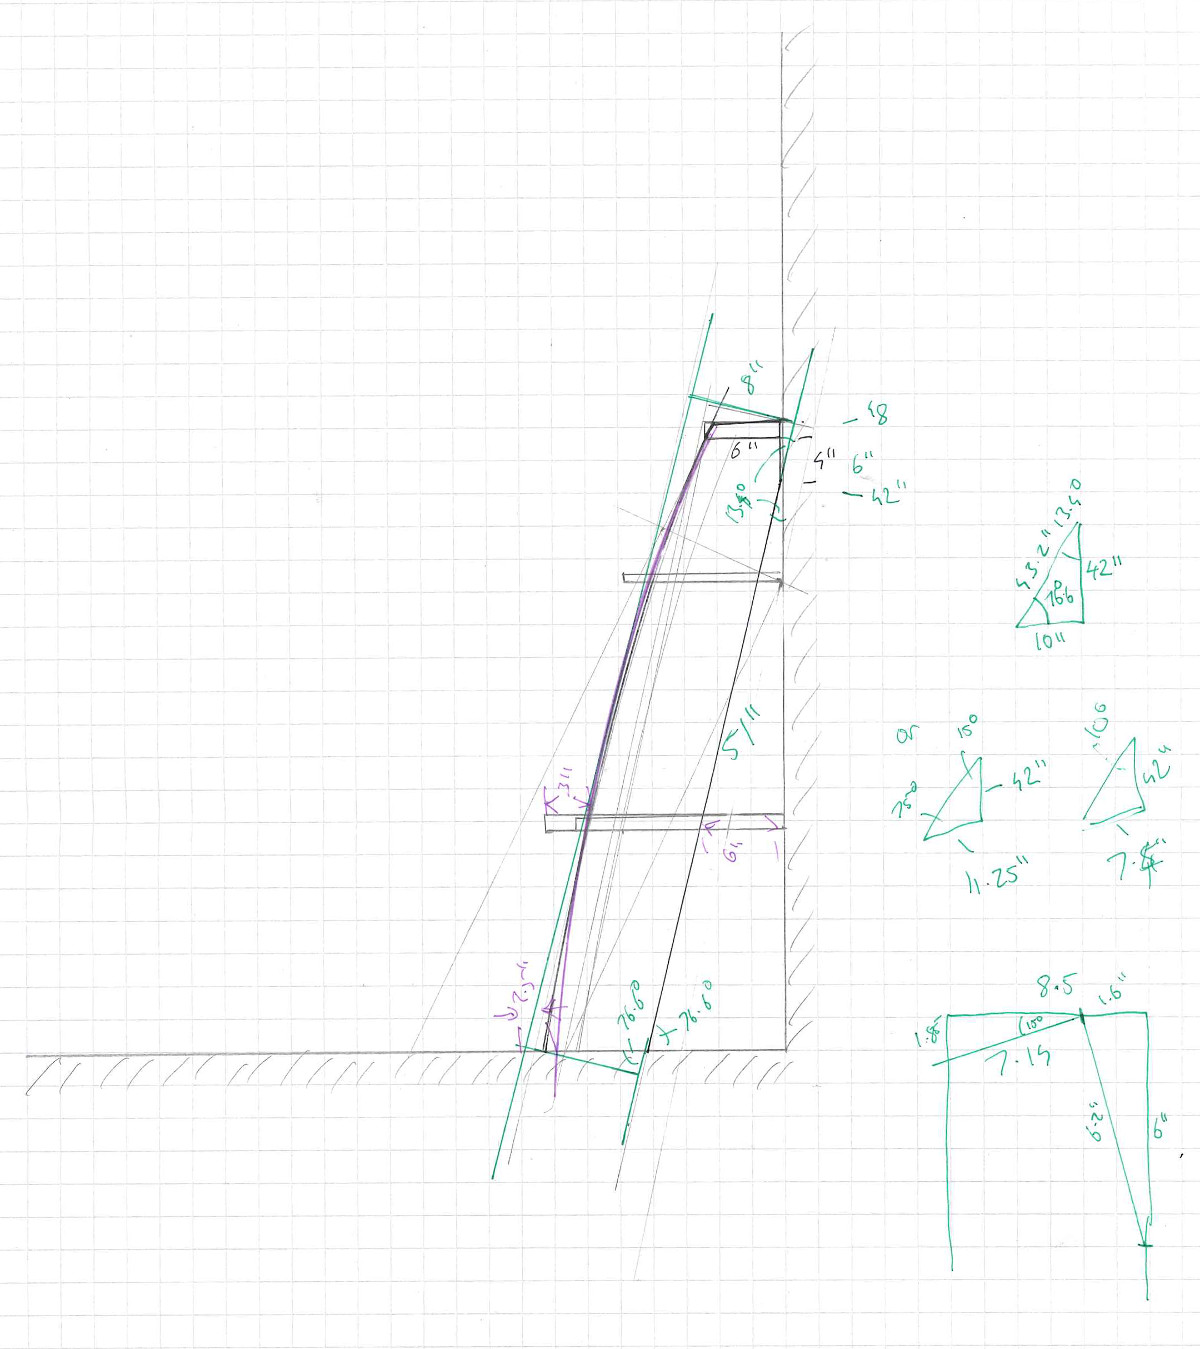
The other thing was that I wanted the sides to angle outwards:
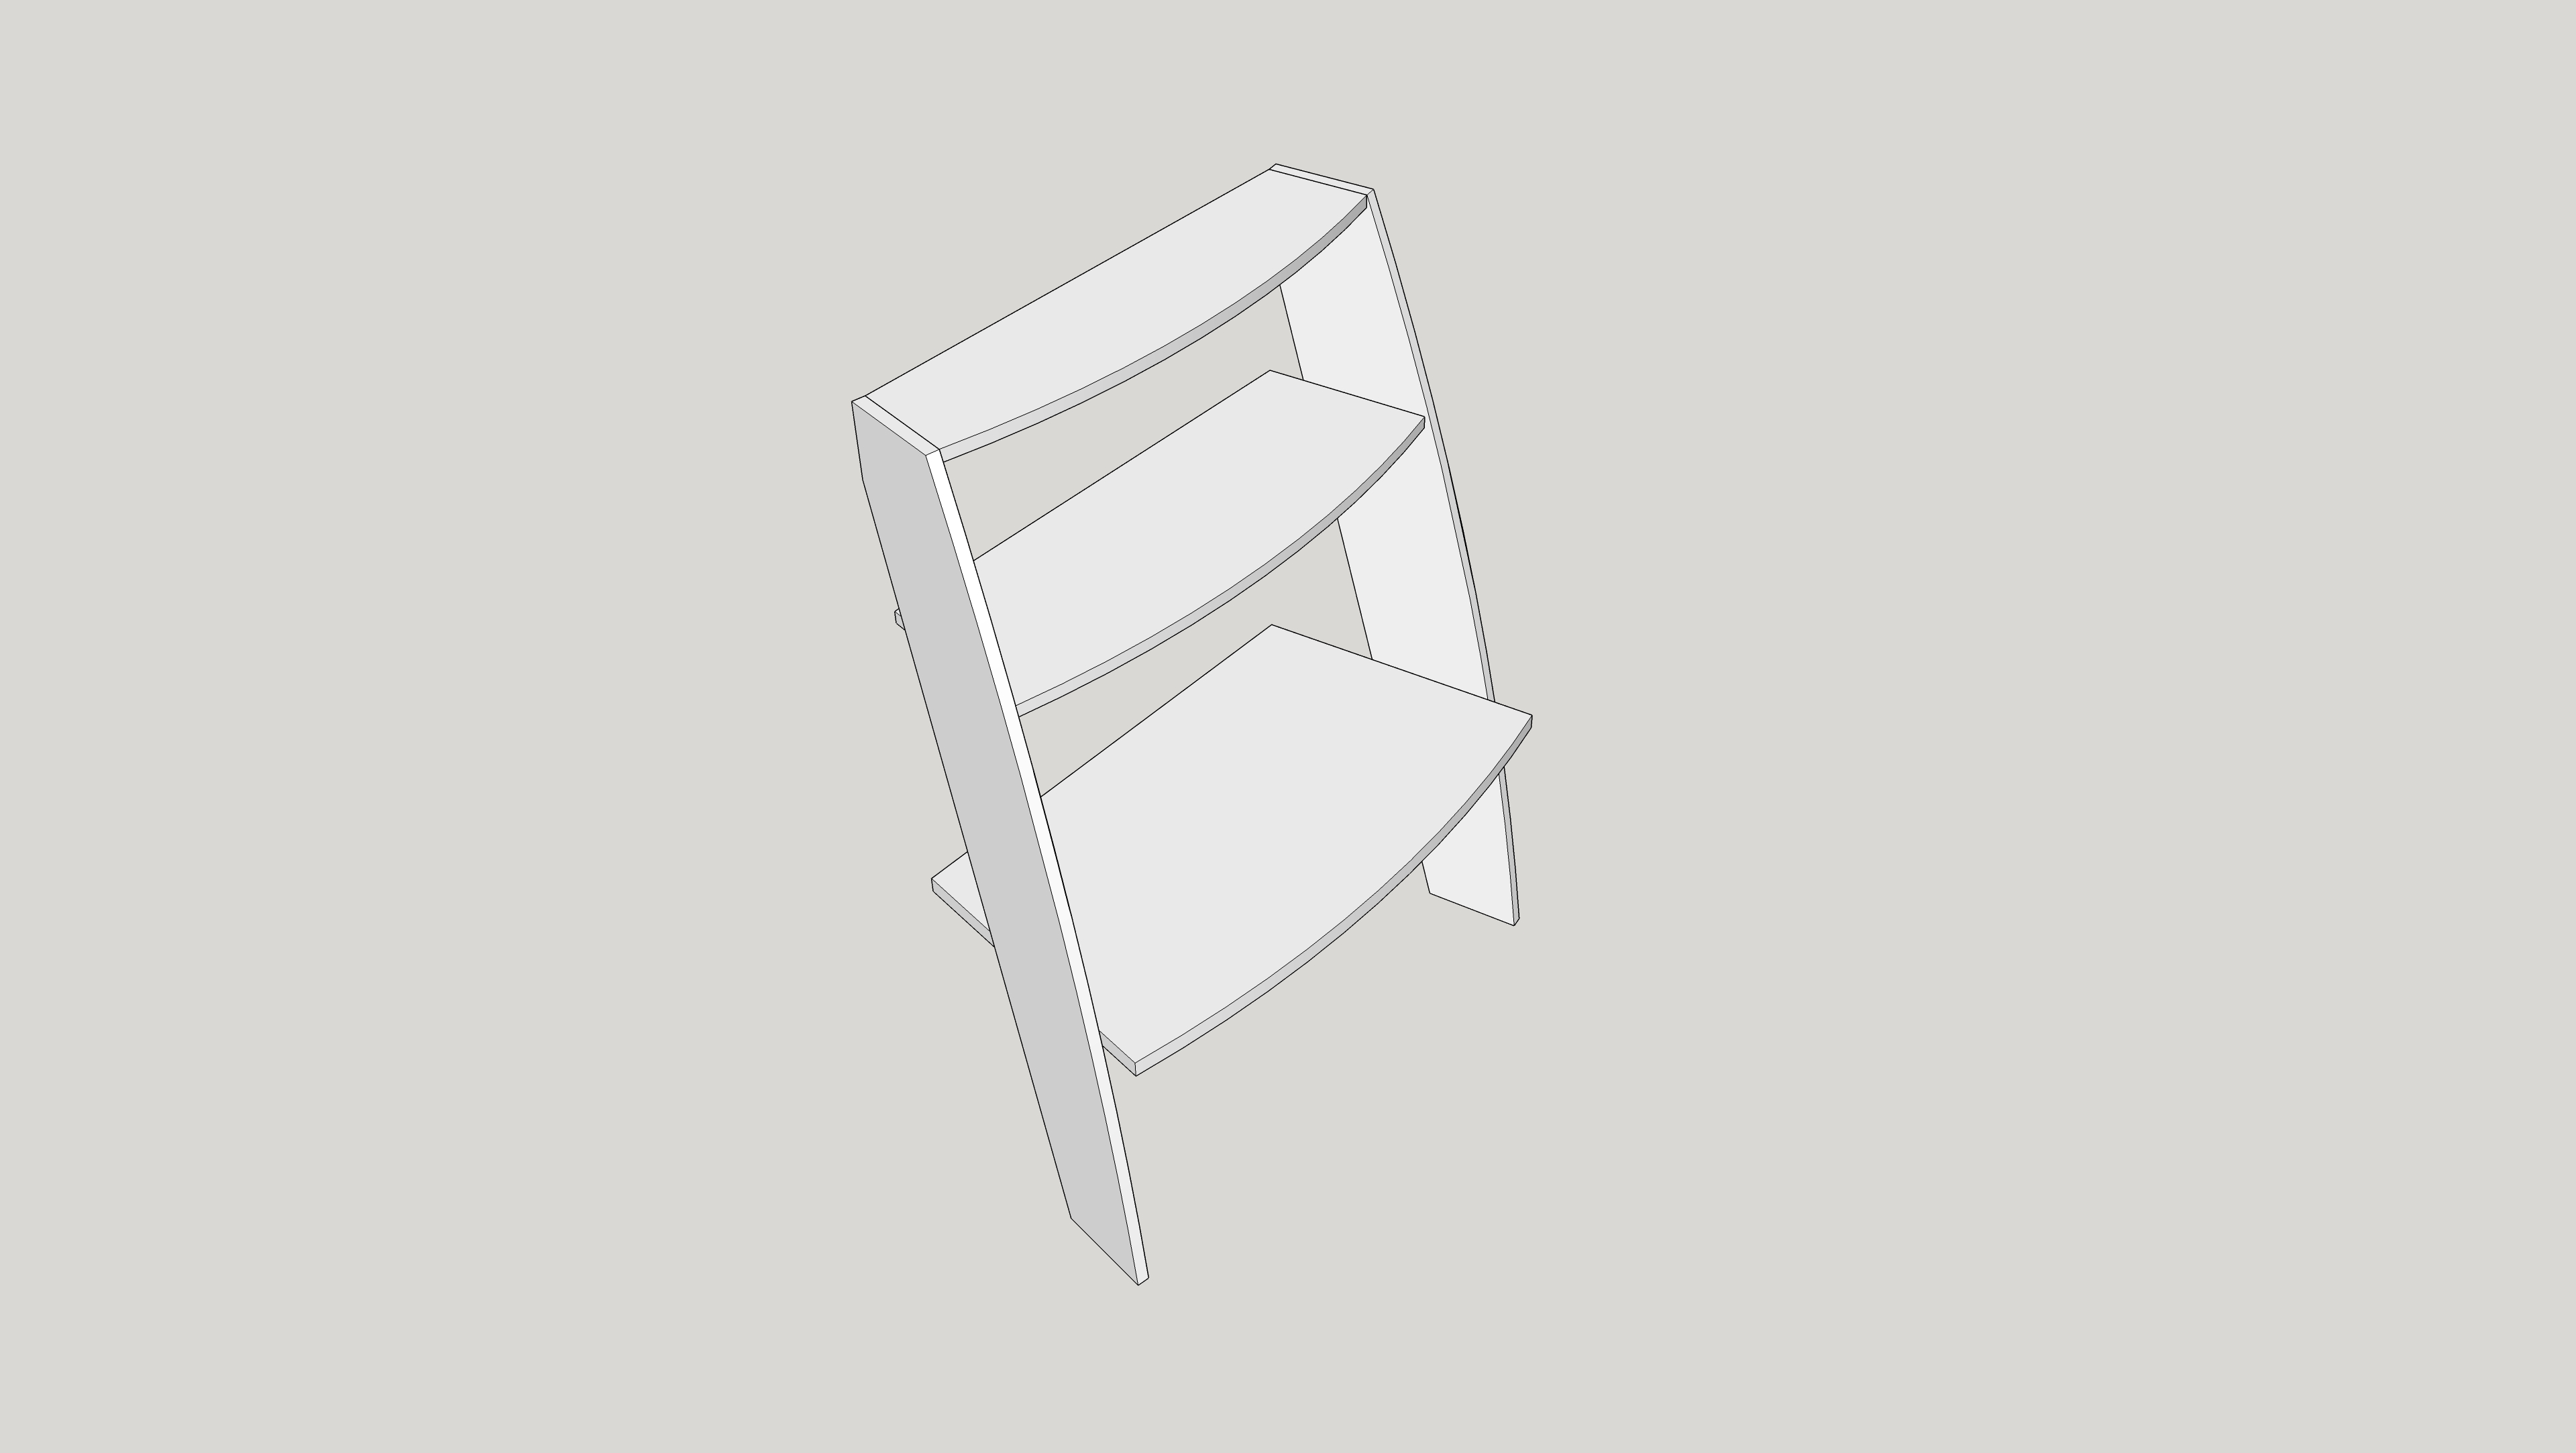
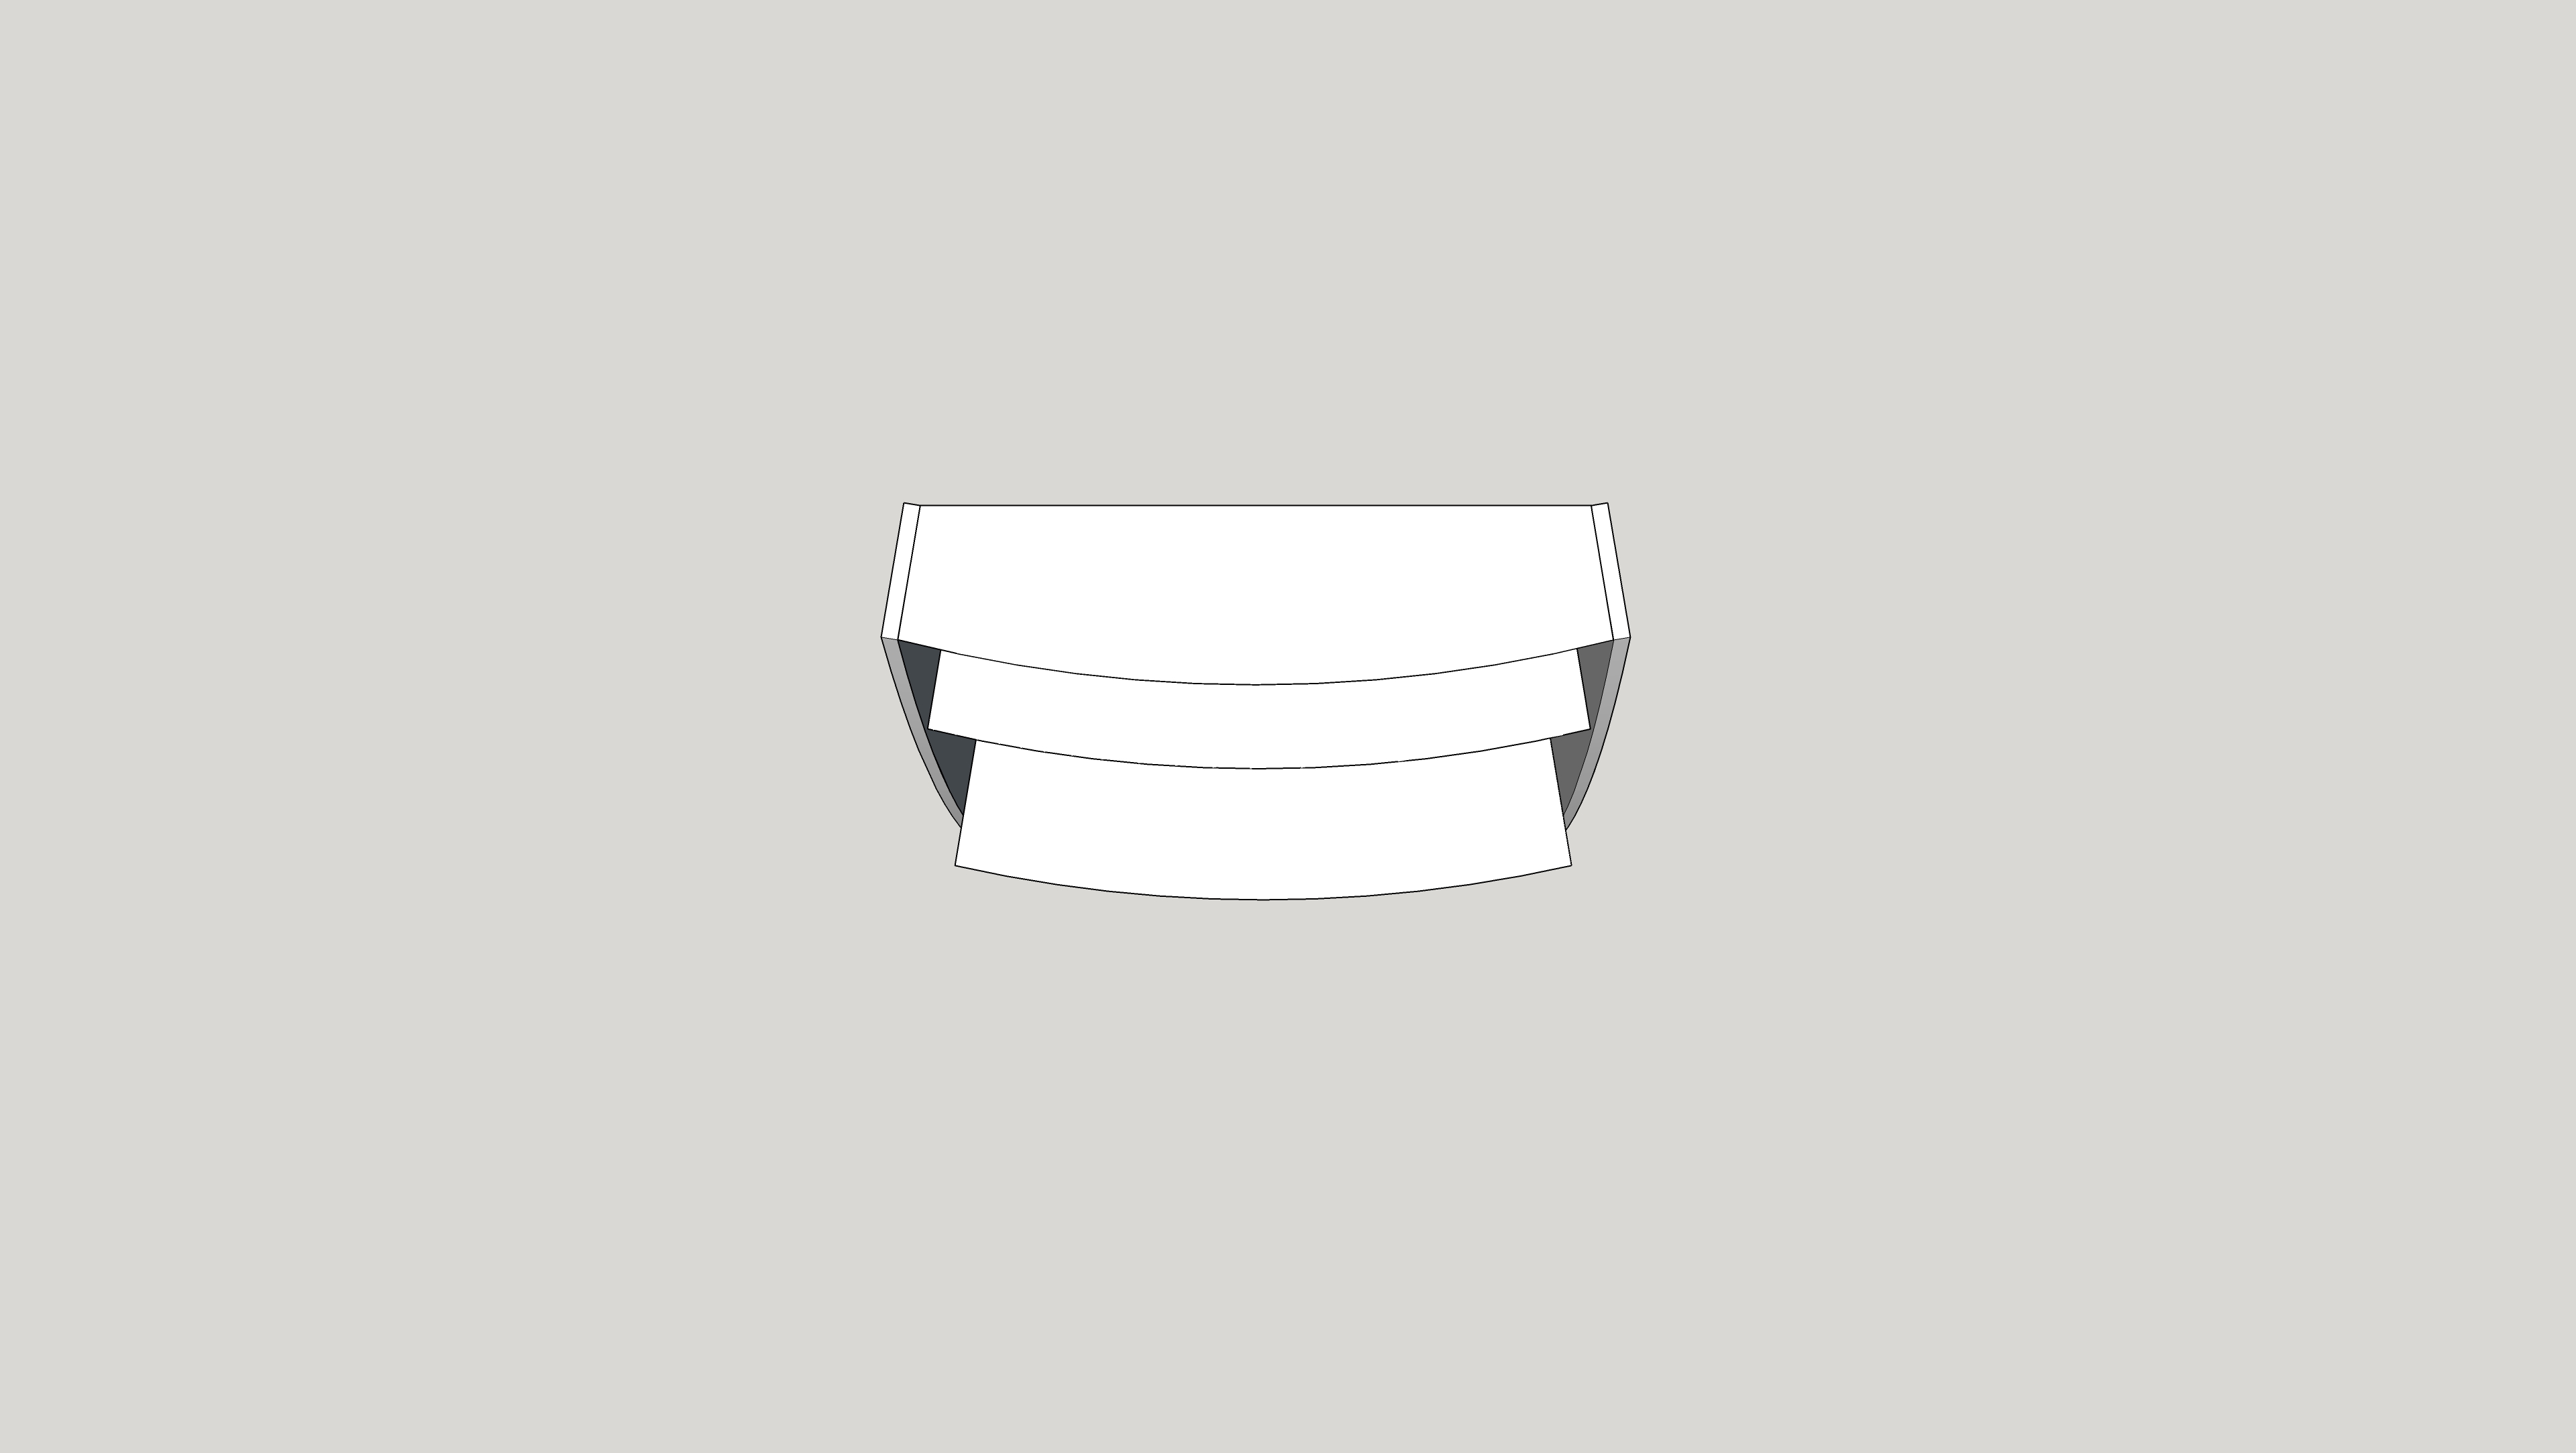
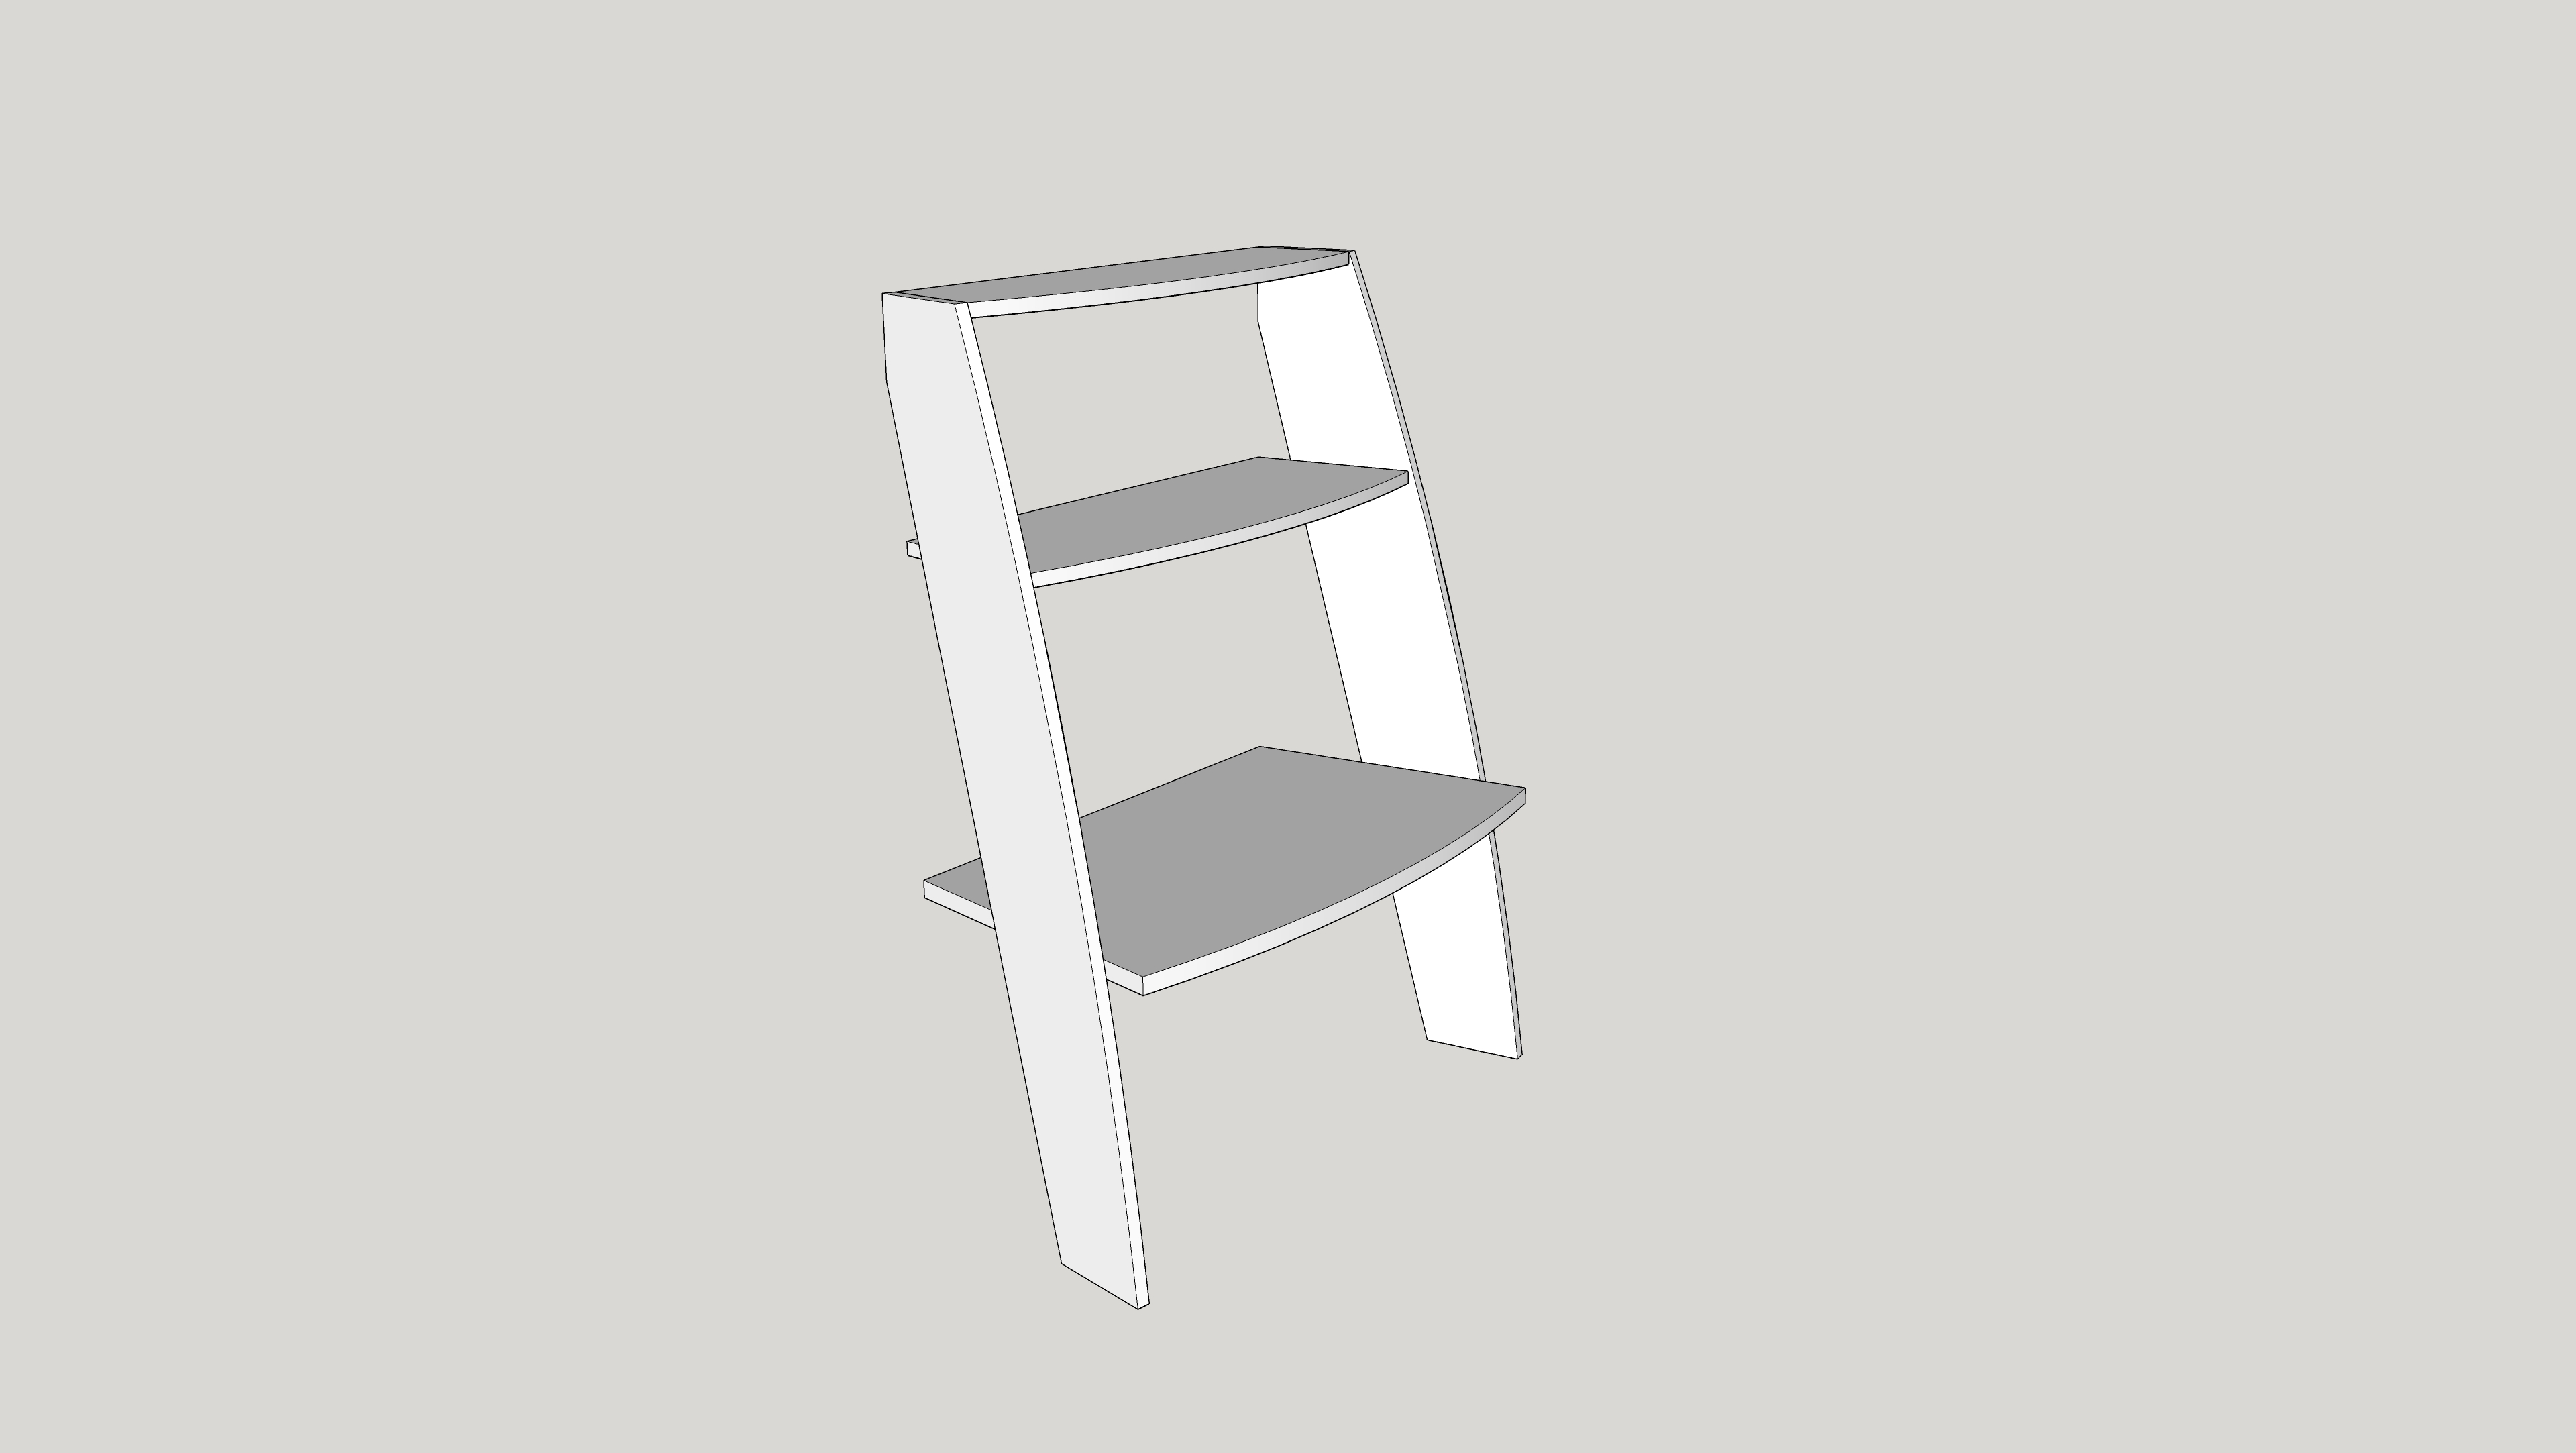
My sketchup skills are rusty - I'm not having a lot of success with curved parts there, so regard those cad things as just a very rough way to try to explain what the joinery problem I was worried about was - namely, if those were housing dados, how the hell would I clamp that during glue-up? So I asked on here, and got a fair amount of good advice, so the desk and intermediate shelves will be attached with sliding dovetails, probably with a locating pin or two for fits and giggles. I know my limits, so there's no way I could cut the sliding dovetail accurately enough (I could make it hold, but I couldn't be sure it'd be tight enough to stop things rocking back and forth in the breeze). So there's a router bit to cut the dovetail on the way and I'll finally dig out the aldi router table and set it up for the shelf part of the joint.
The top shelf, in the meantime, will just be a straight through dovetail, for more rigidity. And I think that at the back of that top shelf I'll put a single board acting as a back plate - it'll extend above the top shelf by a few inches so that it'll be another decorative surface, the back will be in contact with the wall as the main contact surface, and the bottom edge of it will be a french cleat for even more stability. With the thickness of material I have, the shelves will support a nine-year-old climbing up to the top shelf so the thing can't fold sideways and drop, hence the cleat. Yes, it's probably massive overbuilding, but it's in a good cause.
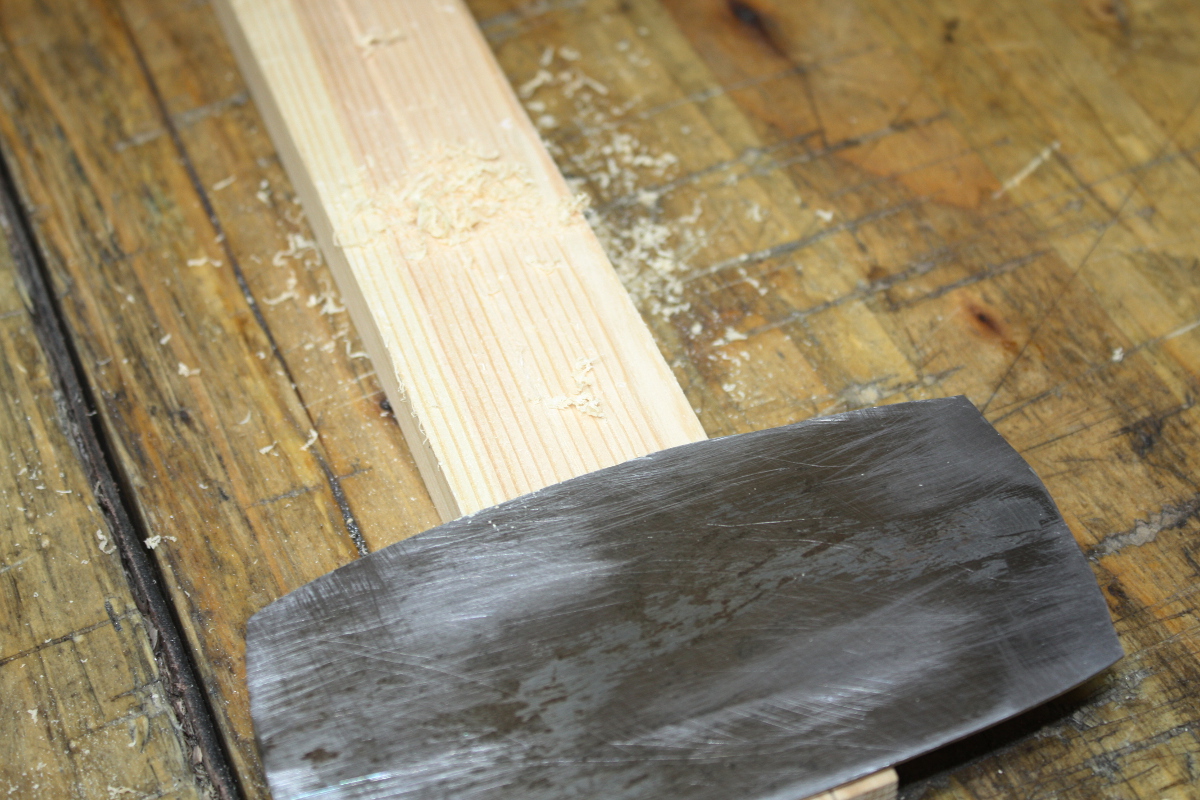
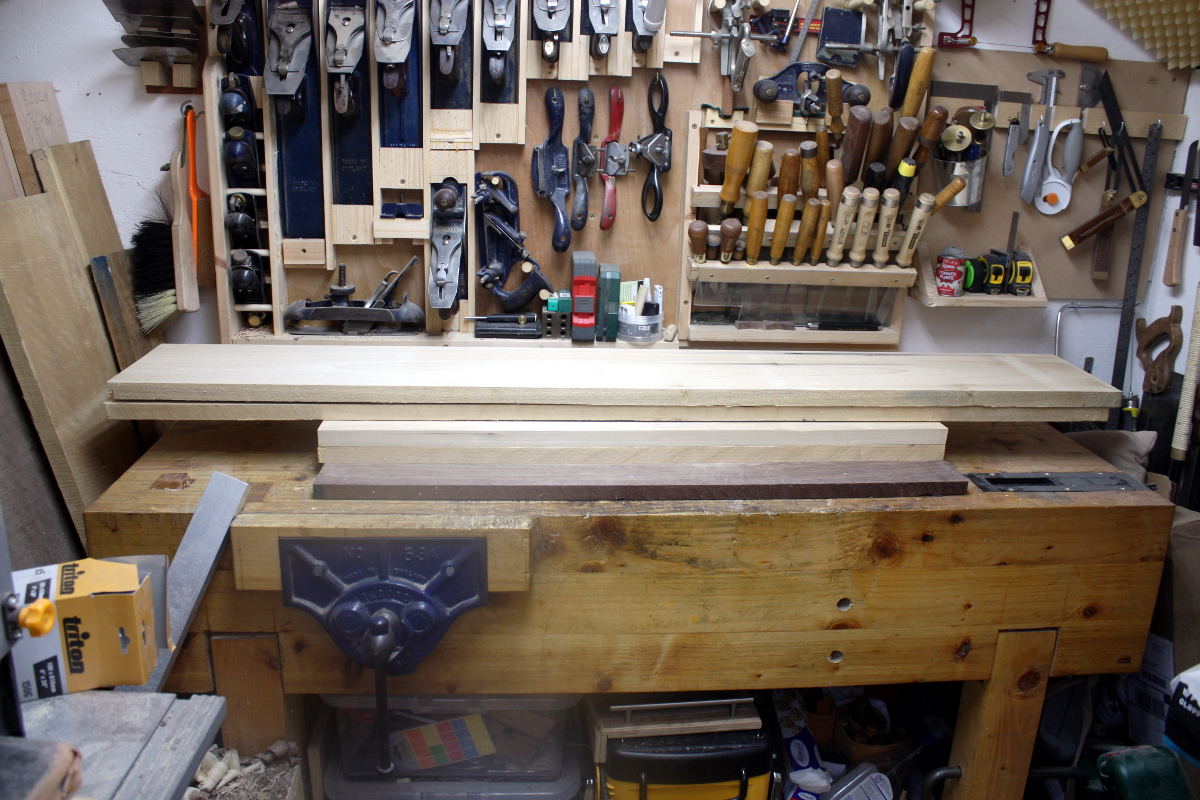
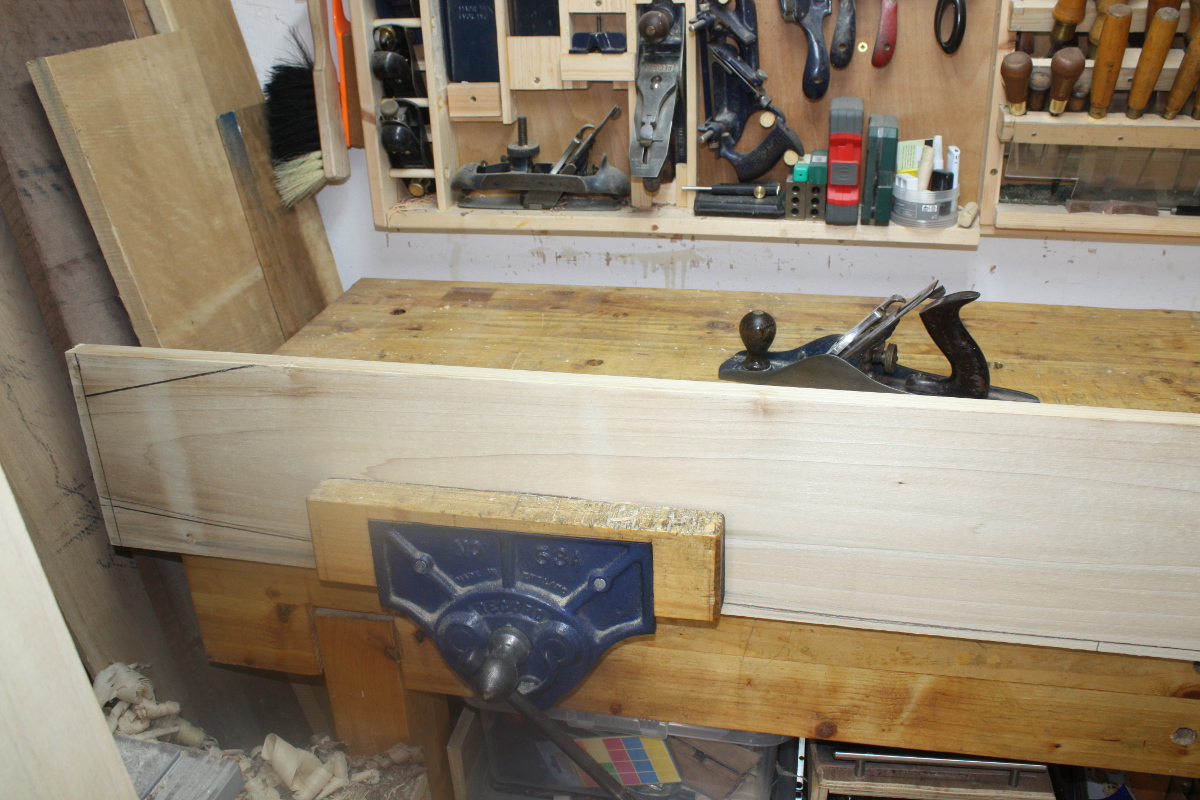
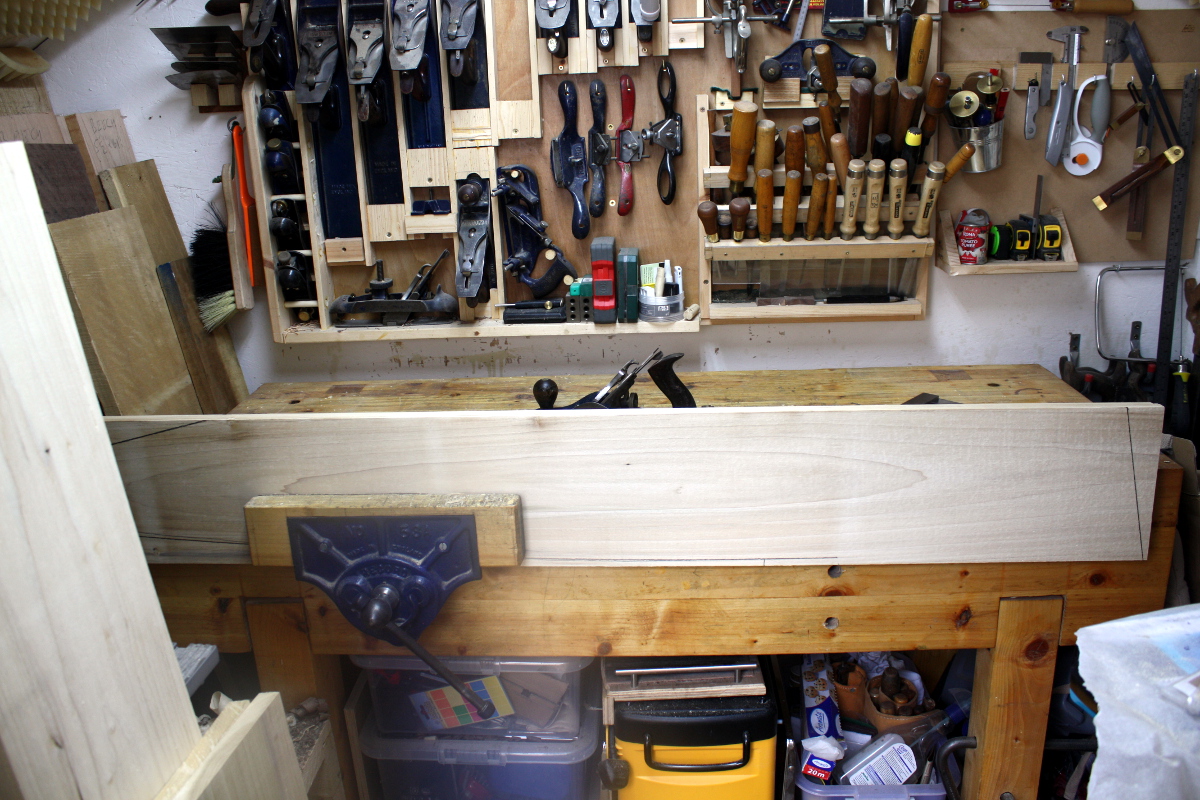
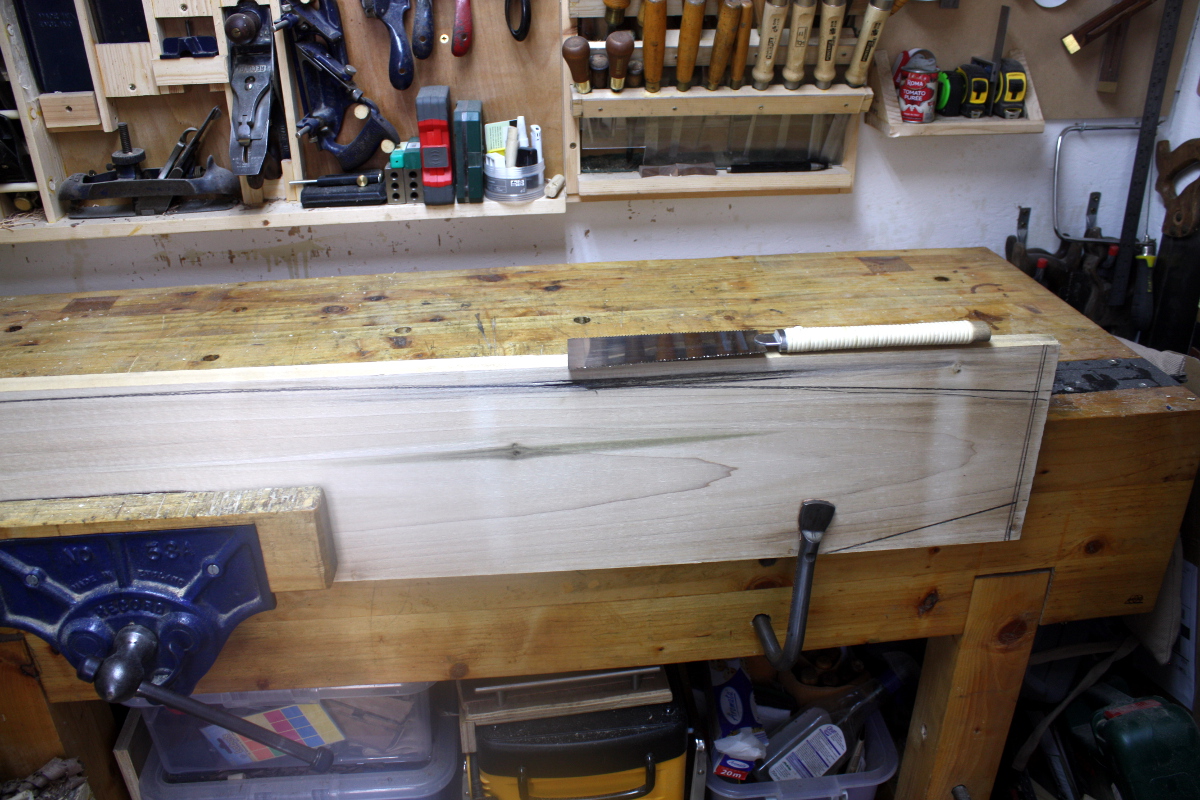
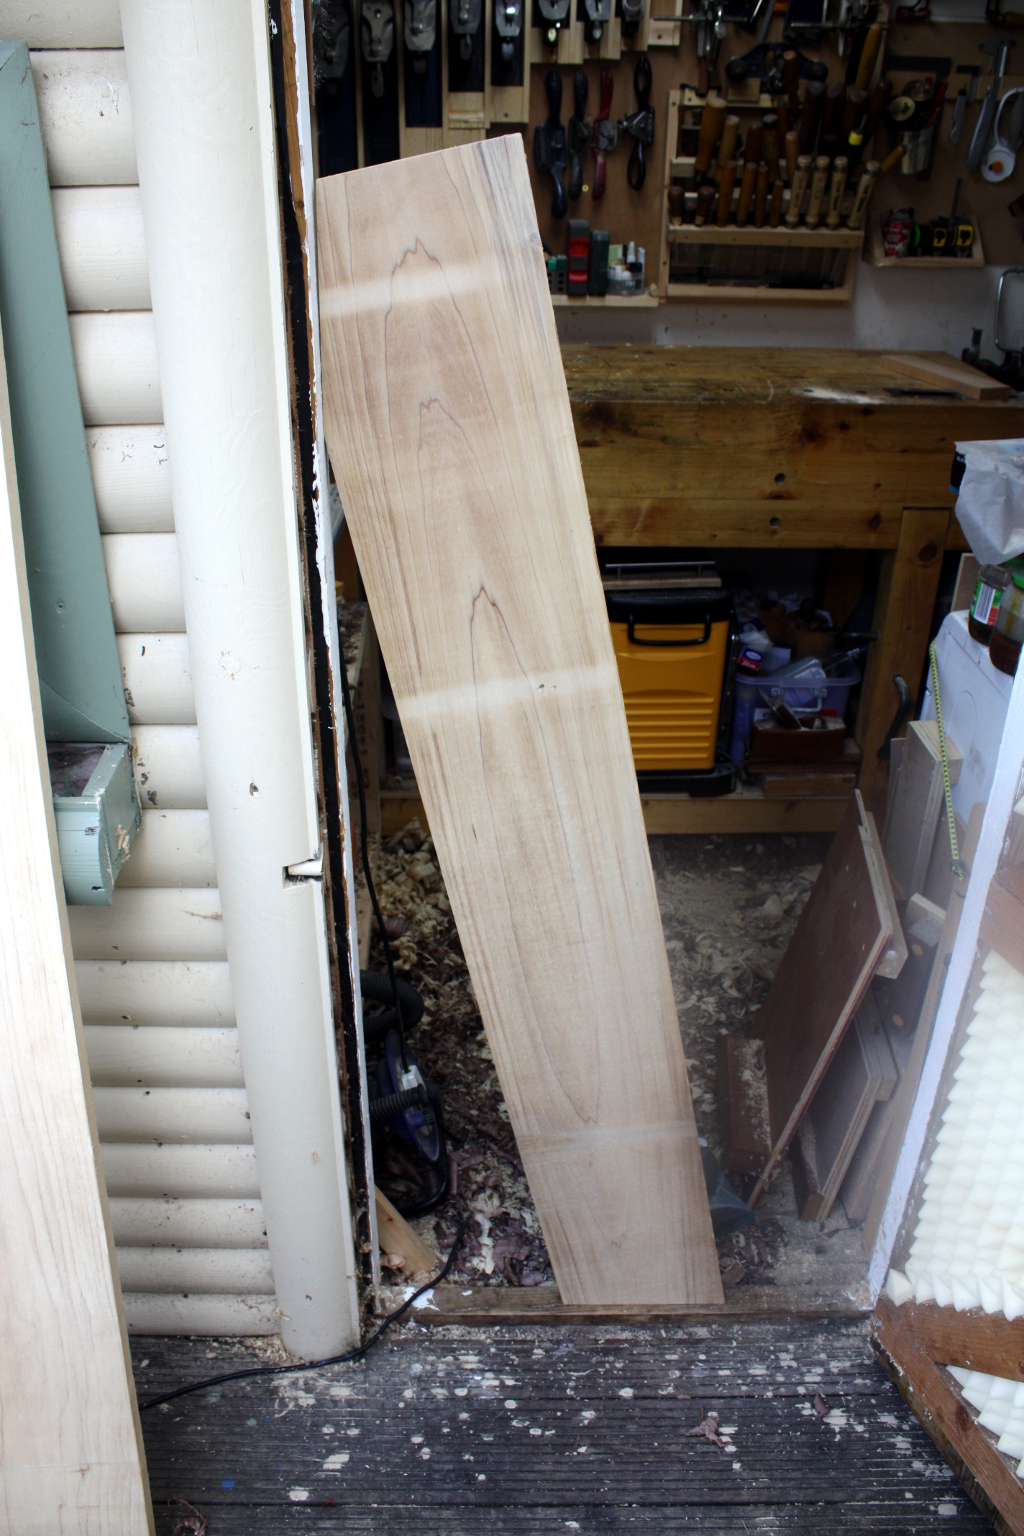
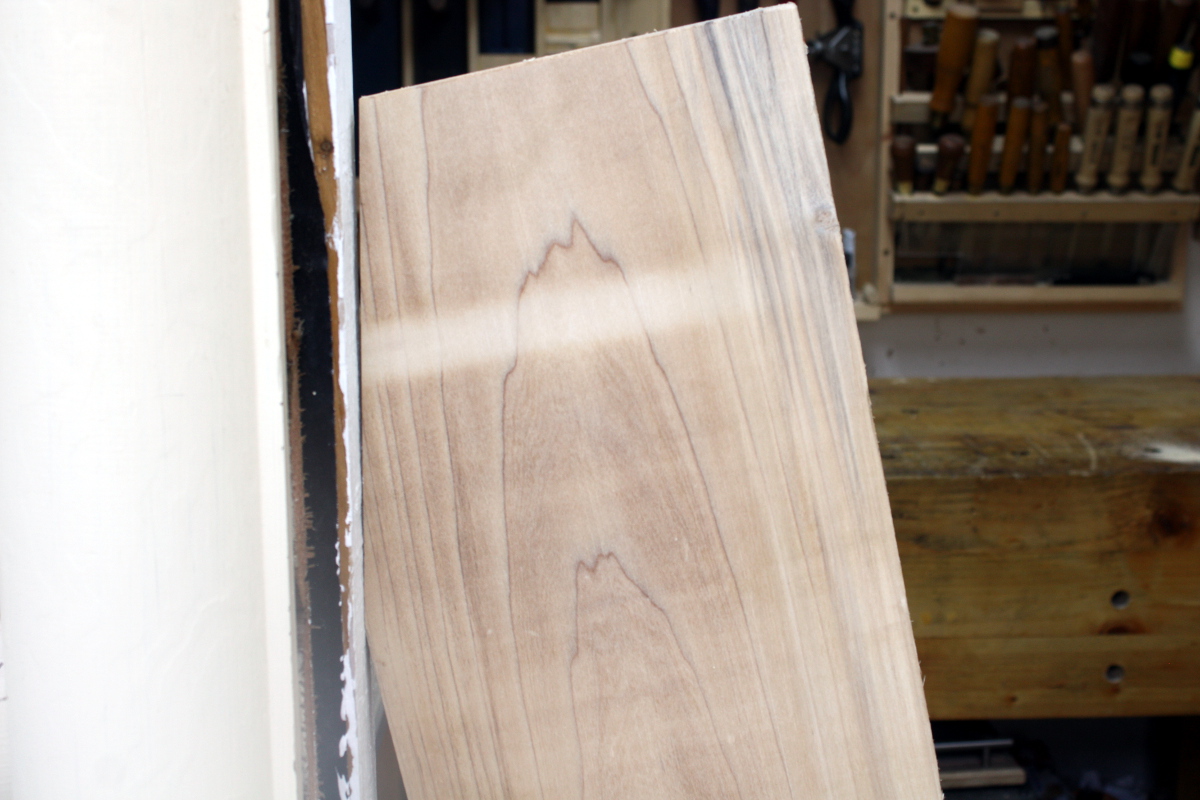
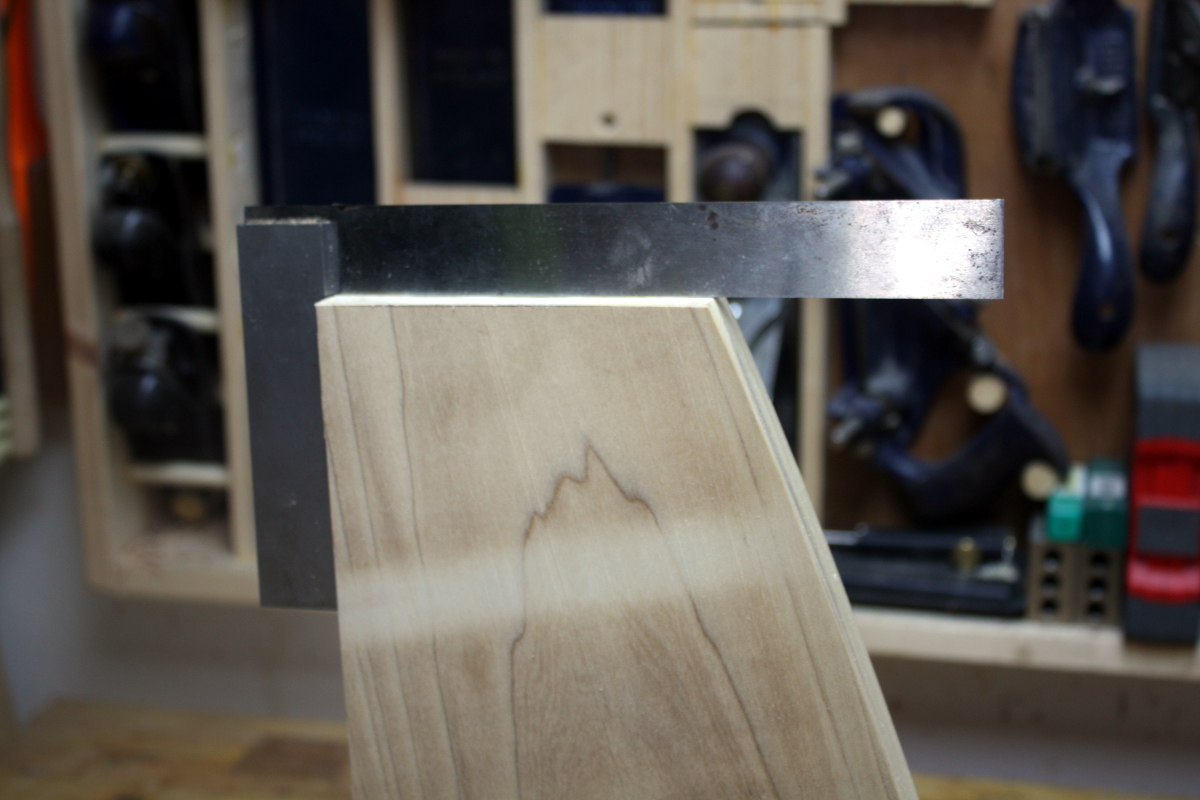
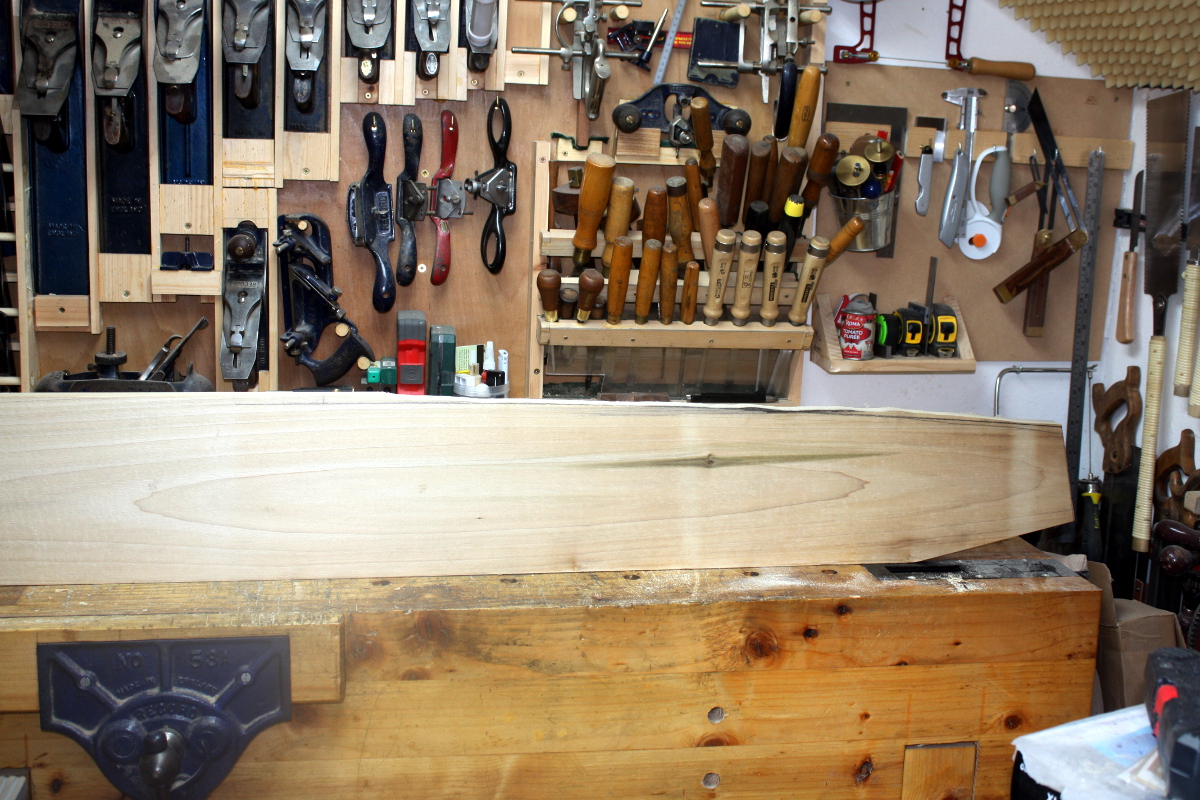
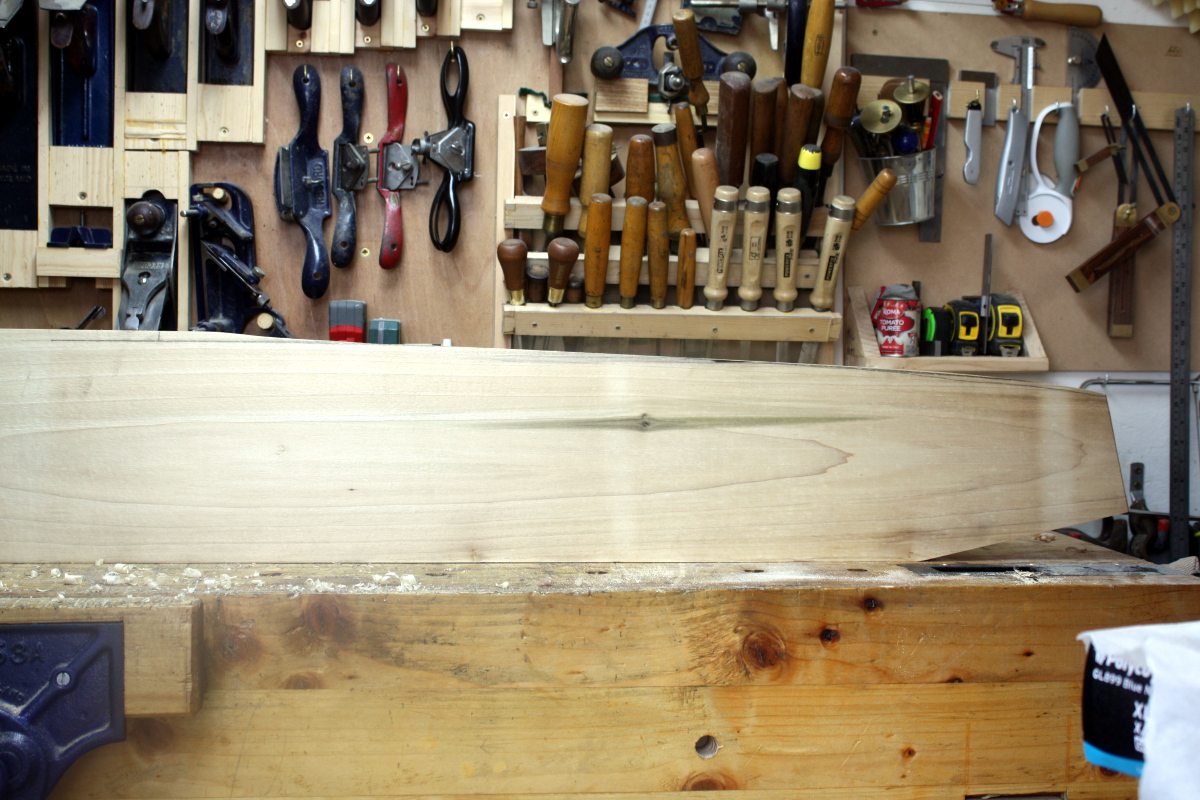
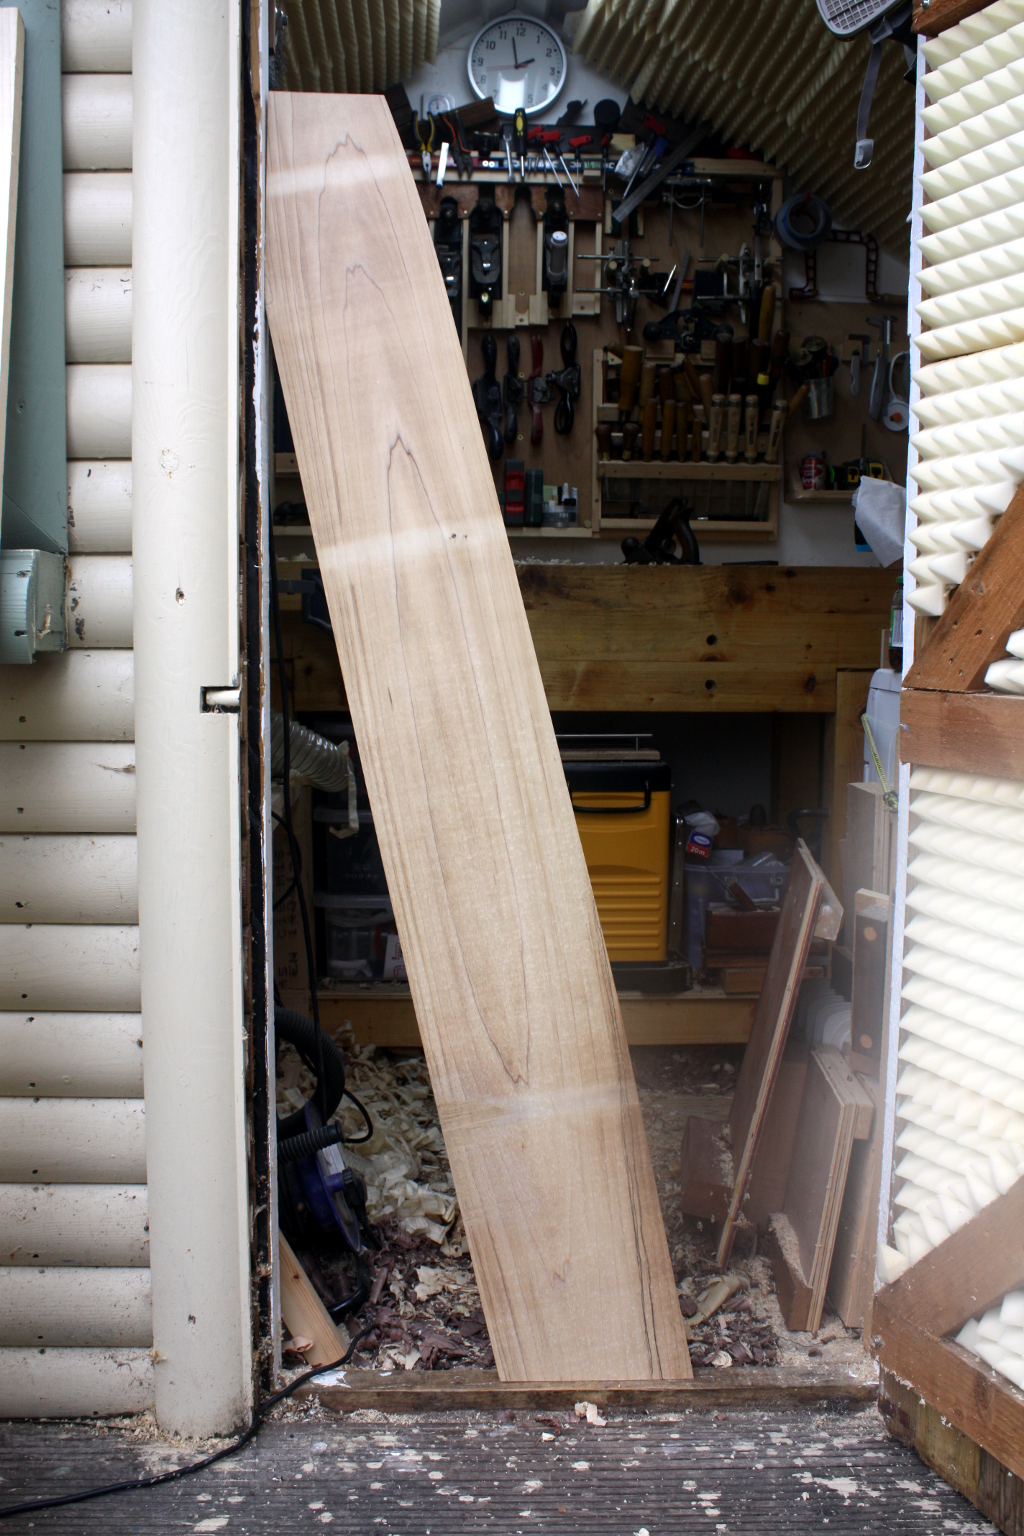
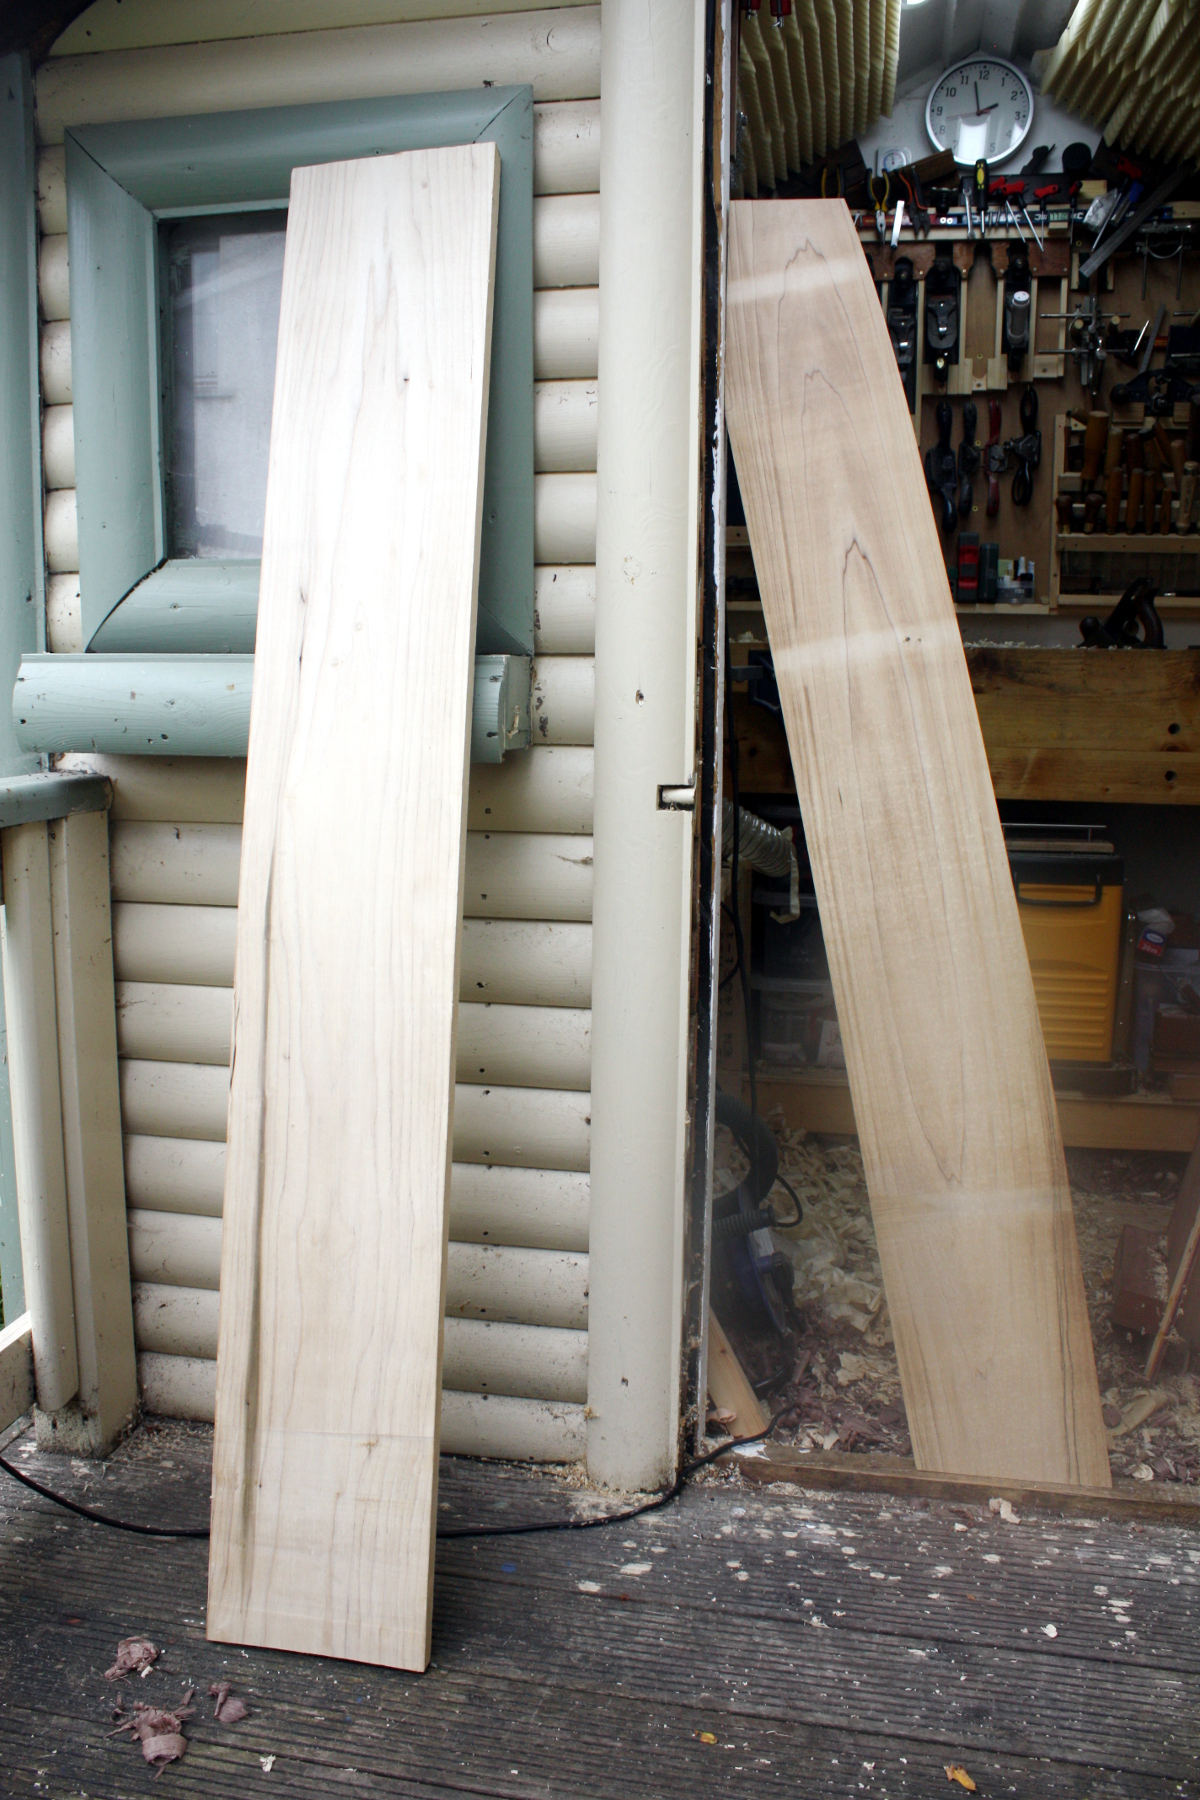
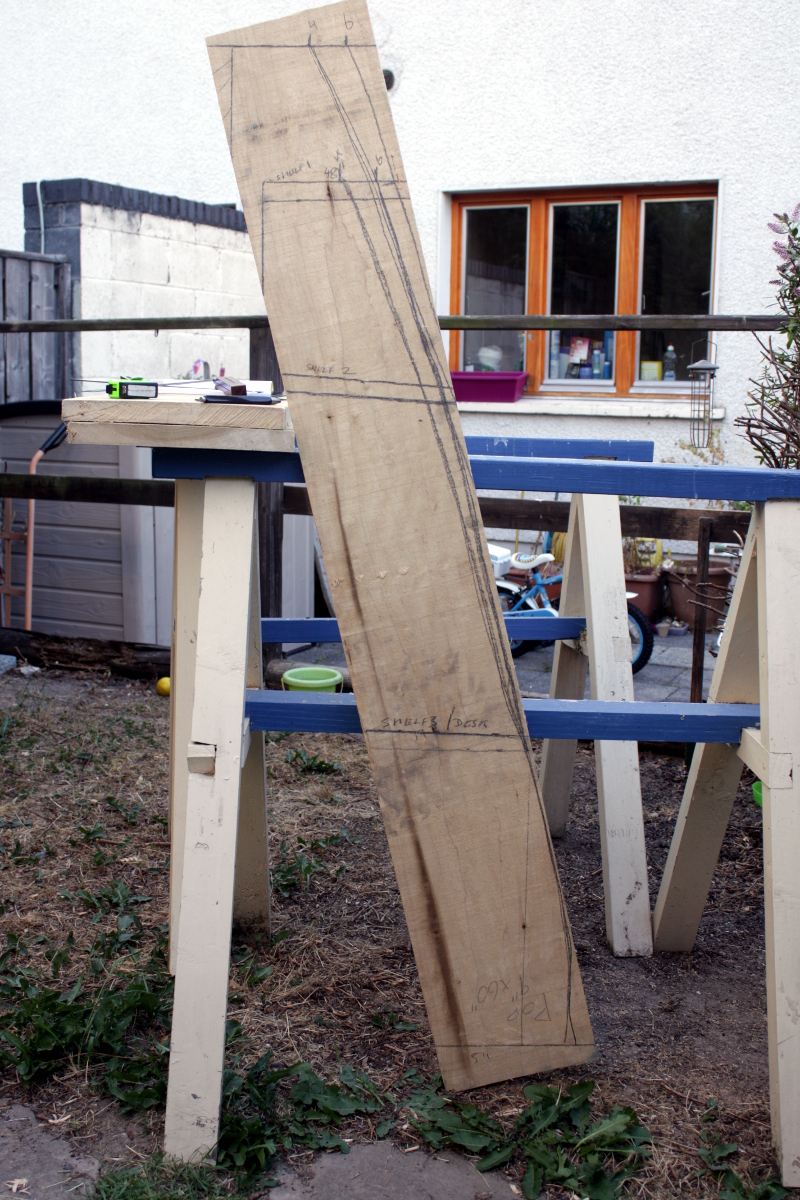
So this won't be a fast build for two reasons : 1) I'm not that fast; and 2) I don't really know what I'm doing But I'll post the photos as I go. So far, the most I'd done was to sunbathe the poplar I had to try to mellow out the green stain on some of the pieces, and sketch the design out in full-size to see what it looked like (it looked too small. Kids. They're a weird scale...)
So, first off, meet the client.
Just turned six, now in Kindergarten and headed into Vorschul in autumn (he's going to a german school because the Irish schools here all have priests in them) and while he's starting to learn to read and has the usual amount of books first kids get bought by well-meaning parents, we haven't gotten him any shelves in his bedroom yet or a desk to do homework on, so, that's the project. A first desk, something that he'll mainly play on with toy cars, with a shelf or two for more toys and his books, kindof as training wheels for when he needs a "real" desk for schoolwork in a few years.
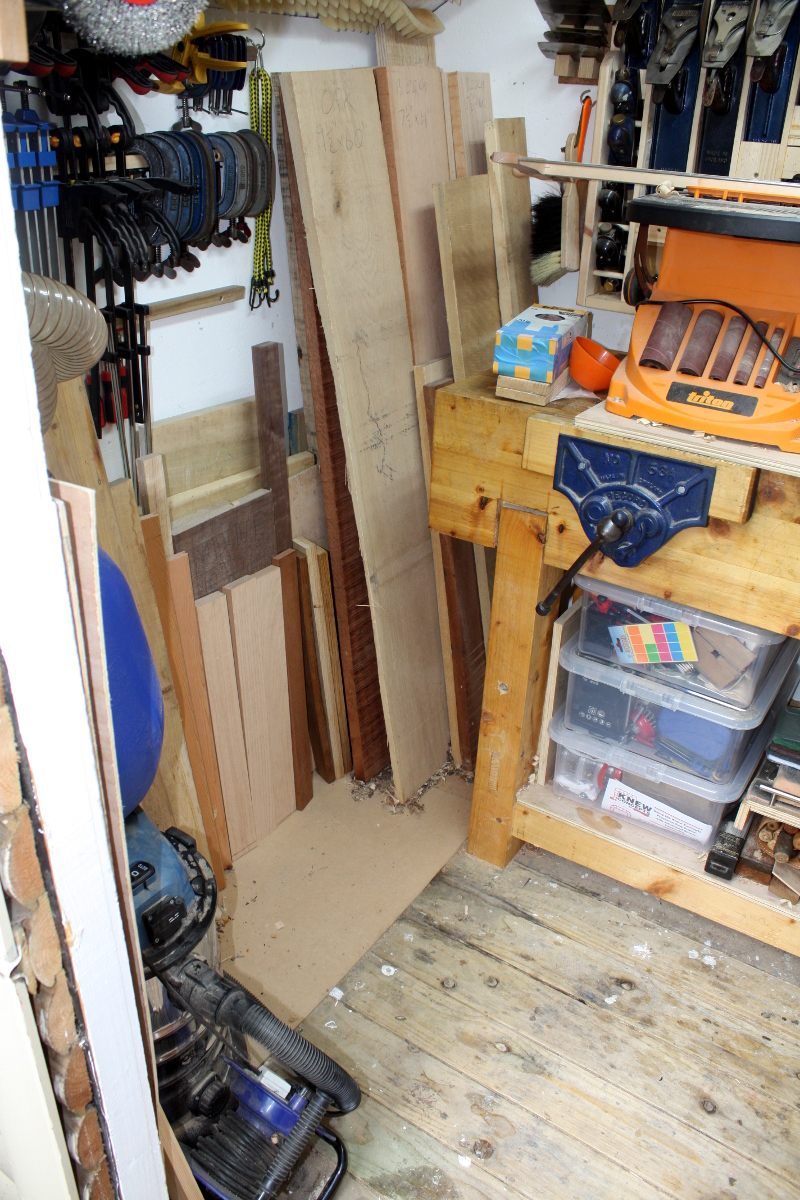
So, I want this thing to be fairly robust.I did some mucking about with the growth charts for boys aged 2-20 (I figure this should last him till he's nine, so that gave me a starting height and a final height for the client to design the piece around), the Woodworker's guide to Furniture Design, took stock of the material I had in the shed and had a think about how I wanted to decorate the finished piece, had a look at Paul Seller's leaning wall shelves which I liked the look of but not the joinery (like I said, this thing is for a six-year-old, it needs to be closer to concrete than fine joinery), and came up with a few design criteria/features/whatever:
- Top shelf at 48″
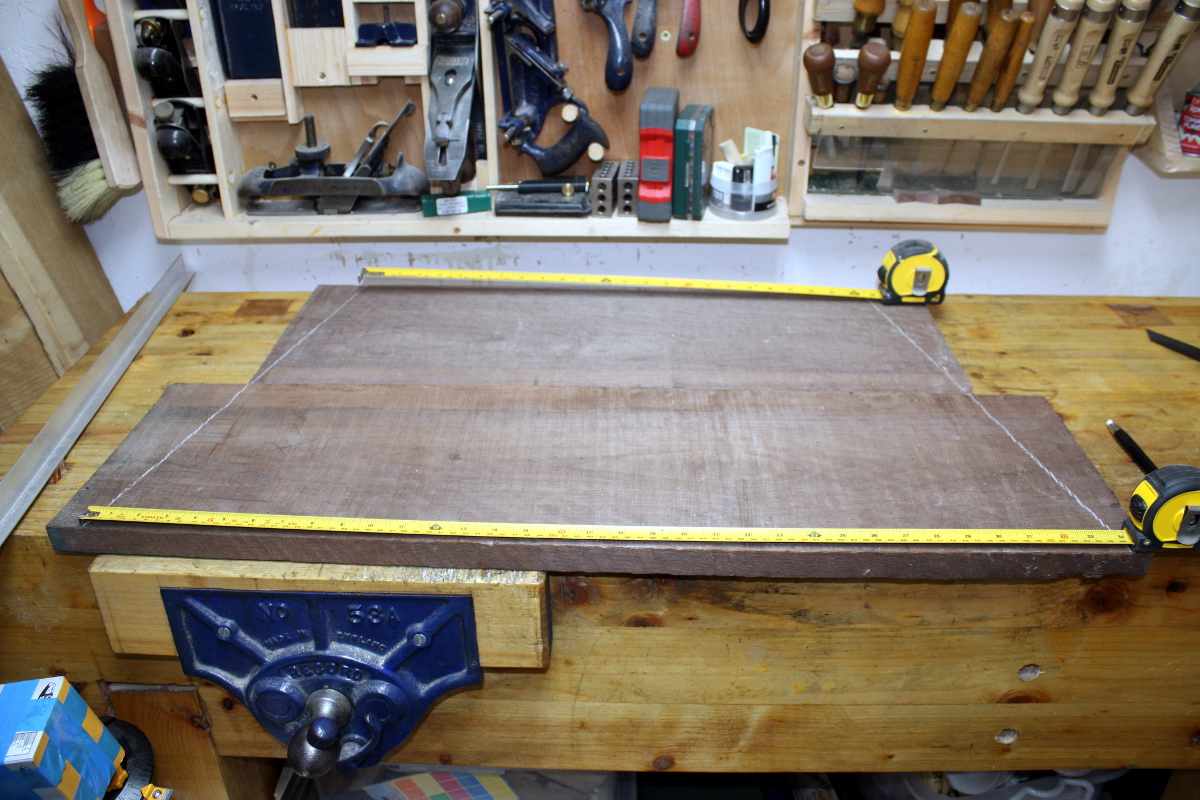
- Bottom shelf at 17″ (it’ll double as a play surface/desk)
- One intermediate shelf about 18″ above the bottom shelf
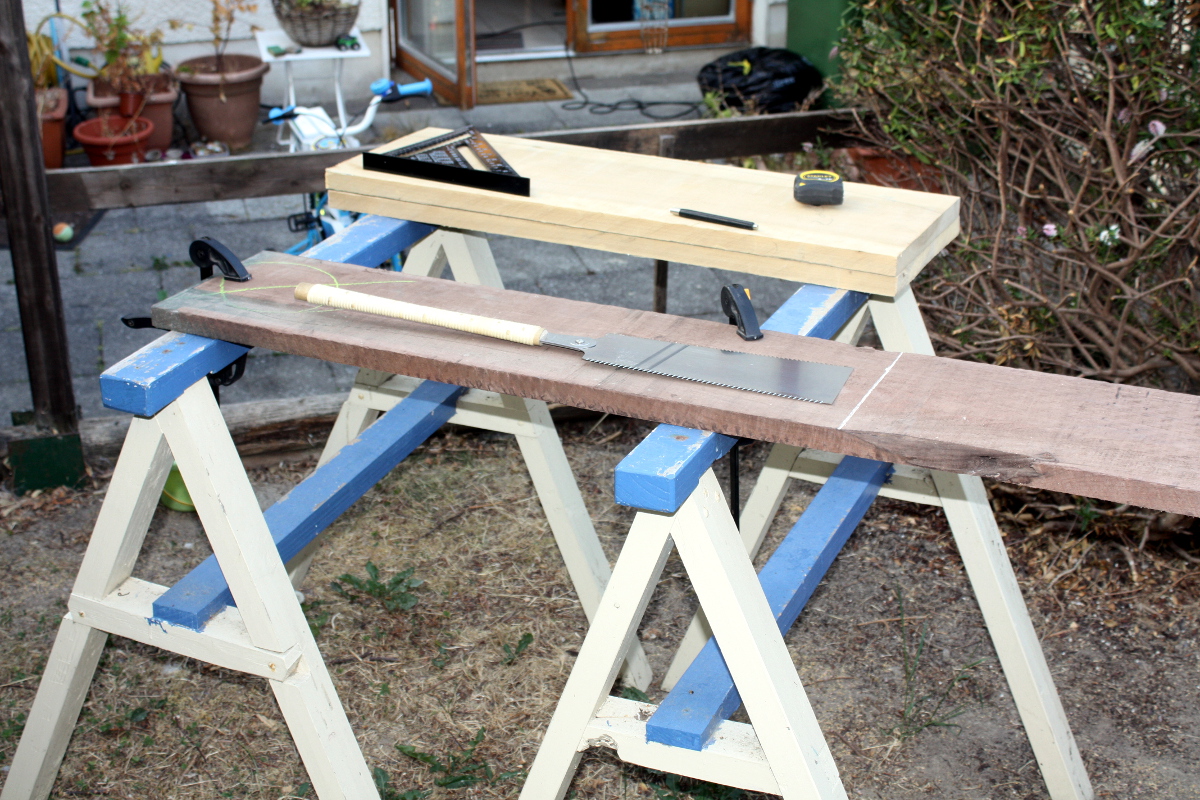
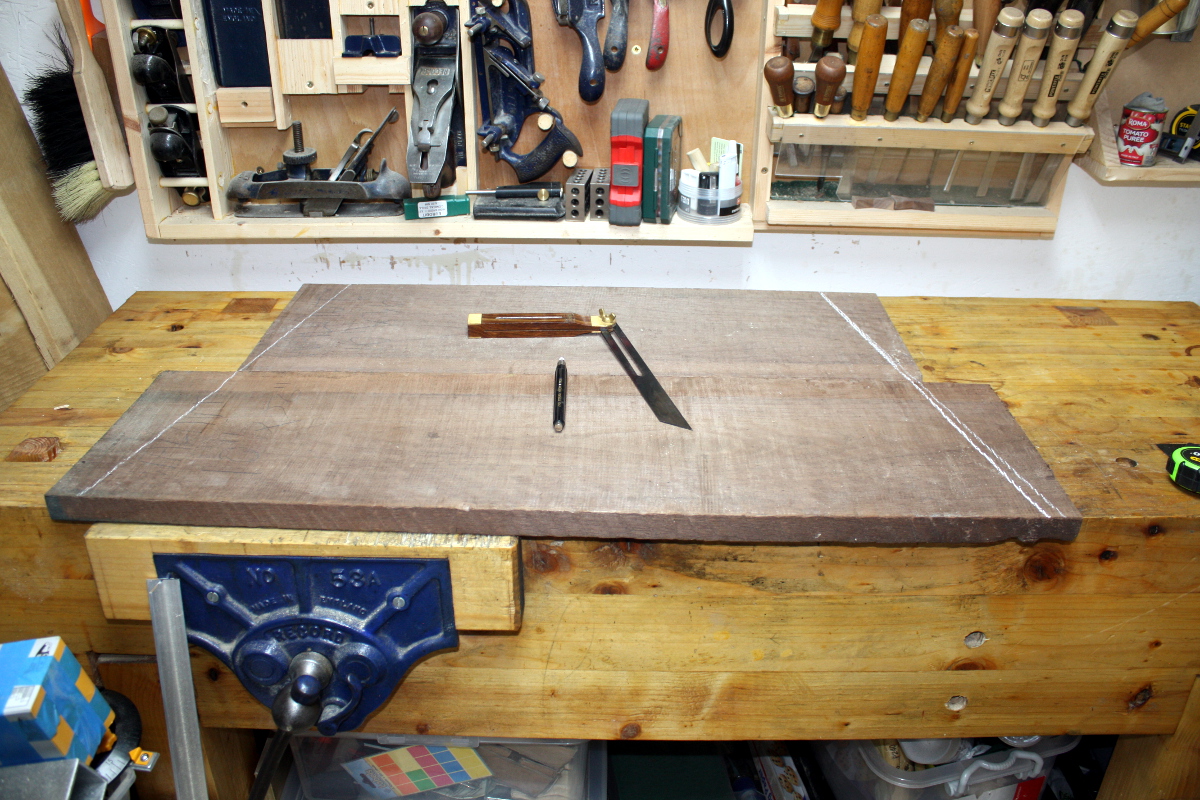
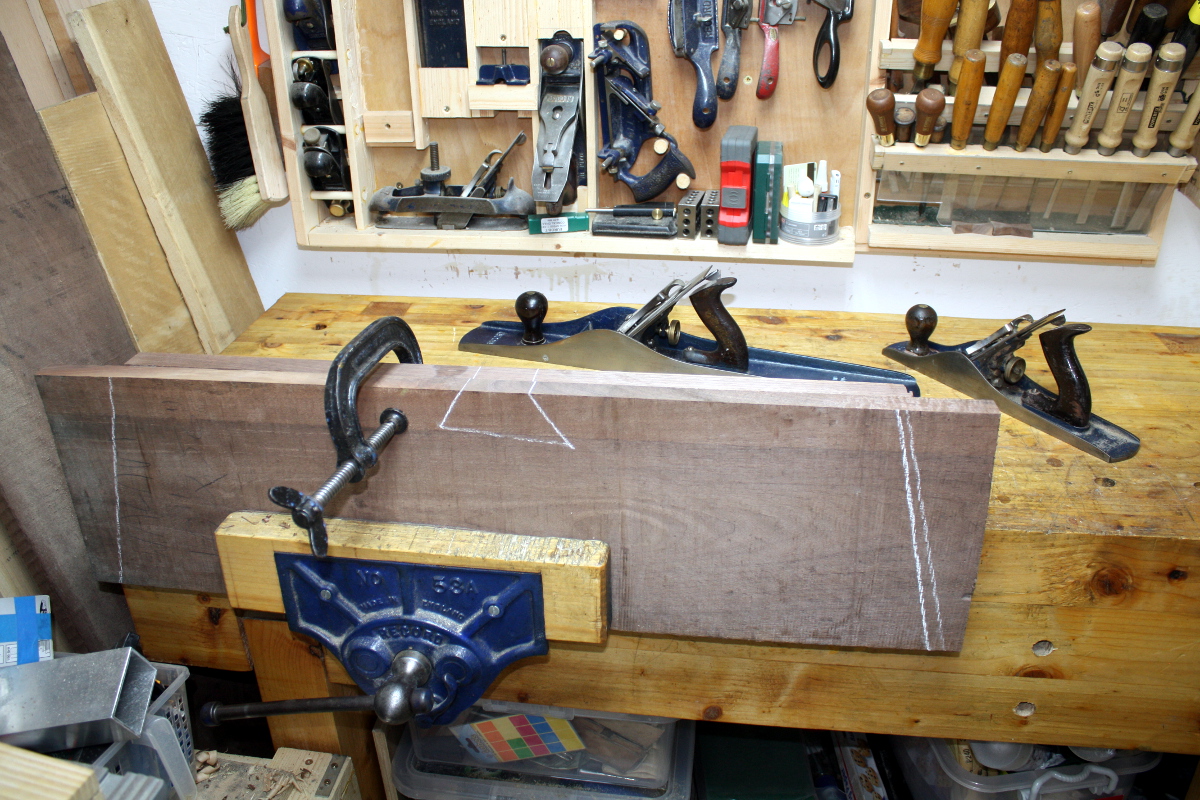
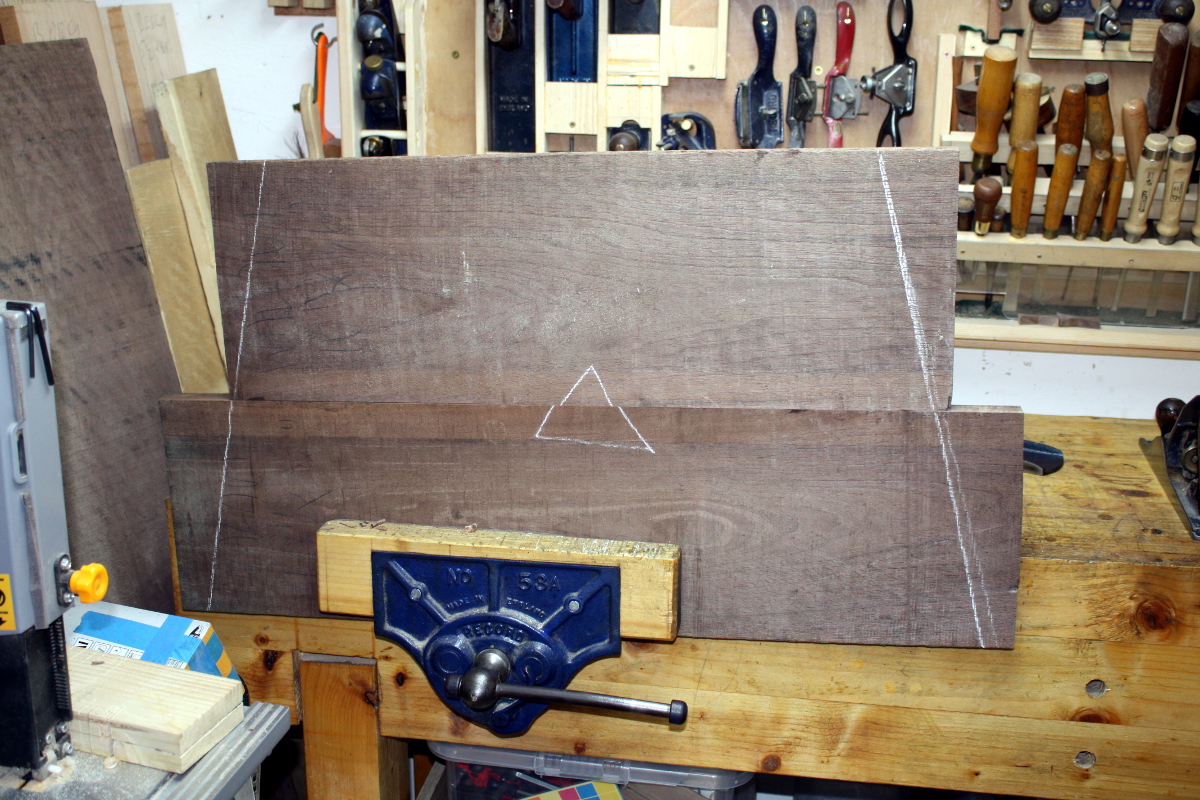
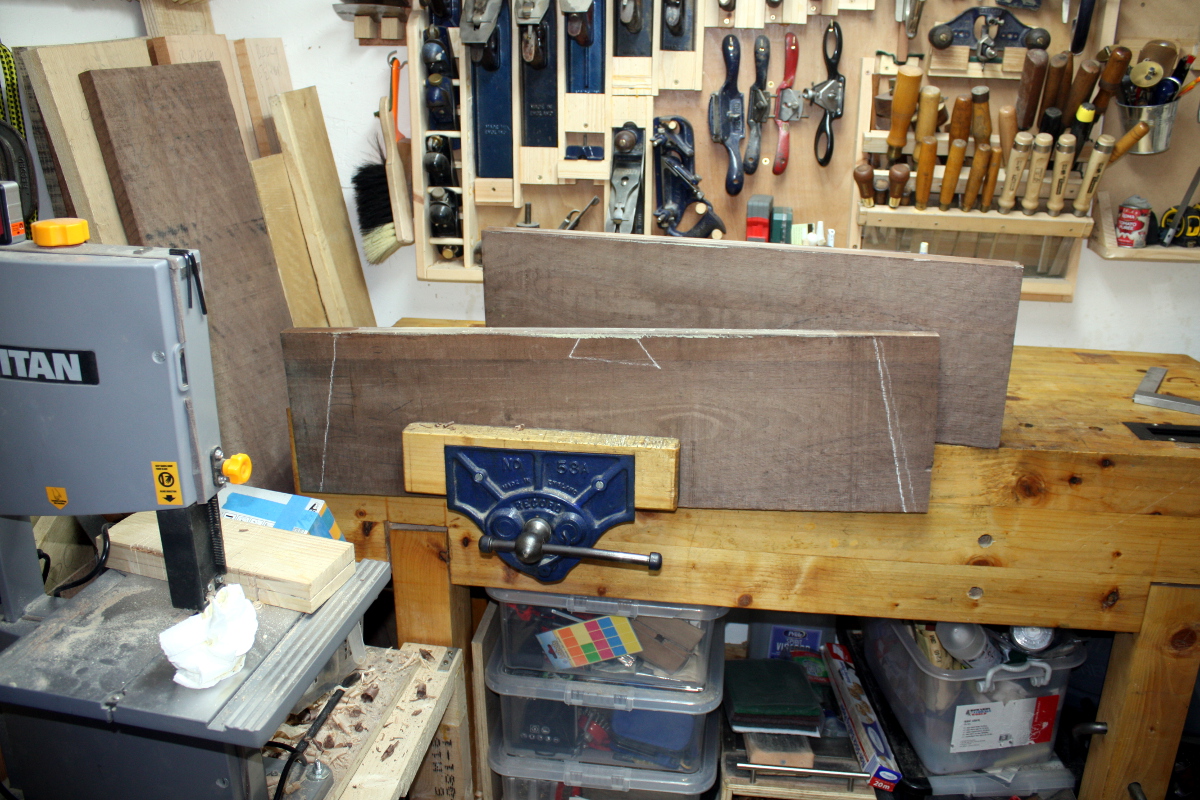
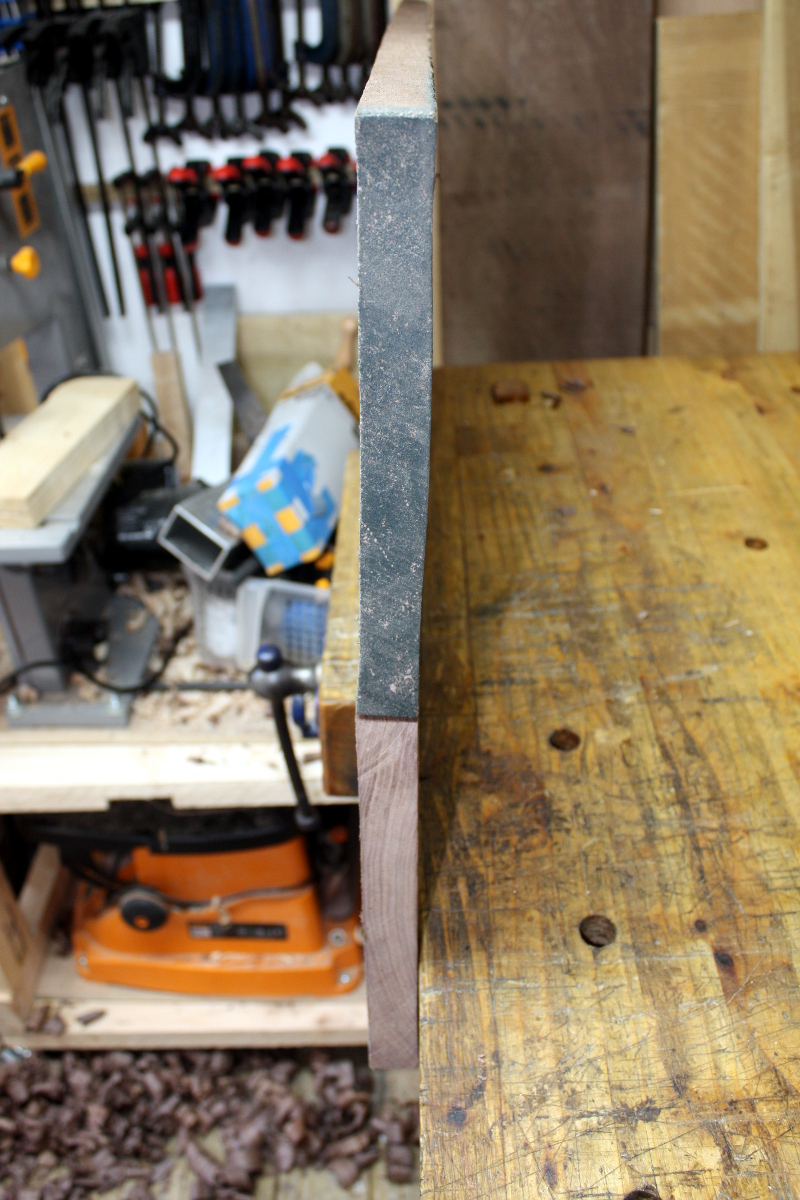
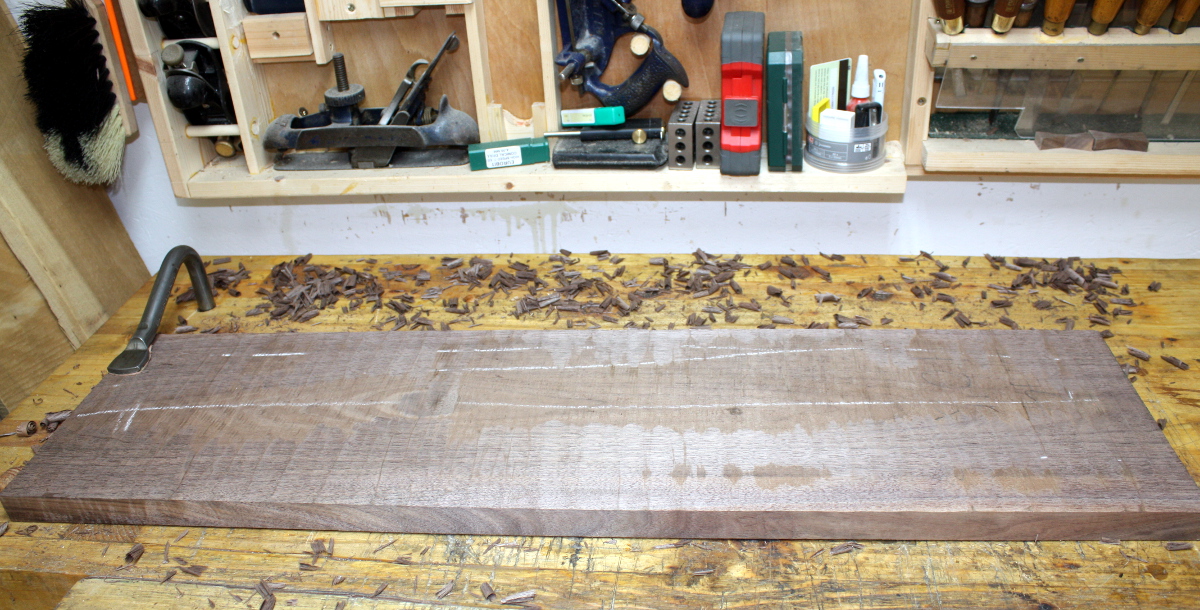
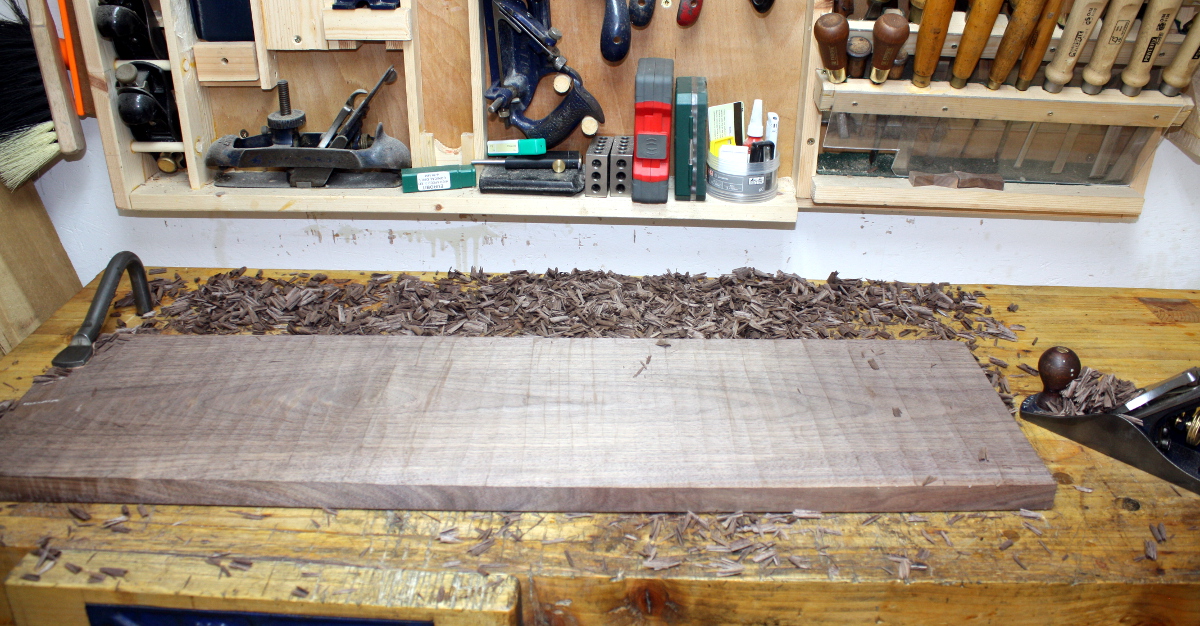
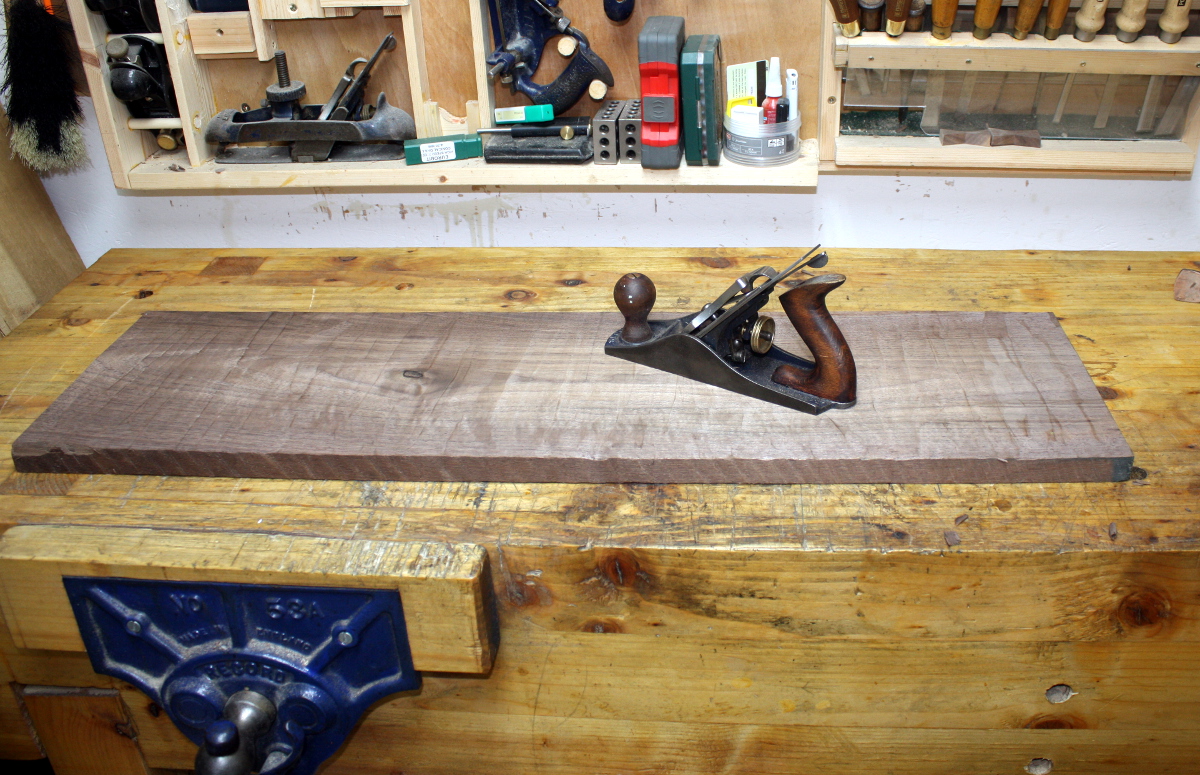
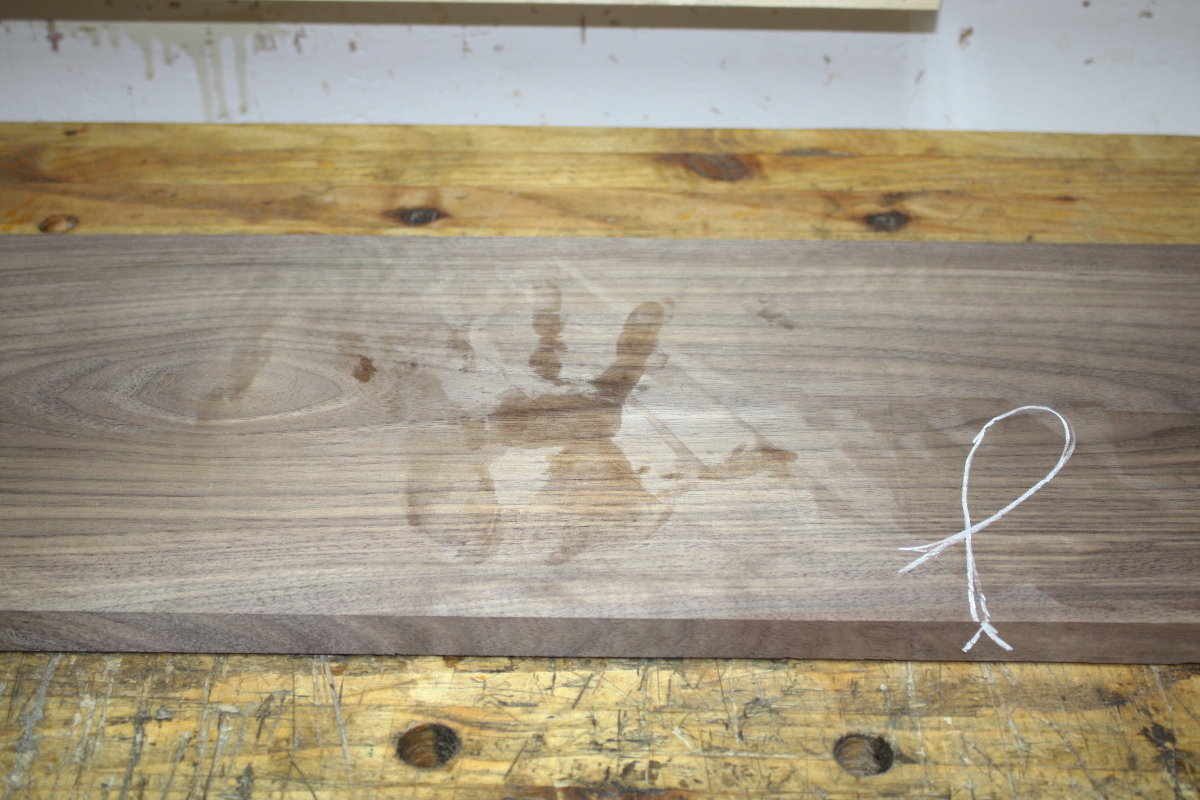
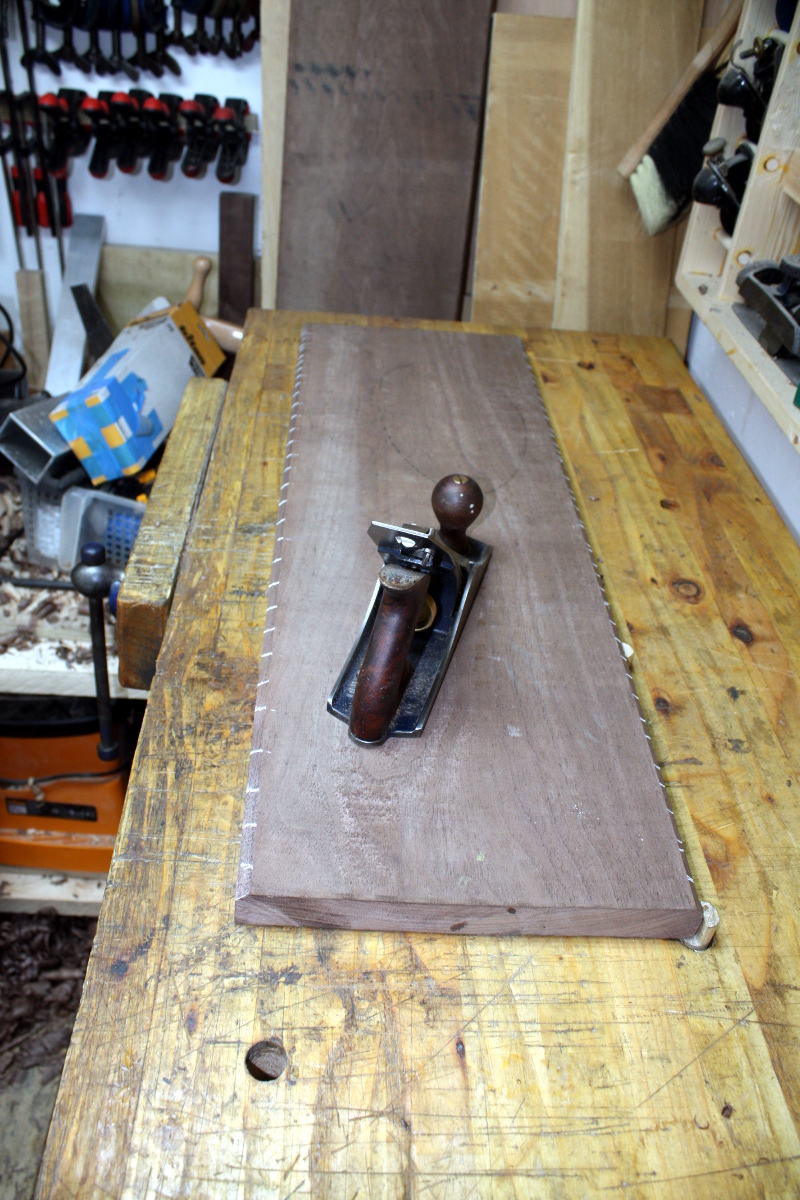
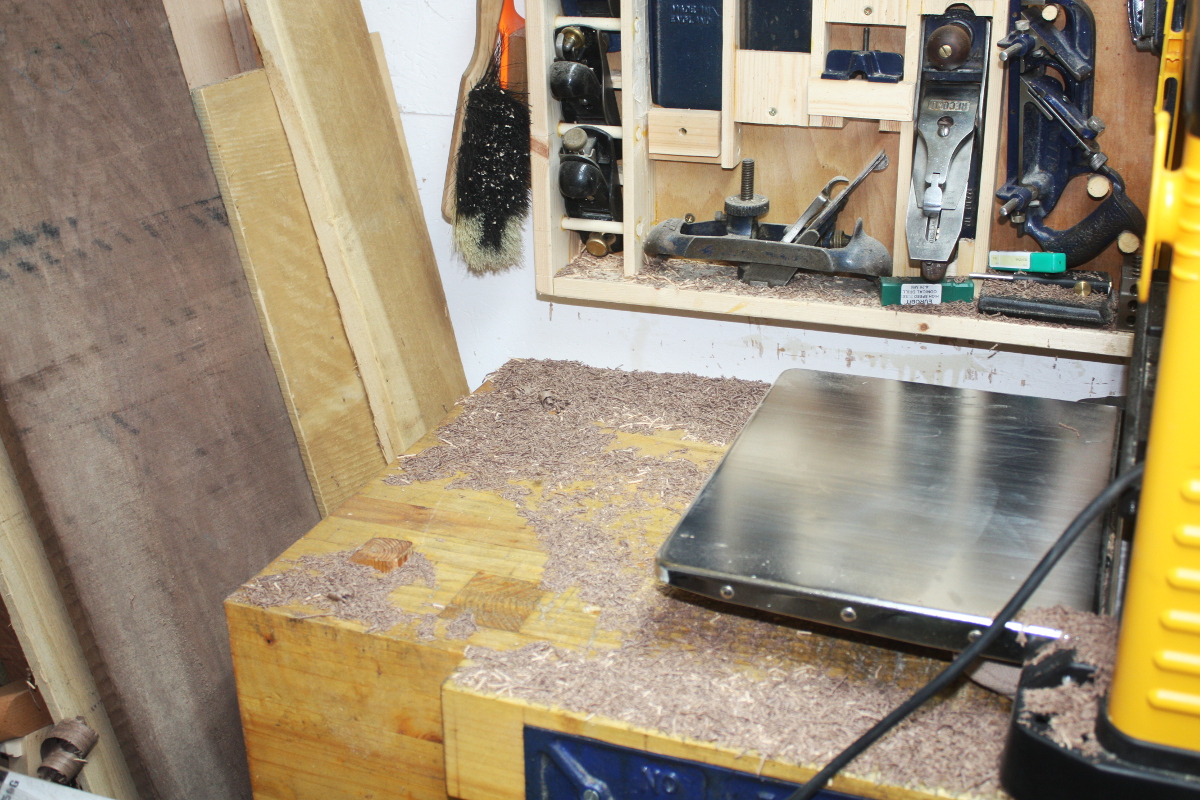
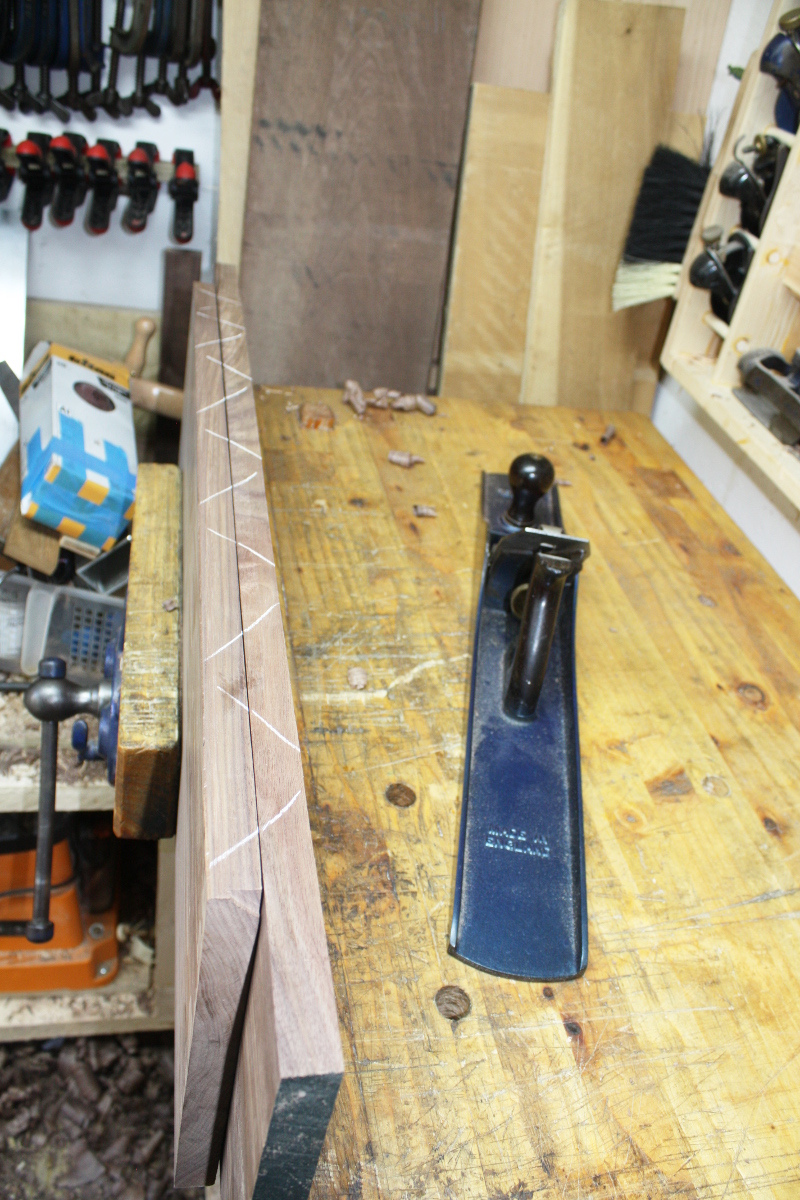
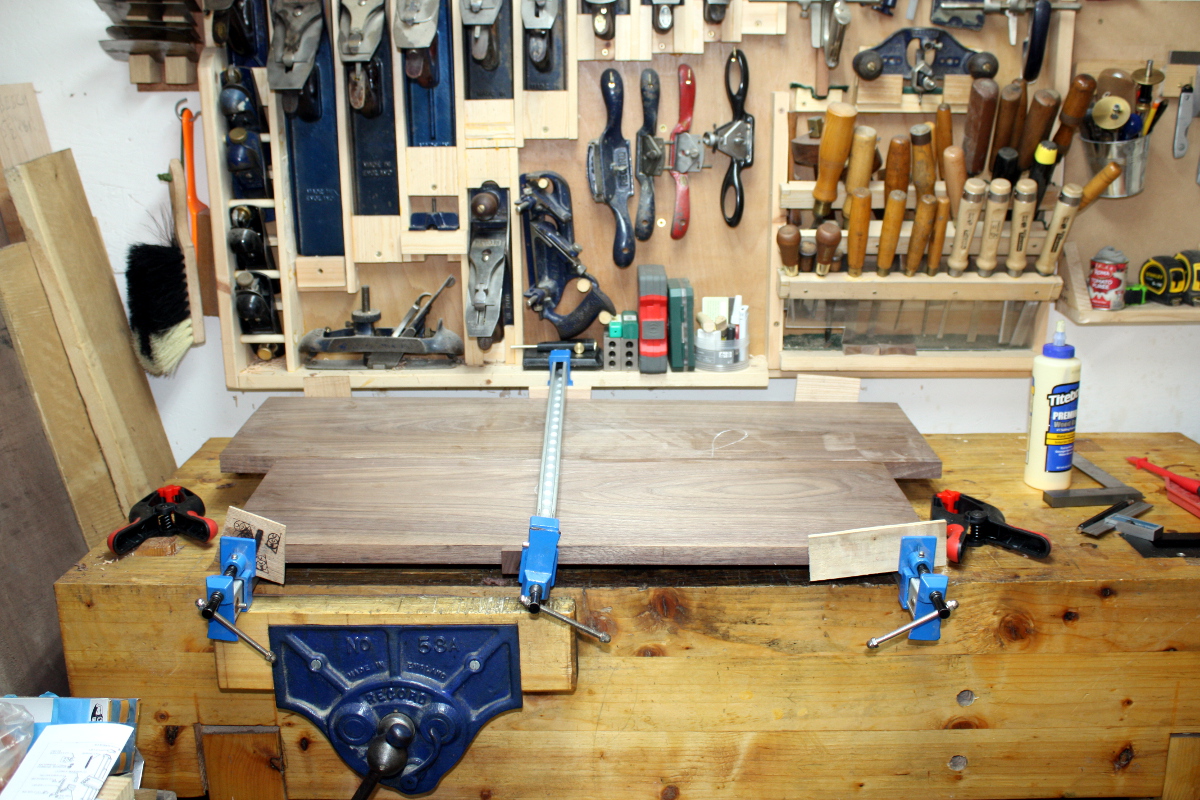
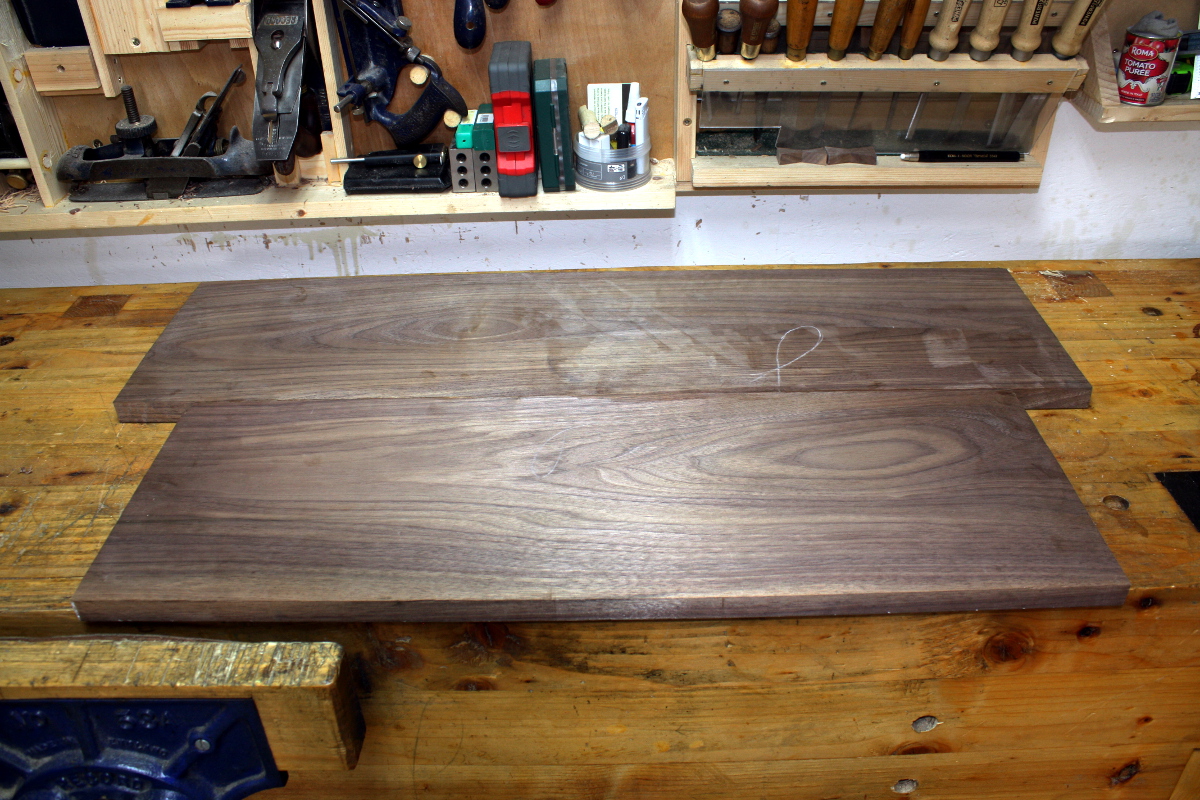
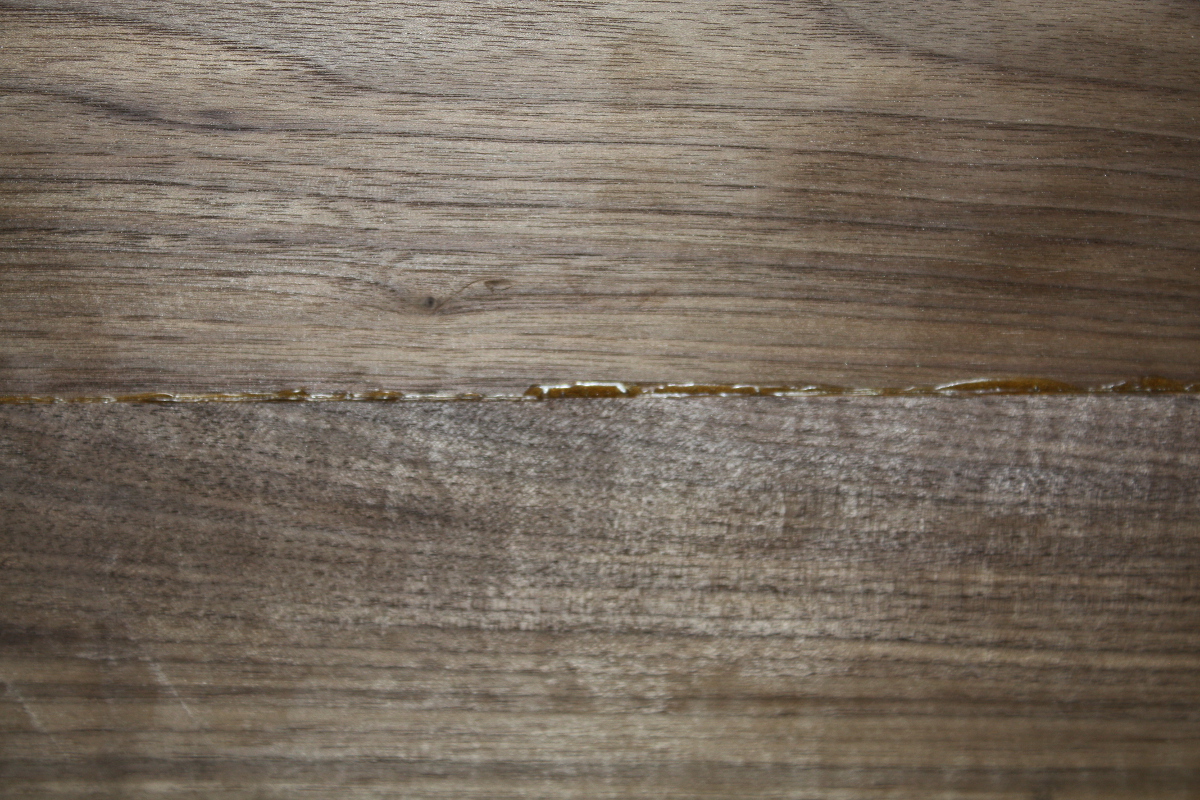
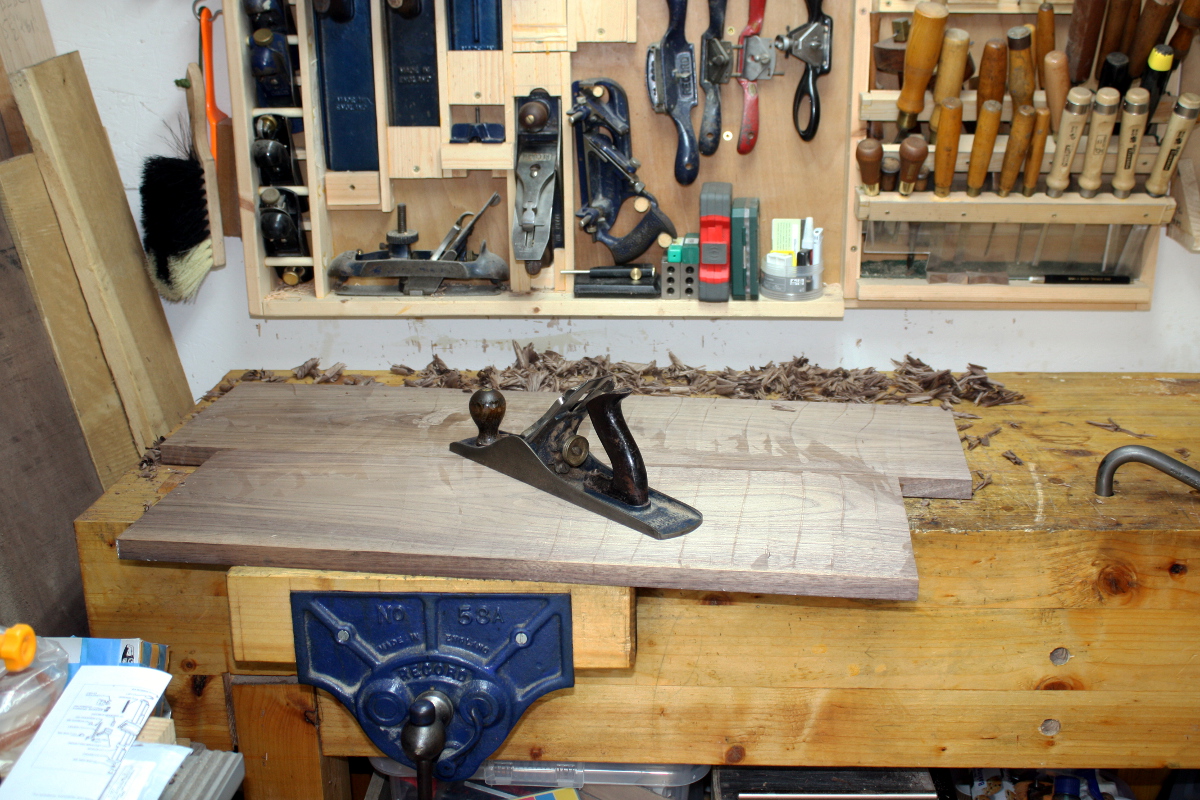
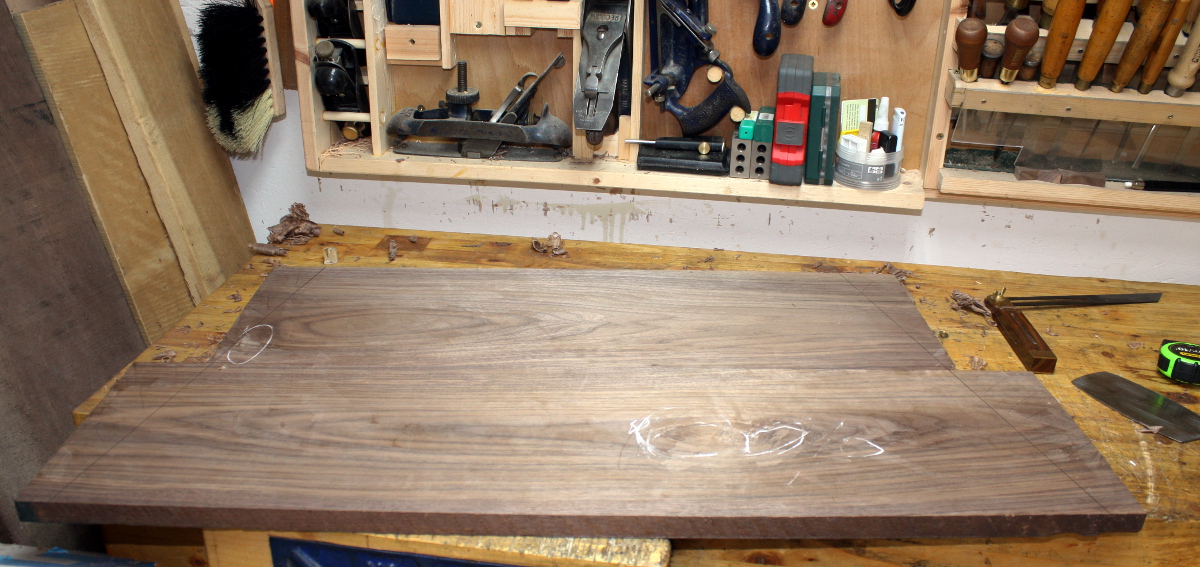
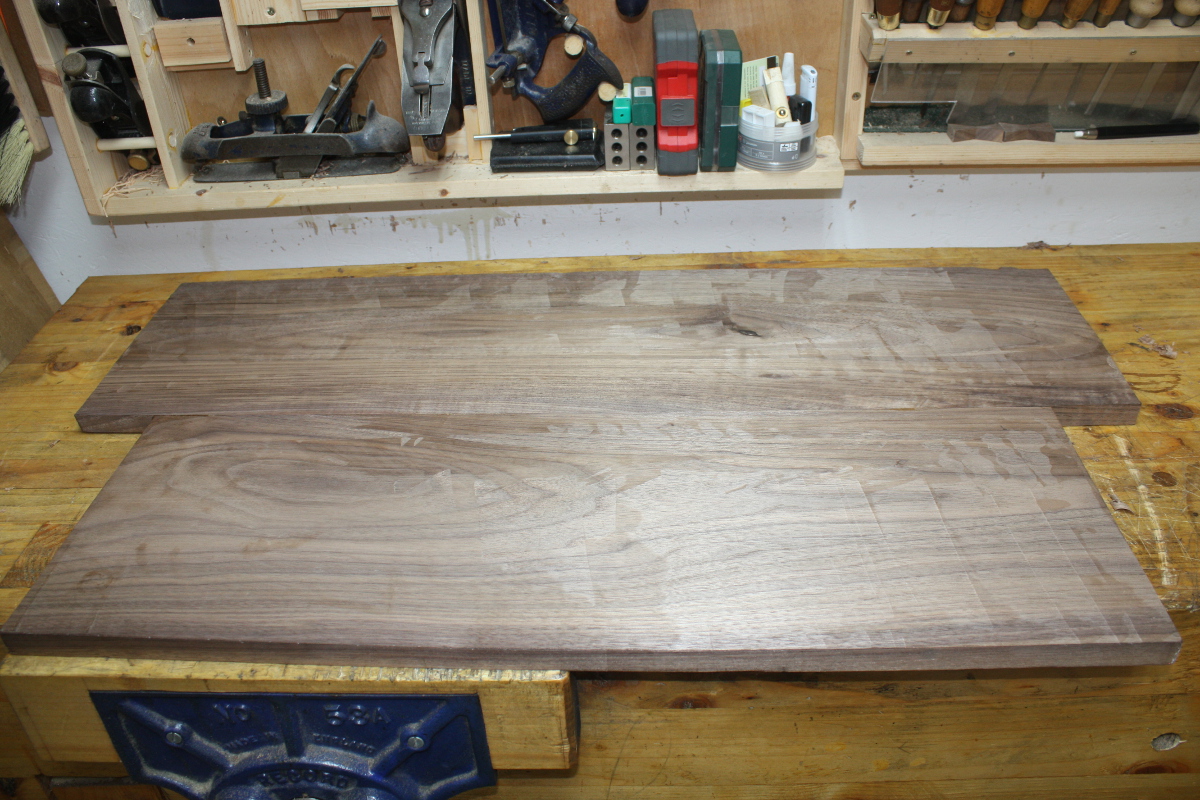
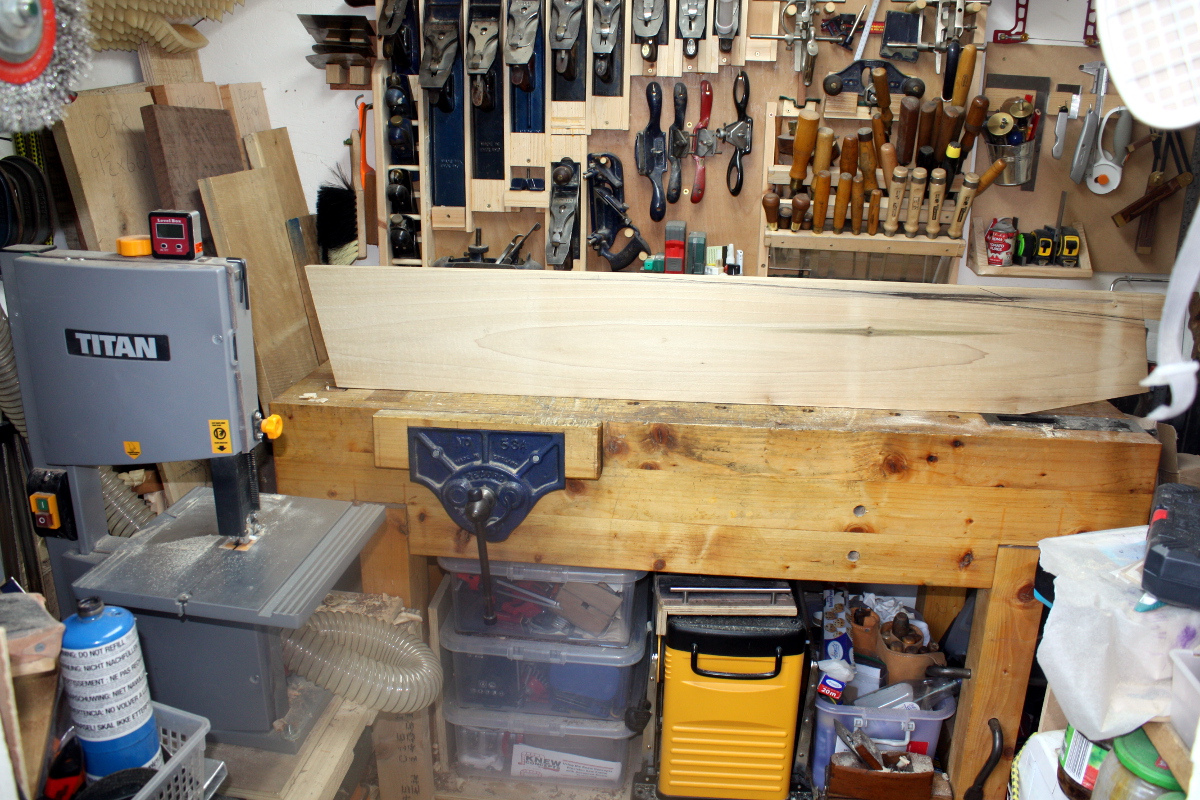
- Poplar for everything bar the bottom shelf which will be walnut (because that's what I have)
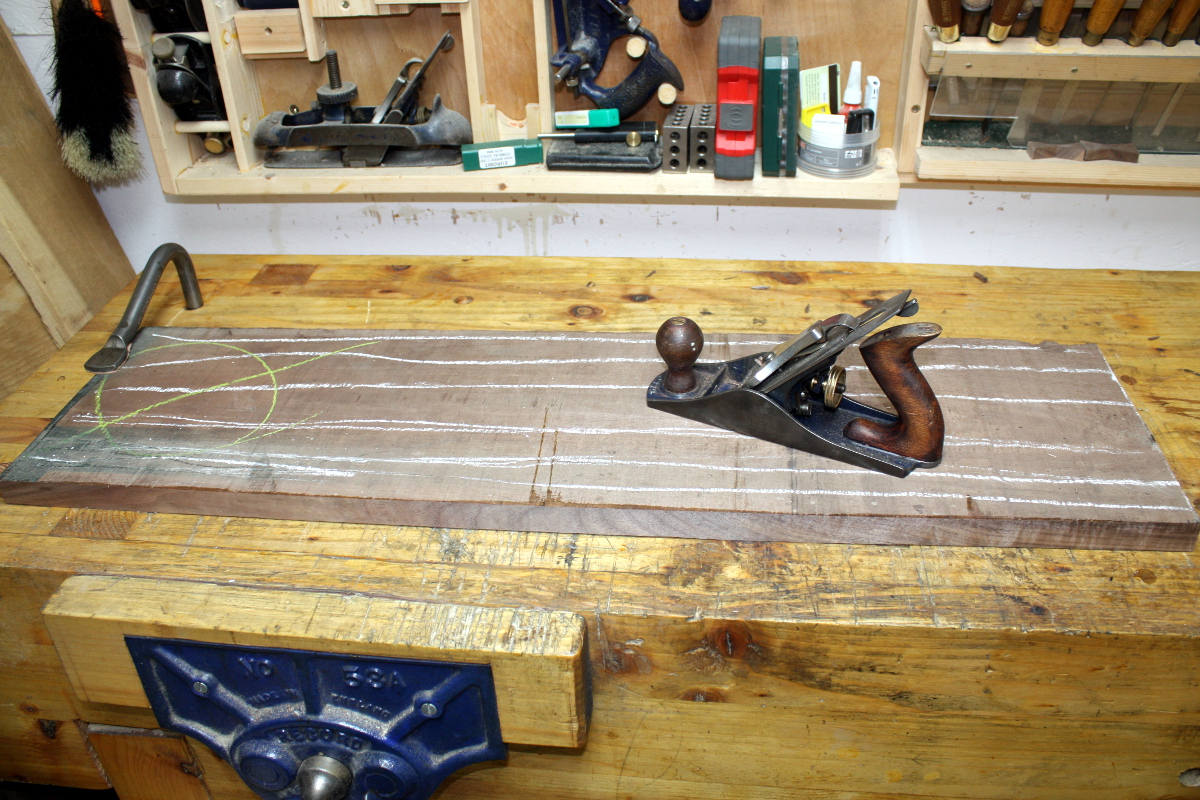
- Stringing on the bottom shelf to inlay things like a racing track for toy cars into the surface as well as things like letters and the like in various places
- Curves everywhere instead of sharp edges and corners for little eyeballs
- A serious set of problems with clamping curved bits into housing joints during construction.
The other thing was that I wanted the sides to angle outwards:
My sketchup skills are rusty - I'm not having a lot of success with curved parts there, so regard those cad things as just a very rough way to try to explain what the joinery problem I was worried about was - namely, if those were housing dados, how the hell would I clamp that during glue-up? So I asked on here, and got a fair amount of good advice, so the desk and intermediate shelves will be attached with sliding dovetails, probably with a locating pin or two for fits and giggles. I know my limits, so there's no way I could cut the sliding dovetail accurately enough (I could make it hold, but I couldn't be sure it'd be tight enough to stop things rocking back and forth in the breeze). So there's a router bit to cut the dovetail on the way and I'll finally dig out the aldi router table and set it up for the shelf part of the joint.
The top shelf, in the meantime, will just be a straight through dovetail, for more rigidity. And I think that at the back of that top shelf I'll put a single board acting as a back plate - it'll extend above the top shelf by a few inches so that it'll be another decorative surface, the back will be in contact with the wall as the main contact surface, and the bottom edge of it will be a french cleat for even more stability. With the thickness of material I have, the shelves will support a nine-year-old climbing up to the top shelf so the thing can't fold sideways and drop, hence the cleat. Yes, it's probably massive overbuilding, but it's in a good cause.
So this won't be a fast build for two reasons : 1) I'm not that fast; and 2) I don't really know what I'm doing
But I'll post the photos as I go. So far, the most I'd done was to sunbathe the poplar I had to try to mellow out the green stain on some of the pieces, and sketch the design out in full-size to see what it looked like (it looked too small. Kids. They're a weird scale...)