Stimpi
Established Member
I was intending to run them on the floor. The client read my post still not sure regarding pull out drawers.


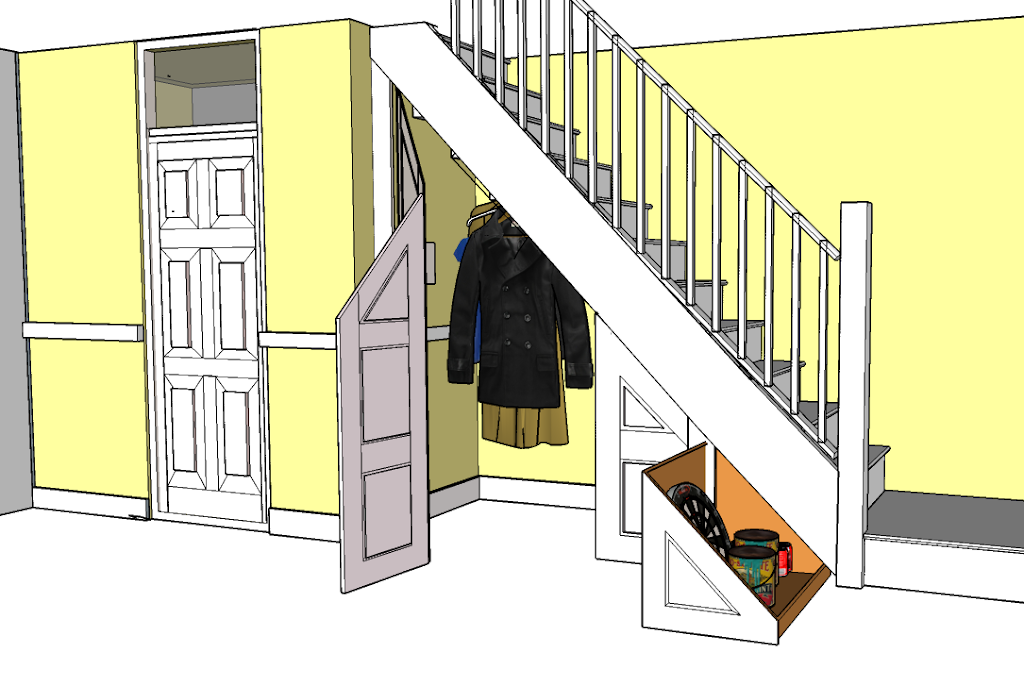


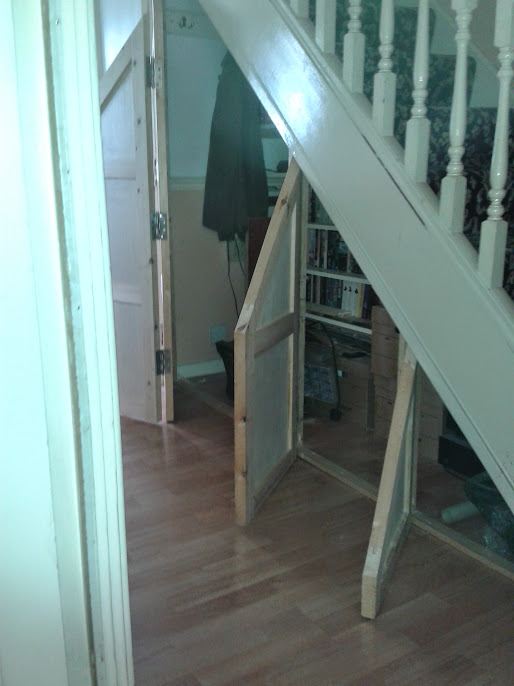
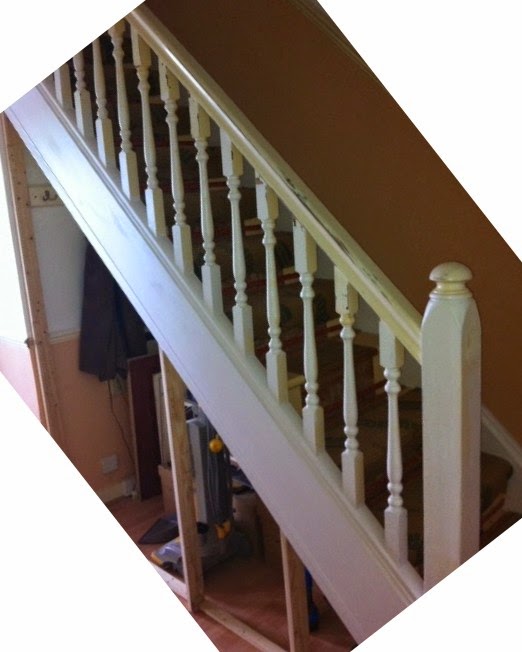
It would work if it's better depends on its use, A Dyson is stored here under the stair the odds are it would be in the way. Opening outwards it doesn't matter. Its down to personal preference.Wouldn't it be better if you had hinged the second door the other way
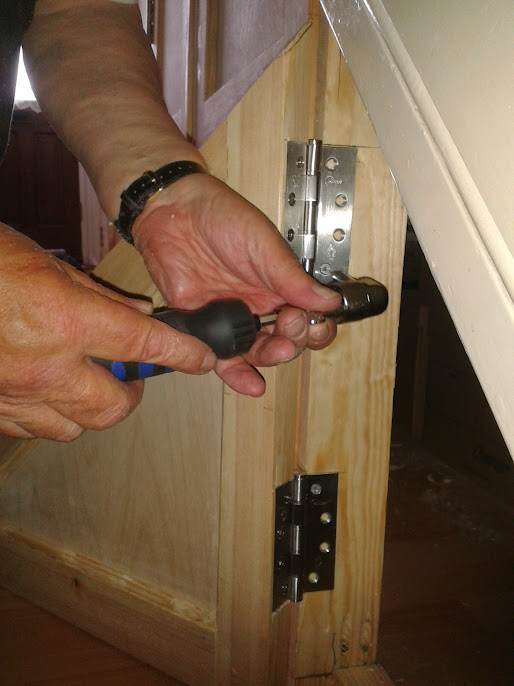
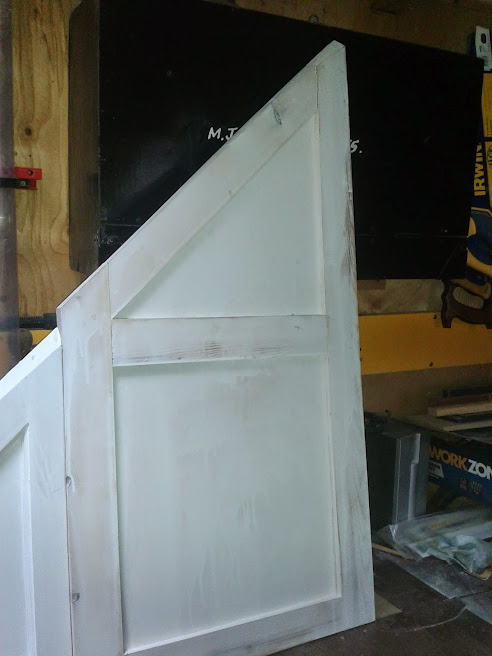
Not offended but agree. What I was looking for in the hinge was first stainless steel strong enough to take the weight, which they do. At screwfix they looked OK but when on they do as you say detract from the desired image. I did have some piano hinges at home (big savings when you buy in bulk) (change to quantity) but there on now. Thanks for the interest though its appreciated makes it all worth while.I hope you'll not be offended if I say that I think the large prominent hinges do detract slightly from the overall impression .
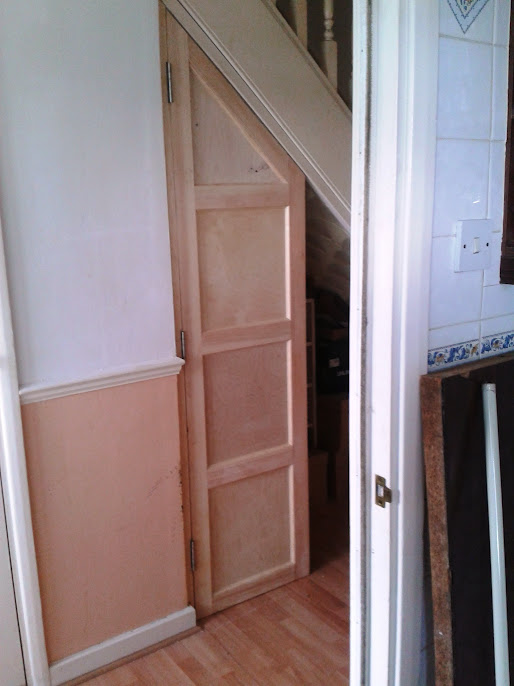
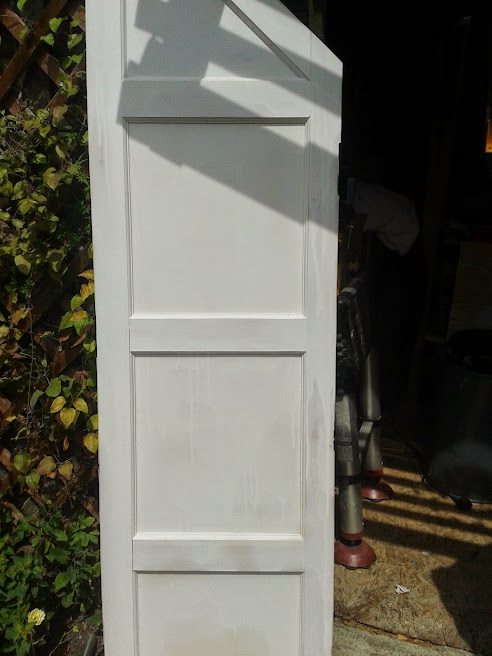
Will you be painting it?


 I will put them into practice tomorrow.
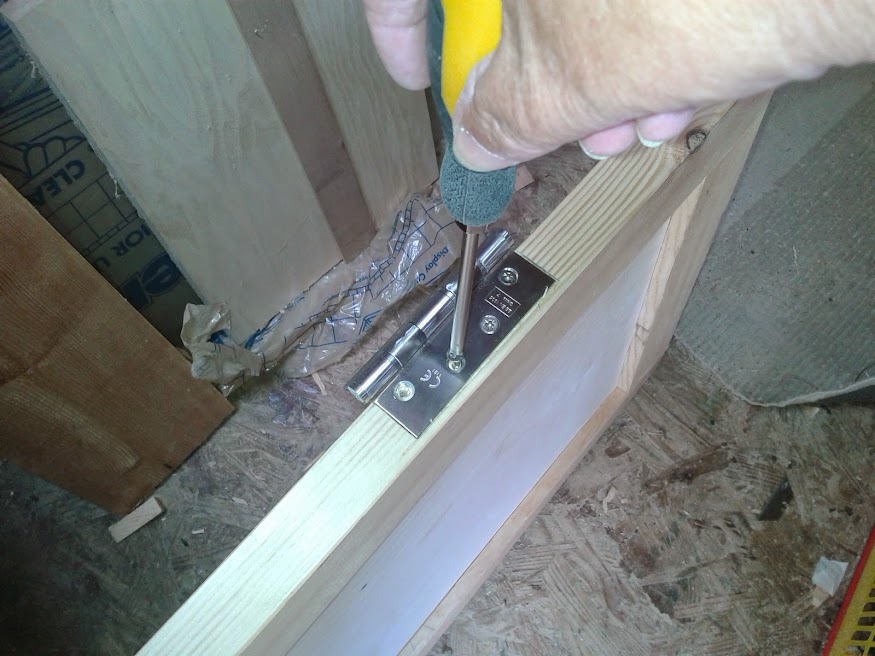
Enter your email address to join: