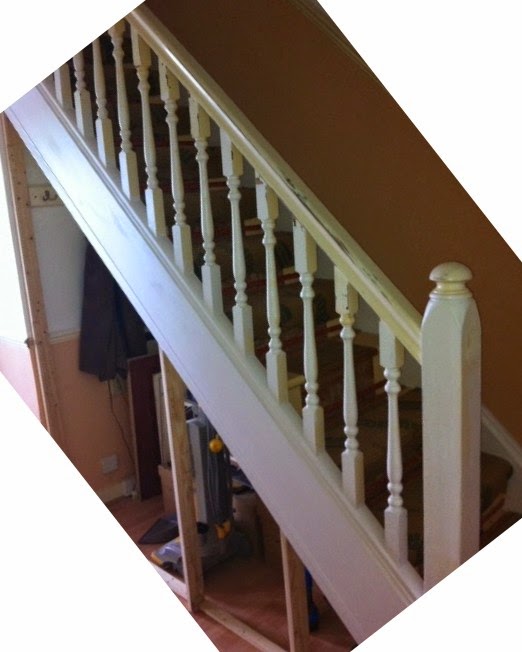
WIP Under Stairs cupboards

UKworkshop.co.uk

Help Support UKworkshop.co.uk:

This site may earn a commission from merchant affiliate links, including eBay, Amazon, and others.
I was intending to run them on the floor. The client read my post still not sure regarding pull out drawers.
 
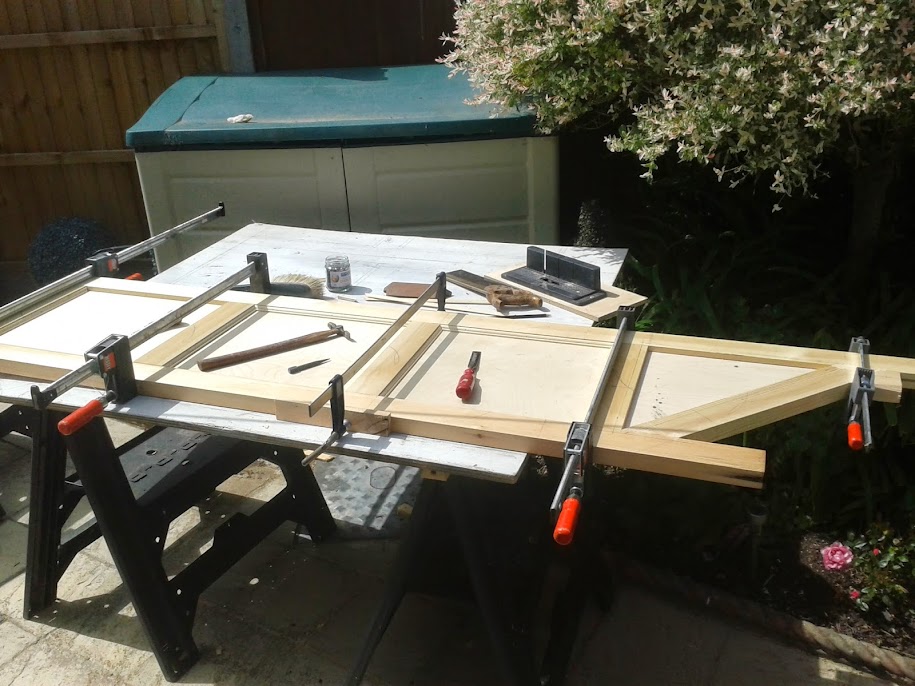
With the grandchildren back at school work on the under stair doors recommenced with assemble, glue up and cramping of the last door.

Glued+and+cramped+4th+door.jpg


By now with muscle memory kicking in went together with no problems. Only hitch was I ran out of ply, only one panel so had a trip out to buy a cut piece.

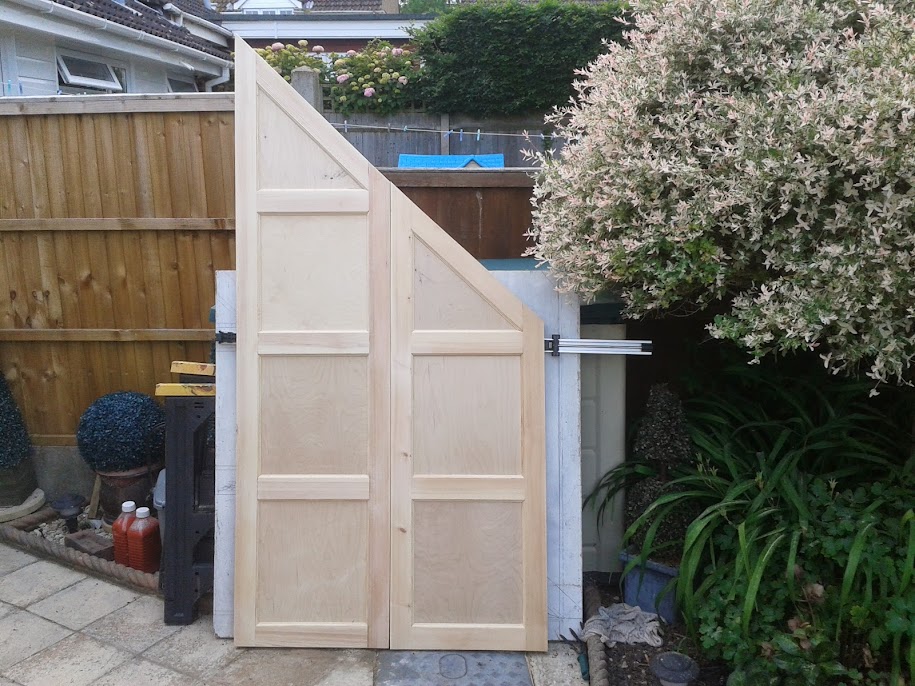
Left to set and dry and then trimmed and sanded ready for my next trip to London.

20140602_192840.jpg


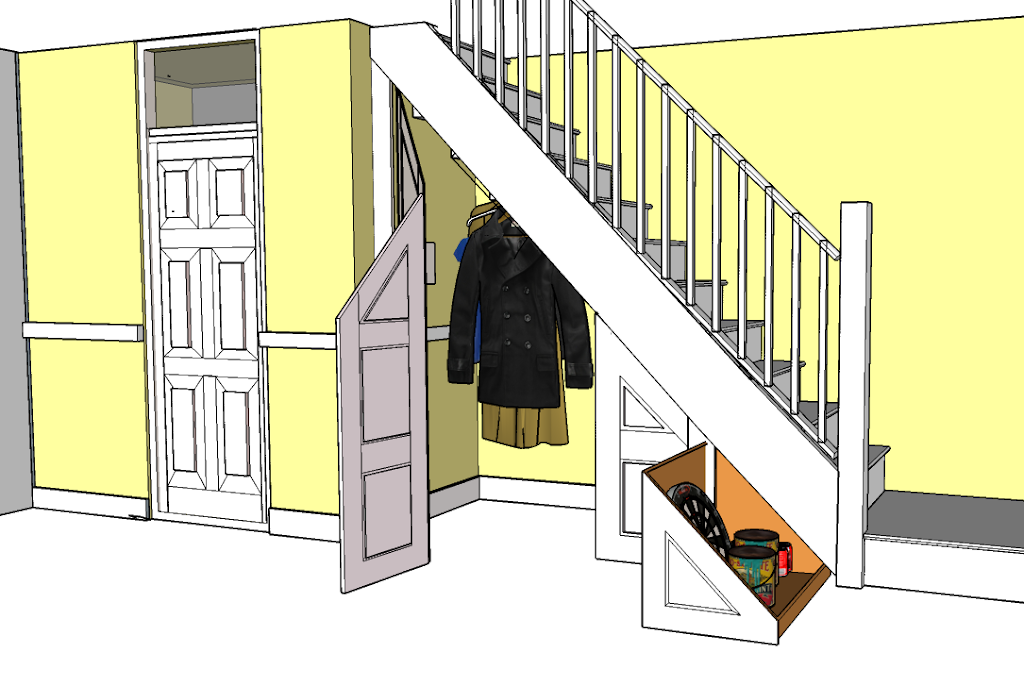
Still in discussion with the client who basically only wants something to screen the clutter under the stairs but still wants it to look classy from the hall.

These are my latest thoughts on better space utilization.

Latest+thoughts.png
 
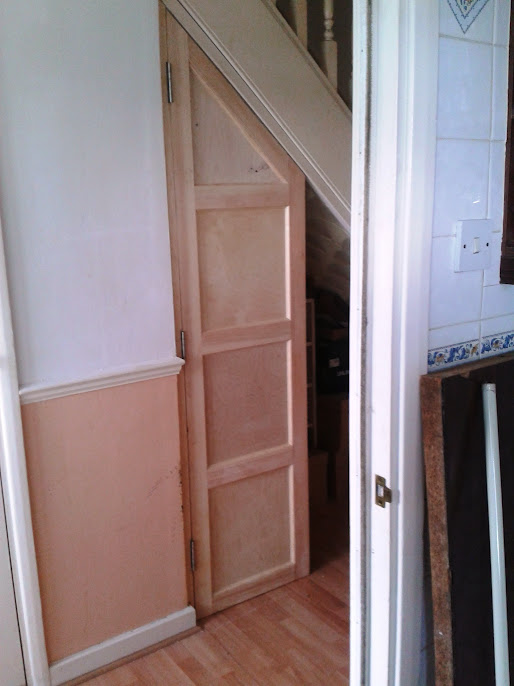
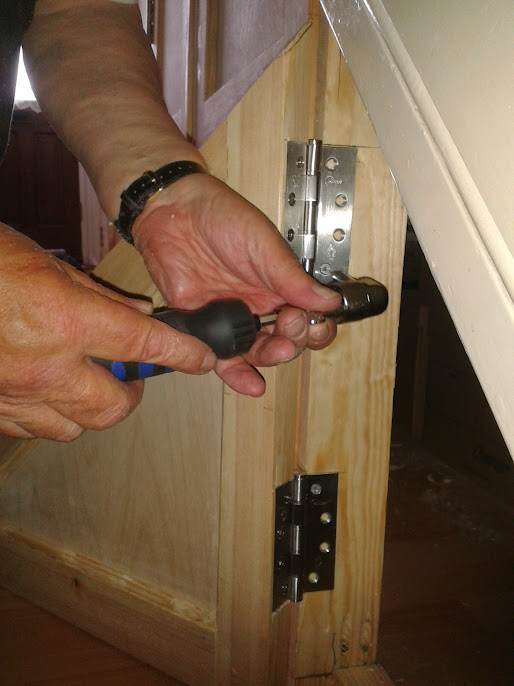
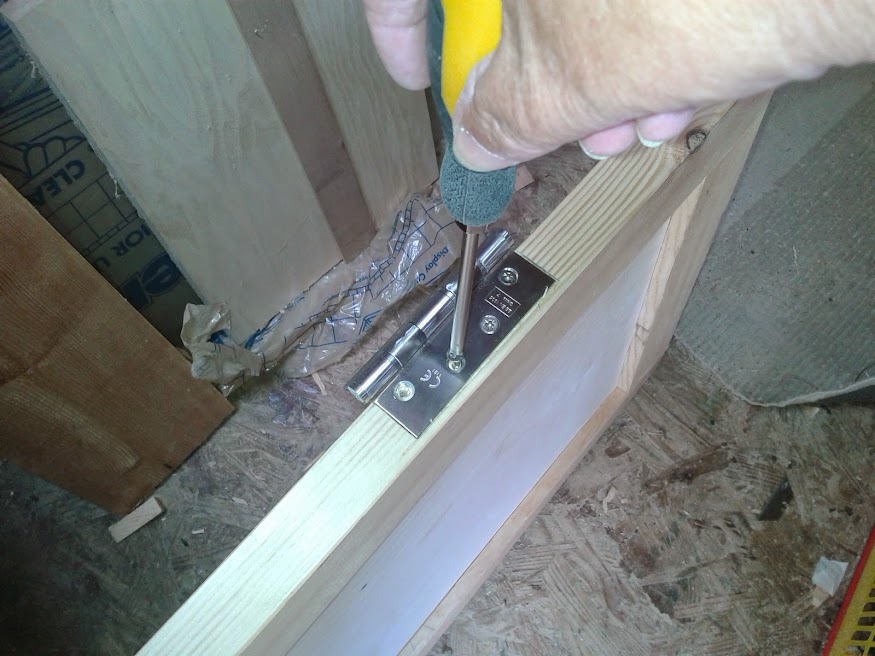
I fitted and hung the fourth door after a trip to Screwfix for some hinges buying silver stainless steel which came with matching screws. I bought decent substantial hinges as I have concerns regarding the weight of these doors hung.

Hanging+of+4th+door.jpg


There was little amount of fitting required, the left hand stile required a slight scribe to the wall post and of course the top rail has to be bevelled back as the back edge grows as the door opens.

I only had time to hang one door due to other commitments and will fit others later in the week.
 
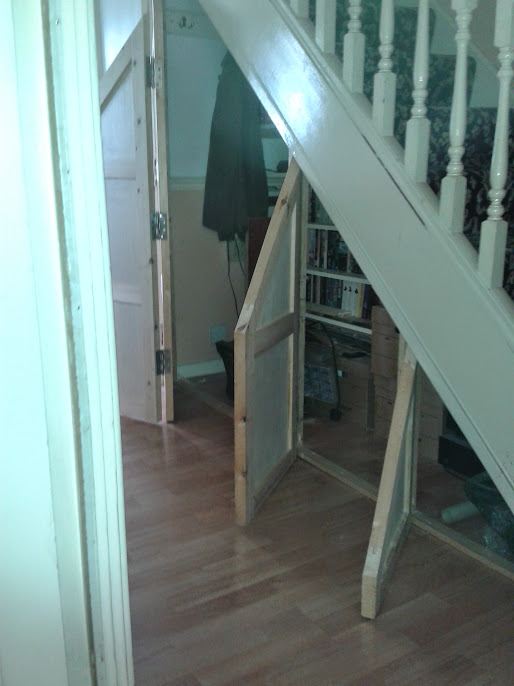
Only managed to fit one door mainly due to the client (a family member) insisting he wanted all the doors to open. BUT! the second door to open inwards! I could not get it through to him the geometry of the back edge growing as the door is opened. To give support to the third door I required a mullion inserting and to give this a position I had to plane off just less than a ¼” off each edge of every door. I did this using a small bench surface planer. It was a good job I had porridge for breakfast, lugging this up those stairs put a drain on my energy levels.

This planeing needed the removal of the door I had already hung which I would have had to do anyway. The end frame which had been plugged and screwed to the wall turned s out to be “Siporex” a light weight block used in the sixty’s So, this had to be taken off and a more positive fixing used.

Had difficulty in explaining how the top edge of the door grows when opened and is why we can’t have the 2nd door opening inwards.


Progress to date

20140607_090155.jpg


Top of door showing bevel to accommodate top edge growth as door opens.

20140607_090249.jpg


Will attempt to complete next week when hopefully the client will be at work.
 
Wouldnt it be better if you had hinged the second door the other way ,with the knuckles on the inside. That way you wouldn't see them when it's closed and it will fold better.

That's how mine works, the second door is attached to the first with a piano hinge and the first is attached to the wall with concealed (blum) hinges. So from the outside mine looks like a plain wall.

Sent from my HTC One using Tapatalk
 
Wouldn't it be better if you had hinged the second door the other way
It would work if it's better depends on its use, A Dyson is stored here under the stair the odds are it would be in the way. Opening outwards it doesn't matter. Its down to personal preference.
 
really enjoyed reading this project ,thanks for posting.
I've loved timber paneling ever since I bought an antique book as a student 'Building Construction Advanced Course Charles Mitchell (1919 9th Ed) '

Its an excellent solution to an awkward space . I hope you'll not be offended if I say that I think the large prominent hinges do detract slightly from the overall impression .
 
I hope you'll not be offended if I say that I think the large prominent hinges do detract slightly from the overall impression .
Not offended but agree. What I was looking for in the hinge was first stainless steel strong enough to take the weight, which they do. At screwfix they looked OK but when on they do as you say detract from the desired image. I did have some piano hinges at home (big savings when you buy in bulk) (change to quantity) but there on now. Thanks for the interest though its appreciated makes it all worth while.
Foot note, Maybe if I had not been so pedantic regarding not using a rule or tape on this project I would have realised these hinges are too big?
This section is called mistakes and this is one to add to those already made
Mike B
 
Mike please don't apologise they look fantastic and are very practical. I'm sure the clients are very pleased with the end result.

I've tried to find hinge solutions to various projects myself in the past and not found anything completly invisible . Modern piano hinges all seem so poor quality and rust as soon as you breathe on them .
I did think once about using hidden sprung 'swing bar hinges' like the old saloon doors but haven't actually tried them yet.

Lovely write up and I've enjoyed following your progress thanks for posting.
Johnny
 
Will you be painting it?

Now there's a question. You may have worked out the client is my beloved son. There is a trend these days particularly in the South to not decorate but move into a property that's decorated.

Remarks of, I think this room needs a lick of paint, falls on deaf ears. My other offspring are no different. So will this project get him moving? I don't know.

Another alternative view is I have recently bought an air compressor with paint sprayer which I have no experience in using. Will this be a good project to learn on but. There's always a but. Would mean bringing them back to Sussex. This may not be bad thing as his Mum is always complaining he doesn't visit enough. Then his partner has given him an alternative paint or I leave. Now there are times and situations you don't get involved in.

Mike B
 
The two large doors folding back work OK but if the left hand door is not supported by a gentle push with the left hand as one opens with the right hand there is a tendency for the doors to jam. Not much but its there and therefore with much discussion it was decided to insert vertical hanging posts for the remaining doors.

Vertical hanging post
20140614_095054-1.jpg


This required taking off a ¼” off the remaining doors except the last door where 3/16” was removed.
This led to consideration in the inletting of the hinges. The stainless steel screws being 1½” long into ¾” material.


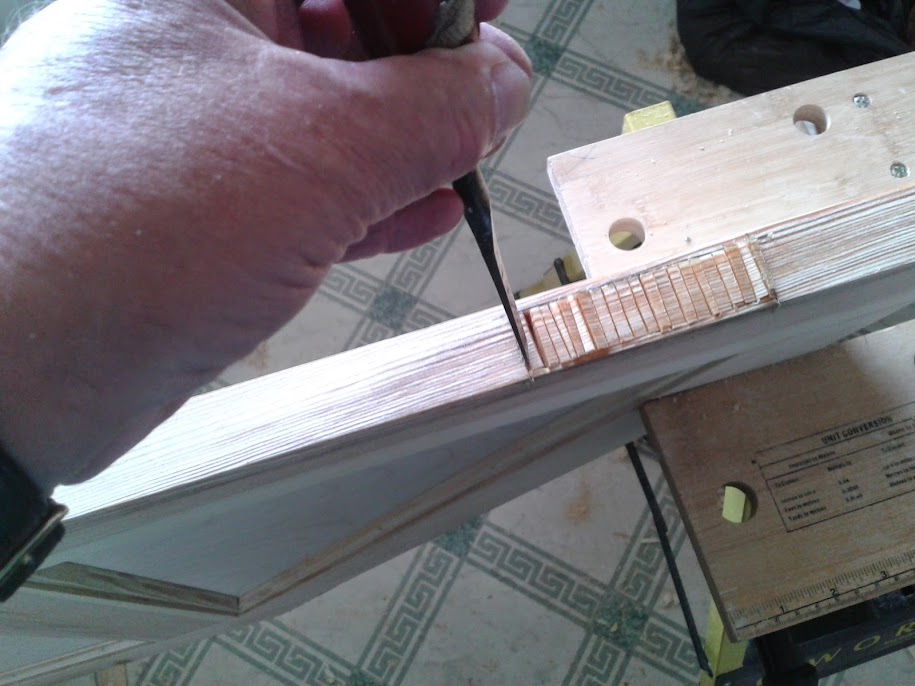
In my part of the West Riding of Yorkshire it was the custom to set hinges fully into the door and the other leaf on the face of the frame. Joiners from other areas would comment on this telling us if we wanted to work for Wimpey Homes you would have to learn to set into the frame. The bonus target at that time was to hang 8 doors a day. Letting just into the frame is half the work and we made good money hanging doors, especially if we had fixed the frames. Leaving the latch leg loose also allowed taking out twist. I thought some of you would be interested in the process.

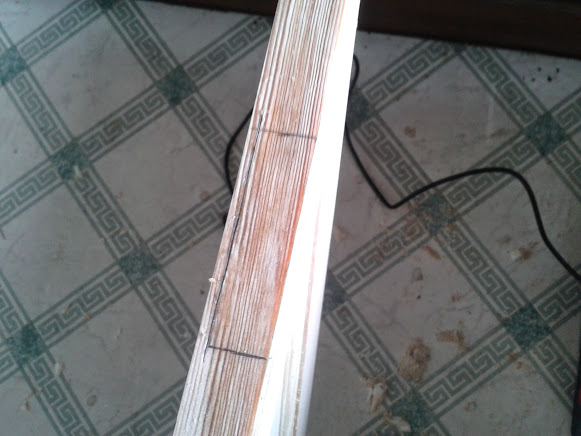
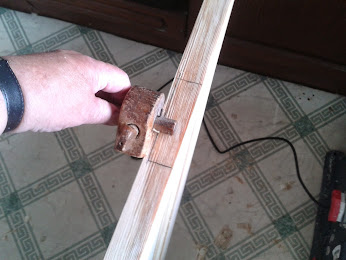
Marking the position using a marking gauge and knife.

20140614_095311.jpg


20140614_095359.jpg


I2Dbux34QsBbUxHhj6tdtMhdlb9QDmQ9phojSIYUWXU=w105-h140-p


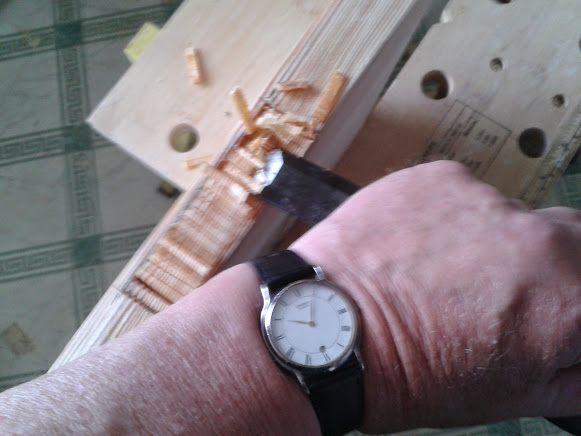
You can observe the chips pushing up. I had to sharpen frequently not to keep the edge sharp (which helped) but the chisel was picking up a load of resin from the timber which was setting to a hard shell.

20140614_100309.jpg


20140614_100419.jpg


The door hung in position

eYtUeYg183cgznt6Vliq0ypClgR5I3zJPmlDOv5Wwiw=w272-h436-no


Could be me but they do look better, not as sticky outer as the others.
 
nicely done !
Its a shame sometimes when we have to compromise the simple purity of our designs to accommodate practicalities but needs must I suppose.
Thanks for the hinge guide ,much appreciated. I cannot believe the number of doors I have butchered over the years simply for want of finding out how the job should be done properly. #-o #-o

Your bonus target of 8x doors a day reminded me of my days as a Plumber when for a complete installation of roof tank,Hot water cylinder , bathroom suite, kitchen sink and stop/drain tap and all associated service pipes and wastes we earned the princely sum of £33.00 ! :shock: Not surprisingly I invariably managed to complete the lot in one long days work.
 
Thanks for the comments johnny, since working on the lump has been made legal I don't think any one is on Bonus rates anymore though I can still remember some of the going rates from long ago. Window cording for example 20 minutes a sash. If you had not mastered continuous cording you were in debt.

To continue all the doors are now hung but here's a Danger Warning!

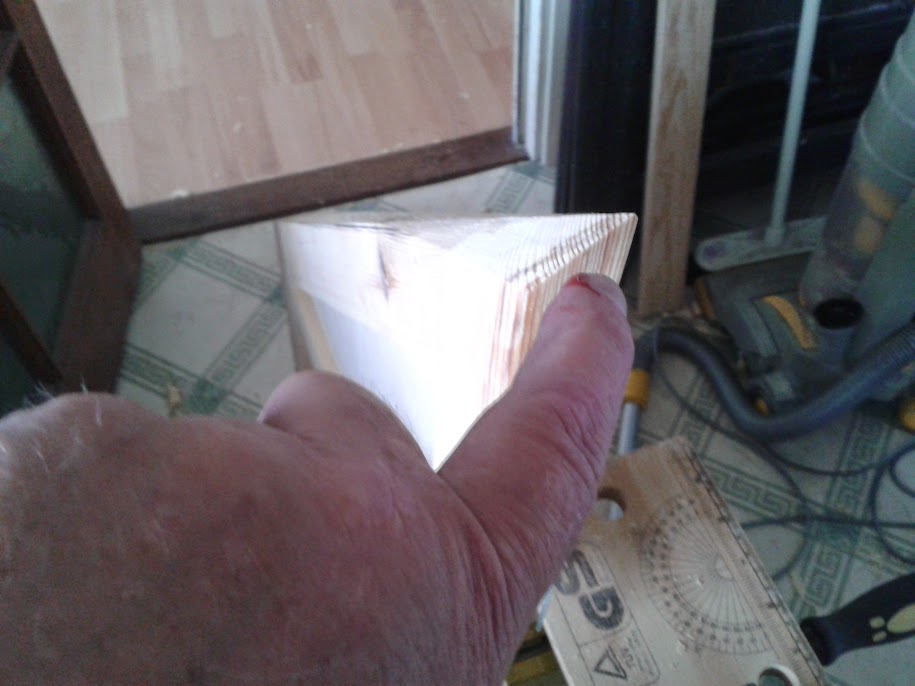
In beveling off the top edge be careful in not slipping off as when nearly complete the point is sharp with little area for the sole of the plane resulting in the project being stained British Red Pine. Ouch!

20140614_104712.jpg


I bought one of these from Screwfix they were on the collection counter as a special offer. An angled screwdriver for tight corners I can’t recommend one.

20140614_171155.jpg


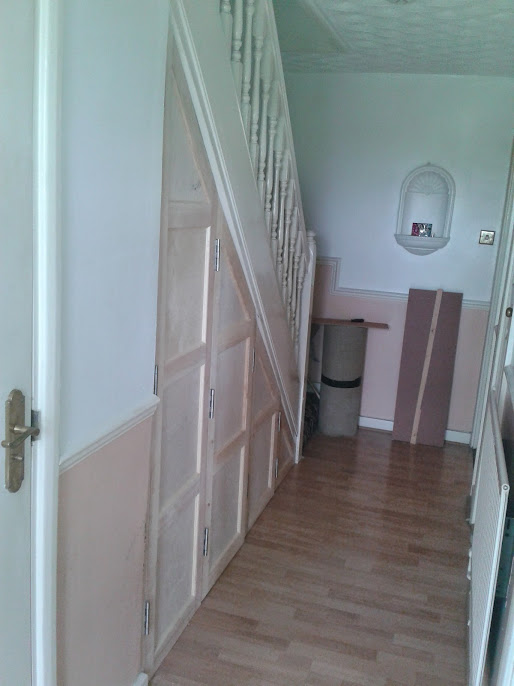
This is all the doors hung, ready for painting before ironmongery fixed, I fancy touch latches, £7.64 for a pack of five at Screwfix. No handles or protrusions. Handles could mean magnetic catches.

20140614_174006.jpg


20140614_173919.jpg
 
Not much to show this week but I have been busy on the project preparing for decorating, sanding woodwork and washing down with sugar soap.

I am unscrewing a door to take back to practice spray painting, somthing I have never done before.
 
Thanks Triggaaar the encouragement makes it worth while. Will look forward to your W.I.P. when you have a go.

I made a start on making a spraying booth from ripping’s and polythene sheet in a space between the back of the workshop and the fence. This is one of those places that is hidden from view and becomes a dumping ground for items that should really go off to the tip. Even when cleared I couldn’t get a start as there are five Holly trees with branches overhanging into my garden that had to be trimmed back and then taken to recycling.
Finally got started, all suited and booted.

20140624_140014.jpg


As stated, never done spraying before, it took one hour to set up, five minutes to spray and one hour to clean and pack up. Not satisfied with the results either.

20140624_132756.jpg


First suspending the door from a hook was a bad idea, kept spinning round, could not get an even coat despite watching all the videos on u tube. Needed somewhere to put the spray gun because you cant put it down if you have to make adjustments for what ever reason where do you put the gun?

So for my second attempt I got a little bit more organized. First task was to make some form of holder for the gun and this is the first thing that came to mind.

20140624_134733.jpg


And this is it in use. Worked O.K. will look closer to make improvements but for now will suffice. Also got plenty of cleaning gear to hand. A quick scan of U Tube (must remember to put the hose over my shoulder).

20140624_134706.jpg


Results much better (not perfect) but better.

20140624_145039.jpg


Closer inspection shows what looks like a run but its not. It was silly me seeing a spot of dust tried to flick away with my finger which resulted in bursting the forming skin. Lesson learnt “don’t touch!” First lesson was when starting to spray there’s a temptation to target the object. No! fire above it and then come on to the target.
Close inspection.

20140624_145039-1.jpg


Inspection next day it was still there but not as noticeable a bit of sanding is in order. This is the undercoat.

Have brought the other doors back to Sussex cant wait for attempt three.
 
thats not a bad first attempt actually. You are making all the usual mistakes but learning from them . :wink:

Might I suggest that you thin the paint a little more and you should be aiming to put several coats on maybe 4-5 thin coats or even more and allow for the coats to dry between spraying.
Ideally the main flat areas would benefit from some wet and dry between coats so that you end up with a super smooth top coat
it looks like you are trying to cover and get depth all in the first coat by going back over wet paint in an effort to build thickness.

if I were tackling that I would suspend the panel such that I could walk all around it and spray without stopping.
Start with the edges first, then a light spray of all the mouldings then the 2x middle panels then finally the sides just as you would with a paint brush.
 
Back in Sussex first task is remove hinges,

taking+off+hinges.jpg


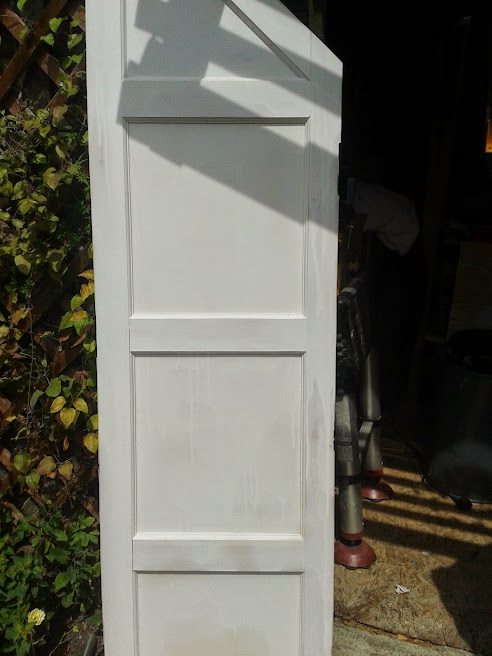
Some more spraying.

The+large+door+1st+coated.jpg


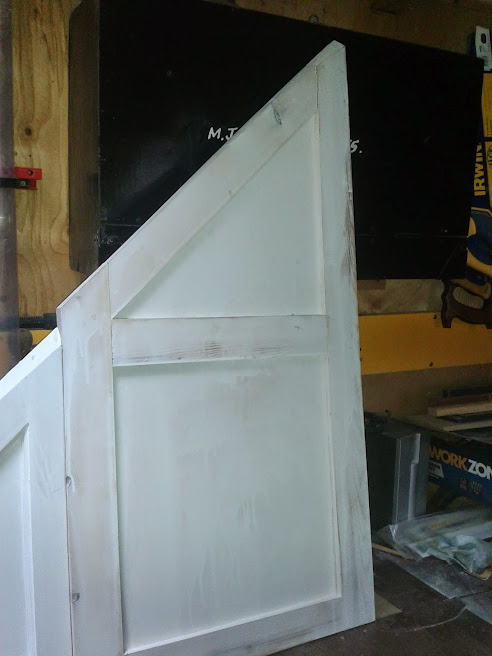
second+door+first+coat+third+try.jpg


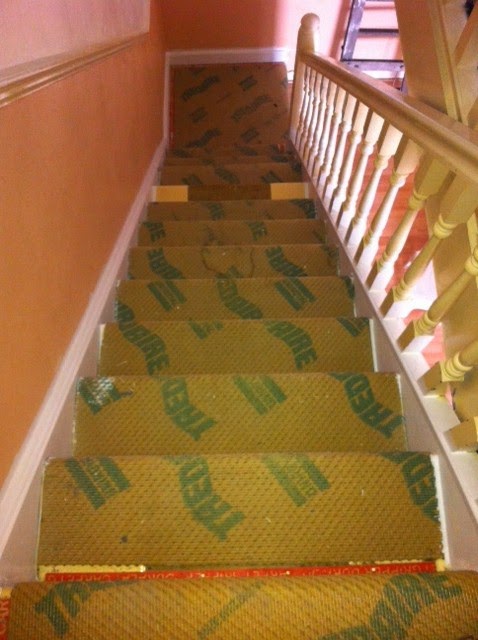
And in London more decorating.

Stairs+and+skirtings.JPG


Under+coat+stairsJPG.JPG


Have a target date of next Tuesday weather permitting, might do it :roll: .
 
Back
Top