thomashenry
Established Member
Great. I'm leaning that way too. Decision made, thanks.


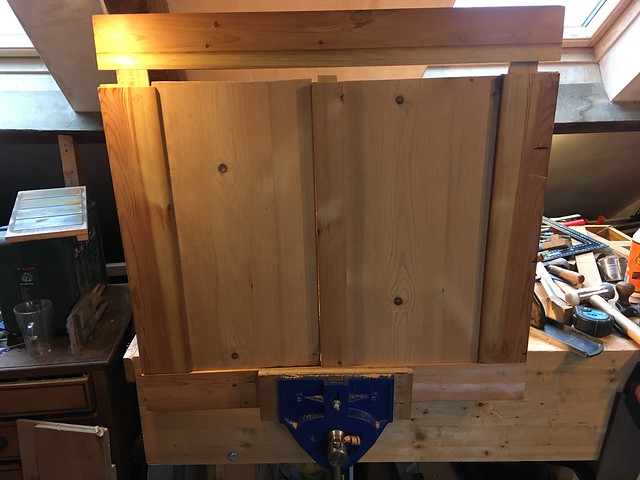
MikeG.":16nnxx6s said:I would show the knots, but flip one of the doors end for end such that it wasn't book-matched. Book-matched knots isn't a great look!
 Untitled by Tom D, on Flickr
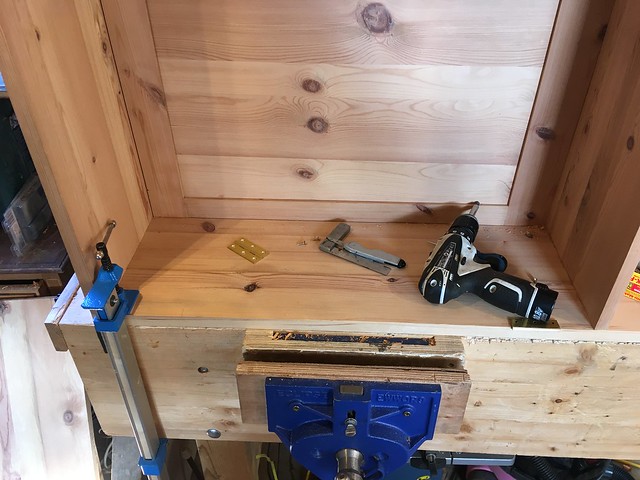 Untitled by Tom D, on Flickr
Probably adjustable when they're looseMikeG.":1rbfky7l said:I can't see any housing for the shelves. What's happening there?
MikeG.":2ae60add said:I can't see any housing for the shelves. What's happening there?
 Untitled by Tom D, on Flickr
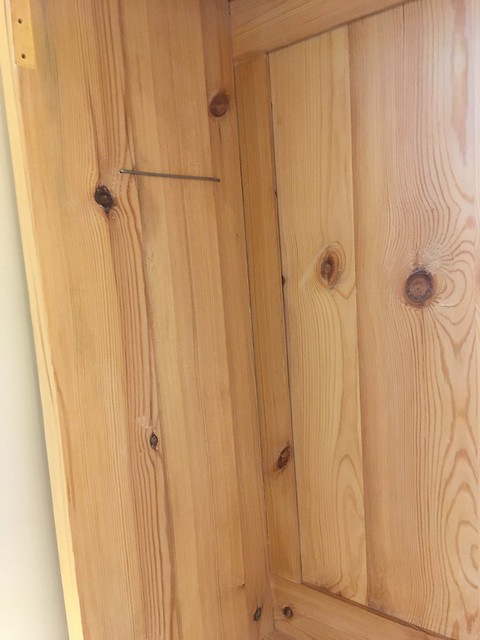 Untitled by Tom D, on Flickr
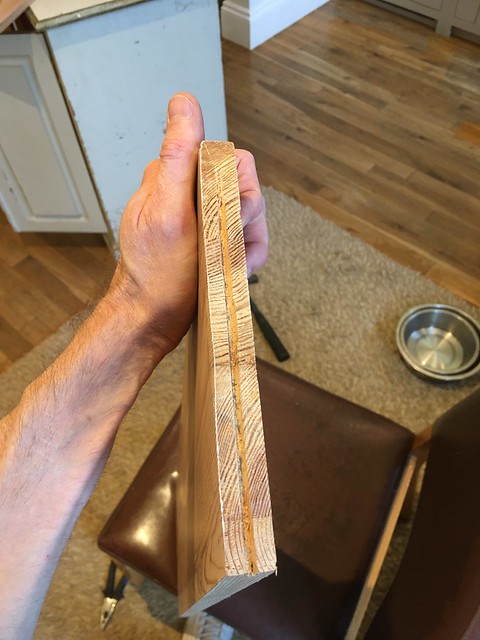 Untitled by Tom D, on Flickr
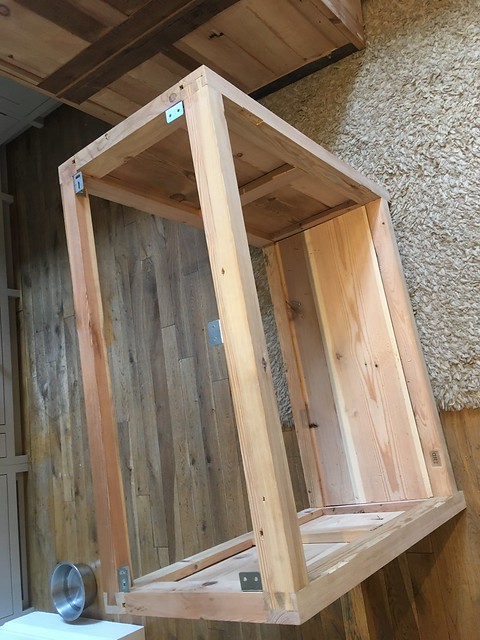 Untitled by Tom D, on Flickr
 ) at 240 grit, then applied a coat of Osmo Raw. I've not used it before, but my dad used it for a kitchen worktop and I liked how it looked. I want to avoid the cheap orange pine look, and the Osmo Raw has certainly done that. I gave it a very light rub with 600 grit paper before applying the second coat, then rubbed this down with some 1200 to finish off.
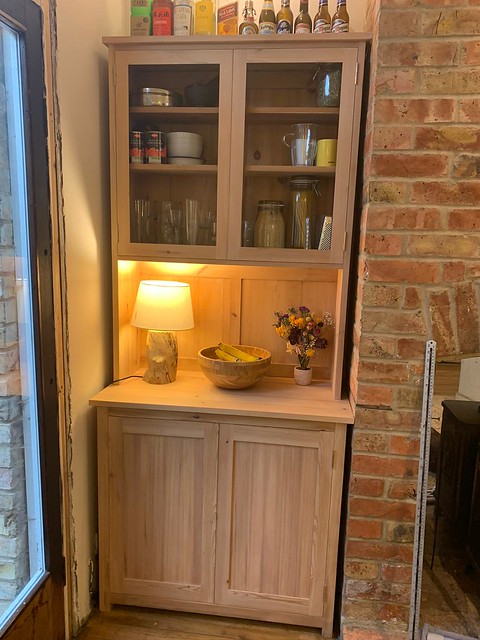 Untitled by Tom D, on Flickr
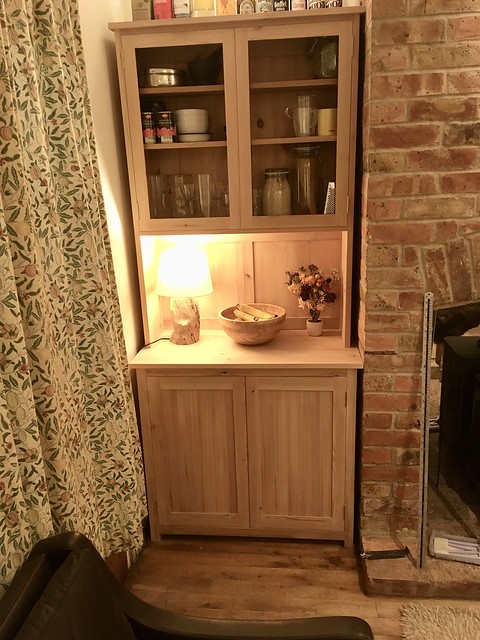 Untitled by Tom D, on Flickr
thomashenry":19ti1was said:MikeG.":19ti1was said:I can't see any housing for the shelves. What's happening there?
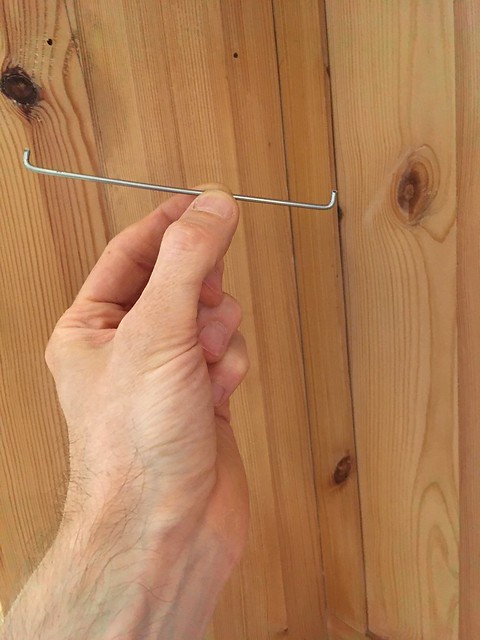
Took another idea that I saw in a Paul Sellers project, using a wire coat hanger - drill two tiny holes, cut and bend the metal, and pop it into the holes.......
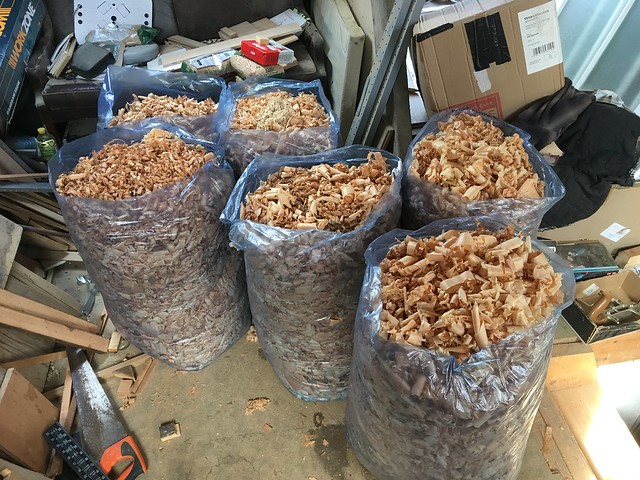
thomashenry":35382tt6 said:.........But I'm very happy and feel pretty chuffed to have turned some old scrap roofing timber into what I think is a nice bit of furniture without machines (well I did cheat and use a hand sander briefly... plus a cordlss drill driver to do the holes for the shelves, I don't have an egg spinner).
MikeG.":15frdqet said:thomashenry":15frdqet said:MikeG.":15frdqet said:I can't see any housing for the shelves. What's happening there?
Took another idea that I saw in a Paul Sellers project, using a wire coat hanger - drill two tiny holes, cut and bend the metal, and pop it into the holes.......
A little shrinkage and your best Spode-ware ends up crashing onto your Ming dynasty vase collection. :lol: I can see a couple of little improvements I'd want to make to that ingenious idea.
What shrinkage would there be? The width of the shelves and the dresser top are all dictated by long grain wood?NickM":hnm089v4 said:I think it looks great.
I'll soon need to make a decision about what finish to put on the desk I'm making. I think my wife would probably vote for something like Osmo raw. It's always a tricky decision.
AndyT":3fl100wn said:That looks really professional, well done. And I like that it's made from reclaimed wood which is just really good old wood, not pallets or scaffold boards.
I'm particularly impressed by the way the doors all fit so well, with a tiny, straight clearance gap all round. Did that need a lot of fiddling, trial and refitting?
Enter your email address to join: