TV corner stand - Completed!

UKworkshop.co.uk

Help Support UKworkshop.co.uk:

This site may earn a commission from merchant affiliate links, including eBay, Amazon, and others.

RobertMP

Established Member
Joined
29 Mar 2006
Messages
863
Reaction score
1
Location
Woodford Green
After getting some help with the design I thought I'd better post some work in progress pictures.

The design is -
cnr01.jpg


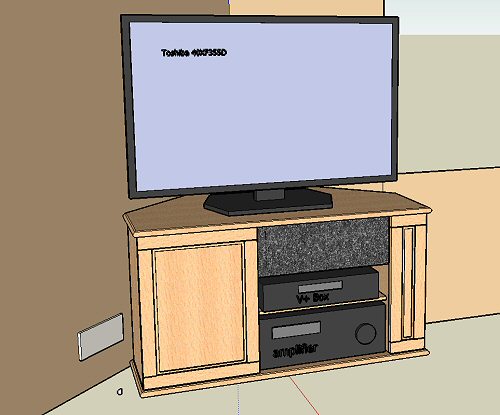
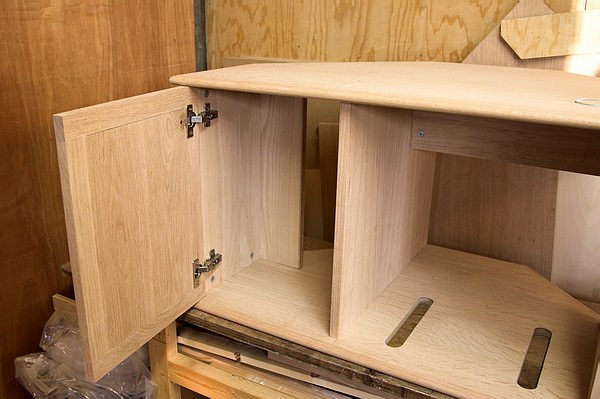
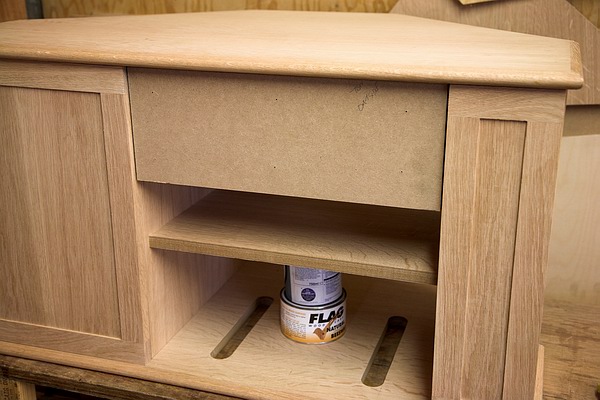
Now made out of 3/4 inch white oak veneered MDF and White oak trims and doors.

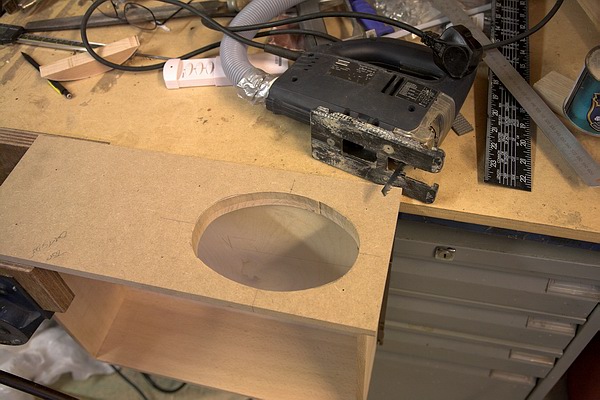
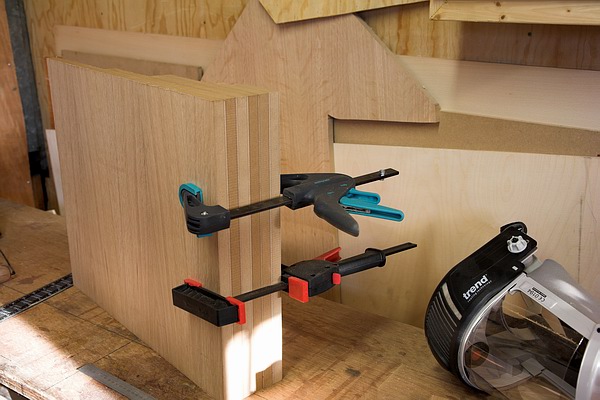
All pieces cut with a jigsaw slightly oversize and then machined to size on 3 sides. Last side may need cutting once I allow for the trim.
tvs01.jpg


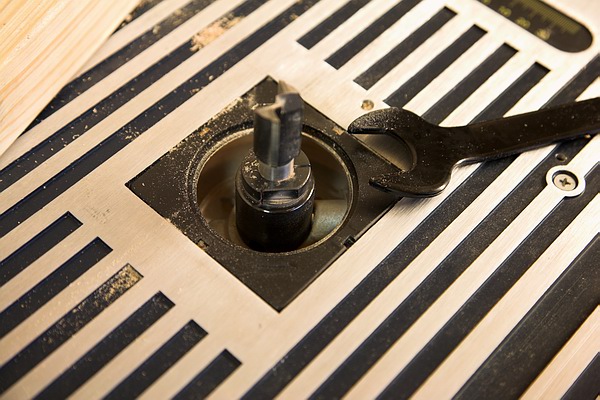
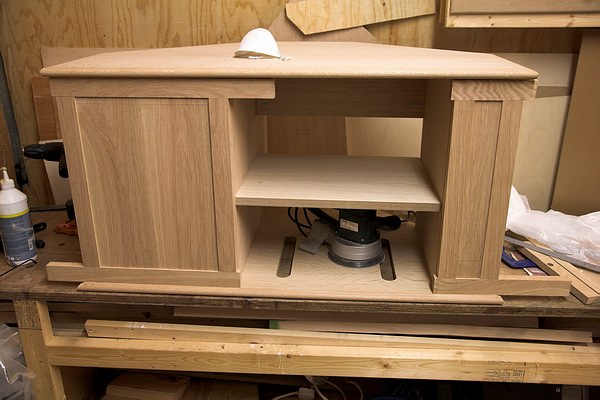
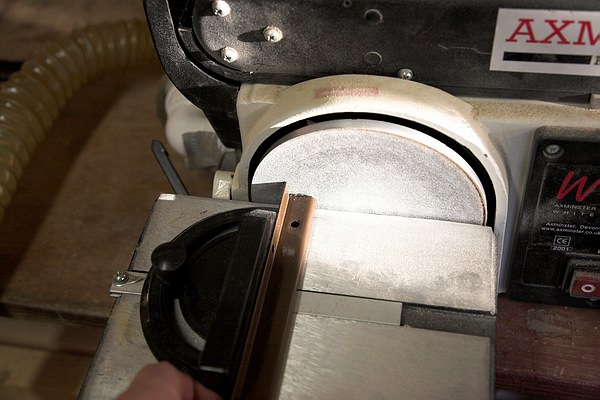
Until that one day when I make a router table I've mounted my nice new Triton router (from B & Q) in the el cheapo B & Q table. There is a steel plate holding the router rock solid in place. The plastic fence has been thrown and a batten clamped across instead. A 0.5mm thick piece of white sheet metal gives me a stepped fence when I need it :)
tvs02.jpg


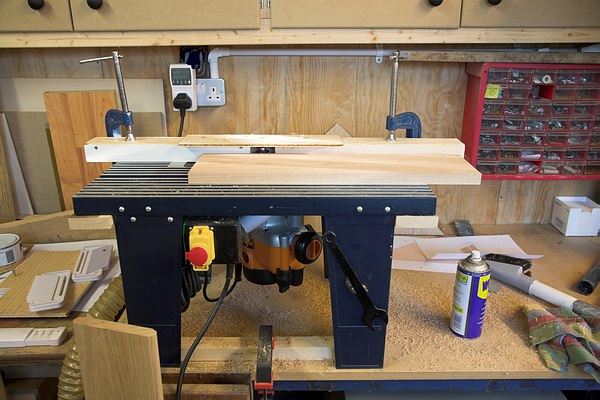
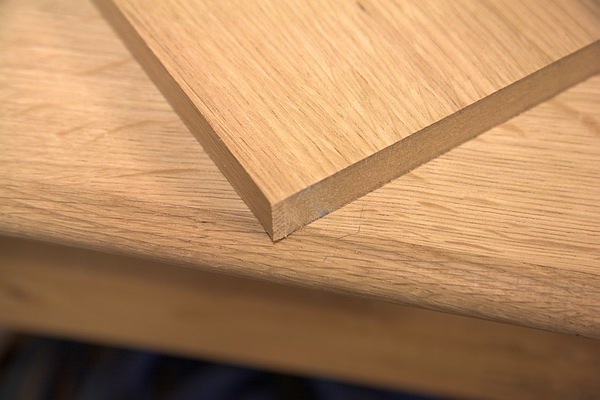
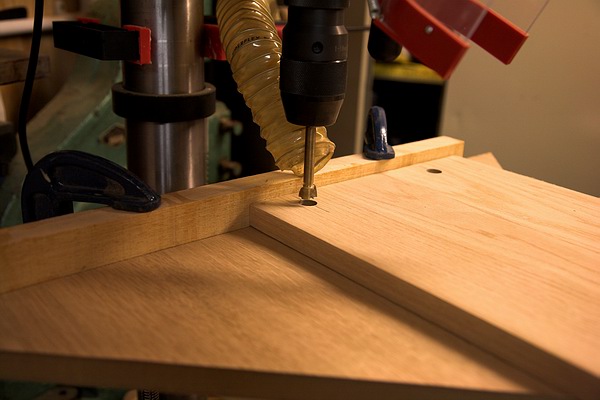
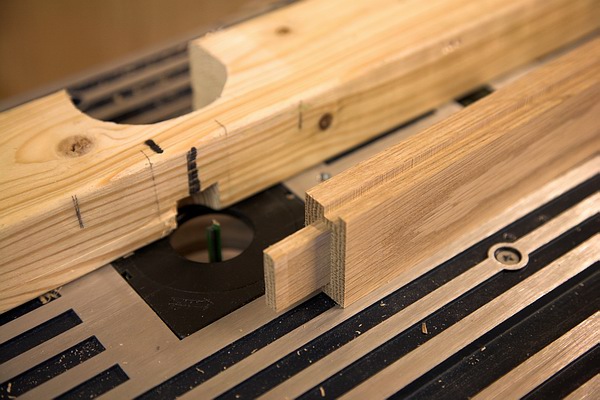
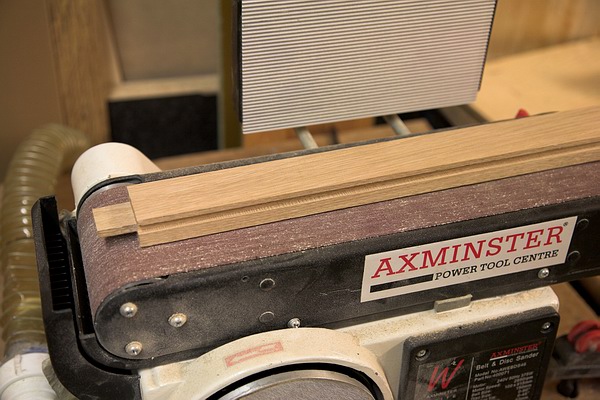
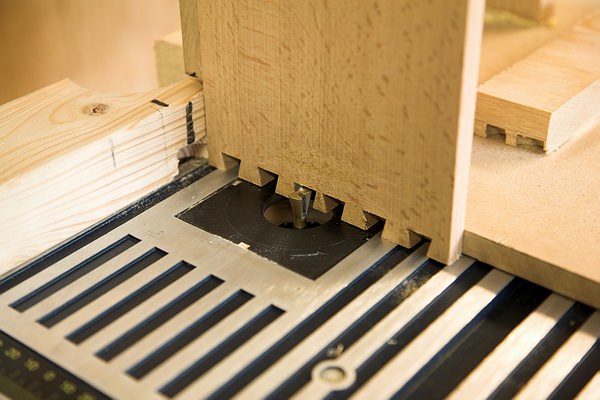
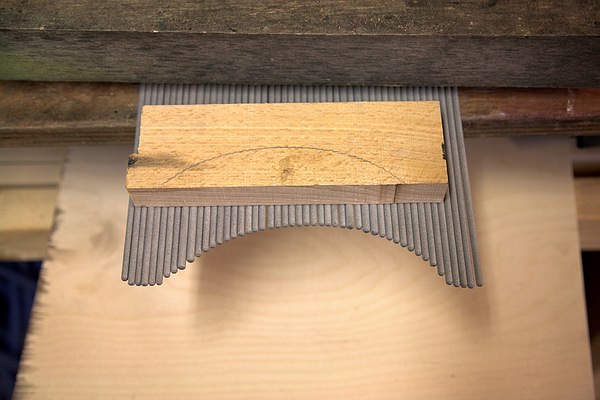
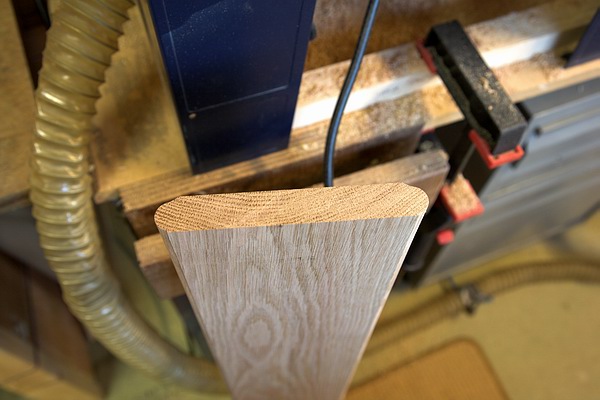
Table top edge cutter profile.
tvs03.jpg


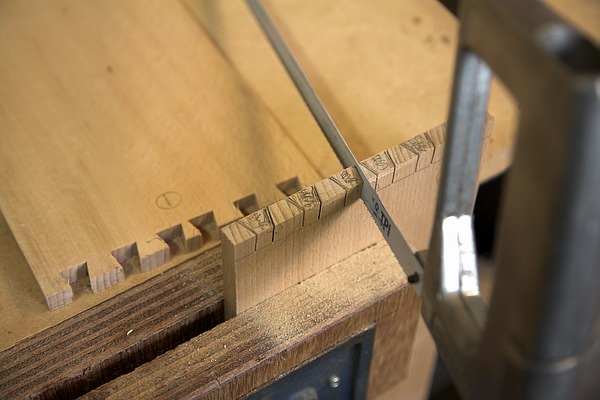
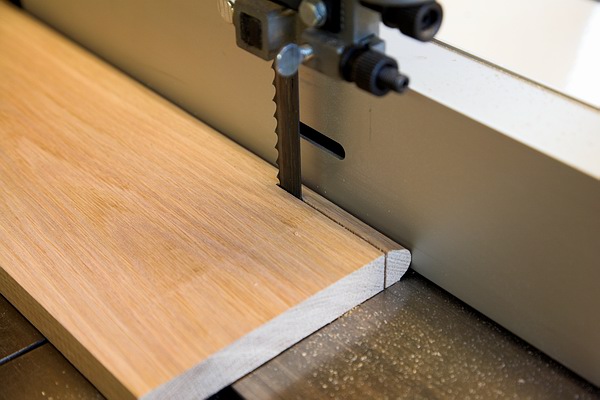
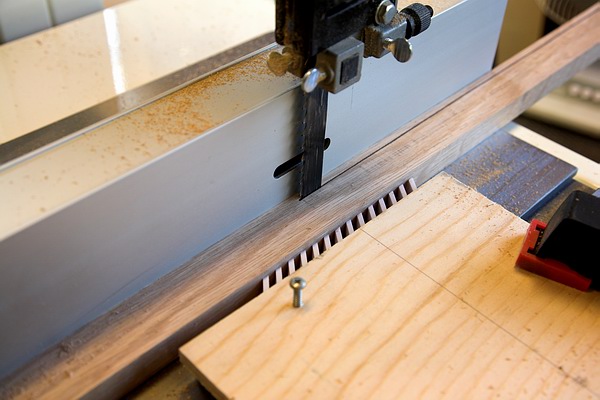
Sawing off the trim.
tvs04.jpg


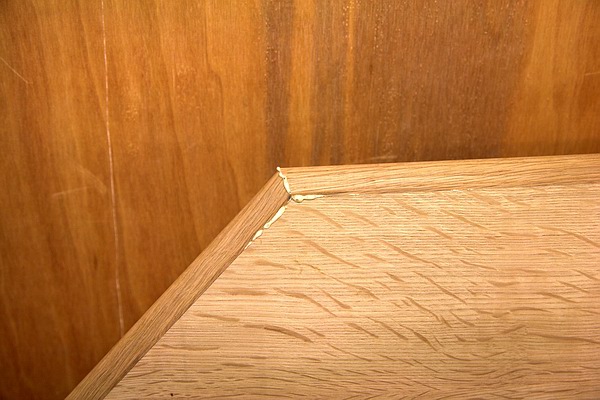
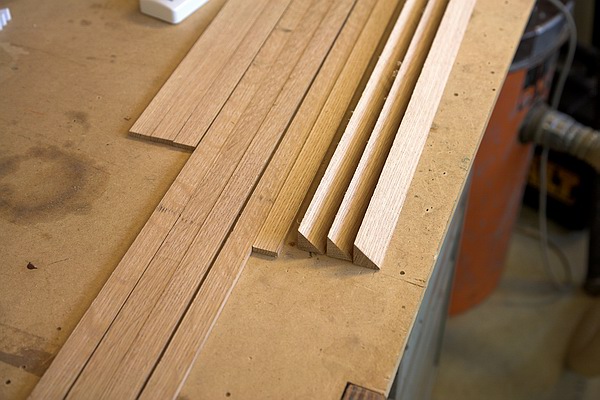
The odd bit of damage but nothing deep and plenty of good lengths
tvs05.jpg


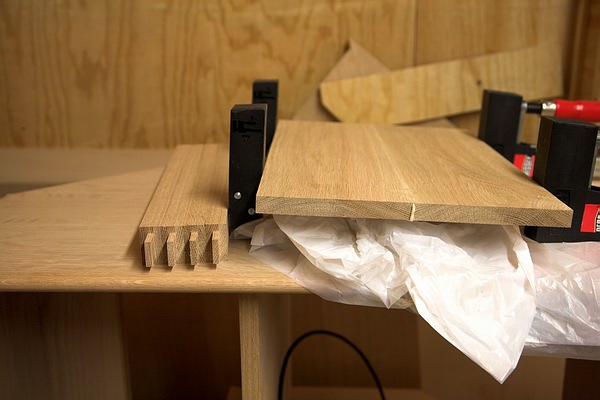
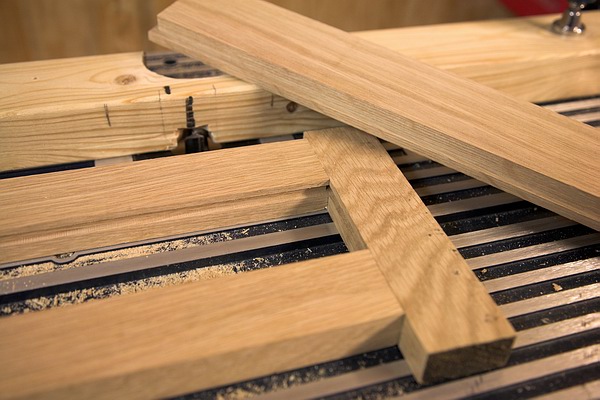
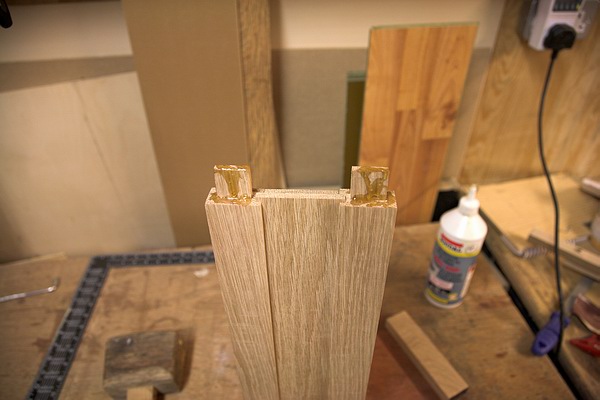
Making more trim for the vertical edges
tvs06.jpg


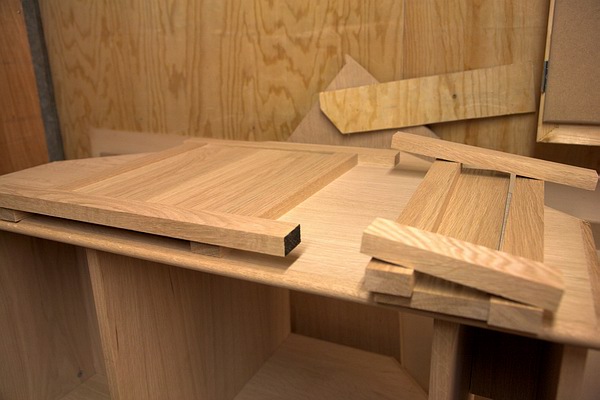
Flat trims and some triangles for the back that I think I might need.
tvs07.jpg


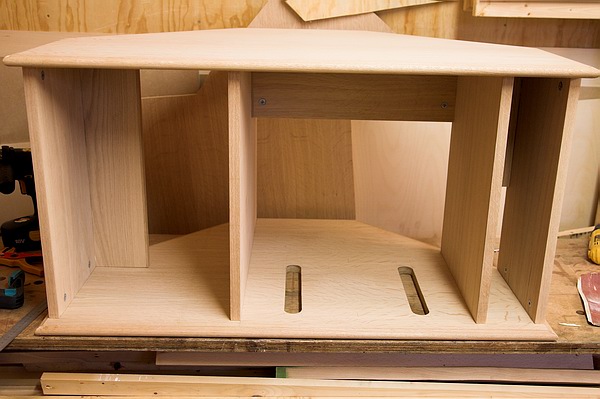
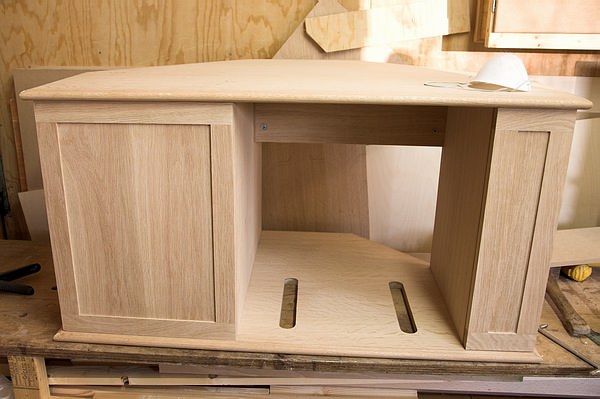
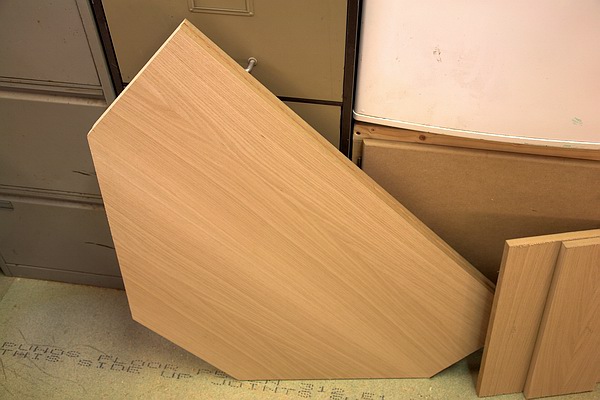
The top and bottom shapes and shelf blanks.
tvs08.jpg


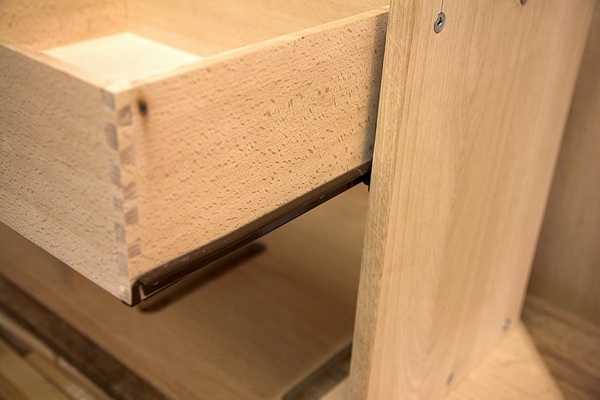
Seem to be making reasonable progress but then it is all easy stuff. No doubt the drawer and doors will take me months!

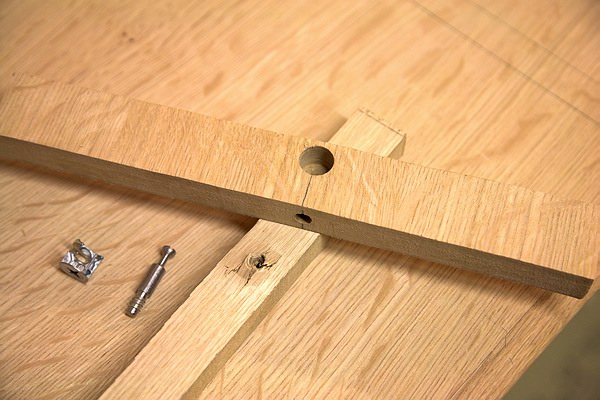
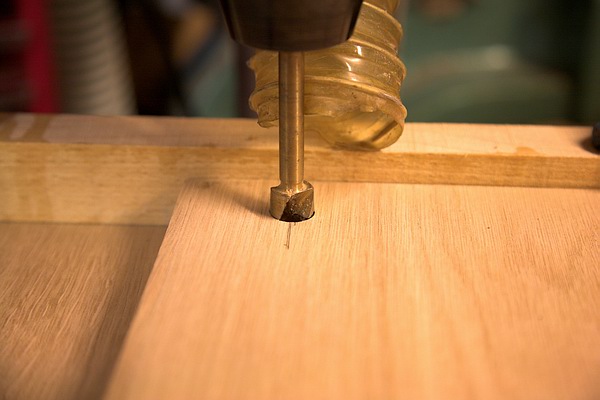
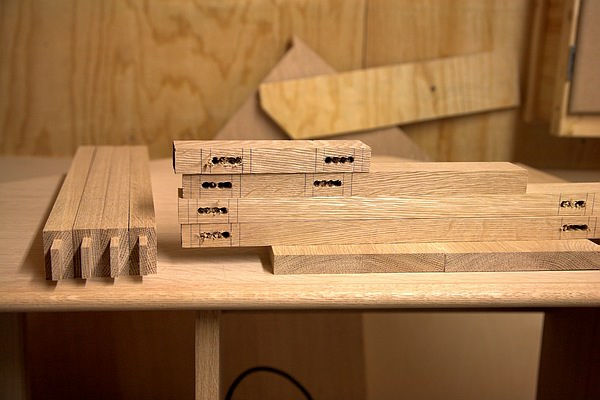
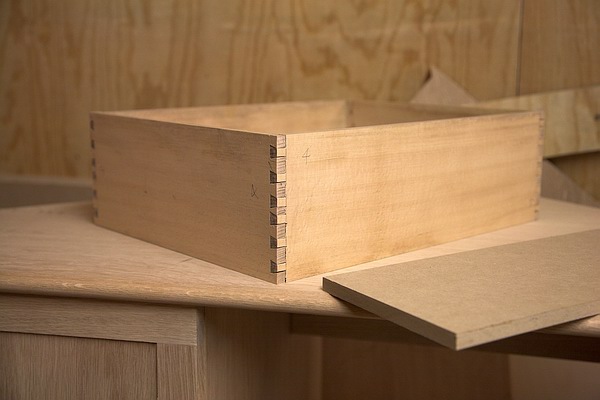
Need to experiment with joins on some offcuts. Decided against pocket holes as I'm a bit put off by all the holes. Going to try some of those flat pack fixings with pegs and cams as I quite like the idea of it coming apart for handling and I'm sitting at a desk made that way which is very strong. Glue and biscuit joins if all else fails.
 
More progress today though it does not look much.

Spent ages mitring the trim for the top and bottom

tvs09.jpg


And flat trim for the verticals
tvs10.jpg


tested the stud and cam idea and found it very strong. Had to twist it hard to get it to fail.
tvs13.jpg


Drilled the 15mm holes and packed up for the day.
tvs11.jpg


Seen a bendy posable pipe thing at axminster that comes with nozzles. Think it could be a good idea for this kind of thing. Make do for now.
tvs12.jpg
 
Hi robert
looks great so far, nice to see things progress, keep up the good work and the update pictures..
 
Looking good Robert...

I just wondering though, why machine up all that trim before glueing it on to the edges of the boards? It would be easier and quicker simply to glue a square 20mm lipping onto each board, trim it flush and then mould it with a hand-held router afterwards.

Cheers
Dan
 
Dan Tovey":kc018ezf said:
Looking good Robert...

I just wondering though, why machine up all that trim before glueing it on to the edges of the boards? It would be easier and quicker simply to glue a square 20mm lipping onto each board, trim it flush and then mould it with a hand-held router afterwards.

Cheers
Dan

He cant " PLAY " with all his nice tools if its done like that :wink:
 
I did consider doing that but was worried about splintering off some of the end grain as I passed the corners. I would have had to do it on the table not hand held as the bearing on the cutter does not actually touch anything on the part of the profile I'm using. Turned out OK anyway.

Quite pleased with the cam and peg things - really strong when locked up. Once it has some feet the slots should allow some air to the underside of the amp.
tvs14.jpg


Started on the doors
tvs15.jpg


tvs16.jpg


Mortices and tenons made the same way as in my sideboard thread.
tvs17.jpg


Should finish the doors today.
 
Robert

Very impressive. And I have to say that your WIPs are outstandingly clear. It's threads like yours that have caused me to stop buying woodworking mags!

Regards.
 
I wouldn't take what I do as reference material - I make it up as I go along mostly! :)

Didn't get the time I expected today but got on well with the doors

Have to put in a good word for the Triton router - what an easy way to change bits..... and the height adjustment is geat too.
tvs18.jpg


made a groove for the panel in all the pieces. No picture but only ran in between the mortices on the other parts.
tvs19.jpg


I was a bit worried about how much width I would need when I come to fit concealed hinges so I set the panel flush on the back. That will let the hinge hole over run into the panel if need be. Simple rebate cut on the panel edge with the router. Again made easier by the Tritons height adjustment.
tvs20.jpg


dryfit preview :)
tvs21.jpg


Light sand on the rails before assembly. Did the panel with the DA
tvs22.jpg


No glue on the panels.
tvs23.jpg
 
Quite surprising myself with the progress on this project!

Cleaned up the doors
tvs24.jpg


Got the hinges fitted
tvs25.jpg


On to the drawer box
tvs26.jpg


Dovetail saw ;)
tvs27.jpg


Drawer box and face panel for covering with speaker cloth. Change of plan here as I intend to cut a speaker hole in face and box rather than make a frame face and drawer with sides joined to the face as I drew up. Feel like I know what I'm doing more this way and I like that the after fit face can be aligned once the box is on its runners. need to get some speaker cloth soonish.
tvs29.jpg


Grooved the sides and cut a bit of 1/4" ply for the drawer base. Clean up and glue tomorrow.
 
Really enjoying this thread Robert. I particularly like the way you have bought it to life with all the WIP piccies - and lots of great ideas that I can apply to my own TV corner unit that is being formulated in my minds eye at the moment. Keep them coming please!

BTW - it looks like you've nicked my dovetail saw! :oops:
 
Robert,

Another nice looking project and good pictures as well.:D

I think I would have applied the finish to the panel for the door before glueing the frame, as the panel floats you may find that a line of unfinished timber appears under some conditions. :x
 
Thanks for the encouraging comments. Glad people are liking the pictures as I have a lot this time!

first problem. 340mm drawer box and 400mm salvage runners... so I got the dovetail saw (;)) out again
tvs30.jpg


Sanded the cut ends square
tvs31.jpg


Superglued (I kid you not) the raw ends together
tvs32.jpg


And the glue held them in line long enough to get them screwed in place - and believe it or not it runs pretty smoothly!
tvs33.jpg


You would have to be looking for the joint
tvs34.jpg


Face panel held in place then clamped and screwed to the drawer box.
tvs35.jpg


Next problem. Kef 'egg' speaker to sit straight in the drawer
tvs36.jpg


Never saw the point in those plastic profile gauge things - until now. I needed the odd curve profile of the egg so I could make a simple rear support. Box of welding rods, a cloth for friction and a weight to the rescue.
tvs37.jpg


Think a plastic gauge would have been easier but this worked :) . One rear support once the height is cut down (see last picture)
tvs38.jpg


marked out an approximate oval using paint cans then jigsawed it out.
tvs39.jpg


Preview
tvs40.jpg


In the drawer. Plenty of space left for remote controls and suchlike.
tvs41.jpg


Must get to Maplins and buy some speaker cloth!
 
Although I've got a couple of profile gauges,the welding rod idea is definitely a "top tip" worth remembering 8)

Andrew
 
Thanks for the comments. I have used the edge of a bench, engineers square and steel rule to plot profiles before so this idea was similar :)

Went to Maplins today. No speaker cloth in stock so I will order on line. Means it won't be finished for a while yet but as I was waiting to see if the price of the TV falls in January it will not be a problem really.

I'll come back to this when there is progress to report.
 
Good project, coming together well. I like the idea of using the welding rods to make a profile gauge...the thought just occurred to me that you could even use something like spaghetti for this, you might need to be a bit more careful though in case some of them broke :) - Rob
 
Back
Top