I'm a moderator on a photography forum so I do have a bit of experience with a camera
All were taken with a Canon 5D DSLR with a 24-105 image stabilised lens. No flash - just the fluorescent lights and a bit of daylight from the window. The exif (text showing settings) is in the pictures and can be viewed with an exif viewer such as opanda Iexif (free).
I shoot in RAW format so I can make fine adjustments to the exposure after the event if need be - then convert them to jpegs for posting here afterwards. Sounds long winded but takes seconds.
The TV was reduced on xmas eve so I have that now - and an incentive to get on with the stand.
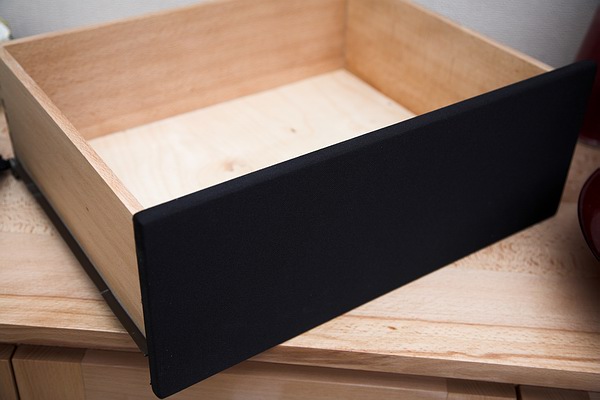
Covered the drawer face panel with speaker cloth. £1.99 +p&p from Maplin for a 5 foot x 2 ft piece. Finally found something a hot melt glue gun can do - stick material to MDF!
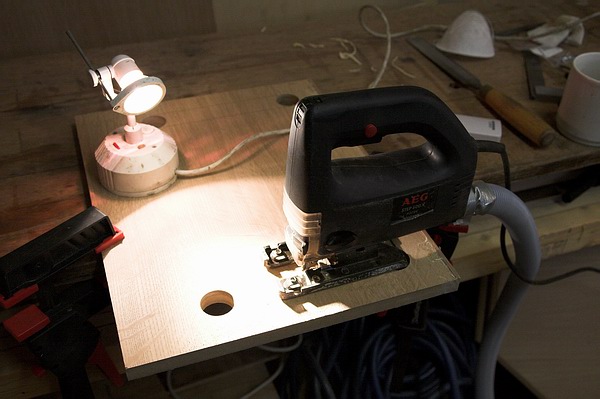
Marked out and cut air flow shots in the shelf
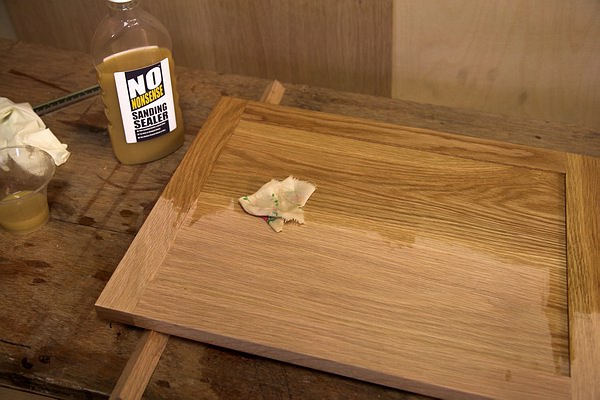
Put sanding sealer on everything and have now sanded it off again and given it another coat
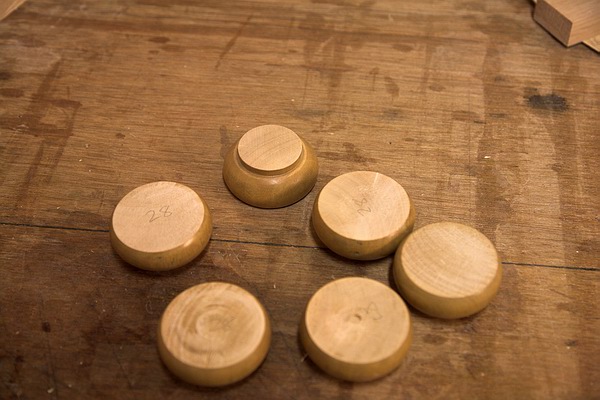
Needed some feet and I had these old table legs I'd saved. The rounded bit was about 68 diameter and I have some 50mm Teflon glides on the way. So out with the parting tool.
Judged the height by eye and all 6 are within a mm (28 to 29mm to be exact). Just need a screw hole through the middle now
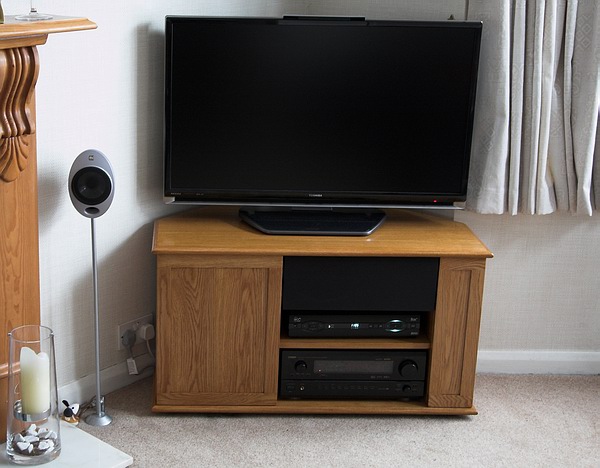
I chose White Oak as I wanted something not too dark that I could colour to blend in with existing items like the fire surround. I rag applied 1 coat of 'mellow pine' followed by a mahogany applied thinly. Top coat was the gloss polyurethane as used on the sideboard I made. We have grown to like the gloss and it is really tough.
And a shot to show the cupboard doors and drawer. I didn't want door handles so there are finger grips carved into the back edge that you can just about see.
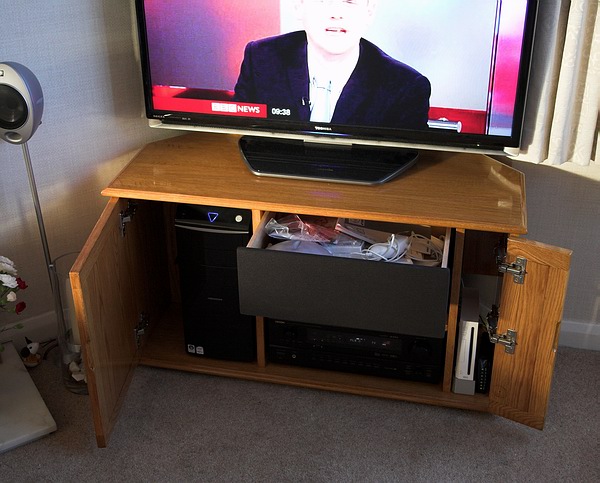
There is a little unused storage space and I will get round to making a small shelf / DVD rack to go inside.
Overall I'm pretty pleased. It has given a very neat solution to holding the kit and looks so much better than the stand that was part of the old TV.
This is an excellent piece Robert, I'm really liking some of your recent work.
I like how you've made an effort to extract the dust at its source from the pillar drill, where many of us simply wouldn't bother. But, what about the router table?? It'd be a shame to make a mess of that lovely Triton...
I like to see what I'm doing and don't like MDF dust so I made an effort with the dust extraction
I connect the hose to the port on the Triton for dust extraction and find it works very well. If anyone has a B & Q with one left and does not already own one - get it! Brilliant in a table.
That looks awesome, the design, making and finish are all spot on. You'll actually have a reason to watch television - so you can admire your handiwork!
Thanks for posting this. It has given me some inspiration to do something like this, I'm fed up of viewing all the wires behind the TV and a cabinet like this will cure that problem because they can all be hidden behind.
It never crossed my mind as to right or wrong way to do it!
No one else has commented here or on the forum during the making so I guess it is not that obvious to most people. Looks OK so it is staying that way now :lol:
I must admit I thought it was a personal preference thing as I have seen doors made like yours elsewhere. Is it a bit like - should sides of cabinets go inside the top and bottom or the top and bottom inside the sides?
Great thread Robert and thanks for sharing it with us. I particularly like the way you used the drawer slides; amazing. Also, I've used the same "quick fix" thingies in some mdf shelves I made for SWMBO - they've stood the test so far.