English workbench (Rex Krueger plans)

UKworkshop.co.uk

Help Support UKworkshop.co.uk:

This site may earn a commission from merchant affiliate links, including eBay, Amazon, and others.

earnest

Established Member
UKW Supporter
Joined
19 Apr 2024
Messages
20
Reaction score
5
Location
UK
I am reposting this from my reddit post which did not get any feedback, so hoping it would get some traction here, but maybe it is that bad that no comments needed 😂

I used the Briwax original clear beeswax and, even with a 3M mask on, it had a very strong chemical smell. I tried to use the Ronseal wood filler, and it also had a very nasty smell.

This is a woodworking bench and will not be in contact with food, but I would still prefer something, say, more on the eco/non-toxic side(if makes sense). For renovating a cutting board, I am planning to use a food grade mineral oil or raw linseed oil.

Would a 50:50 mix of melted beeswax and raw linseed oil give good penetration and protection for the bench? As far as I understand it may not be as long lasting as Briwax. Anything I can add or use to improve this, please?

I know this is going to have scuffs, marks and holes, and treatment is probably unnecessary, however I am trying to upskill myself and thought it would be an interesting opportunity to experiment with paint, fillers, sealants etc.

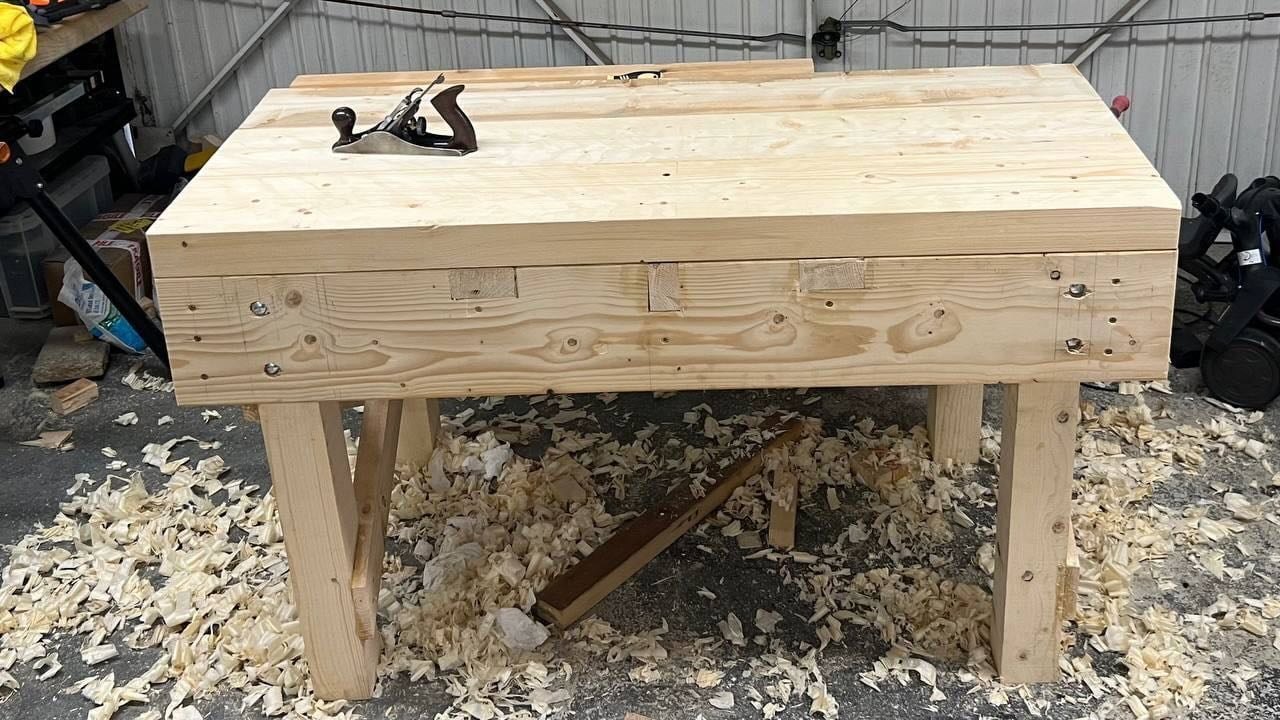
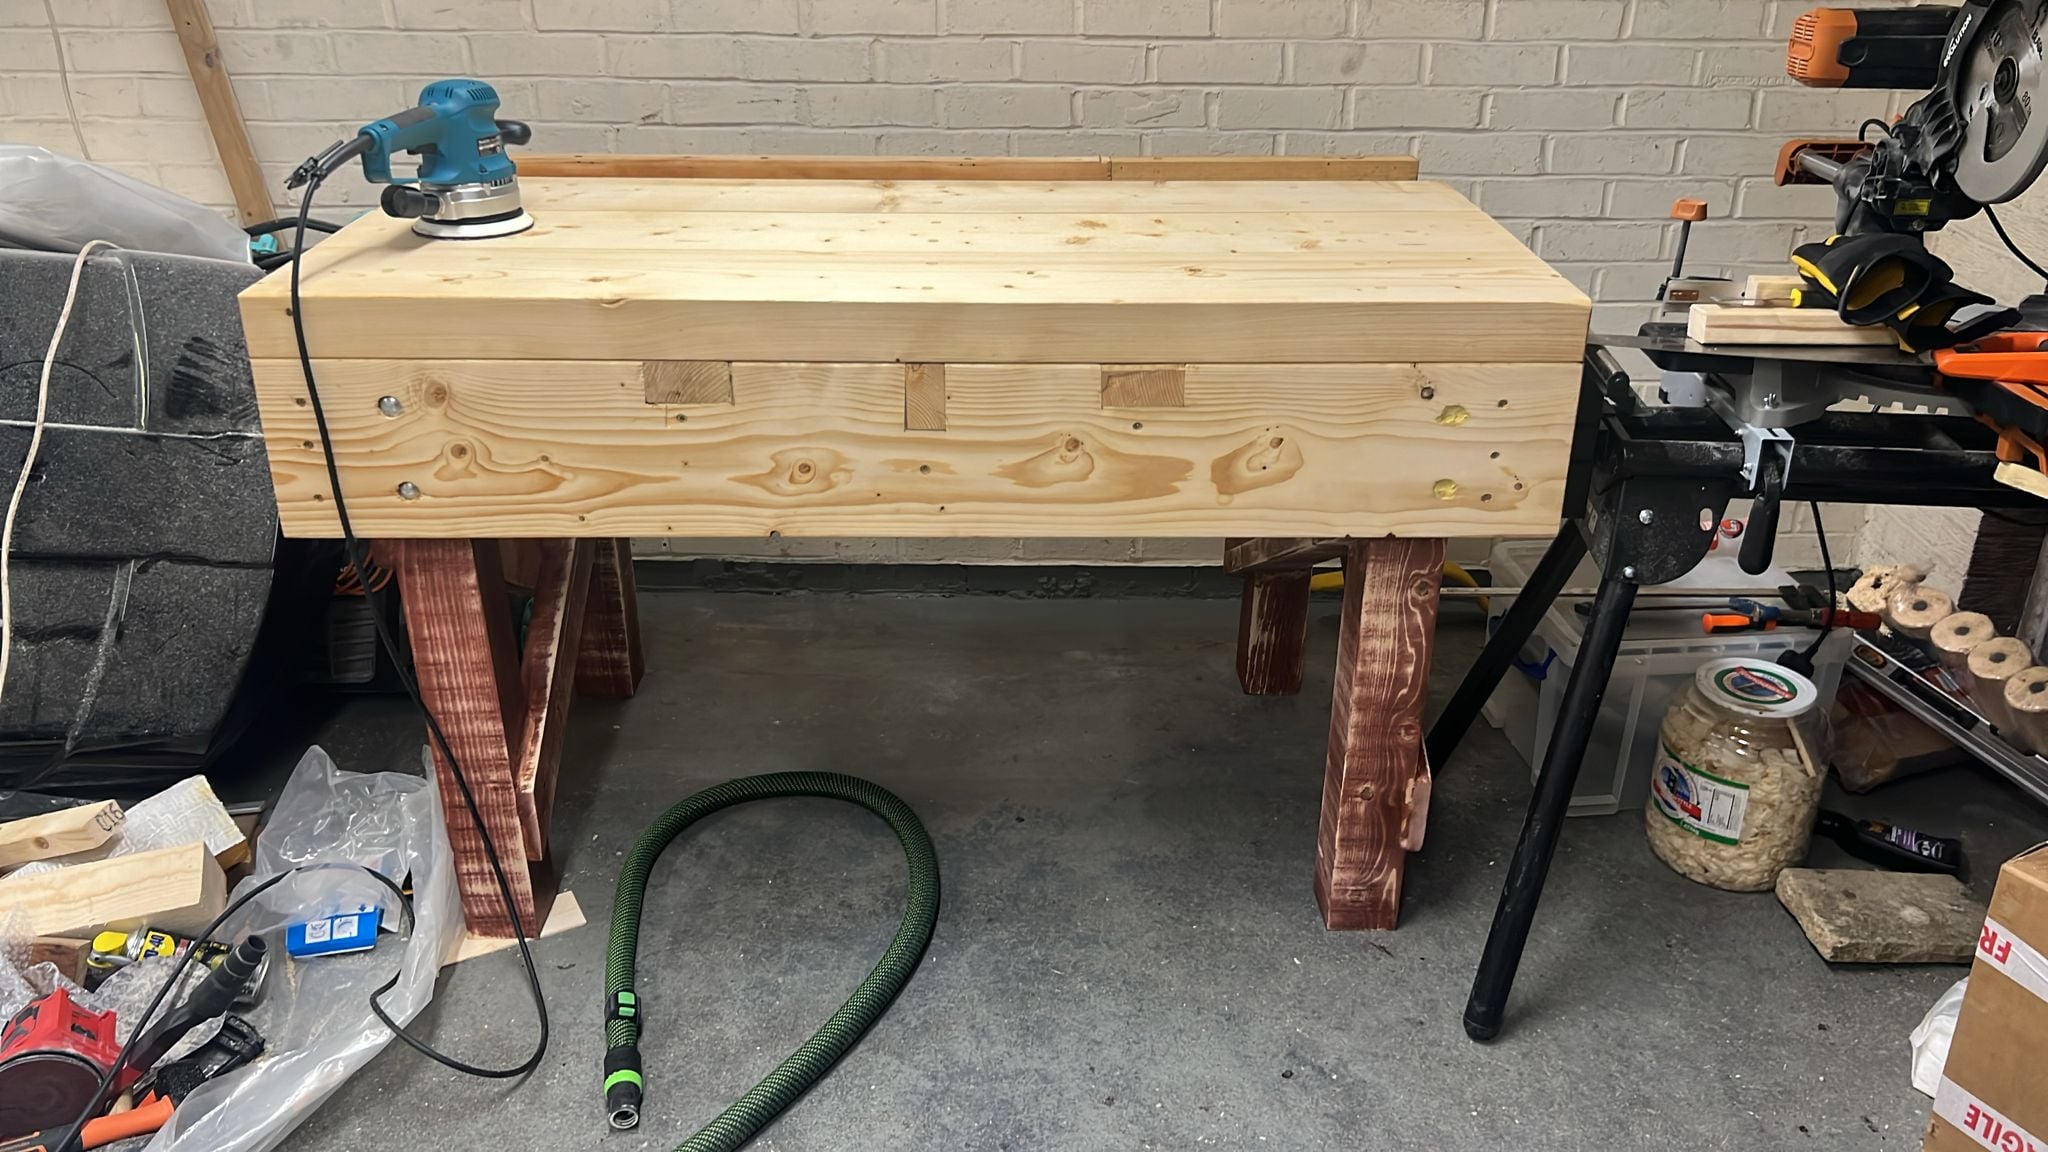
I regret painting the legs, looks like 💩 so decided to "weather" it a bit. Should have kept it as is, but it was a nice learning experience and saw a few things I should have done differently if this was a new piece:

  1. Should have cleaned the glue immediately. I thought sanding would make it a breeze - it did not and it was nightmare to use a sander in tight and weird-angled spaces.
  2. Perhaps, sand all the rough sawn pieces upfront.
  3. Is it a good idea to paint everything upfront too?
  4. Planning, less ad-hoc design decisions 🤣
  5. I might have made it too wide

    CDN media
    CDN media


The bench looks fine. Having a solid platform makes such a difference to most woodworking tasks. As with most things, your preferred finish is a personal choice, and I think trying out something on your workshop projects is a good idea.
 
I am reposting this from my reddit post which did not get any feedback, so hoping it would get some traction here, but maybe it is that bad that no comments needed 😂

I used the Briwax original clear beeswax and, even with a 3M mask on, it had a very strong chemical smell. I tried to use the Ronseal wood filler, and it also had a very nasty smell.

This is a woodworking bench and will not be in contact with food, but I would still prefer something, say, more on the eco/non-toxic side(if makes sense). For renovating a cutting board, I am planning to use a food grade mineral oil or raw linseed oil.

Would a 50:50 mix of melted beeswax and raw linseed oil give good penetration and protection for the bench? As far as I understand it may not be as long lasting as Briwax. Anything I can add or use to improve this, please?

I know this is going to have scuffs, marks and holes, and treatment is probably unnecessary, however I am trying to upskill myself and thought it would be an interesting opportunity to experiment with paint, fillers, sealants etc.

I regret painting the legs, looks like 💩 so decided to "weather" it a bit. Should have kept it as is, but it was a nice learning experience and saw a few things I should have done differently if this was a new piece:

  1. Should have cleaned the glue immediately. I thought sanding would make it a breeze - it did not and it was nightmare to use a sander in tight and weird-angled spaces.
  2. Perhaps, sand all the rough sawn pieces upfront.
  3. Is it a good idea to paint everything upfront too?
  4. Planning, less ad-hoc design decisions 🤣
  5. I might have made it too wide

    CDN media
    CDN media

I use this recipe

Traditional Solid beeswax furniture polish

  • 50g beeswax
  • 50ml Turps
  • 50ml Linseed oil
As per our basic recipe for how to make beeswax polish, put all the ingredients in a bain marie or heatproof just and heat gently over water until dissolved. Stir thoroughly and pour into containers. If this mixture is not solid enough, then either decrease the quantity of turpentine or linseed oil or increase the quantity of beeswax.

For the beeswax component ….I use a 1/3 mix of beeswax/carnuba/ micro crystalline wax
 
I think you will find any sort of wax finish to be too slippery for a bench surface, I have always just slapped a couple of coates of sanding sealer or shellac on, this helps prevent glue sticking, and keeps the wood from getting grubby.
Ian
 
It looks like a good practical bench to me and should be fine to work on. I would not worry too much about the small details as after all the process is a learning curve. I am on bench No4 now and still think of things I could have done different. As you make things on the bench you will get to know its good and not so good bits and dont be afraid to change and modify as required. I dont think there is such a thing as the perfect bench. Well some may hit perfect for a while but things keep changing
Regards
John
 
As the bench settles the surface will likely move a bit and then seasonally. This means a light skim with a plane every now and again will likely be desirable to keep it all flat enough. This will also refresh the surface from the dings and spills a bench will see.

If it were me I’d leave off the wax and just give it a few coats of diluted linseed and a heavy buff - as you’re new worth noting linseed oil can generate heat as it cures so don’t bunch up rags- spread them out to dry preferably outside away from anything flammable.
 
I built a similar bench a few years ago and they are awesome. Their weight means they don't budge when you are planing etc.

Mine is slightly different though as the legs come out flush to the apron and I have cut angled bits into them to lock them in place. Like this one https://www.theenglishwoodworker.com/the-english-tradition/ (it probably makes very little difference to stability)

The other thing I did was build a traditional leg vice, which has been one of the best things I've done. It is so useful and works so well. Will hold anything from little bits to sheet material. Cost me nothing but time as I used the screw part from a car jack, probably helps to have a welder but could possibly be done without. If you wanted to add it to your bench you'd need to bring the one leg out further/add a piece of wood to make it flush.

I do note though that the orientation of the apron is different on yours, which could be a problem with a leg vice. Mine (like the one linked above) has the apron in front of the bench top so you get a completely flat side to clamp against. Yours has the bench top over the apron so you get a join which could imprint on a piece wood clamped to the side. On the otherhand you don't have a join on the benchtop so it's swings and roundabouts. If you add a clamp on the side you might need to add a board on the inside.

The other thing I did was add a few cross members on the legs at the one end to hang tools, which is also quite useful for me.

As for finish I still haven't got around to putting anything on mine yet, although it could prob do with it. Something I have used on my oak bedframe though is Safflower oil. It is a drying oil so it doesn't go rancid and it is edible and also used as a massage oil so safe for applying etc. I don't know how well it would work on a workbench but I've had no adverse effects on my bed.
 

Latest posts

Back
Top