Derek Cohen (Perth Oz)
Established Member
Does this belong on this forum? There are a few machines used to rough out. I am not a purist. However hand tools are my preference for shaping, joints and finishing.
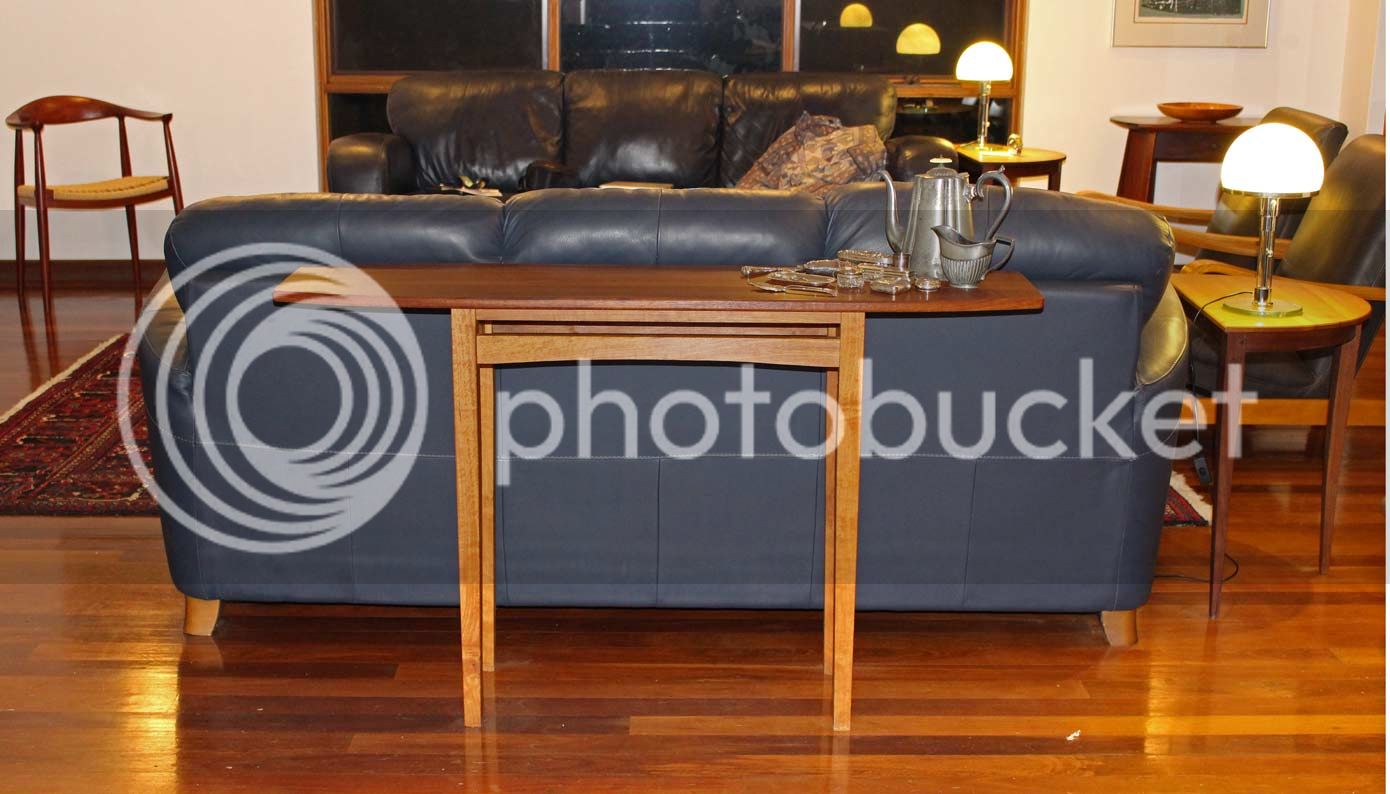
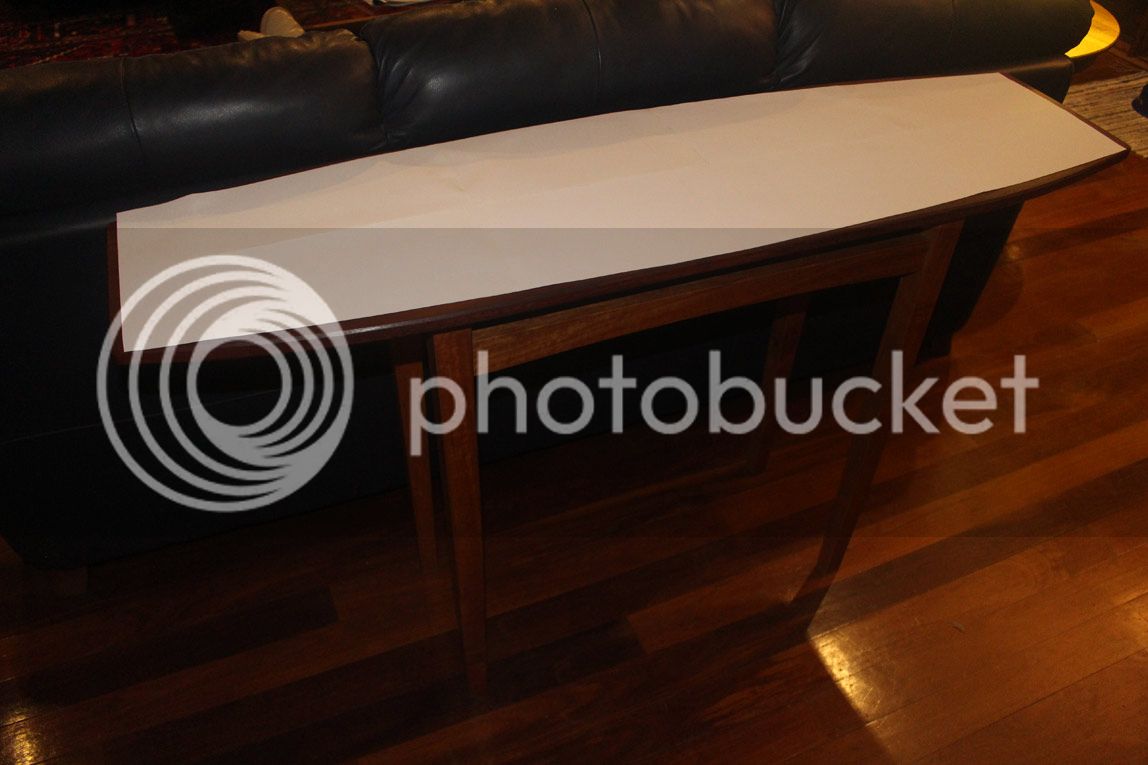
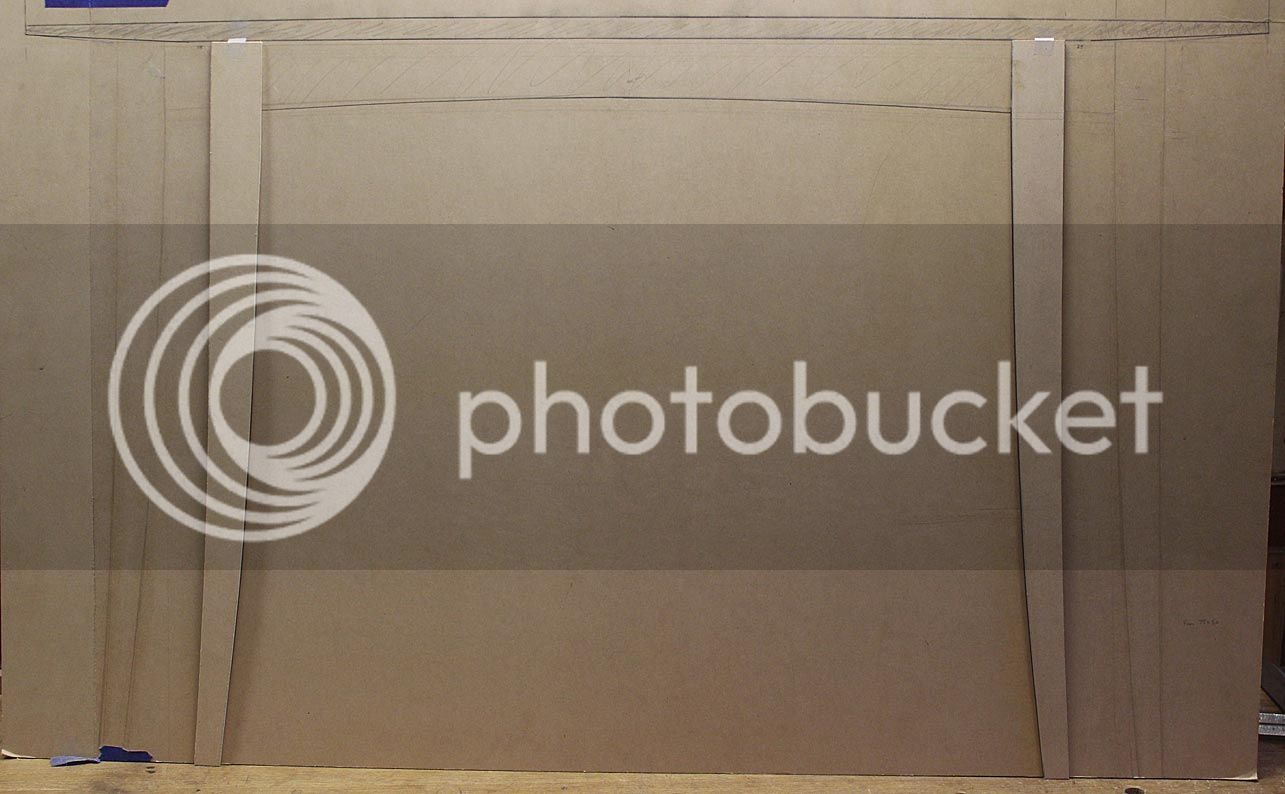
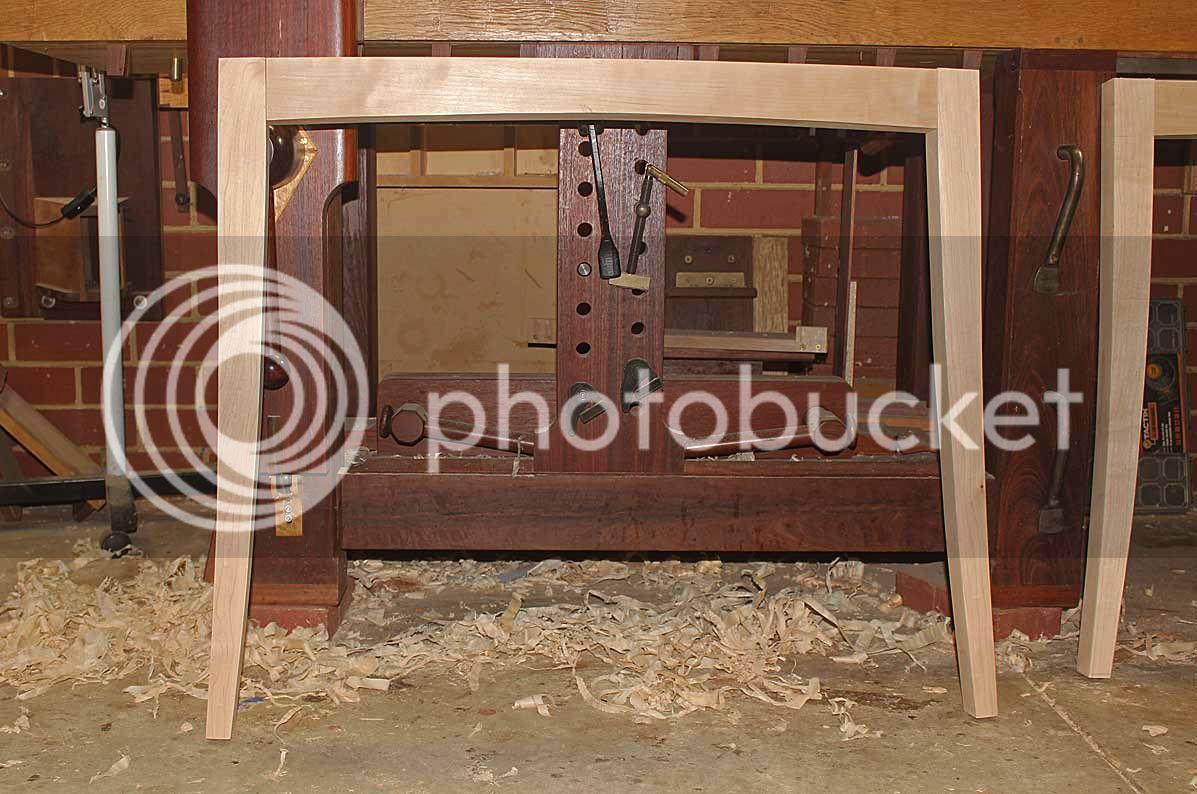
After a few final tweaks, the design has been settled, and the build begins. This is the front elevation, with the body in Hard Maple ...
The top ...
... will be West Australian Rose Sheoak (think Lacewood).
This comes from my local urban salvage supplier, Derek Doak "The Timberbloke". Here you can see the 2" thick slab was saved from a fire ...

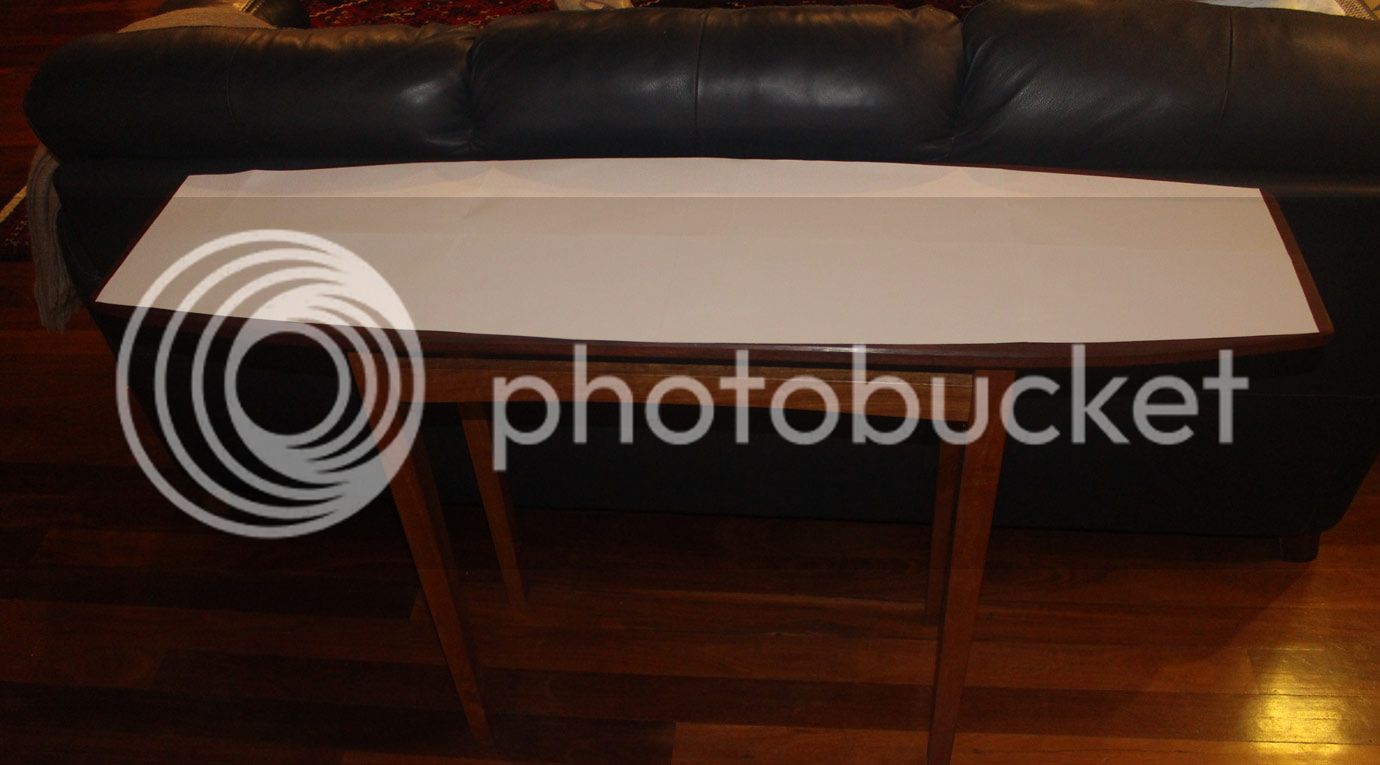
Re-sawn and book matched, the 1250mm top will be elegant and simple, and still hopefully stunning ..

I decided to start the build with the aprons. The legs will follow next. They are complex in themselves, having multiple angles - more on that in a later post. However, the aprons are the key element as they are both bowed and receive a curve on the underside. They also need to support a drawer from one side.
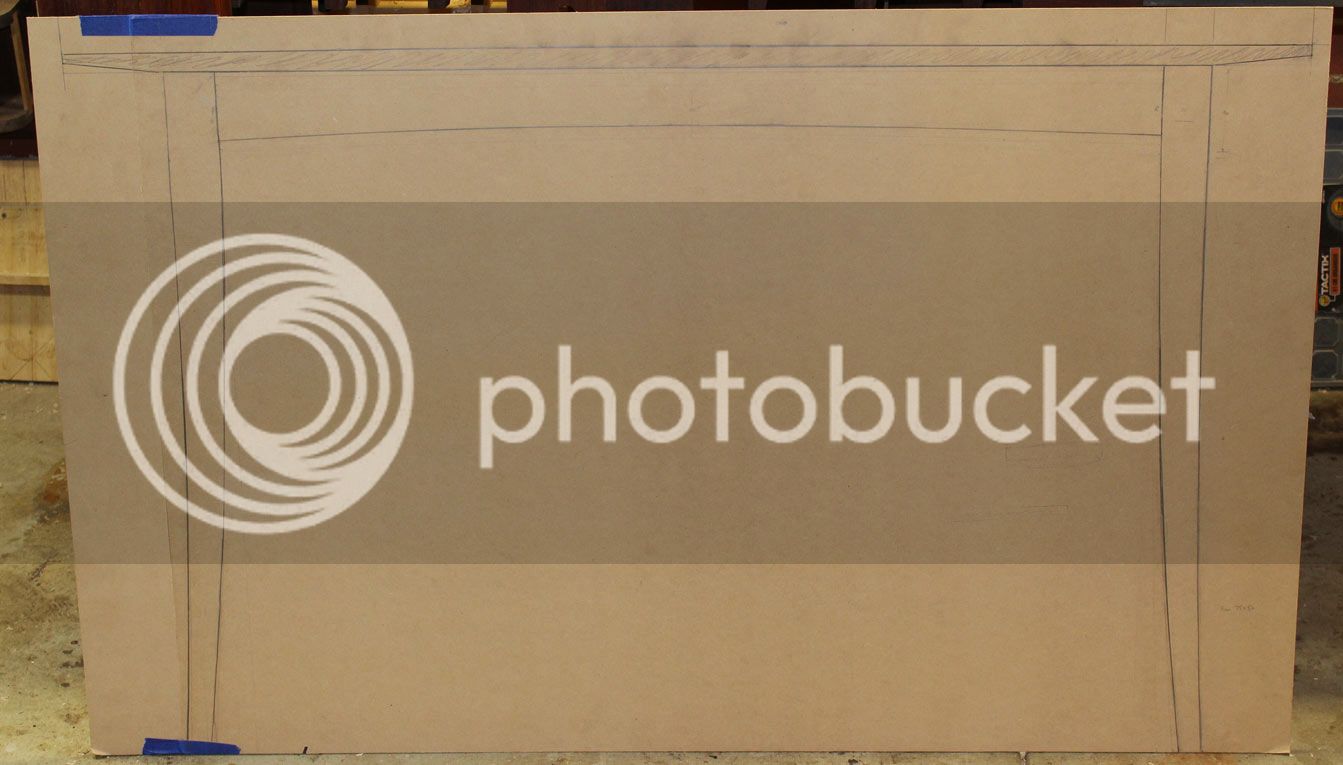
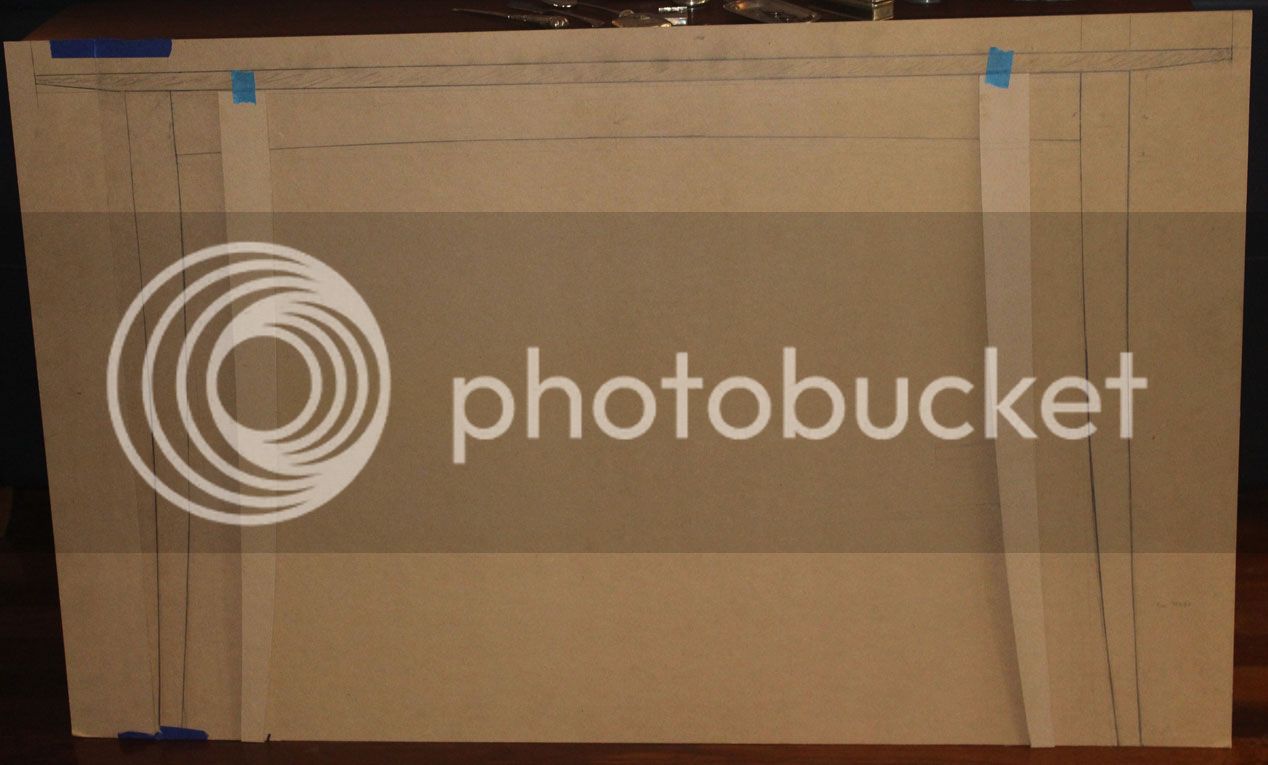
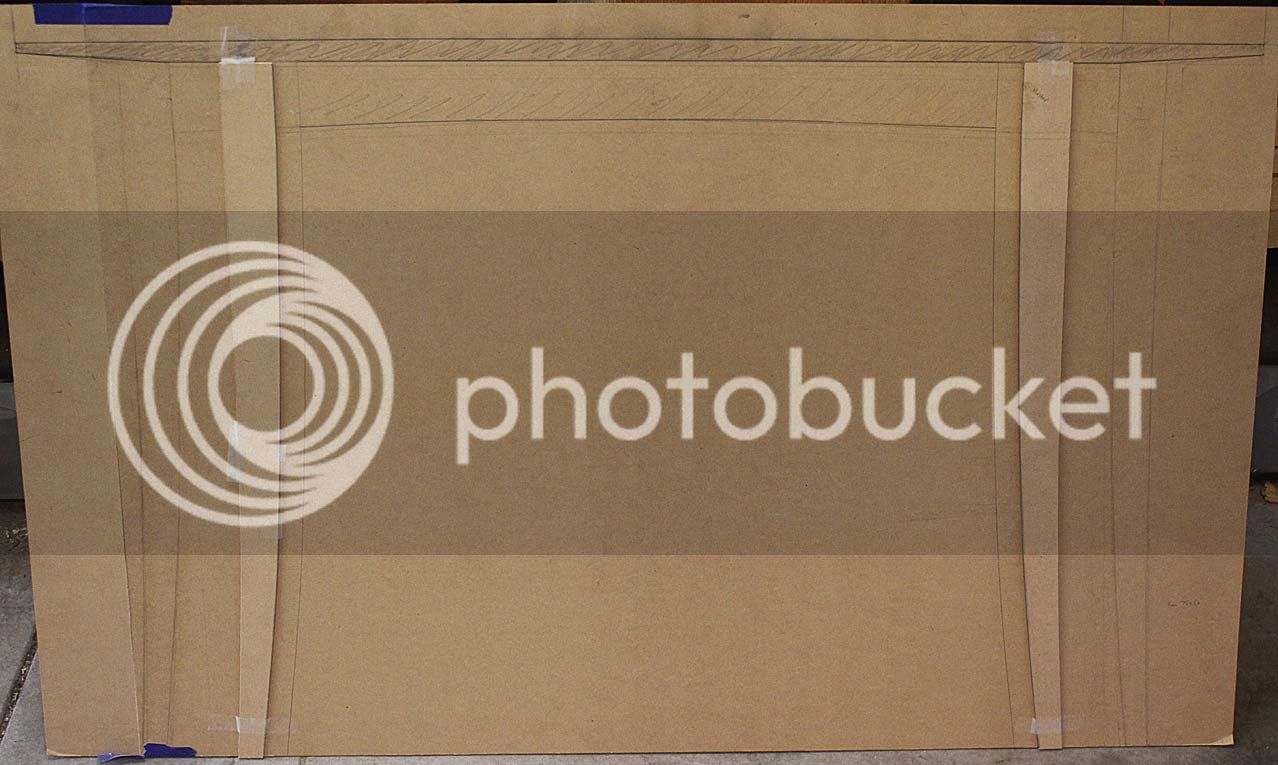
Here is a plan ..
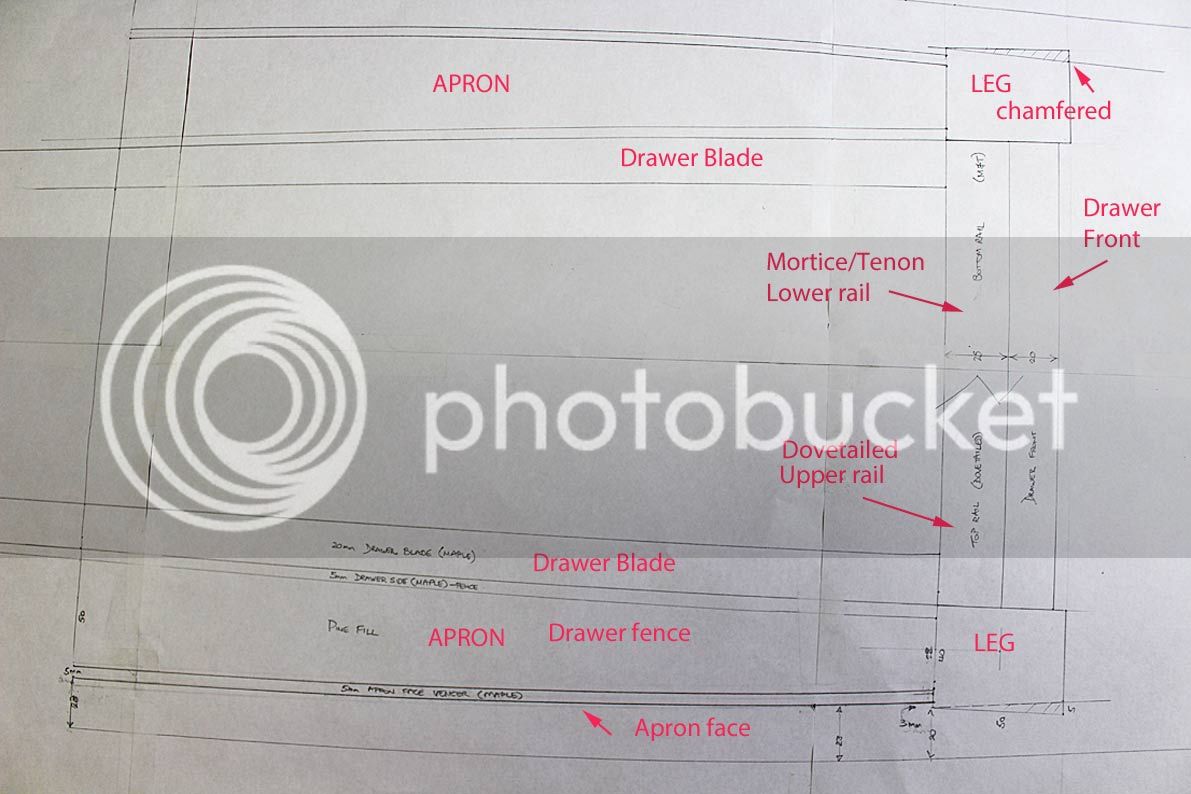
I have already made up all the templates needed for the table top, the legs, the bow of the apron, and the curve on the underside of the apron.
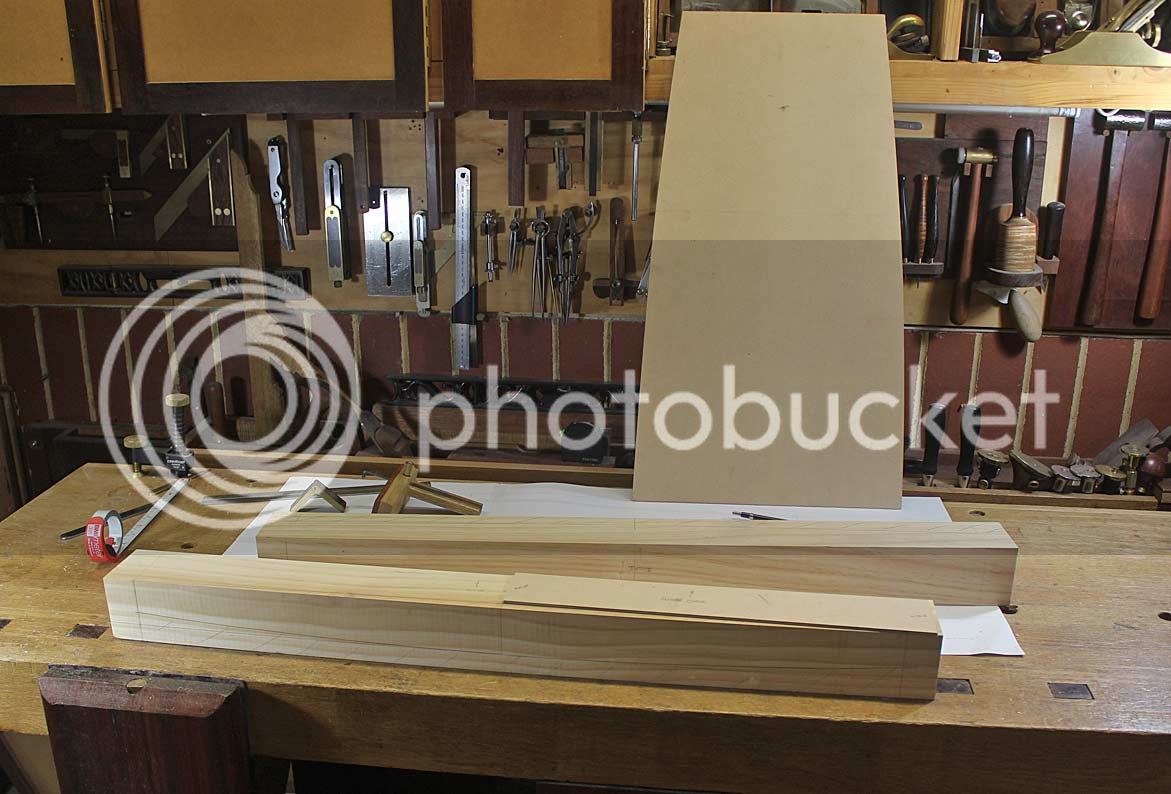
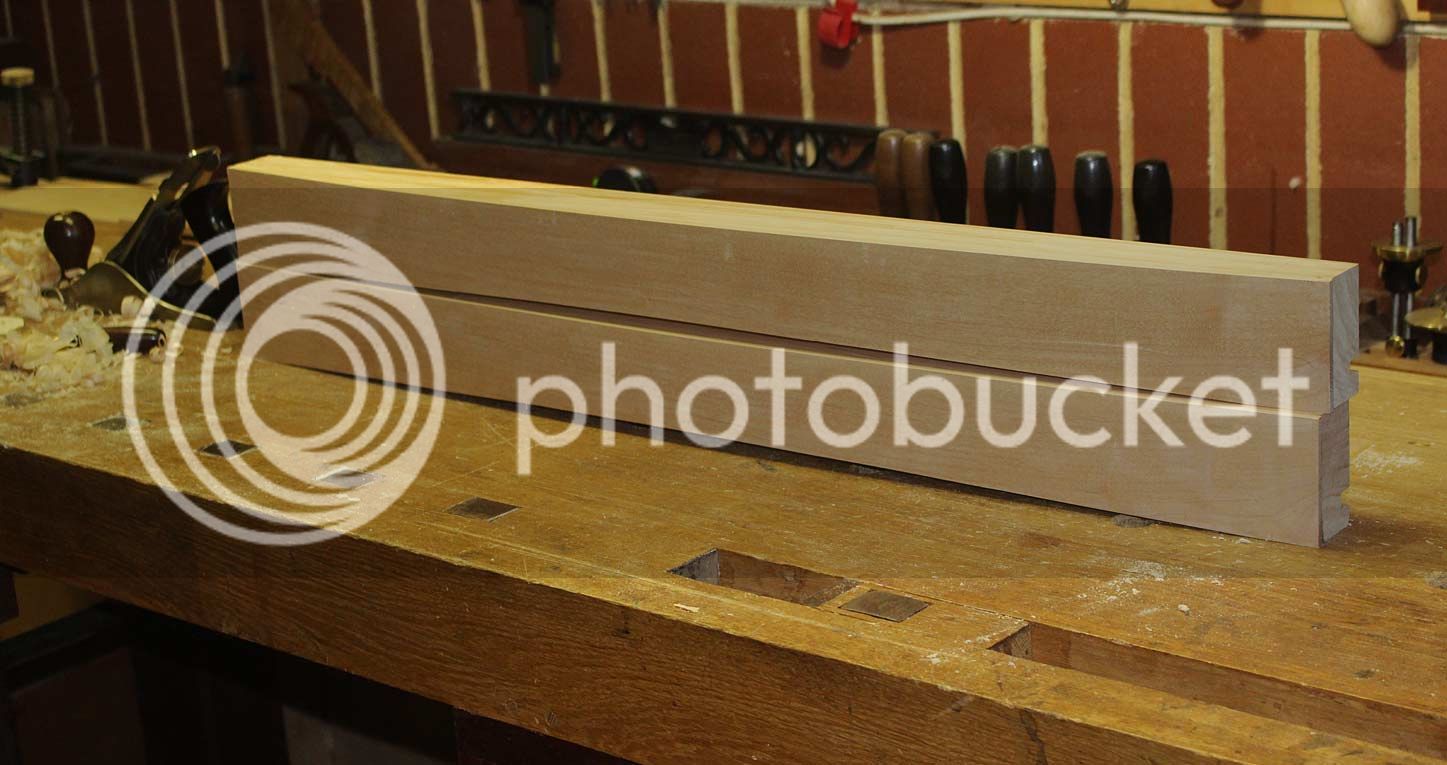
I decided that the core of the apron would be pine, which will be wrapped in Hard Maple. The alternate choices were either to build laminations of hard maple, or create all from solid maple. The end design seemed to me to be the easiest to build to ensure the support for an internal drawer along the length of the table, as well as economical for the maple, which is in limited supply in Australia in the size needed.
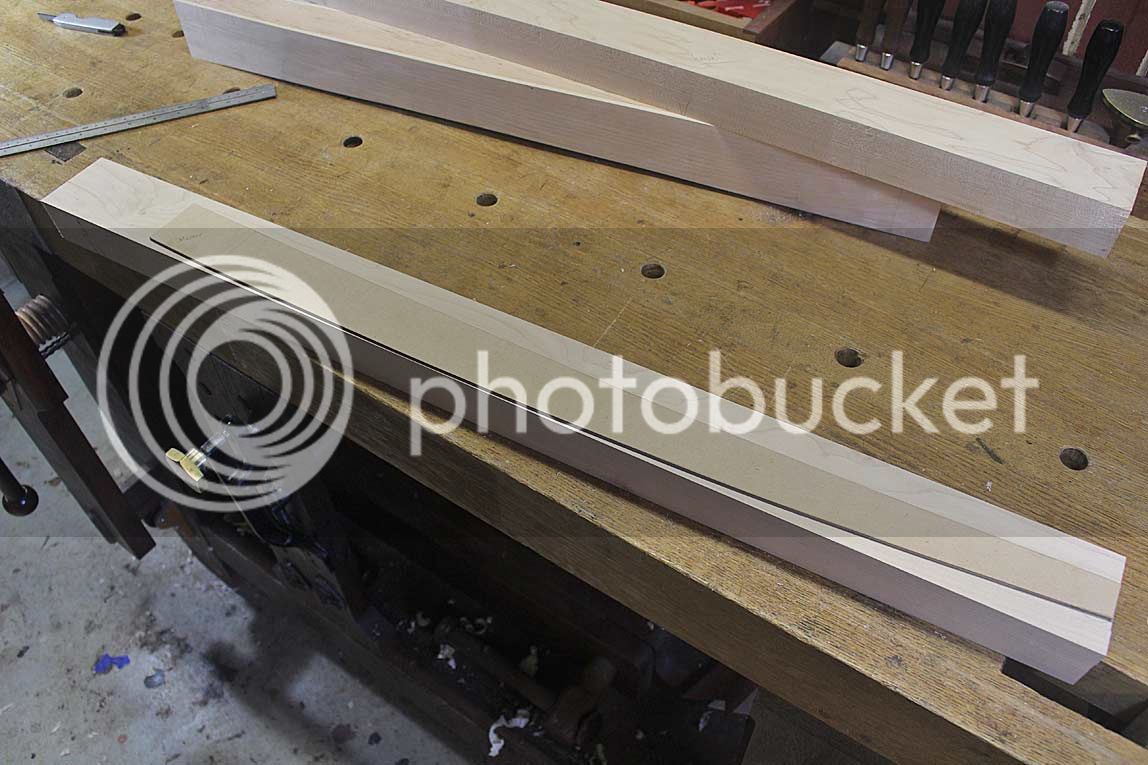
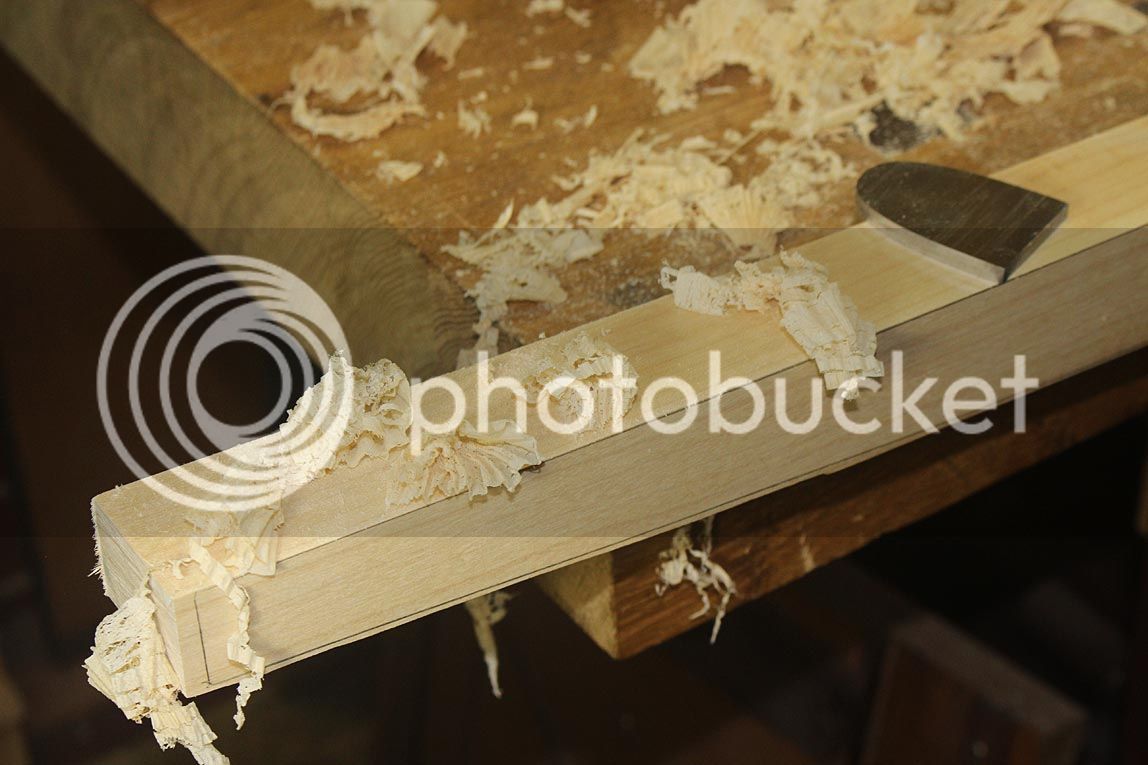
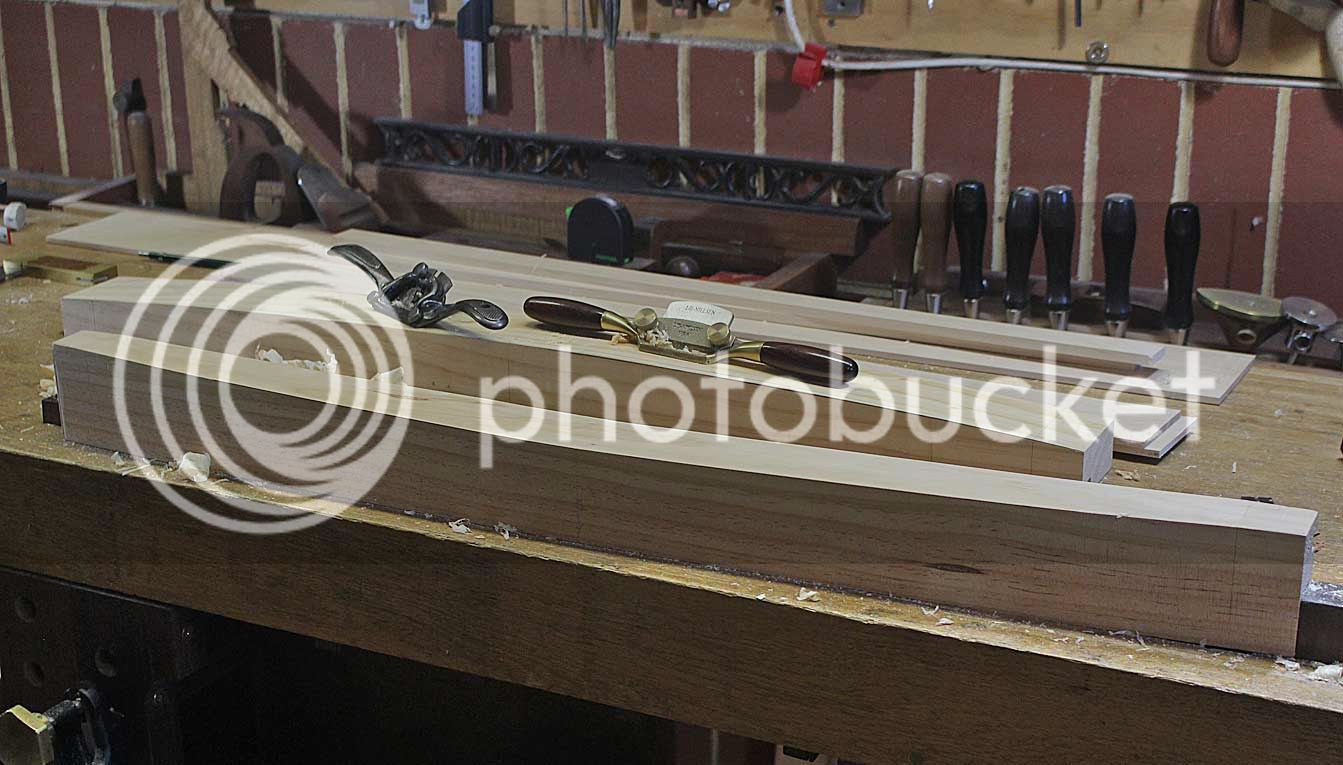
The bow front is marked out and bandsawed close to the line, and then cleaned up with a spokeshave ...

Save the waste, replace the bow on it to secure for the next step ..
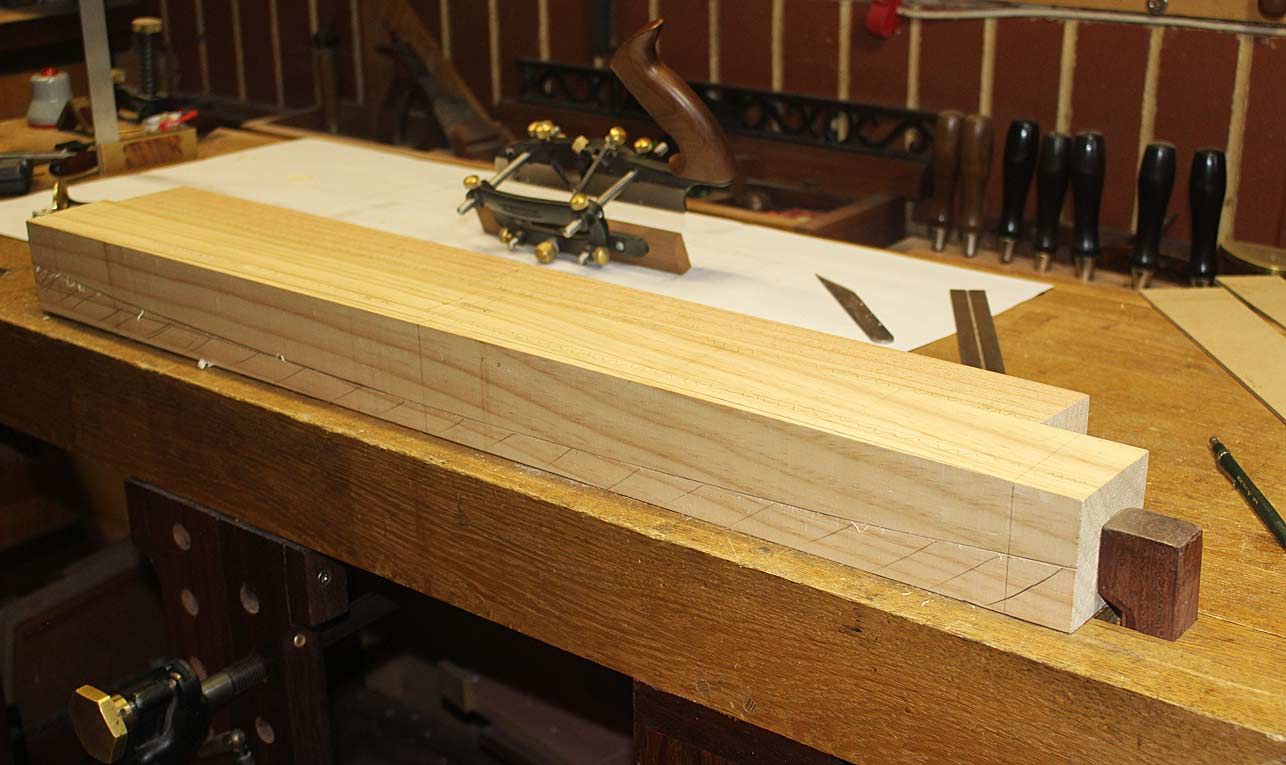
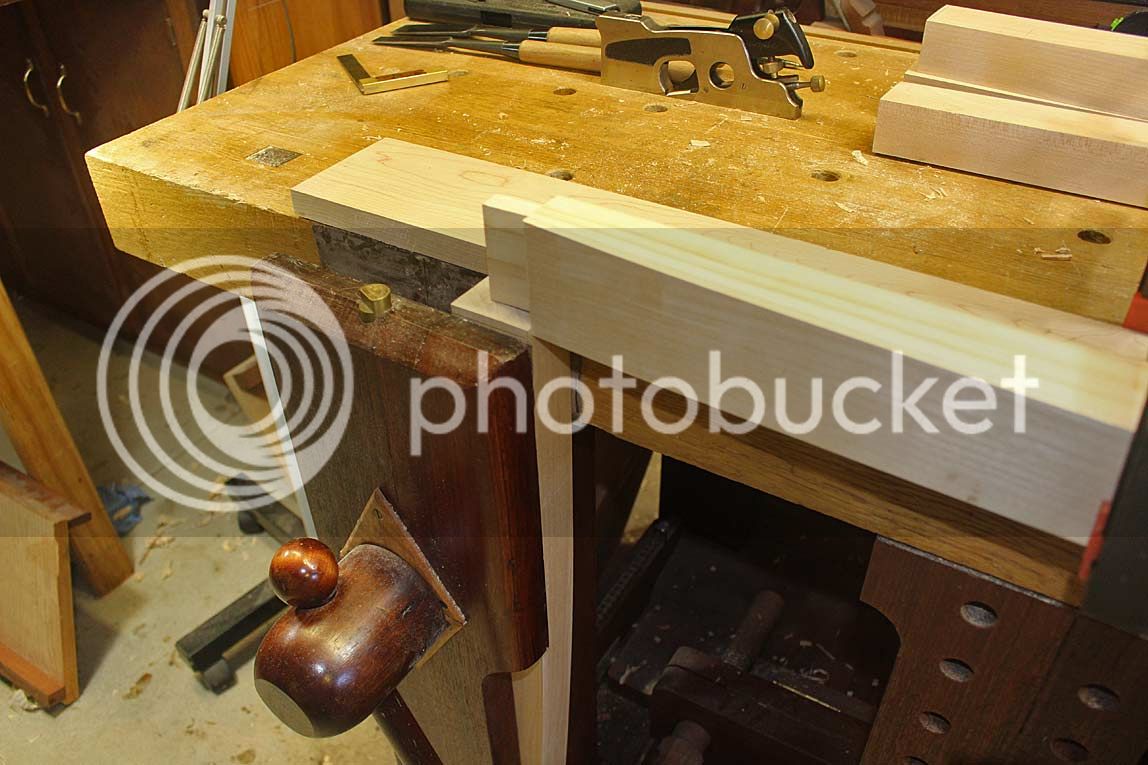
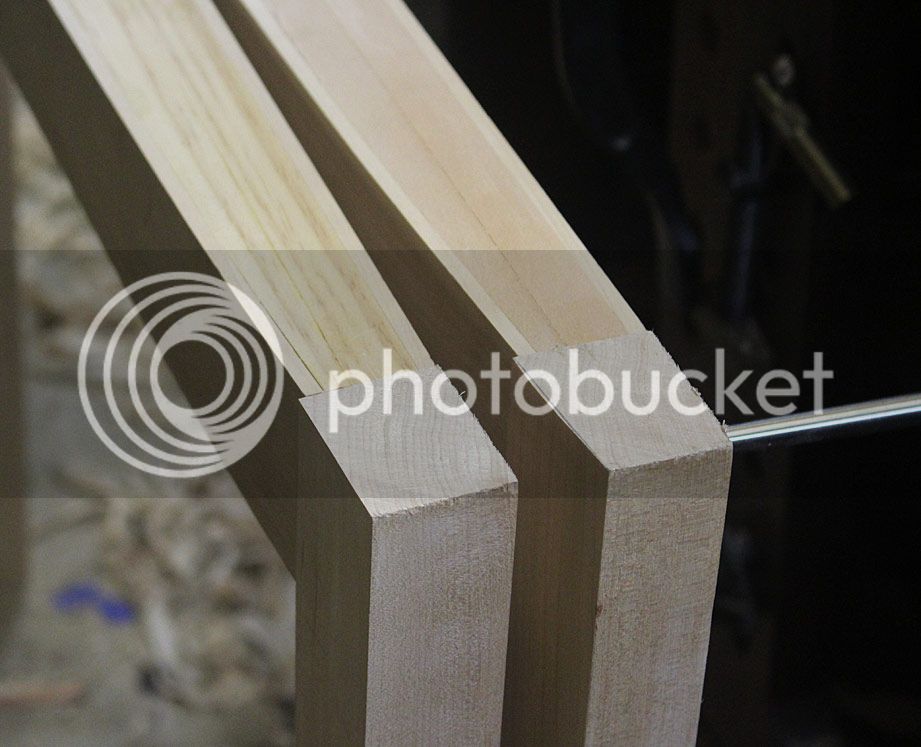
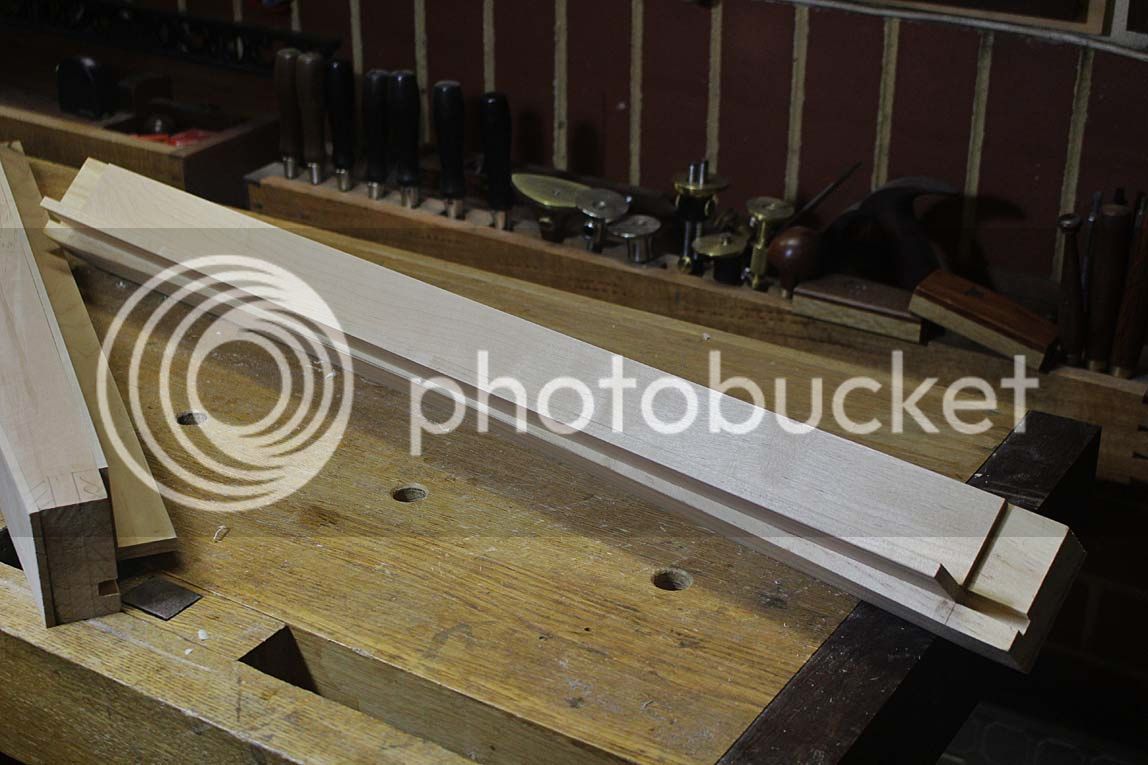
.. and now it is ready to plough out a 5/16" groove for the drawer blades ...

I am planing into the grain, so take fine shavings until the blade is below the surface, and then crank it up ...

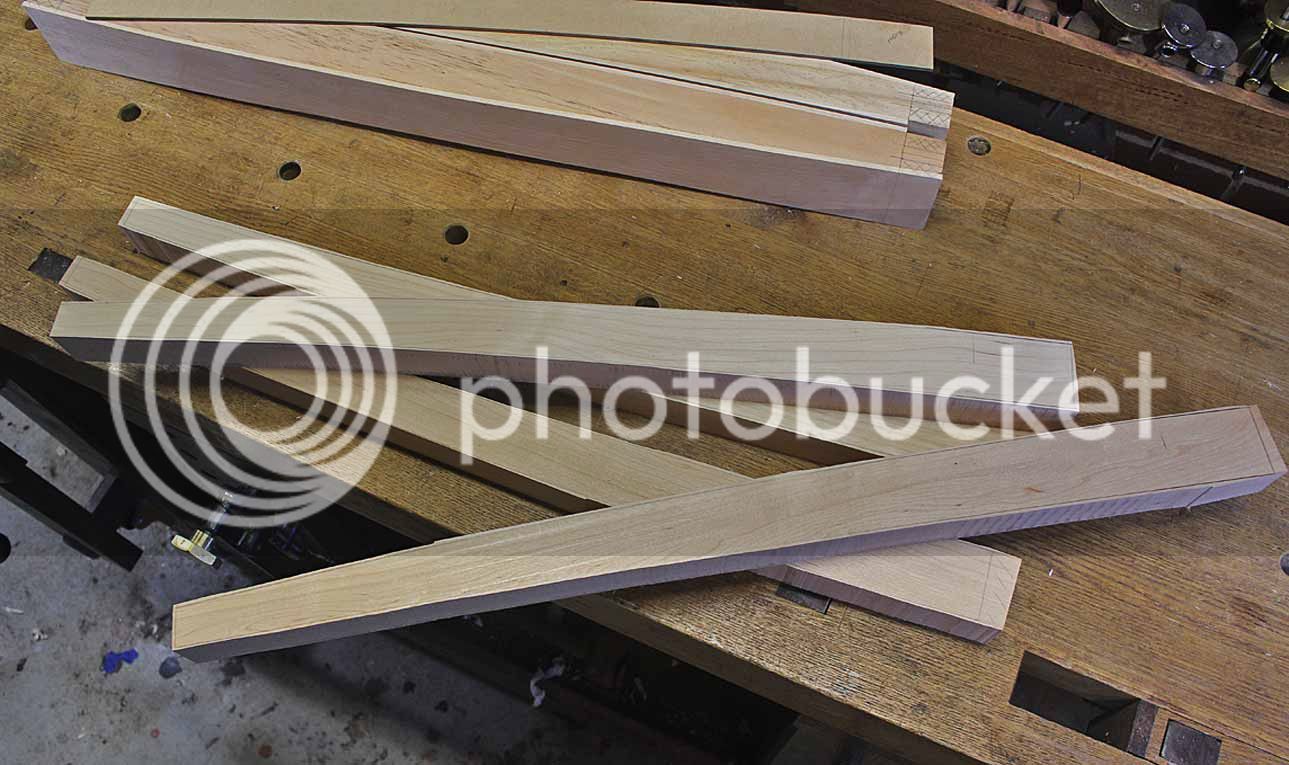
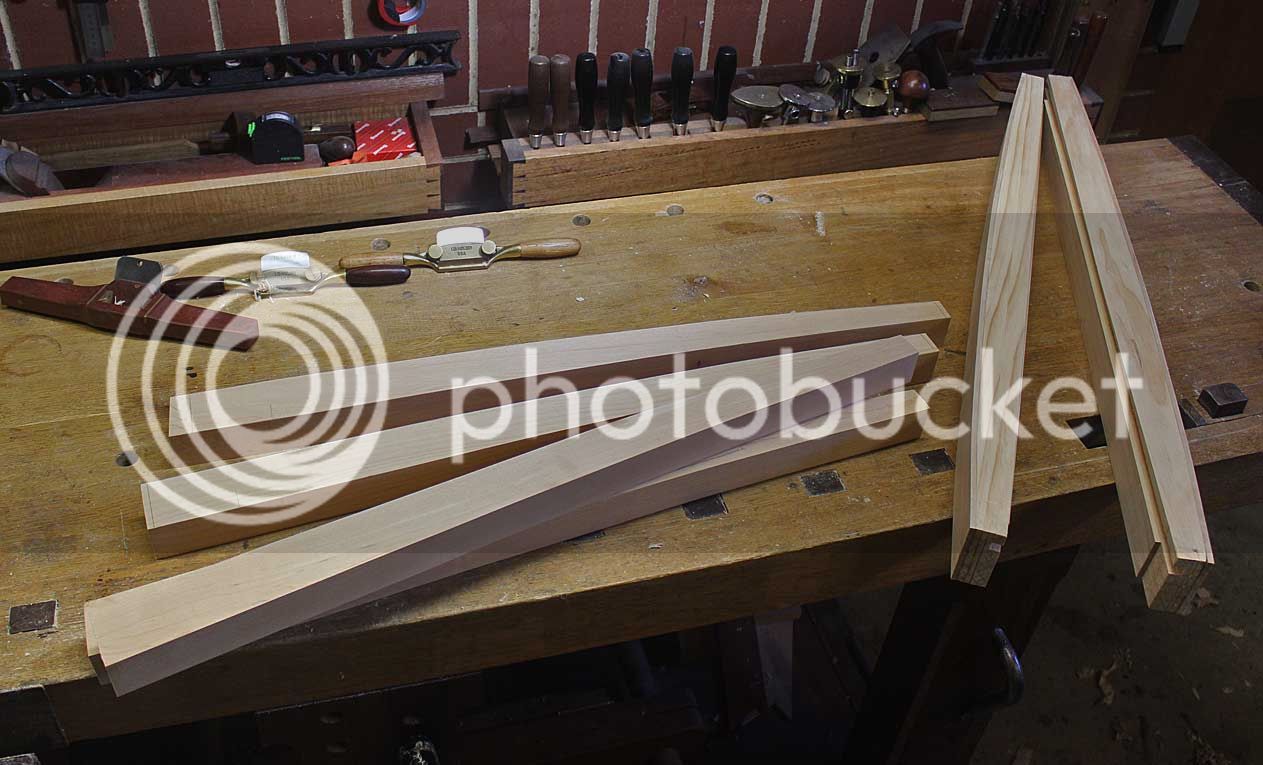
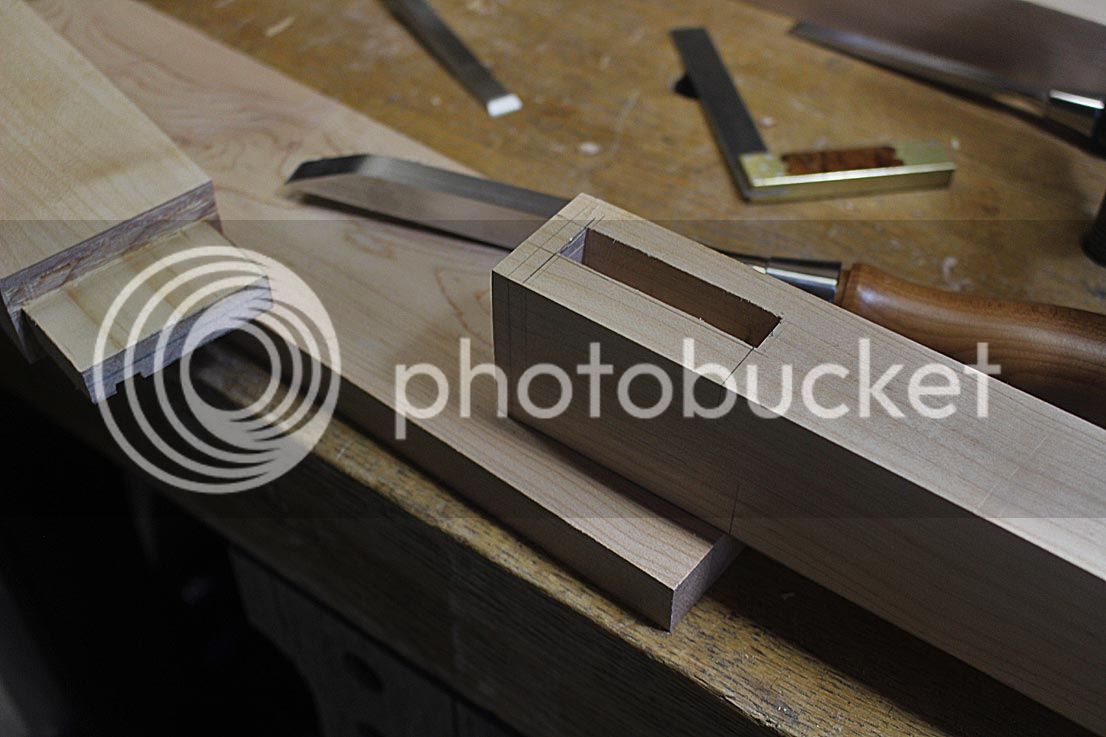
These are the drawer blades. I later replaced them with wider pieces since I had forgotten to take into account the 5mm thick internal veneer (the fence for the drawer).
The curve for the underside of the apron is marked and the waste removed ...
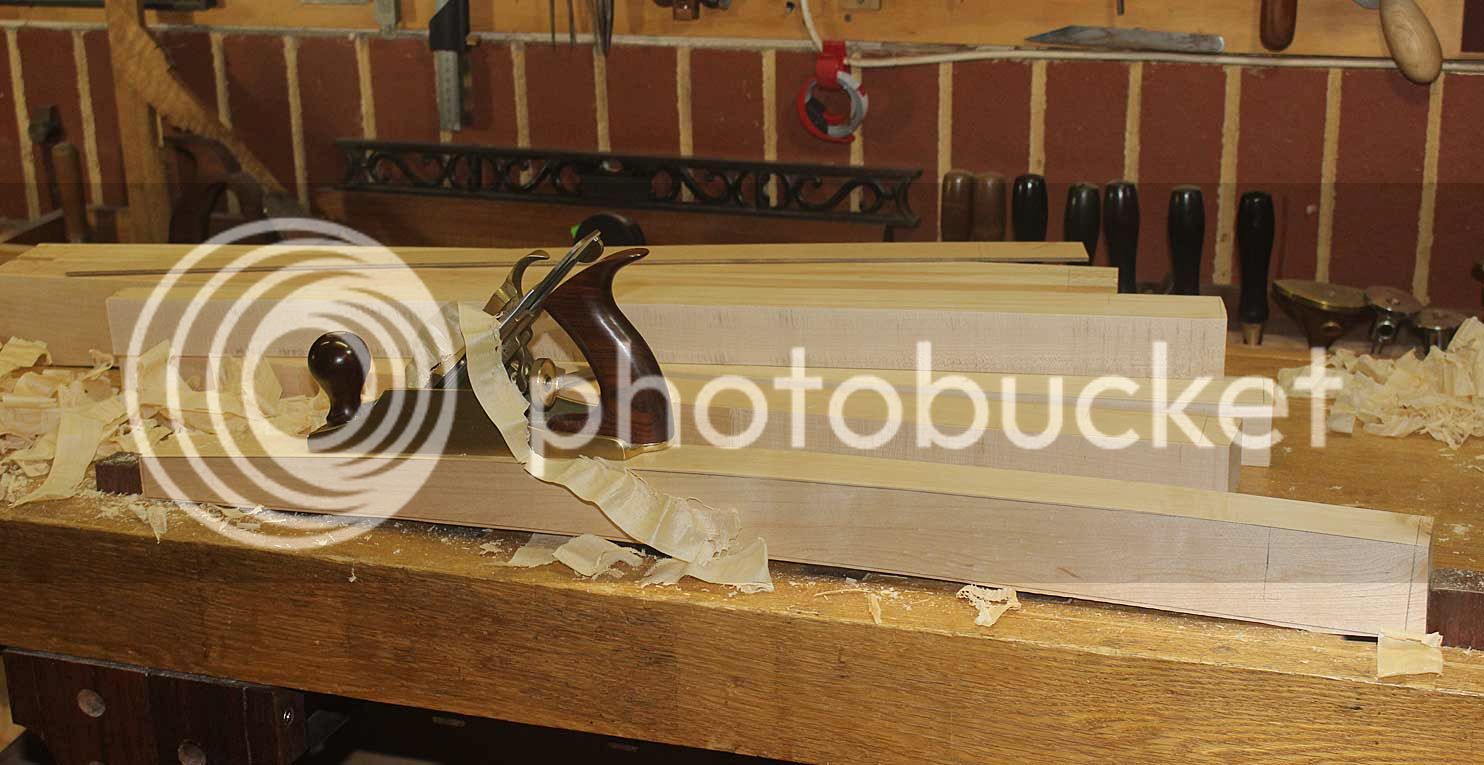
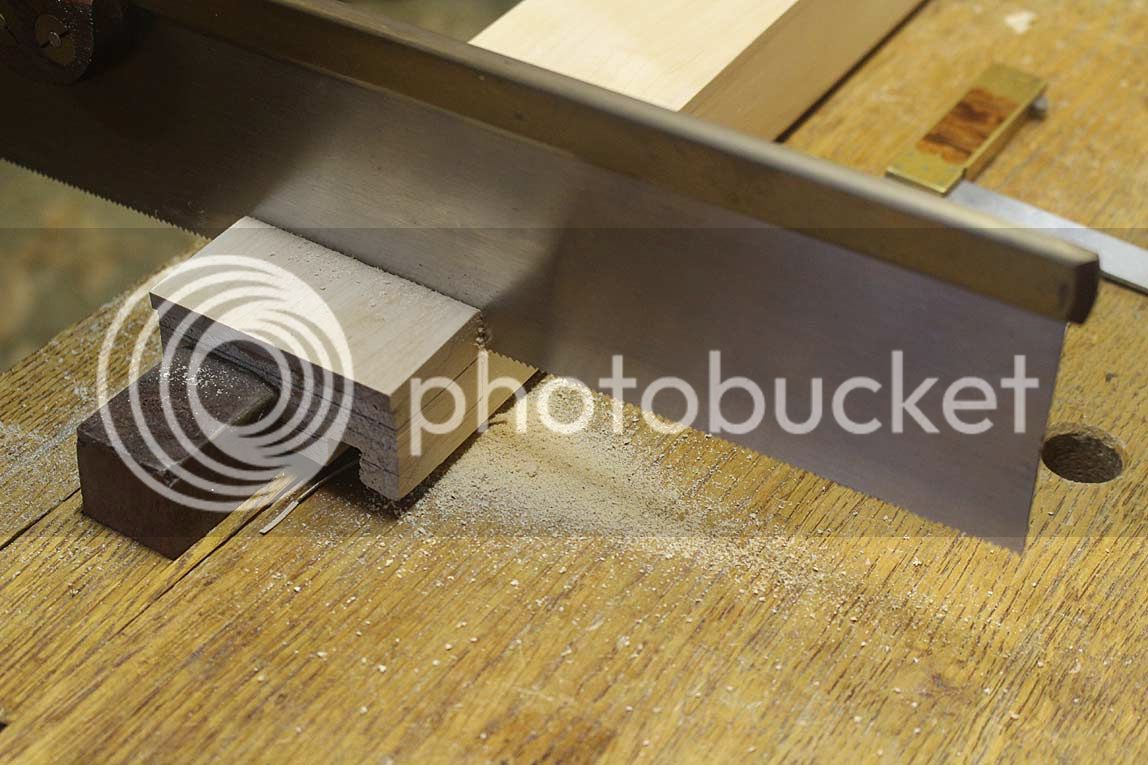
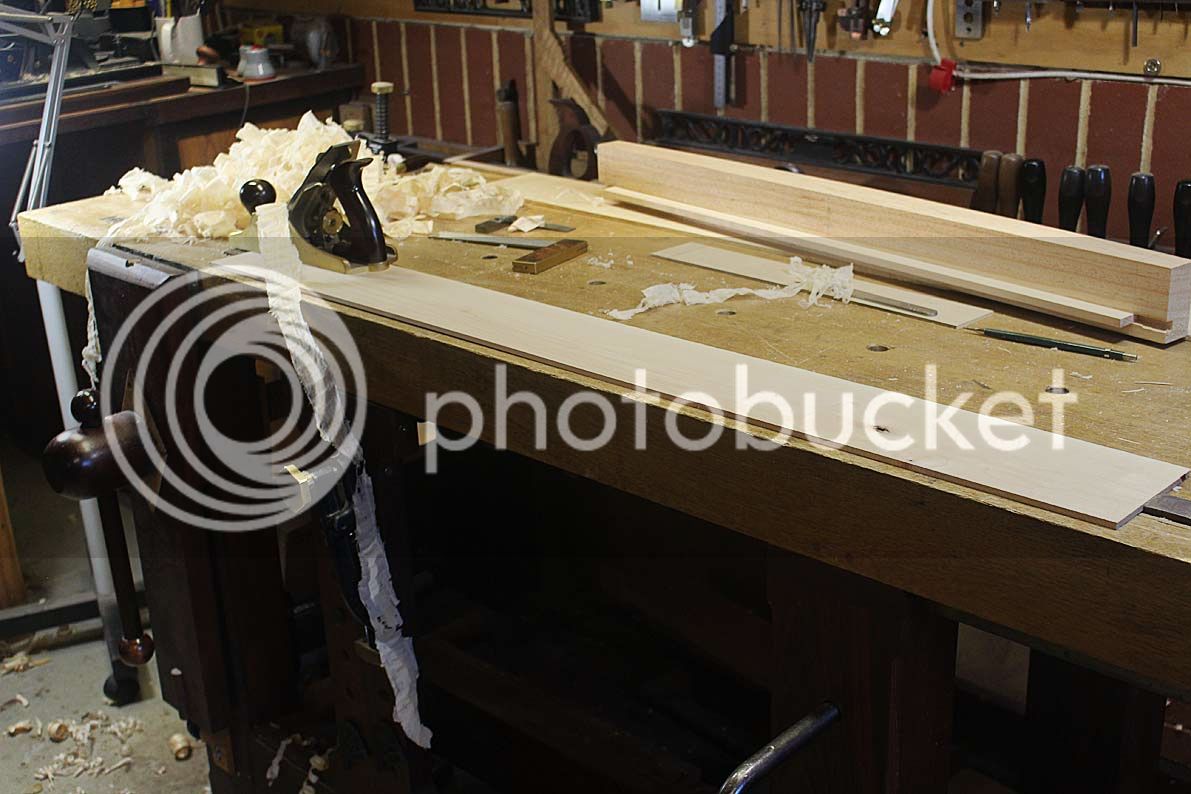
The front of the apron will have a 5mm Hard Maple veneer. Here it is being finished ...
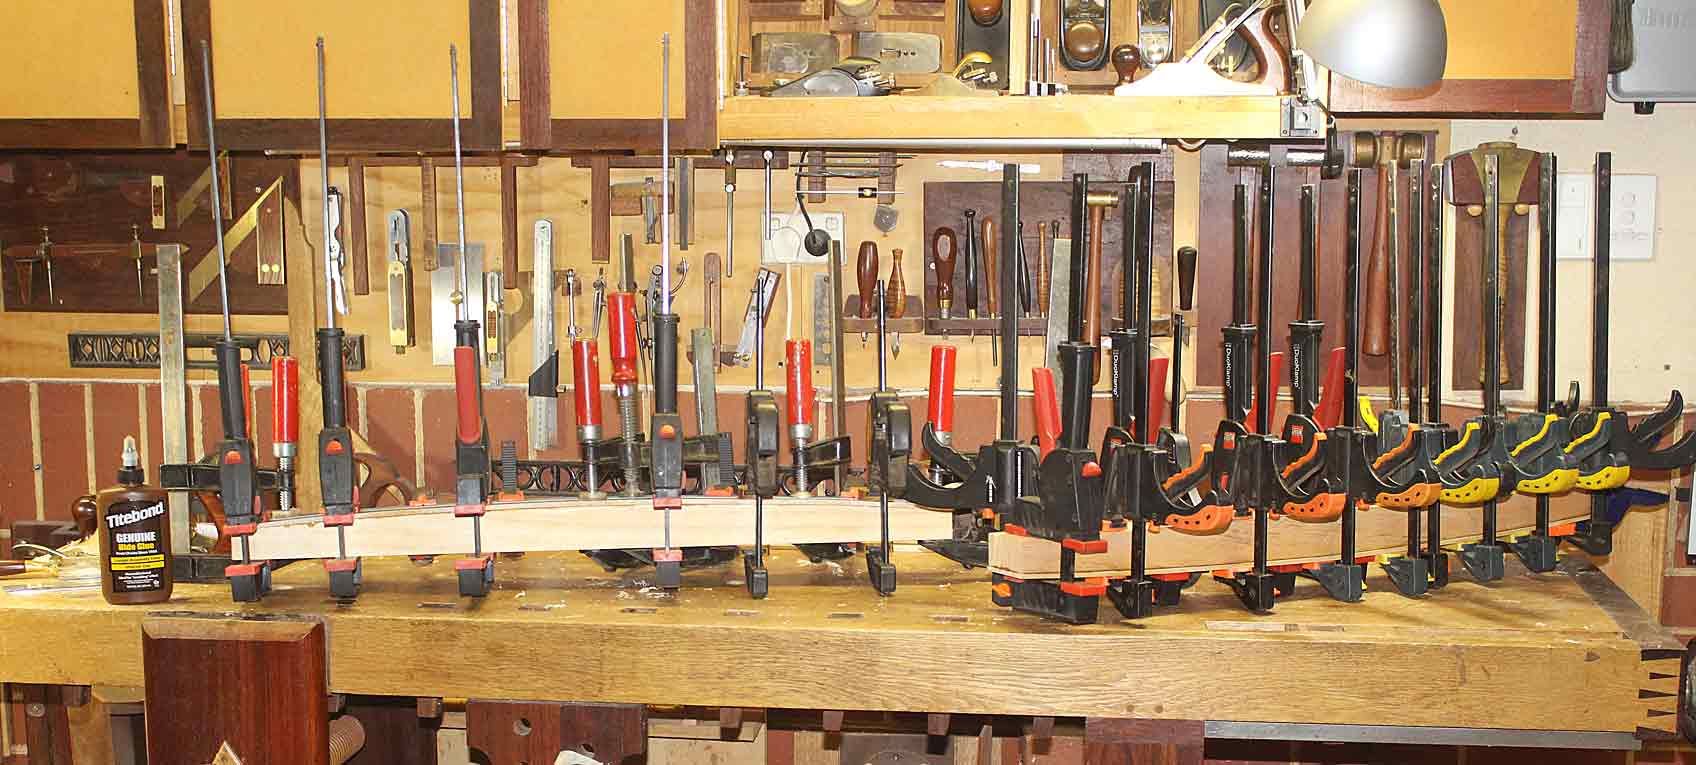
This is sawn slightly oversize, and then glued to the apron blank. Can't have too many clamps ...
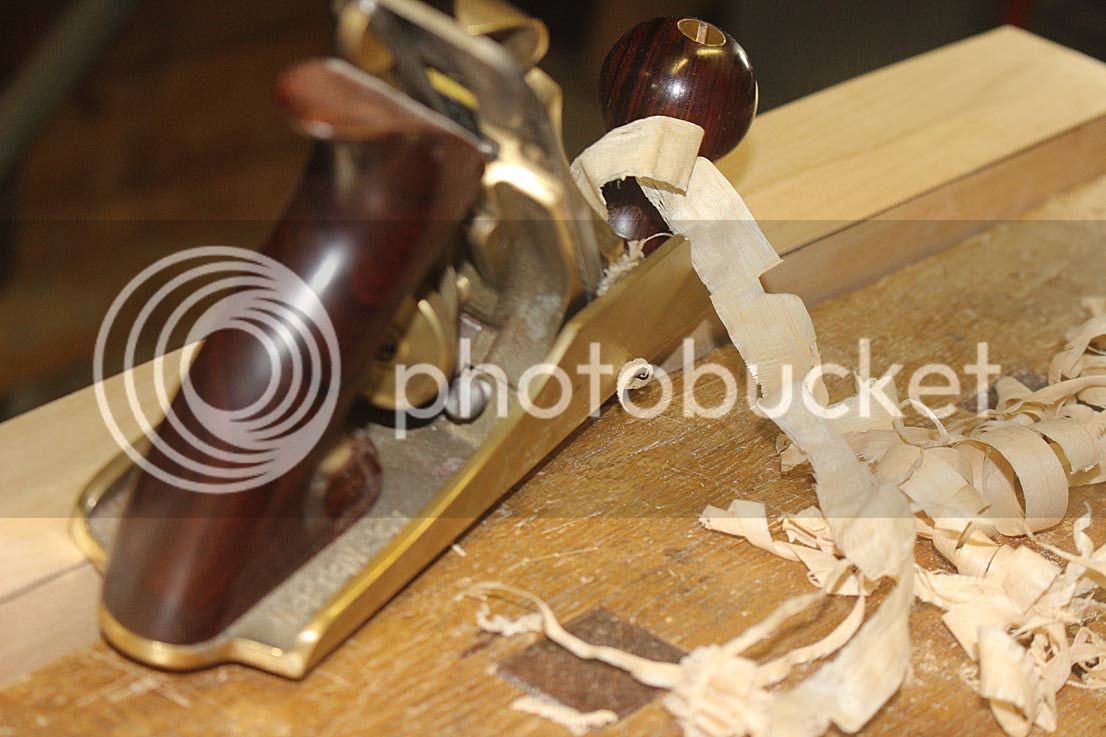
This was left overnight for the liquid hide glue to dry, and then trimmed down with a plane and a spokeshave ...
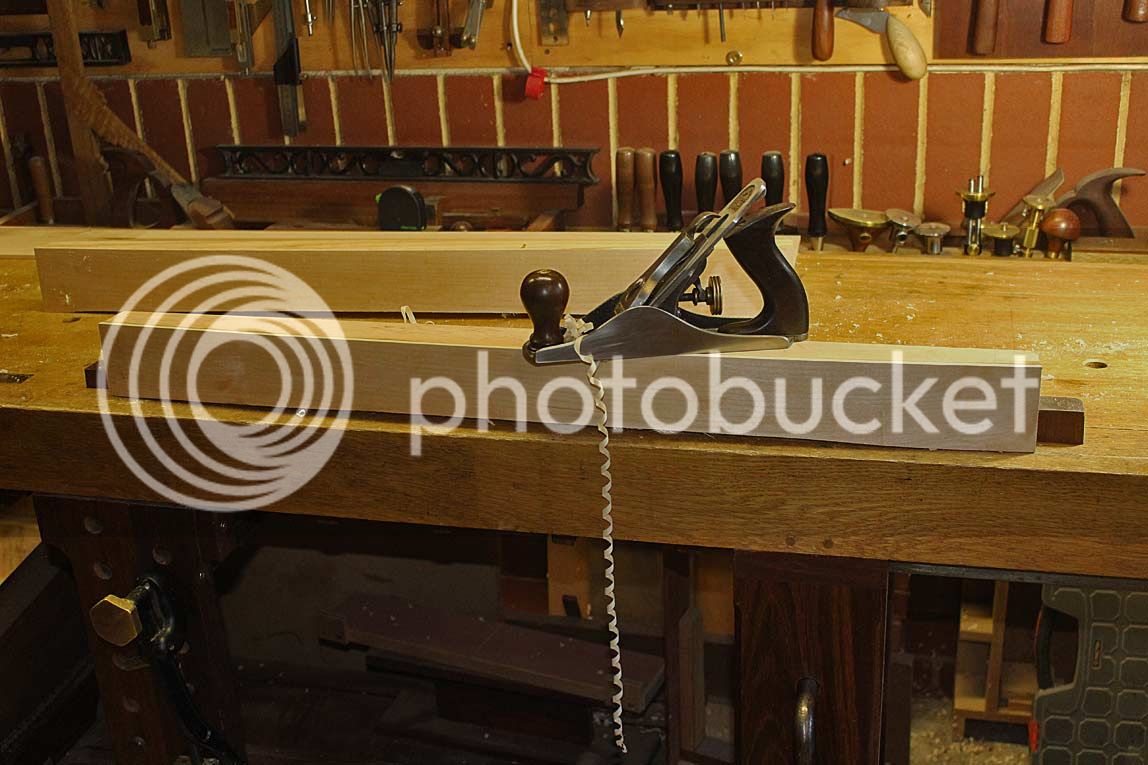
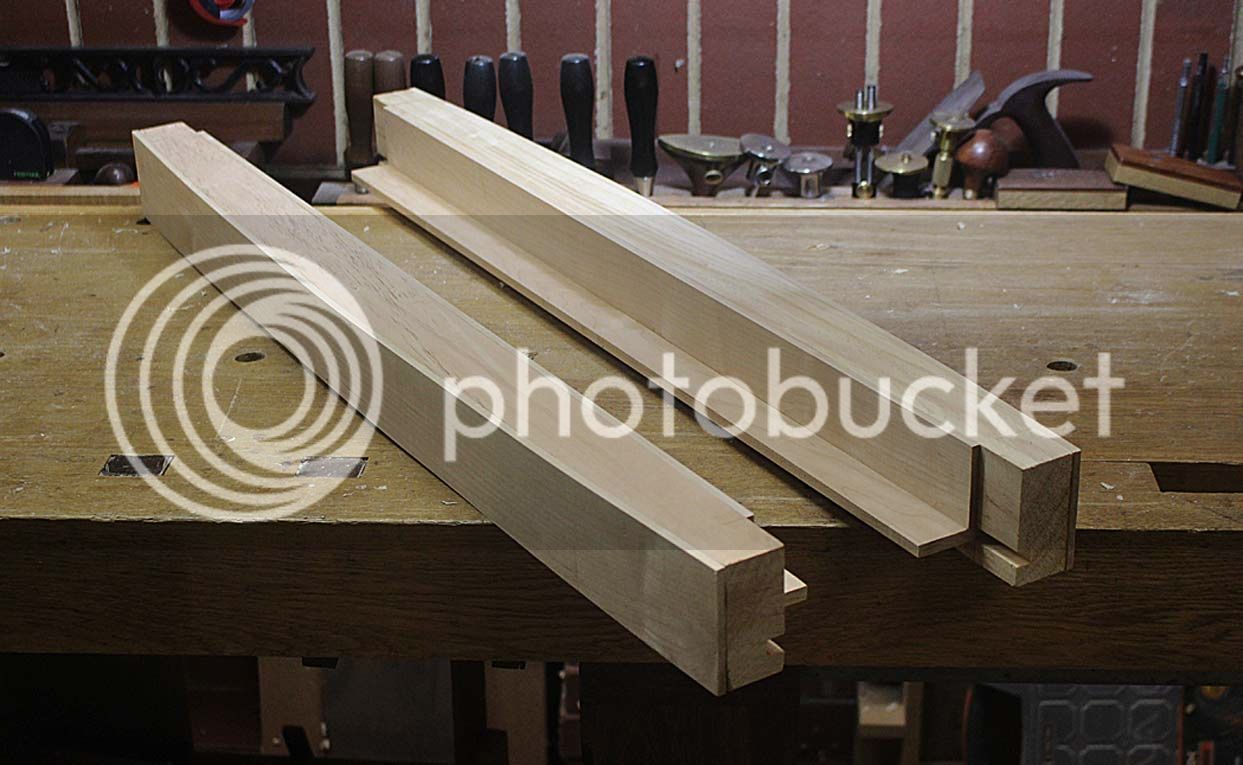
This will give a better idea of the curve to the underside. It is not intended to be a dramatic curve - simply to soften the lines.
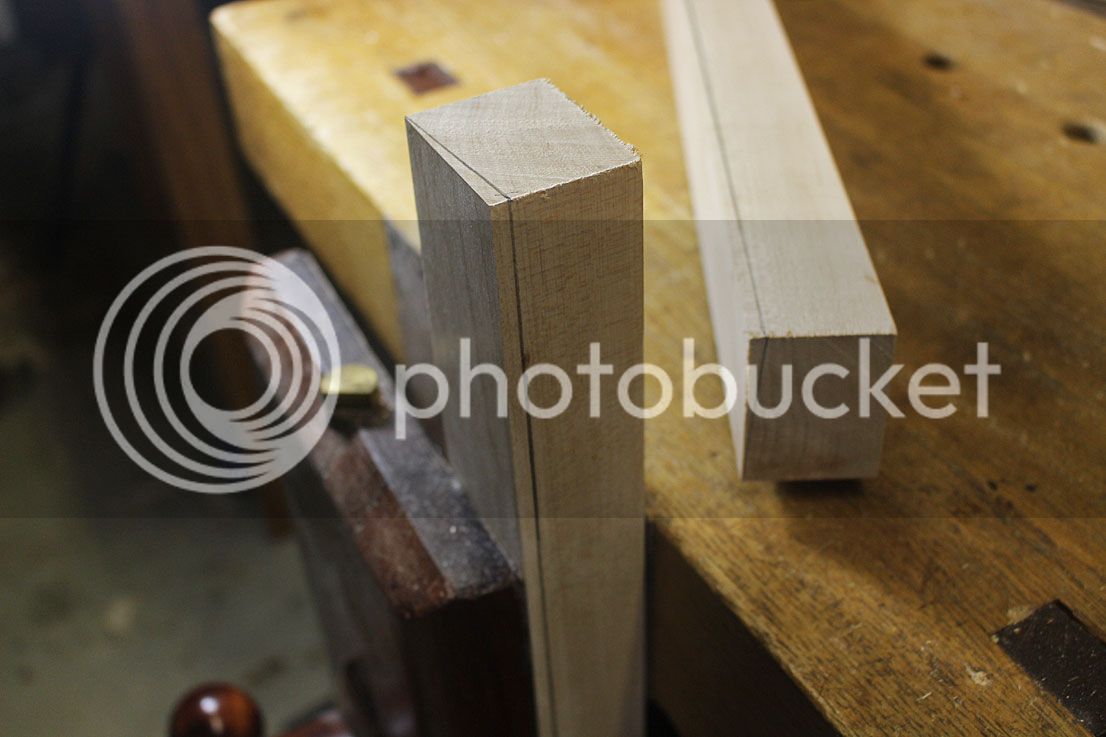
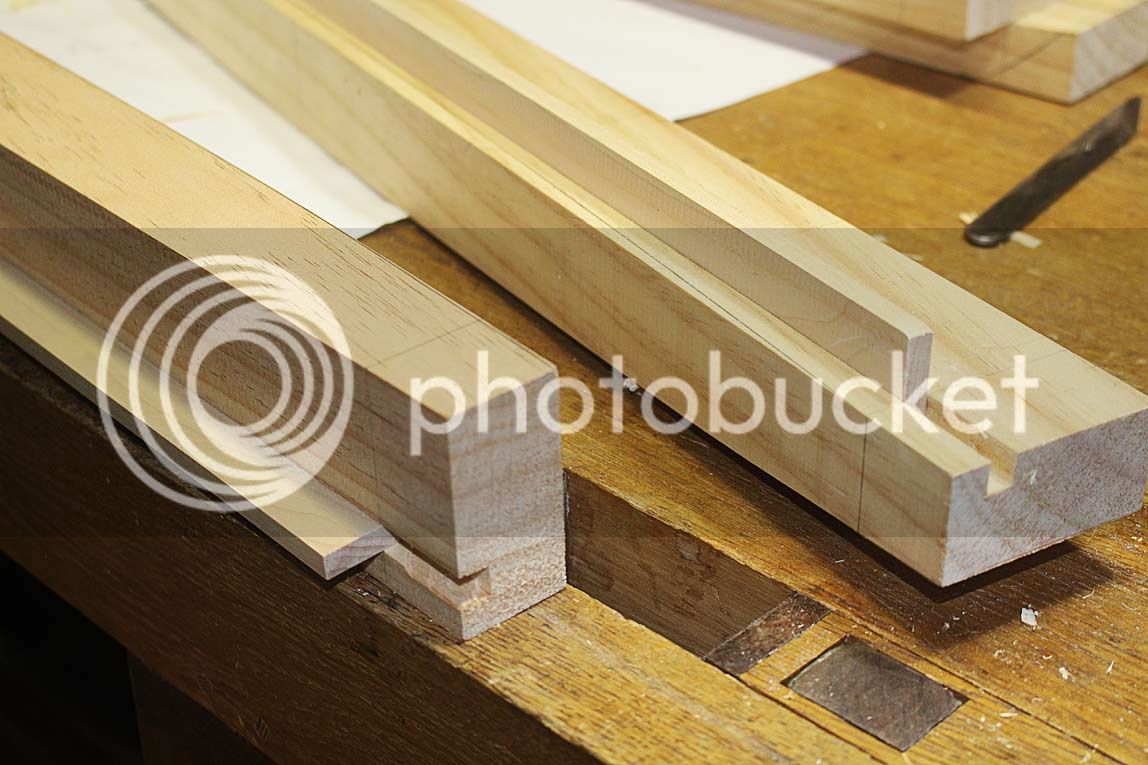
Here are the replacement drawer blades. They will not be glued until the the aprons are attached to the legs as they will get in the way of sawing tenons.
Here is a view of the bow. Also note that the "fence" for the drawer has been glued in ...
Another view of the bow, as it is likely to appear when assembled ..

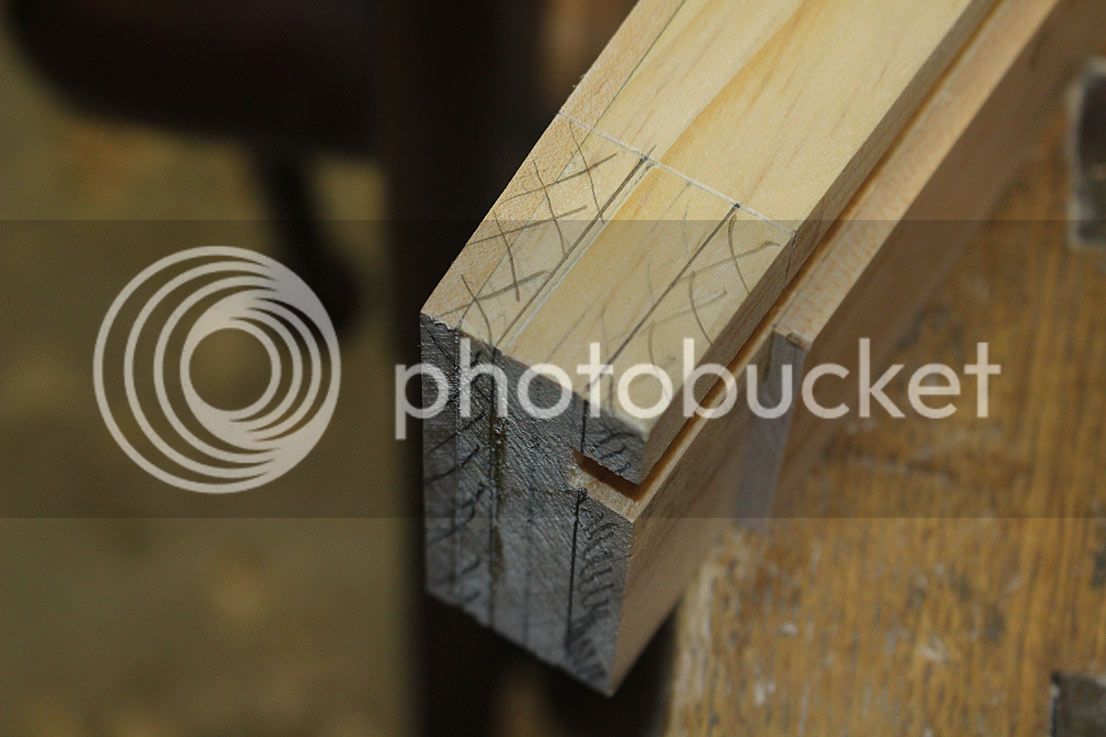
This is roughly how the 1/2" tenons will be situated (just a quick pencilling in to provide a look).
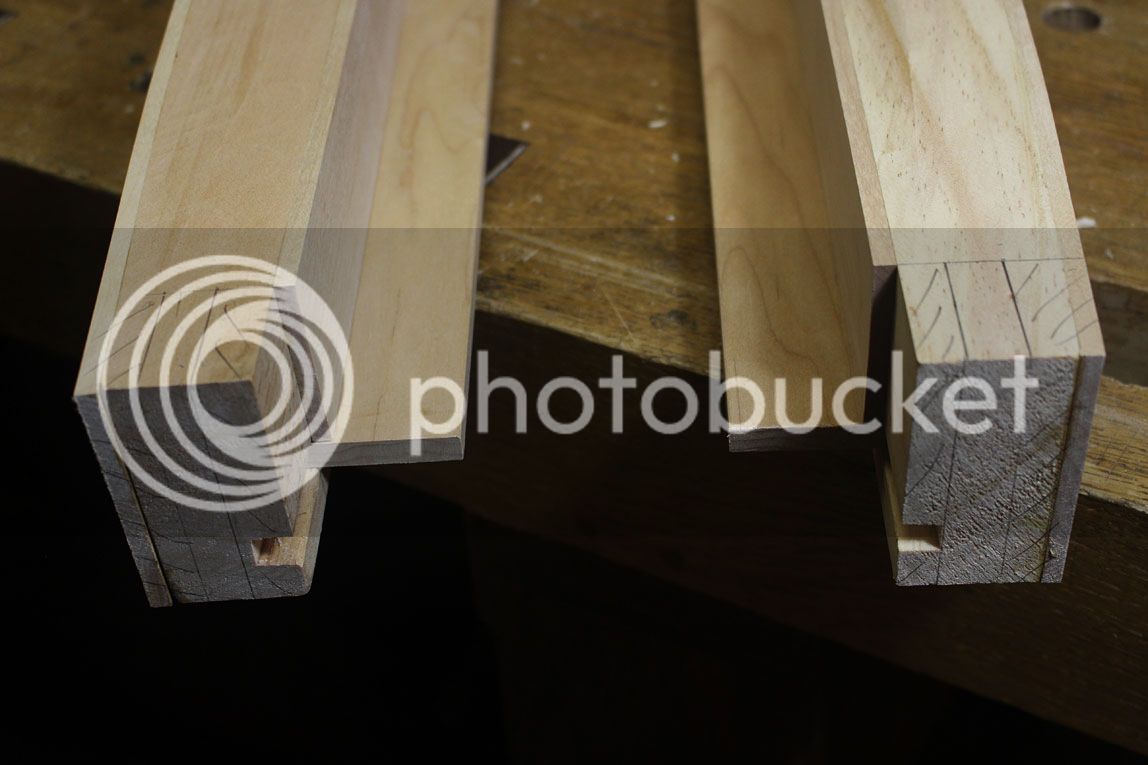
And at that point I will end. Next stage is shaping the legs.
Any comments and suggestions are welcomed.
Regards from Perth
Derek
After a few final tweaks, the design has been settled, and the build begins. This is the front elevation, with the body in Hard Maple ...
The top ...
... will be West Australian Rose Sheoak (think Lacewood).
This comes from my local urban salvage supplier, Derek Doak "The Timberbloke". Here you can see the 2" thick slab was saved from a fire ...
Re-sawn and book matched, the 1250mm top will be elegant and simple, and still hopefully stunning ..
I decided to start the build with the aprons. The legs will follow next. They are complex in themselves, having multiple angles - more on that in a later post. However, the aprons are the key element as they are both bowed and receive a curve on the underside. They also need to support a drawer from one side.
Here is a plan ..
I have already made up all the templates needed for the table top, the legs, the bow of the apron, and the curve on the underside of the apron.
I decided that the core of the apron would be pine, which will be wrapped in Hard Maple. The alternate choices were either to build laminations of hard maple, or create all from solid maple. The end design seemed to me to be the easiest to build to ensure the support for an internal drawer along the length of the table, as well as economical for the maple, which is in limited supply in Australia in the size needed.
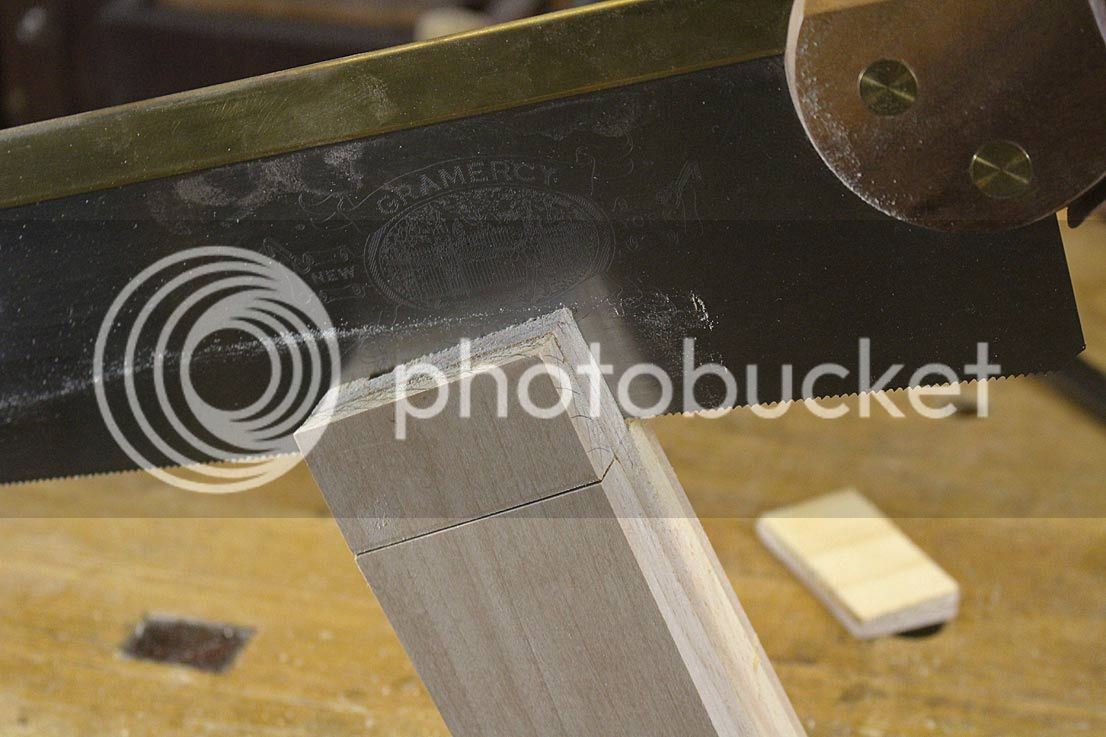
The bow front is marked out and bandsawed close to the line, and then cleaned up with a spokeshave ...
Save the waste, replace the bow on it to secure for the next step ..
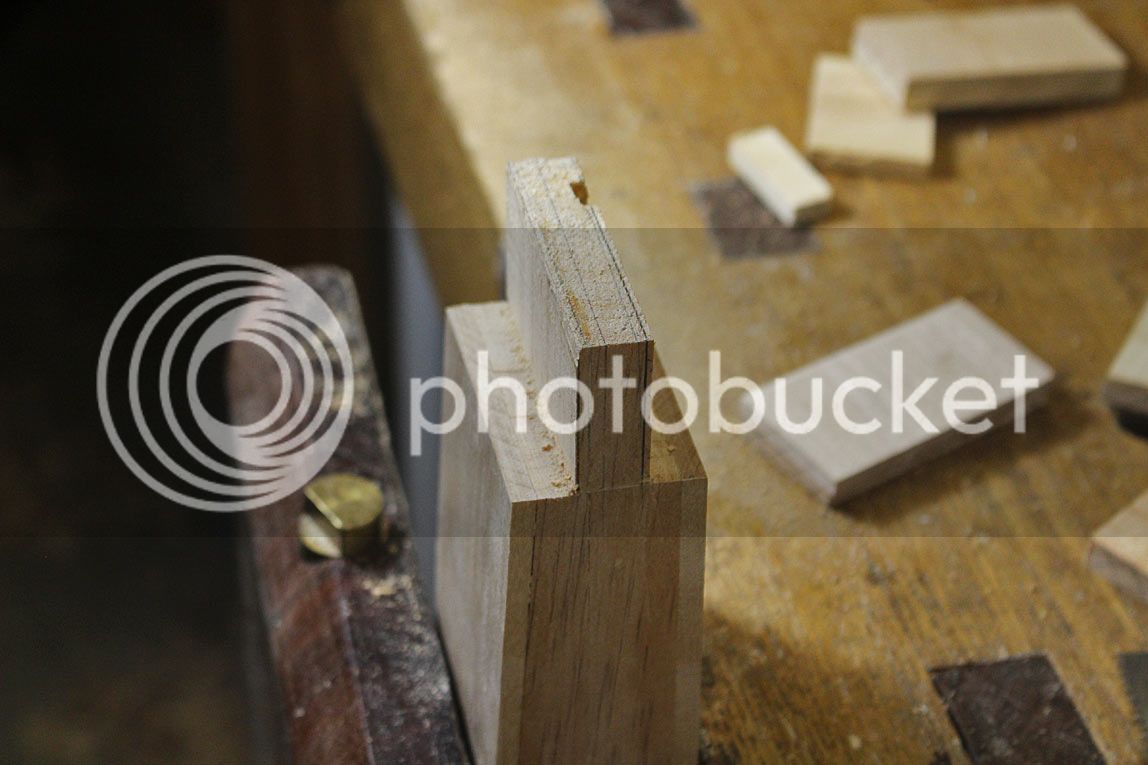
.. and now it is ready to plough out a 5/16" groove for the drawer blades ...
I am planing into the grain, so take fine shavings until the blade is below the surface, and then crank it up ...
These are the drawer blades. I later replaced them with wider pieces since I had forgotten to take into account the 5mm thick internal veneer (the fence for the drawer).
The curve for the underside of the apron is marked and the waste removed ...
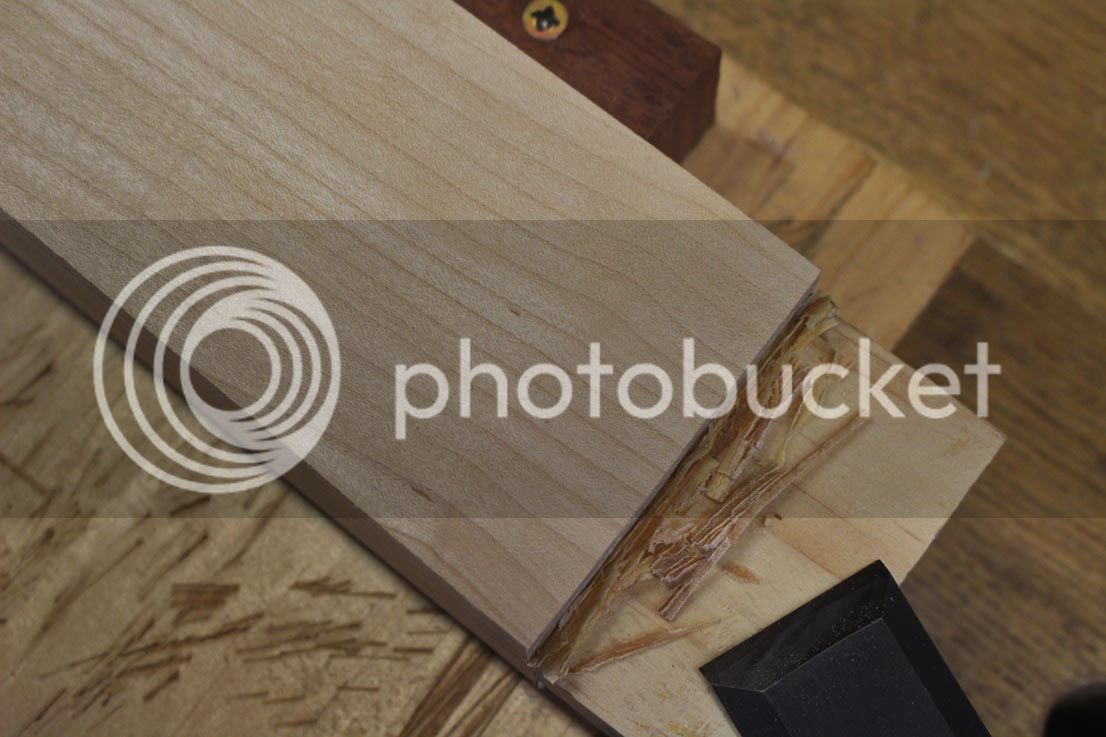
The front of the apron will have a 5mm Hard Maple veneer. Here it is being finished ...
This is sawn slightly oversize, and then glued to the apron blank. Can't have too many clamps ...
This was left overnight for the liquid hide glue to dry, and then trimmed down with a plane and a spokeshave ...
This will give a better idea of the curve to the underside. It is not intended to be a dramatic curve - simply to soften the lines.
Here are the replacement drawer blades. They will not be glued until the the aprons are attached to the legs as they will get in the way of sawing tenons.
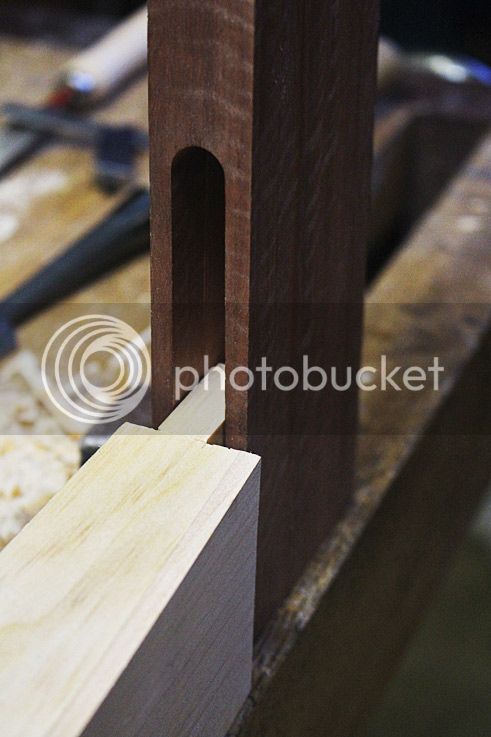
Here is a view of the bow. Also note that the "fence" for the drawer has been glued in ...
Another view of the bow, as it is likely to appear when assembled ..
This is roughly how the 1/2" tenons will be situated (just a quick pencilling in to provide a look).
And at that point I will end. Next stage is shaping the legs.
Any comments and suggestions are welcomed.
Regards from Perth
Derek
")