Chris152":1nubz4e8 said:
I've been searching online but can't get this clear - when you say 'scribing the tenon shoulders', you seem to mean more than just marking out.
Hello Chris. Yes, scribing a tenon shoulder is different to marking out. Maybe a practical example will help illustrate the difference.
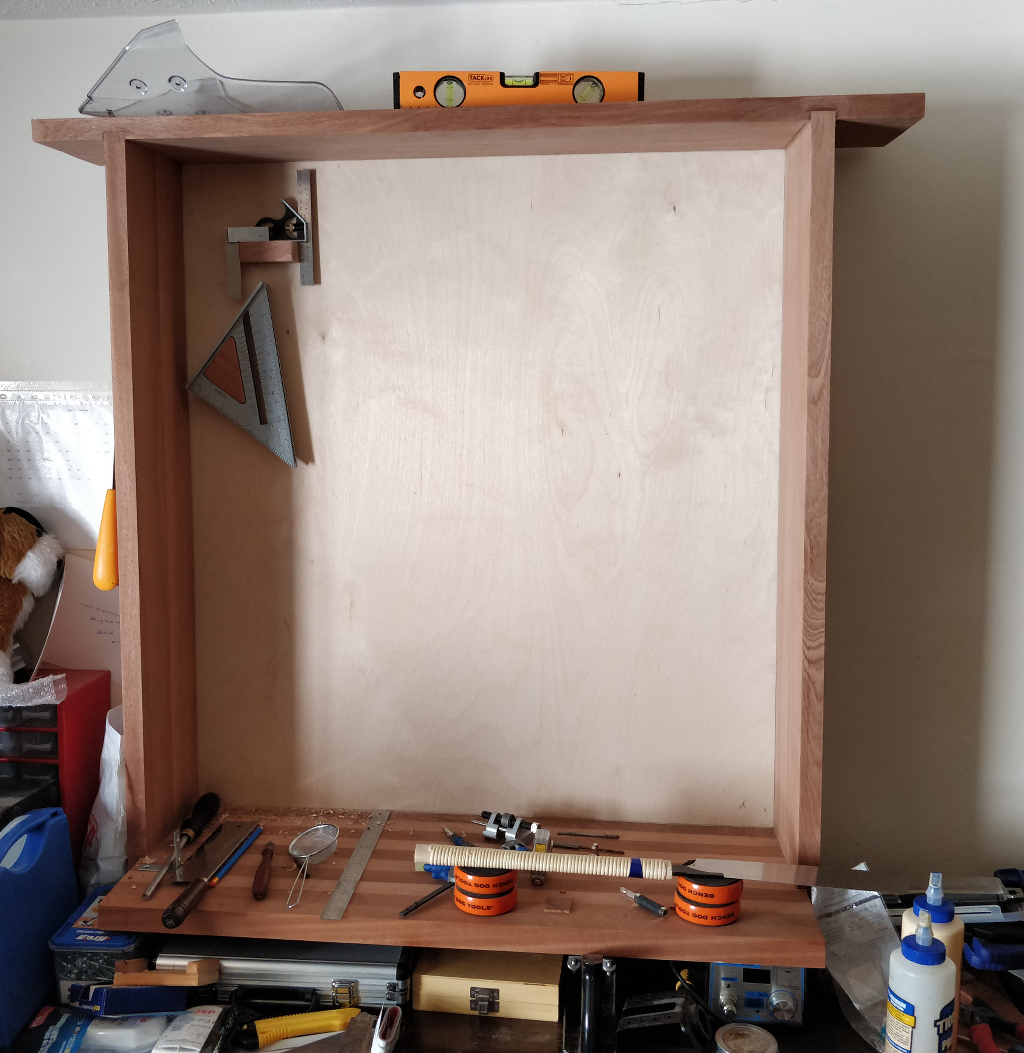
This is a cabinet door in Curly Cherry that I'm currently working on. The panels have had an initial coat of finish prior to assembly (so there'll be no bare wood visible if the panels subsequently shrink) but the frame is unfinished.
Let's think about the process of making this door. There are three main objectives,
1. The door must be completely flat, with no twist or wind.
2. It must be square.
3. All the joints must close up
perfectly, with no gaps anywhere.
In furniture making it really helps to separate out the objectives, dealing with each one individually. So I start by checking for twist, either with winding sticks or by laying the door on a known flat surface and pressing down on each of the four corners whilst seeing if there's any rocking. This is the critical test, and it's really down to how accurately the tenon
cheeks were cut. If the door fails this test there's very little I can do and it might mean making the door again from scratch. But if this test is passed then I'm home safe, because any shortcomings in the second two tests can be dealt with.
Next I test for square by cramping up and measuring the diagonals. I'll adjust the cramps in order to achieve square, but at this stage I completely ignore if any gaps open up around one of two of the joints. All I want at this stage is square.
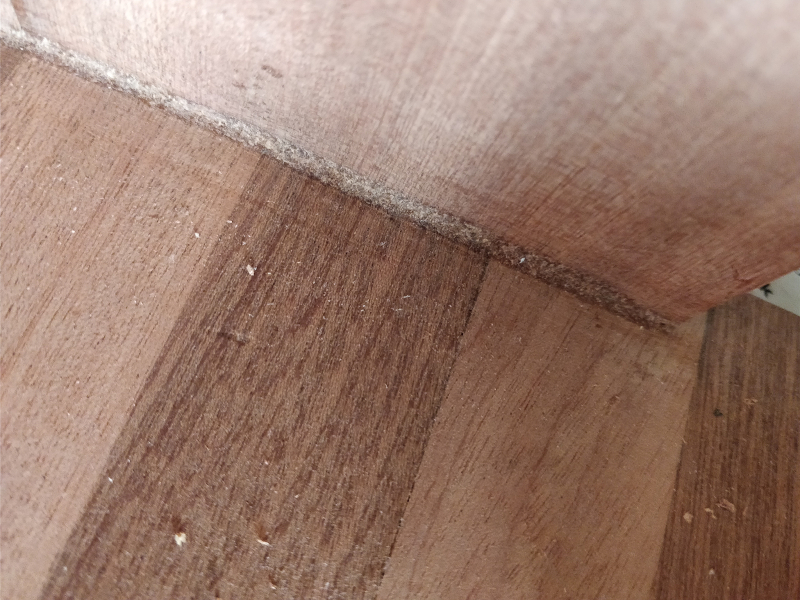
Once the cramps are delivering square then I critically examine all around each joint. On High Street furniture there will often be a minute gap here or there. But, in order to sell at a premium, furniture needs to be better than that, each joint must be flawless.
So, I turn to the problem joint and establish with feeler gauges the size of the gap. Let's say it's 0.2mm, I'd be a bit embarrassed if it were as large as that, but even a gap of a thou will be visible as a dark line once the finish is applied. Having established the gap is 0.2mm I'll take a feeler gauge of either 0.2mm or maybe 0.25mm. I'll press the feeler gauge tight against the stile and using a knife I'll scribe a line
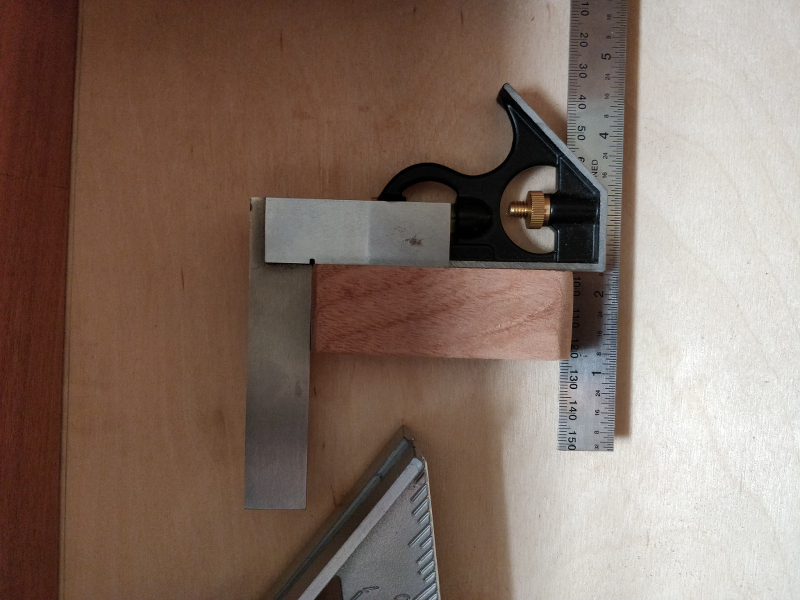
completely around the offending rail. I should add that I've previously checked the tenons with a square even before assembly, so I know there's no missed splinters of wood holding the joint apart, but if I suspected that might be the case then I'd check that first before scribing.
The door is then disassembled and, using a sharp and properly set up shoulder plane, with the plane's side pressed tightly against the tenon, I'll plane down precisely to that knifed in scribe line. I'll clean up any fuzz with a chisel and I might even undercut the shoulders very, very slightly.
The door is then cramped up again for another test assembly, and if the remedial work has been carried out correctly this time there'll be a tick against all three objectives, so I can move on to the glue-up.
On rectilinear furniture making like this cabinet it's all fairly straightforward. But let's look at a more demanding situation. This is a chair that's typical of the stuff I make,
Here you have multiple mortice and tenon joints that are coming together at angles, compound angles, or are jointing curved components. There's no way you can accurately make an item like this completely from the plan. You will almost certainly have to fettle some joints individually to achieve a perfect fit. Furthermore, if you look at the back bars on this chair, you have multiple tenoned components that all need to close up
at the same time. In situations like these scribing tenon shoulders is the only way I know that you can achieve first class work.
When I look at how cabinet making is dealt with on-line or in magazines these days I sometimes despair. Techniques like scribing shoulders are pretty much essential, yet they hardly ever feature. Maybe they're considered too boring in an age that's looking for fast results, maybe the people making the YouTube videos don't really know what they're talking about (I suspect many of them have never made a stick of worthwhile furniture in their lives, but hey ho, they're internet stars so who cares!), or maybe magazines edit down their articles to fit within a two or three page limit so stuff like this gets scant attention? Who knows.
Incidentally, I'm not saying my methods are the
only way, or even the
best way. But techniques like scribing tenon shoulders have worked for me across literally thousands of joints, and my customers keep buying my stuff, so I guess I'm doing something right.
Good luck!


")