finally got some work in progress, the coffee table saga.

UKworkshop.co.uk

Help Support UKworkshop.co.uk:

This site may earn a commission from merchant affiliate links, including eBay, Amazon, and others.
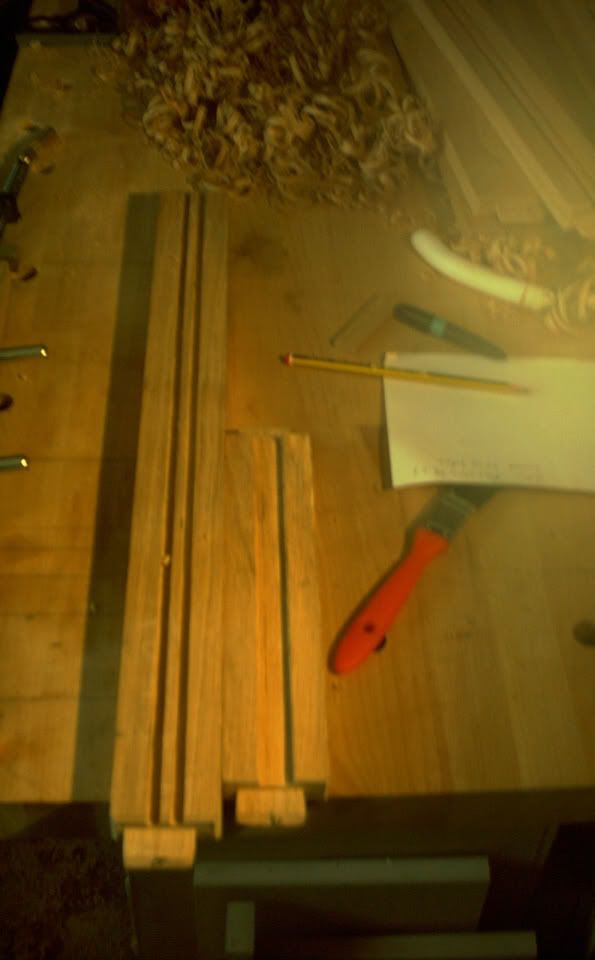
so no thoughts about marking, maybe i should ask the question on another section. :roll:

anyway made progress to the extent that the basic frame is now finished.
and it stays together without clamps so far.

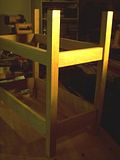
even more interesting, is the fact that it is level and does not rock.
the cross and lengthway rails are horizontal and also across the corners.
just hope i retain that in glue up :?

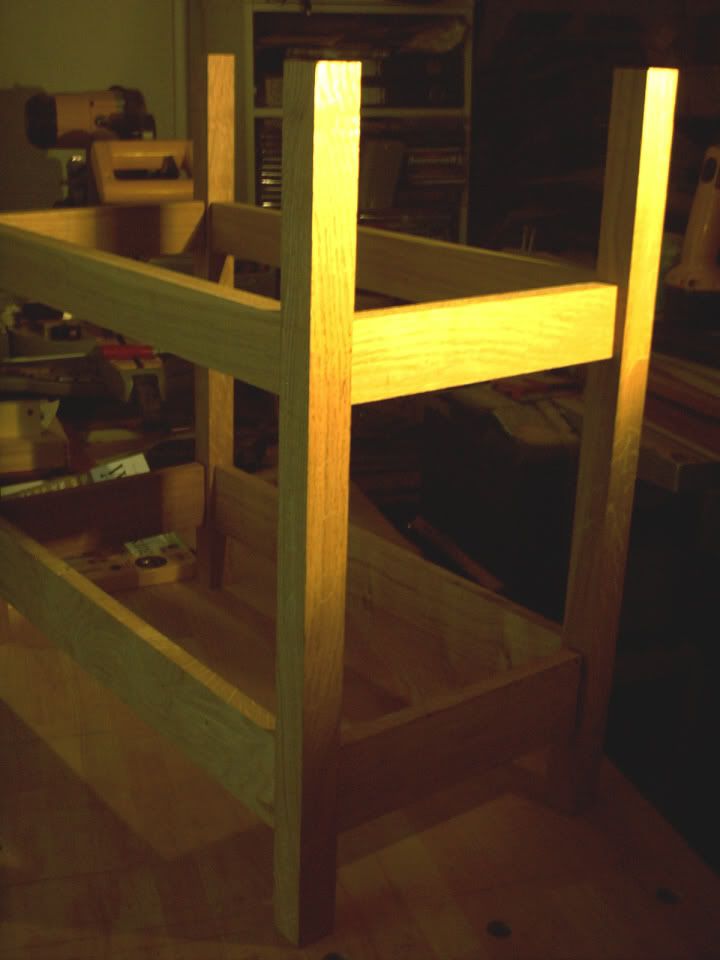
so what do you think, not bad, just have to finish the shadow lines on the long rails, and check all the others look similar in conjunction with each other.

th_finaldryassembly2.jpg
[/url]


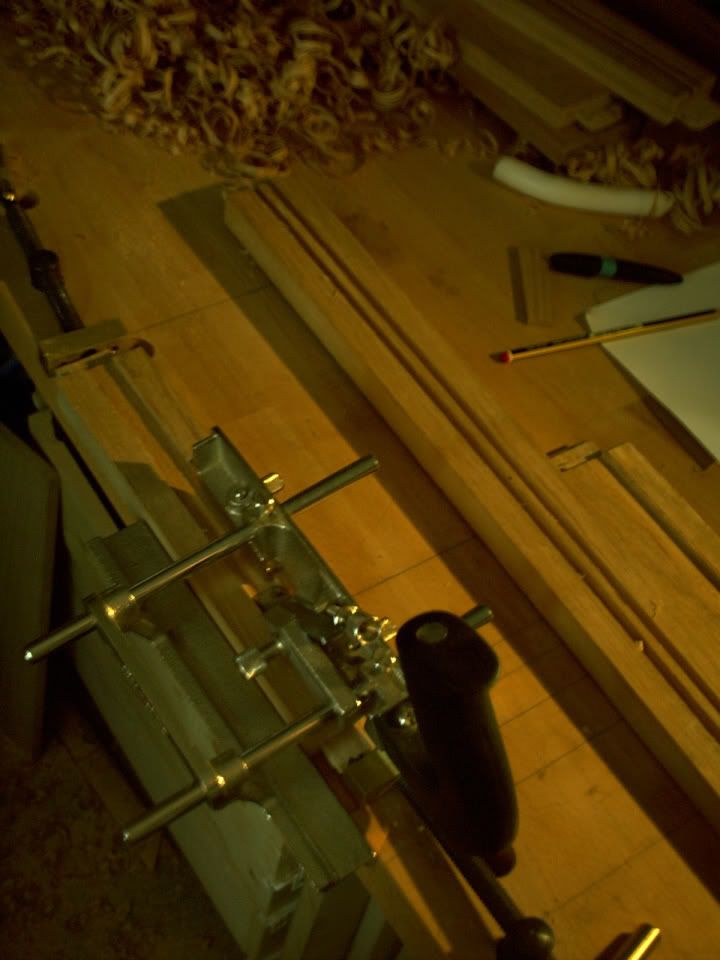
next part of the process is to cut the grooves for the mdf shelves top and bottom. for strength will use 12mm veneered that i already have,
(thanks jfc :roll: ) that will help keep it square too.

i am still thinking about the end panels and a back one.

will see how it looks over the next couple of days.

thanks for looking again

paul :wink: [/img]
 
thanks dom, bloody sight harder than i thought, but worth it as it gets nearer to completion.

next stage is to try and see whether i can use my stanley plough plane to cut the grooves :roll:

paul :wink:
 
engineer one":9phdddf2 said:
next stage is to try and see whether i can use my stanley plough plane to cut the grooves :roll:

It's worth doing some practice cuts on some scrap to ensure you have it working nicely :wink:

Cheers :wink:

Paul
 
yes, that from the man who has just bought a domino :lol: :lol:

the router is my second thought if i can't figure out the stanley, but then what do i save, only time :roll: :twisted:

paul :wink:
 
i must confess that trying to overcome the problems is great fun.

i think what worries me is my sense of humour is similar to yours 8)

nice to know my chisels and planes are sharp :lol:

love working with oak.

paul :wink:
 
so i have got the stanley out, and fitted the 6mm blade, and tested it on a piece of 2x1 just to see if it cuts. now the big one, learning to use it on the oak, and wondering a couple of other things too.

from the picture, you can also see a piece of the lime i intend to use as an end panel infill. i want it to be flush with the oak cross stretchers, and show the interesting grain. so i will groove the stretchers, and then run a rebate in the lime.

th_thestanleyonthelime1.jpg
[/url]
[/img]

so the questions are thus,

how do you guarantee that the plane stays upright? i know that sounds dumb, but unless i have assembled it wrong, then i guess you have to guide it with your last two fingers on the right hand side, and that may be a little bit of a problem for me with a dodgy little finger (ahhhhhh :roll: )

how tight do you do up the screws finger or driver tight???

also is it sensible to use this to cut the rebate on the piece of lime??

thanks for any comments :?
paul :wink:
 
I'm not familiar with that particular plane but you appear to have it assembled incorrectly. You normally have the fence on the left-hand side. Is it possible to fit a deeper wooden face to the fence? That normally helps in keeping it upright. When planing keep pressure against the fence.

Cheers :wink:

Paul

PS The plane is a bit light in weight and you may, therefore, struggle a bit if the oak is very hard. Dom's idea of using a router might be a better bet.
 
interesting paul that's why i posted. ( so where is alf when you need her???? :roll: )

i tried it the other way, but then wondered how i could keep the shoe on the wood to control the depth of cut.
and yes, i can of course put a deeper wooden fence on.

will see how i get on with the oak. :?

any thoughts about using it to cut the rebate, or do i need a shoulder plane with my nickers on????

paul :wink:
 
Paul - have a read of Alf's tutorial on her website, that should have all the answers you need.

I agree with paul though, I think you should have the fence on the left-hand side, to help keep the plane upright, you can fix a thin dowel with a bit of red paint on the end and use this as a visual guide (all in ALF's article).

The depth of cut should be controlled by a depth guage - I can't see if you have one as the fence obscures where it should be in the photo, but on my plough plane you would have a small thumbscrew that you would loosen and adjust a strip of metal to the depth you want.. I'm not sure if this is of any help though.

Edit: When cutting rebates, or any cut for that matter, you should most definitely keep your nickers on - it's just good hygiene! :)
 
Most plough planes have a depth stop to control the depth of cut. You set the depth then just keep planing until the stop prevents you going any deeper. I can't really work out your one from the picture you posted, but there doesn't appear to be any provision for one. Got any sort of instruction sheet?

Not sure about your rebate. Depends on the size of it. You could plane a groove with the plough then remove the rest with a shoulder plane. Or do the whole lot with the shoulder plane - just clamp on a batten to guide the side of plane. You will only need nickers on cross grain work.

Here's the stuff Byron mentioned http://www.youtube.com/profile?user=oldtoolalf

Or use a router :wink:

Cheers :wink:

Paul
 
thanks again have checked alf's site and will consider again.

there is actually a depth skate and i can adjust that, tried the fence on the other side and in oak, and it seems to work, so lets see if it will cut 8 grooves before sharpening and my going even madder :twisted:

thanks again for the interest


paul :wink:
 
some more progress.

decided to try the plough on the shelf grooves for the upper shelf.

afterwards, discovered i had one of them upside down. another reason for a good assembly marking process :oops:

so i had to widen the grooves in a different way than i had expected :?

luckily, because i was test cutting i had done the first grooves with a 6mm wide blade, and the shelf is going to be in 12mm i needed it to be widened anyway :roll: in the end, i had therefore cut two side grooves, and then finished off the centre with the 12mm blade.

so here is the latest progress well some of it?

th_niceshavings.jpg
[/url]


[/img]

as you can see i got some nice decent shavings, the major problem being they tend to roll up around the sledge guide rails and need moving away quite regularly.

so two more upper cross rails to finish off, then the lower rails, and the end panels to recess too.

must say that holding these things is the biggest problem with doing it by hand. any sensible ideas about a hold down would be gratefully recieved.

paul :wink:
 
Back
Top