wallace
Established Member
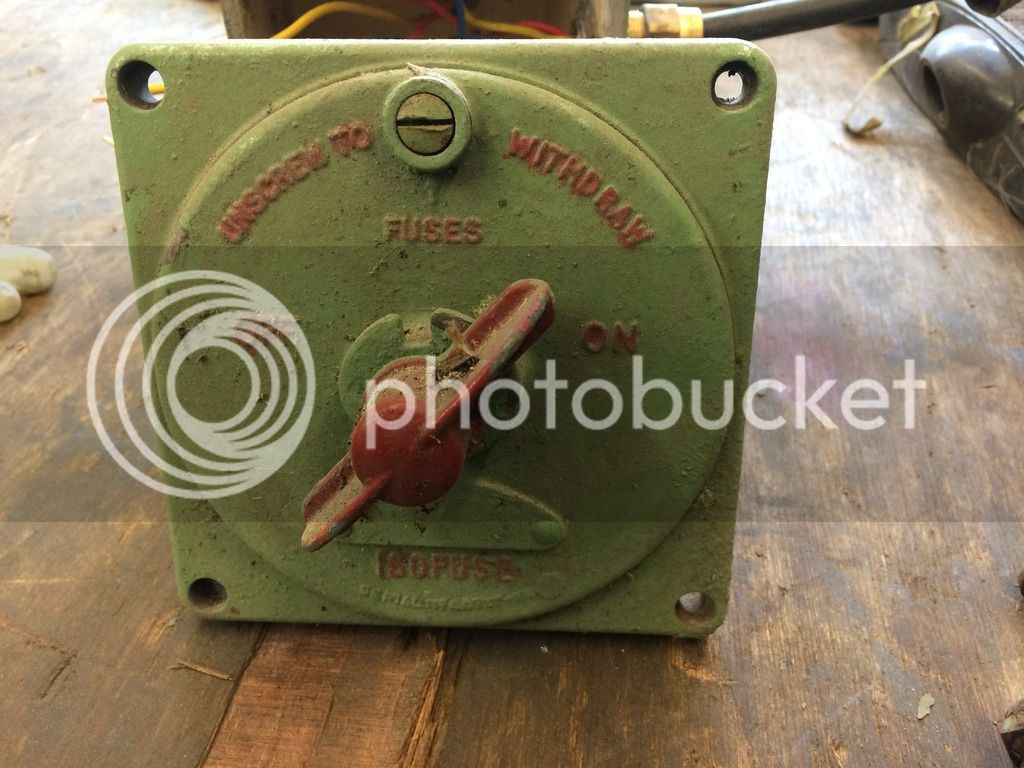
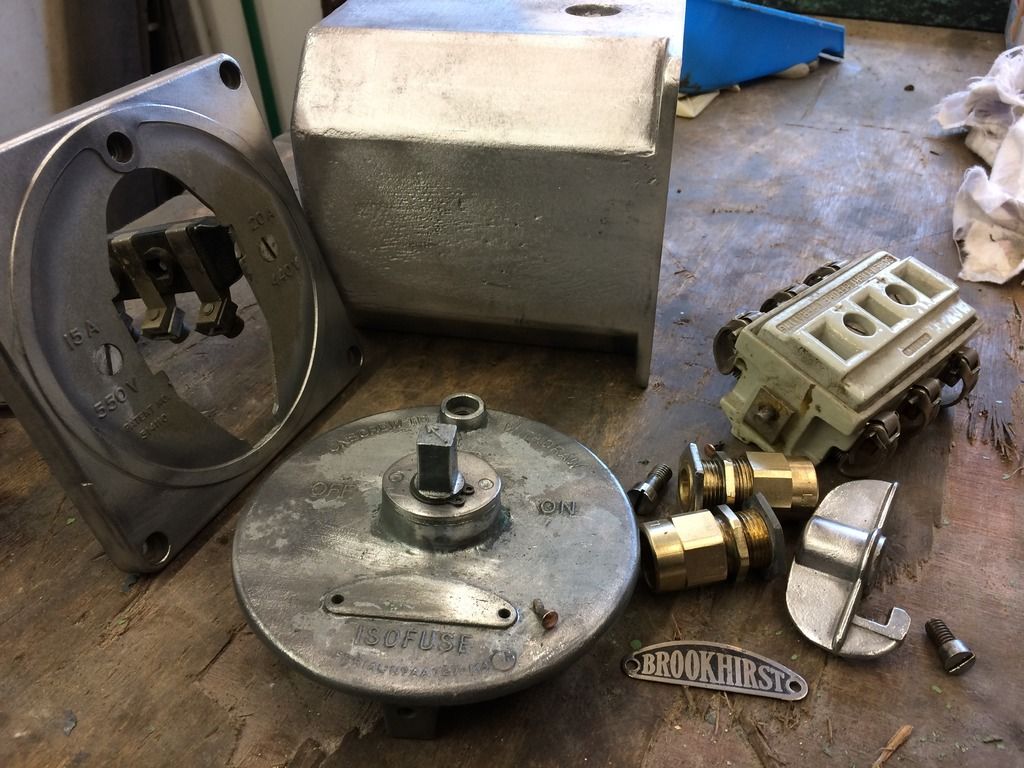
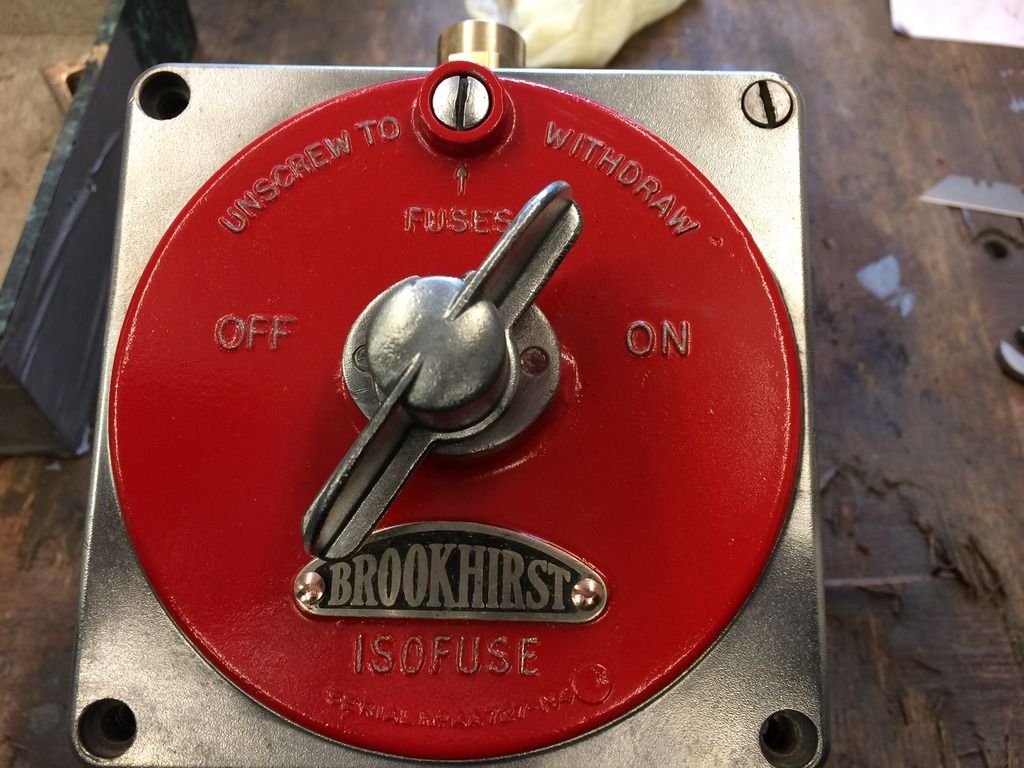
Don't panic just because there 3 phase. I run everything from a static converter. If you are just planning on one machine then VFD's are becoming very cheap now.


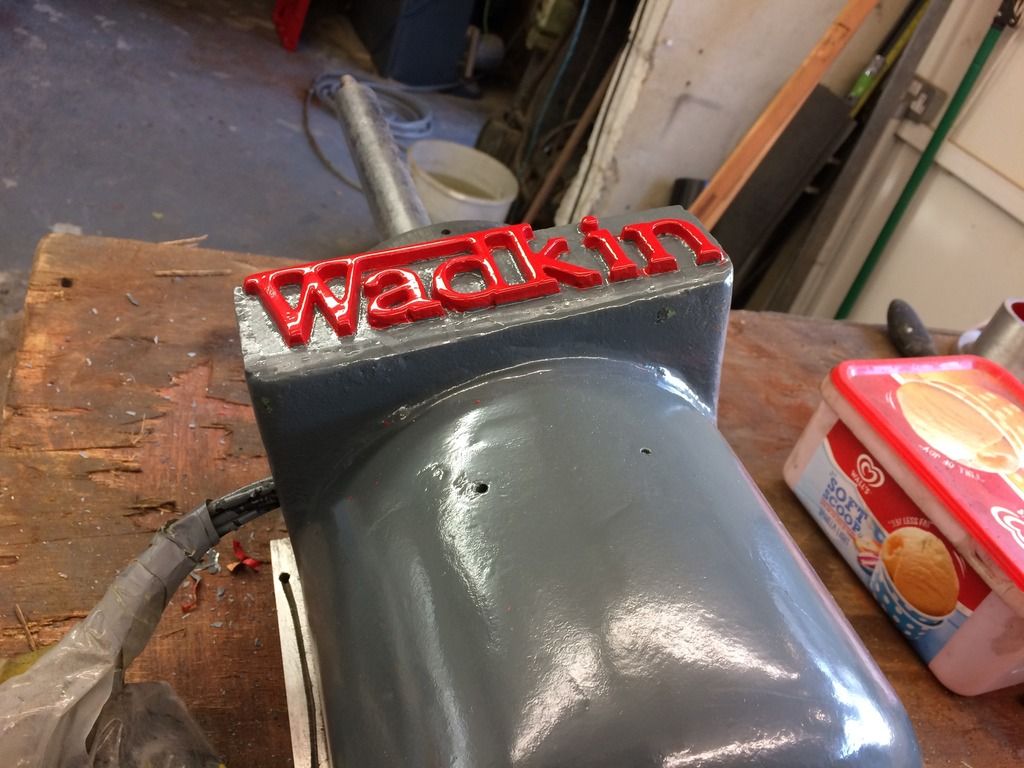
n0legs":2sw80i8z said:Lovely work Mark as always =D>
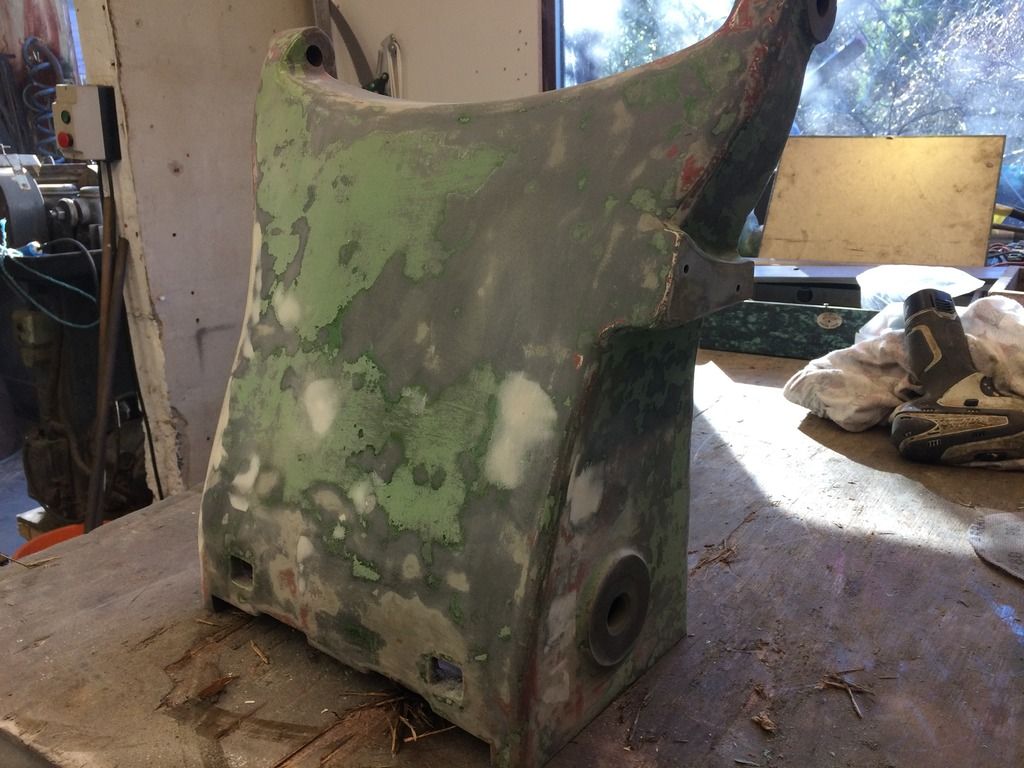
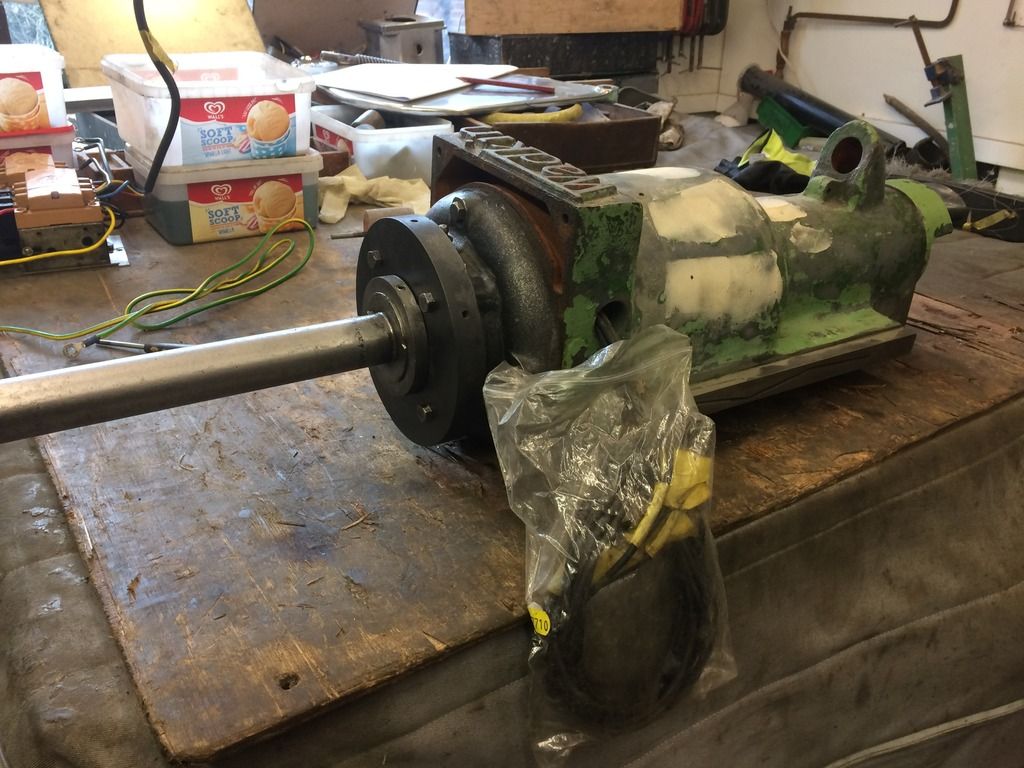
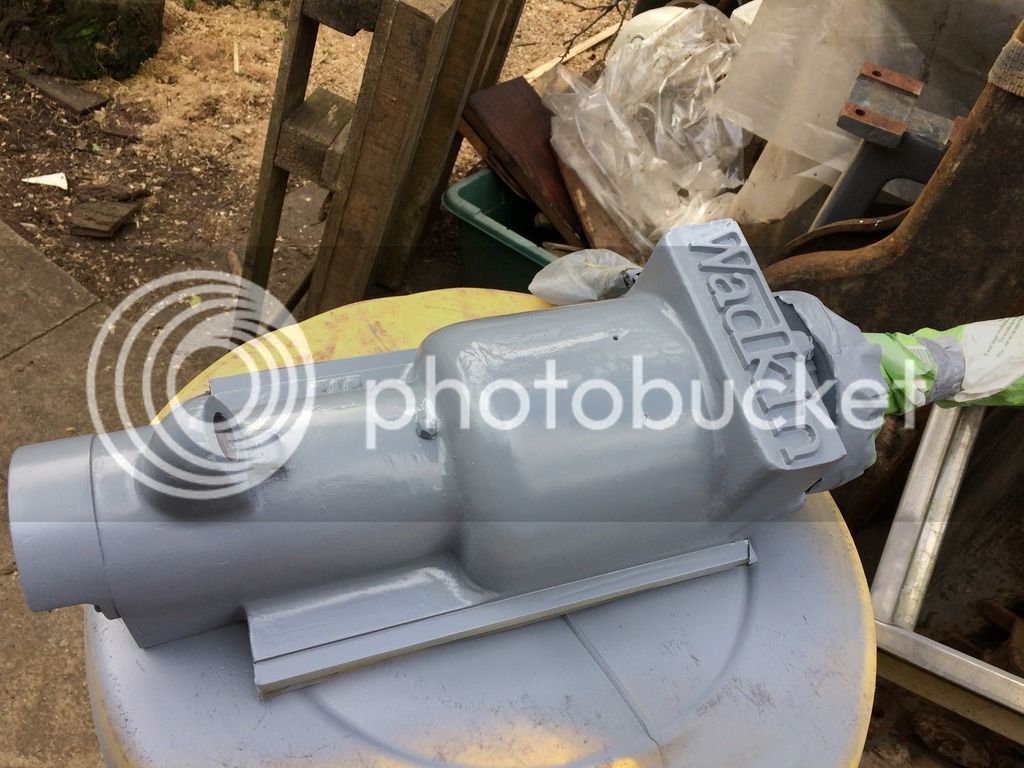
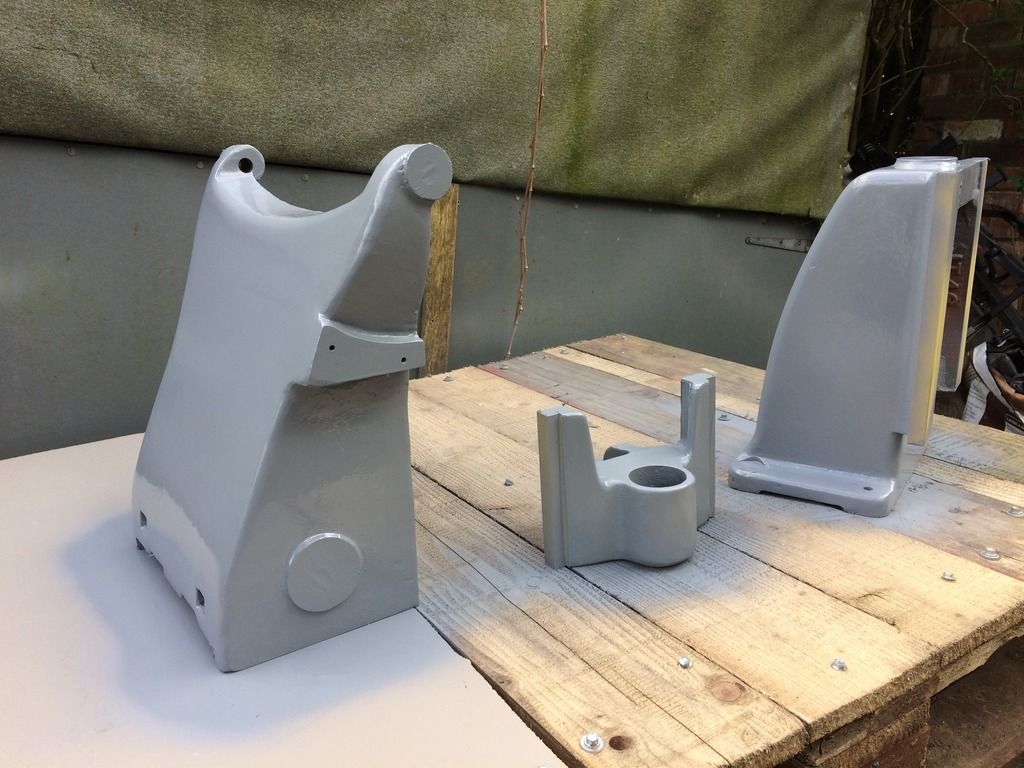
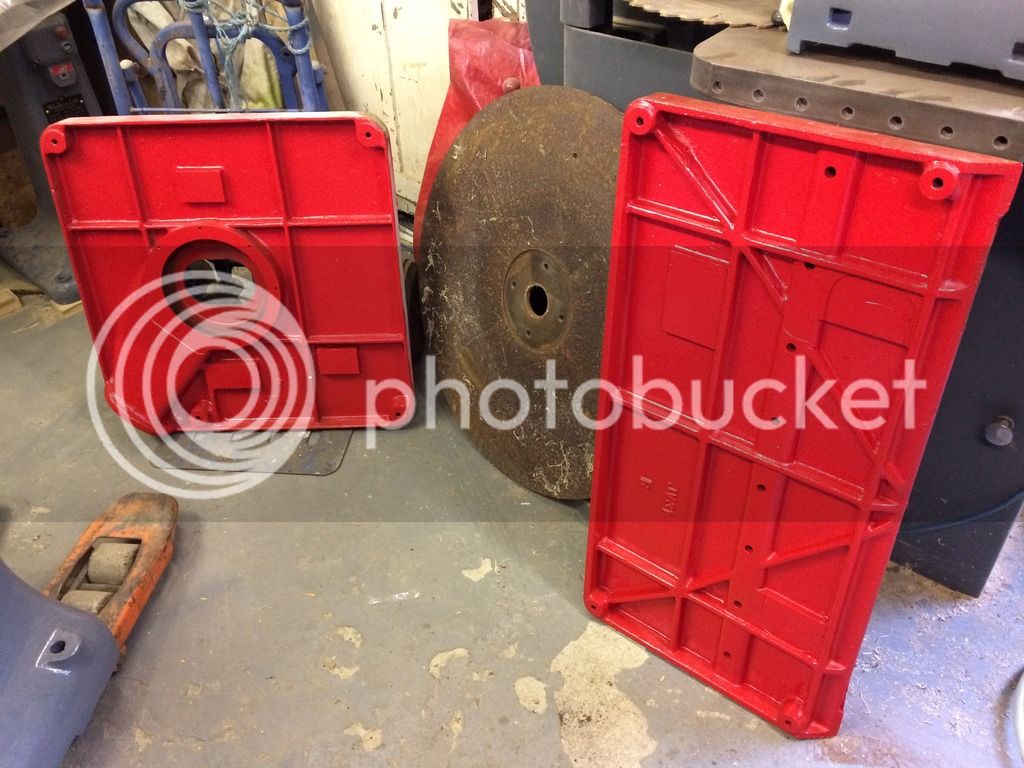
Coming along a treat now mate, brilliant progress.
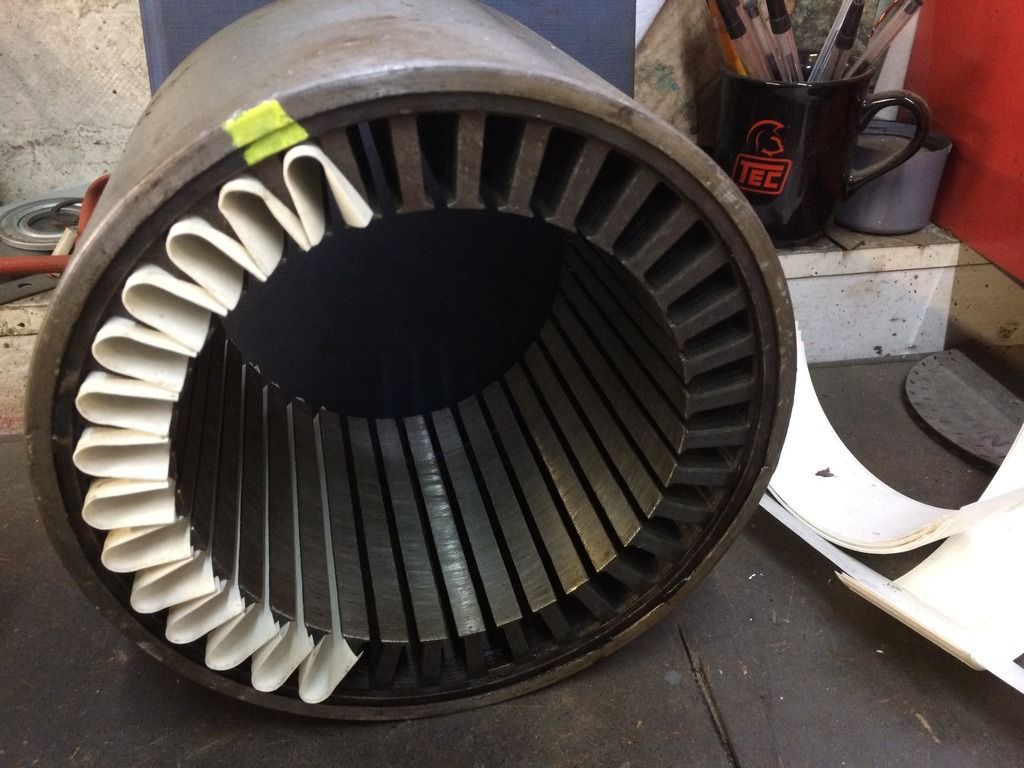
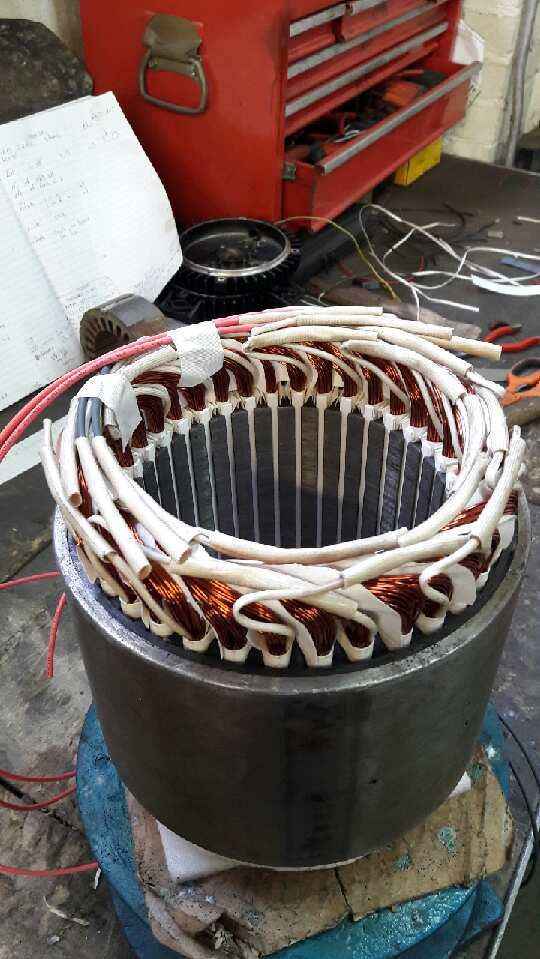
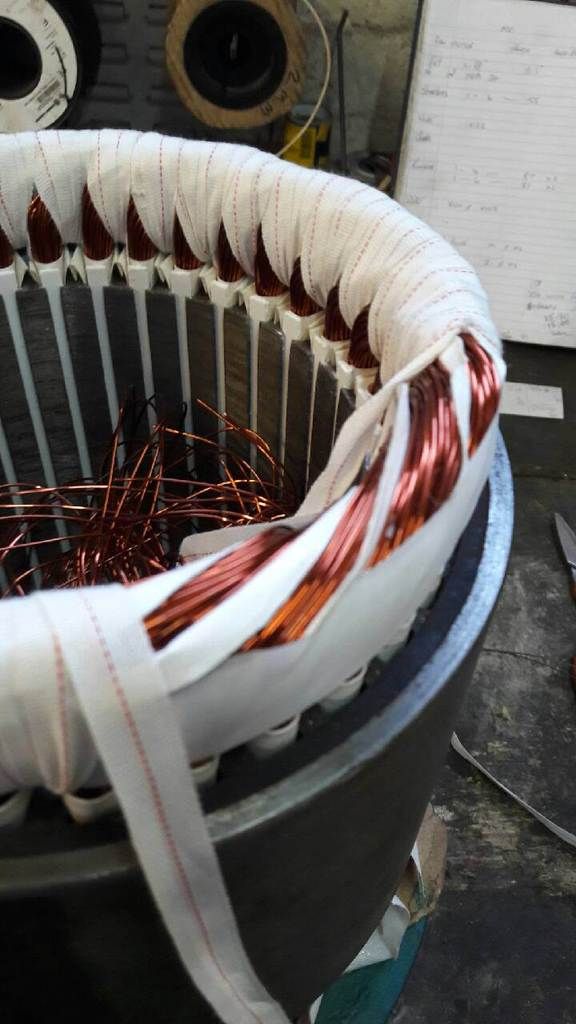
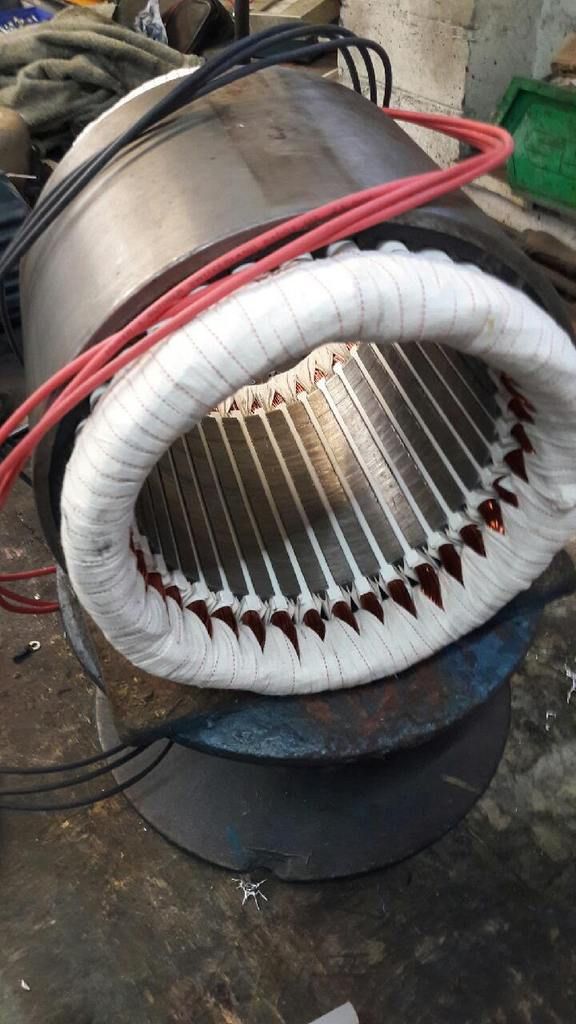
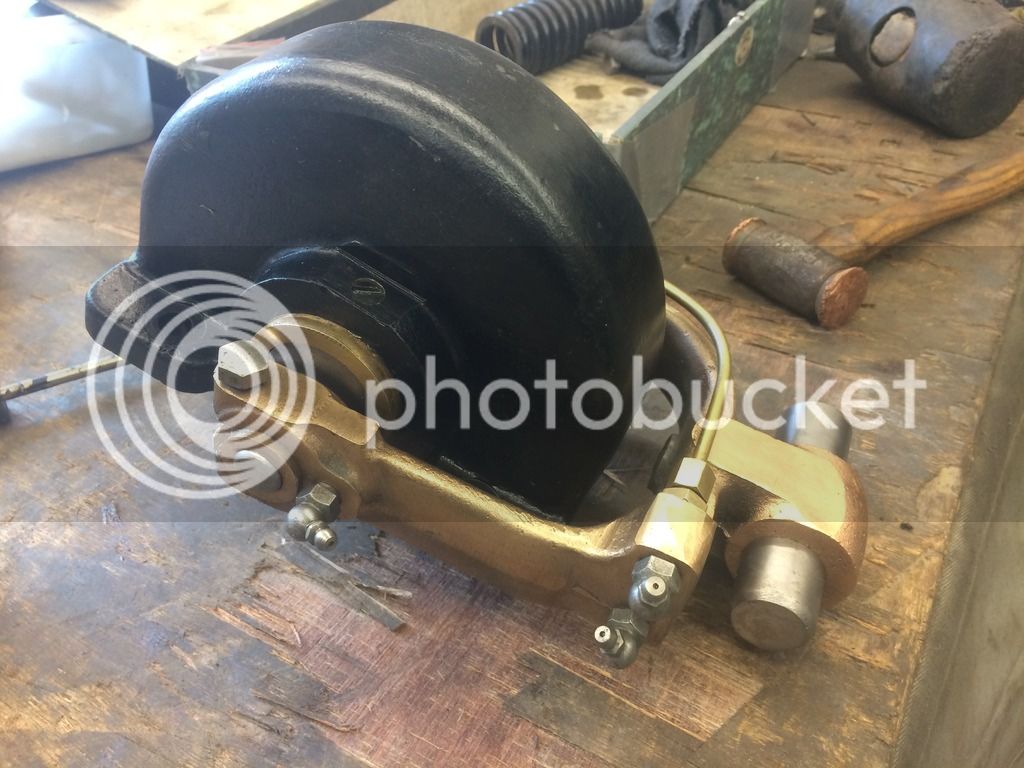
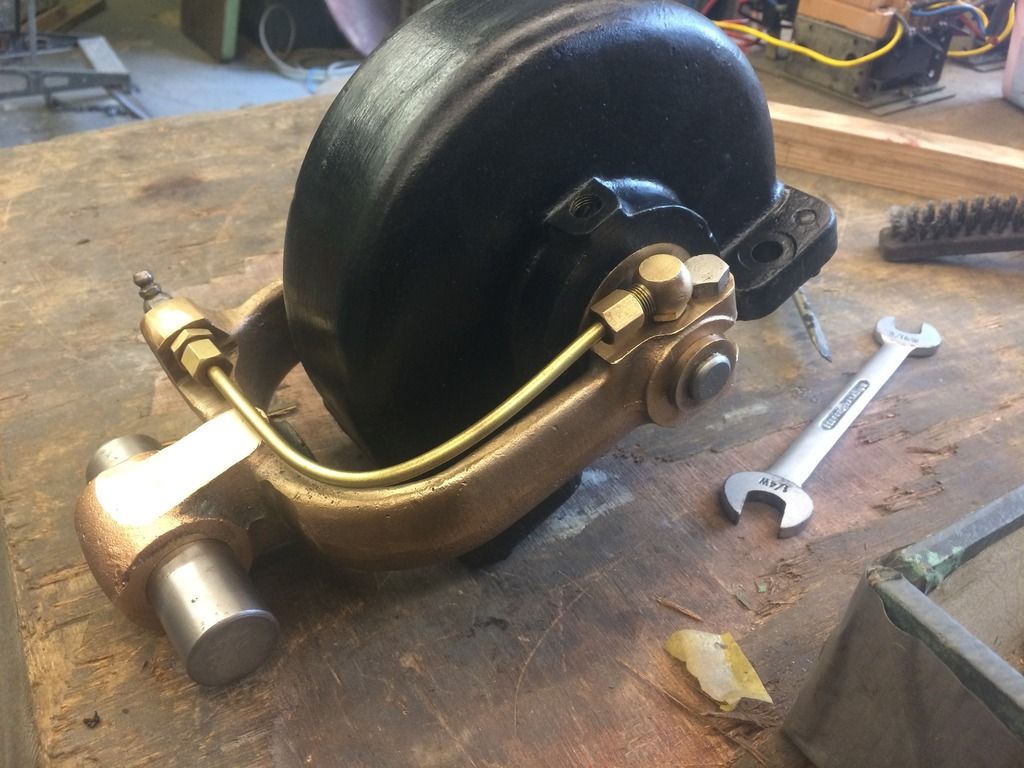
Pass my appreciation along to the motor man, he does beautiful work.

Enter your email address to join: