MarkDennehy
Established Member
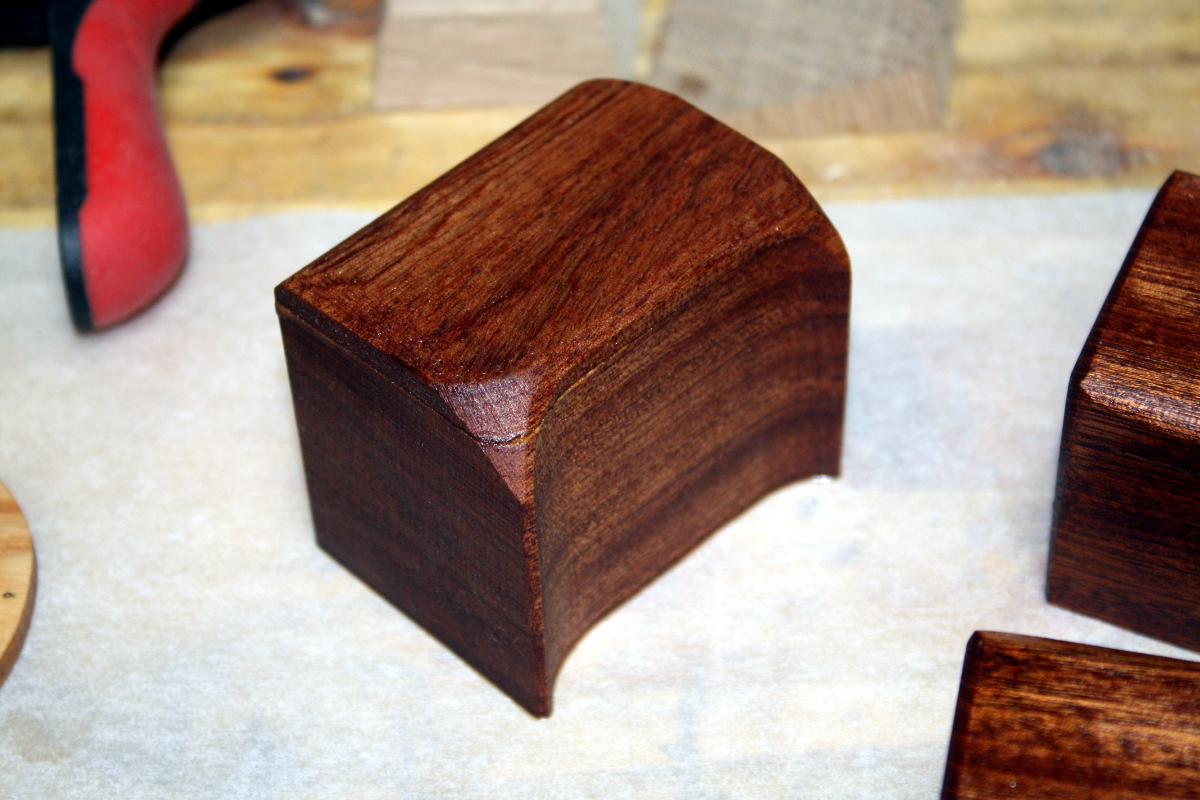
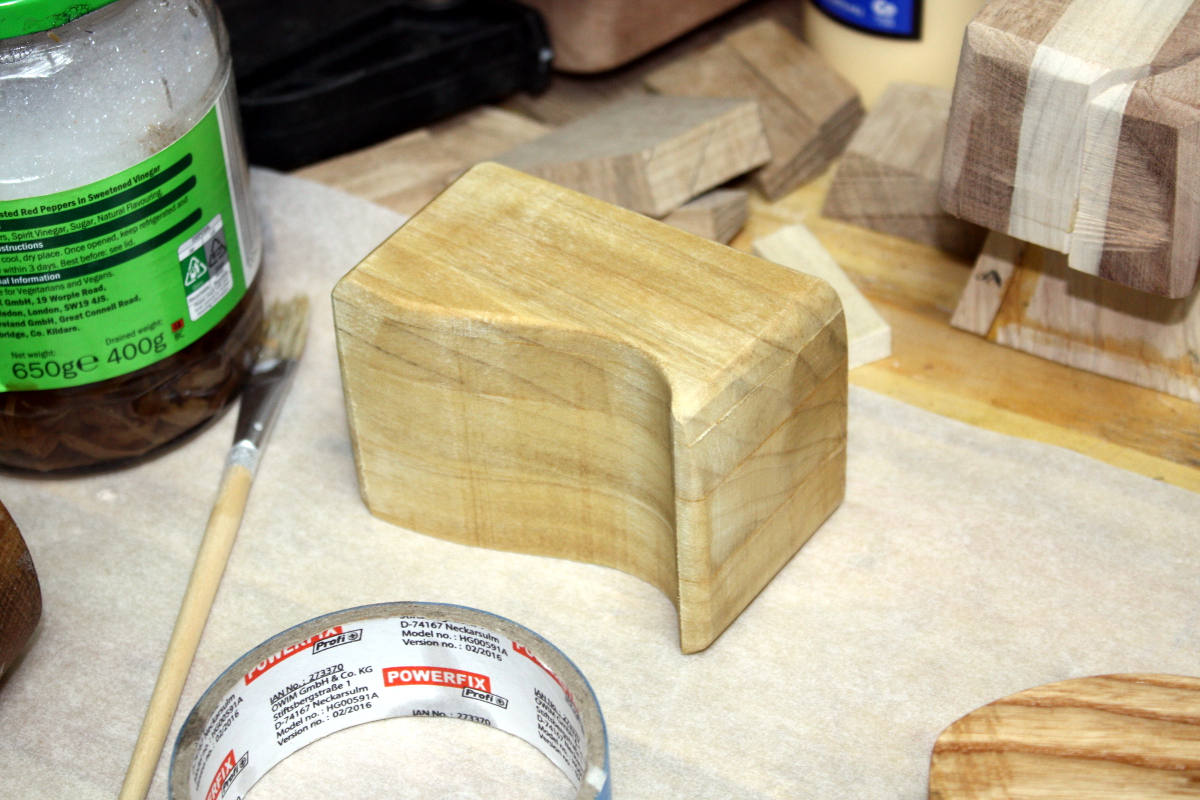
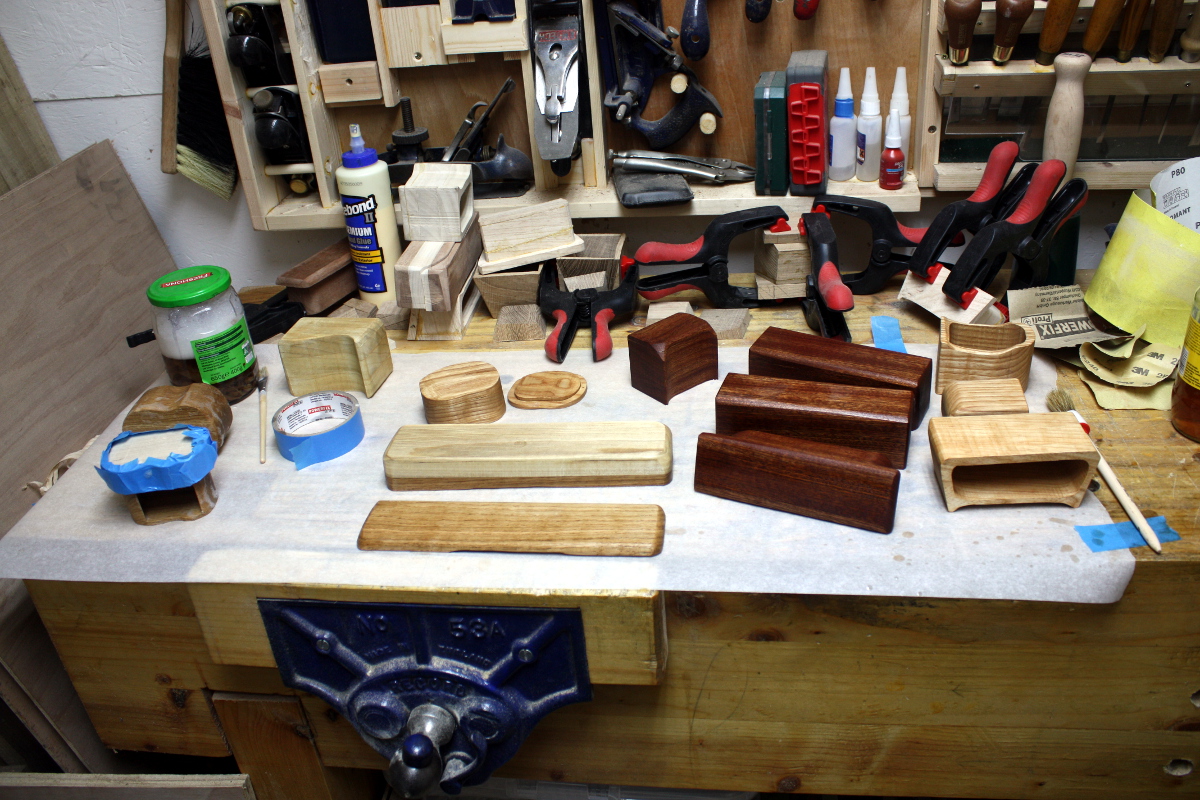
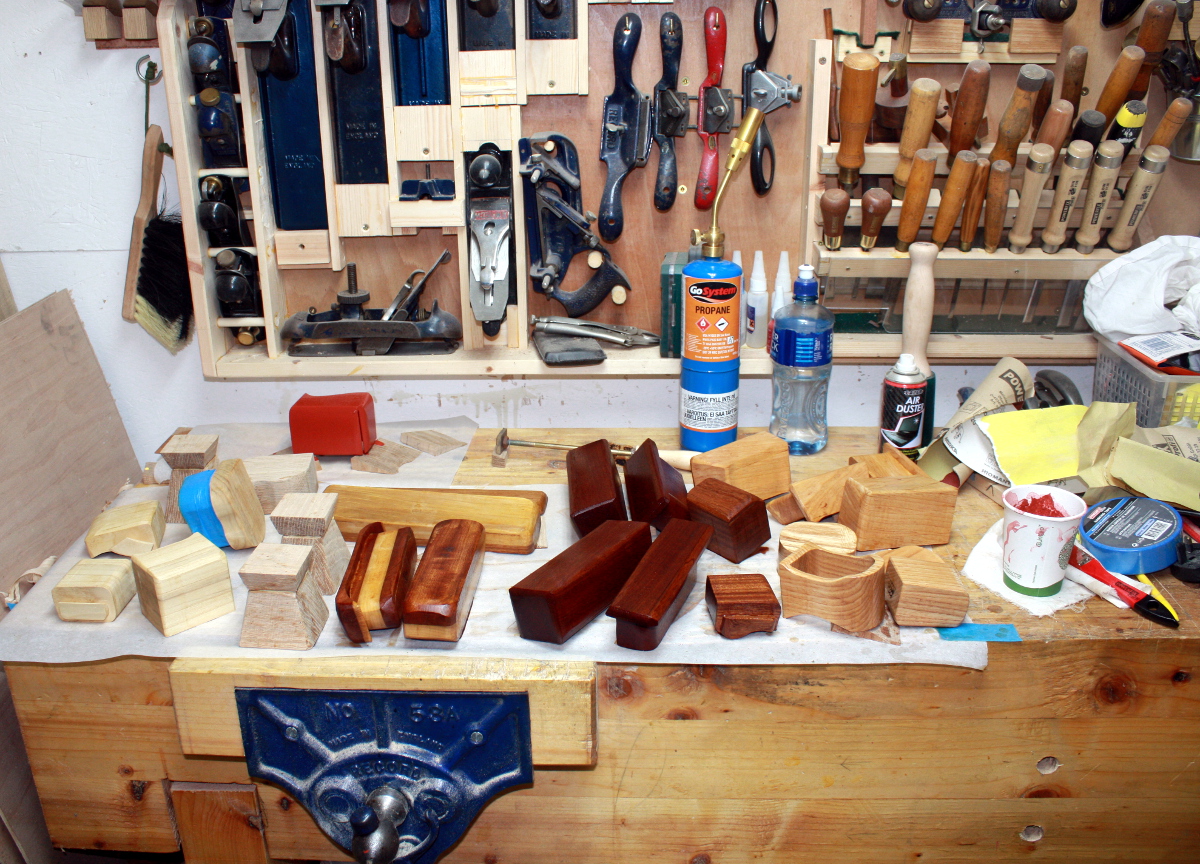
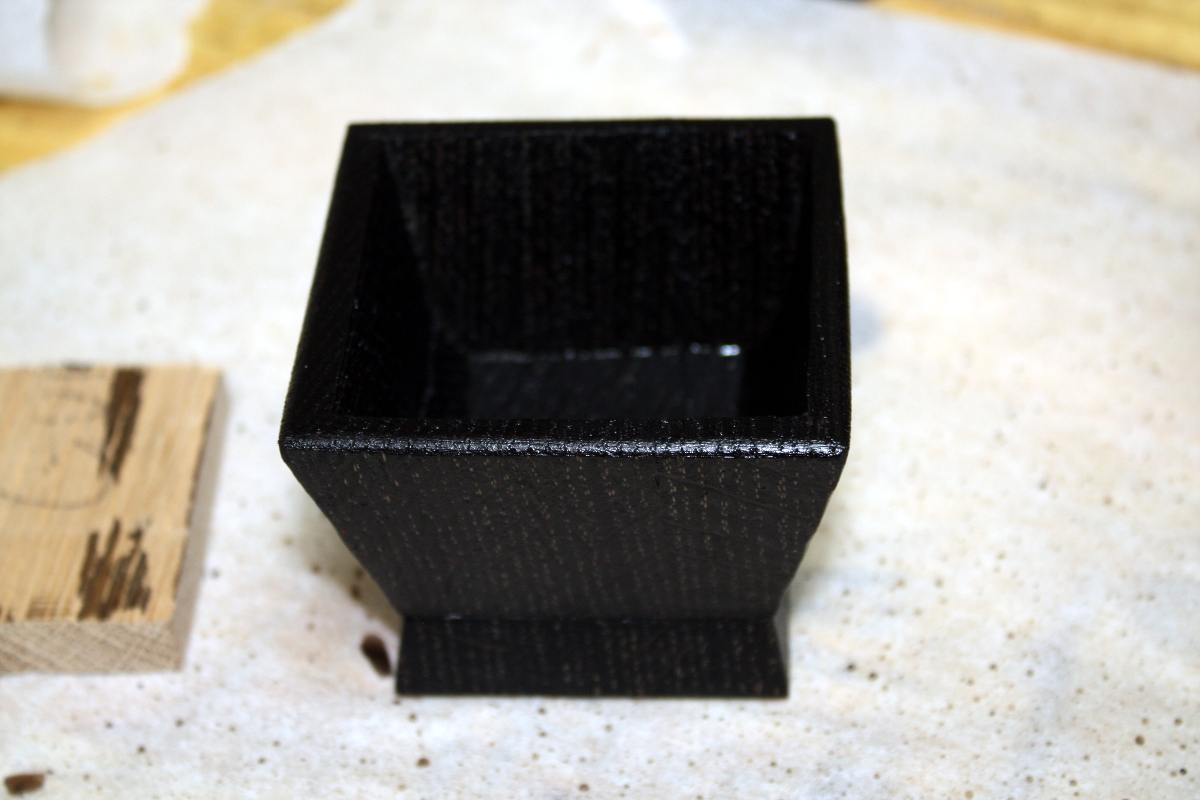
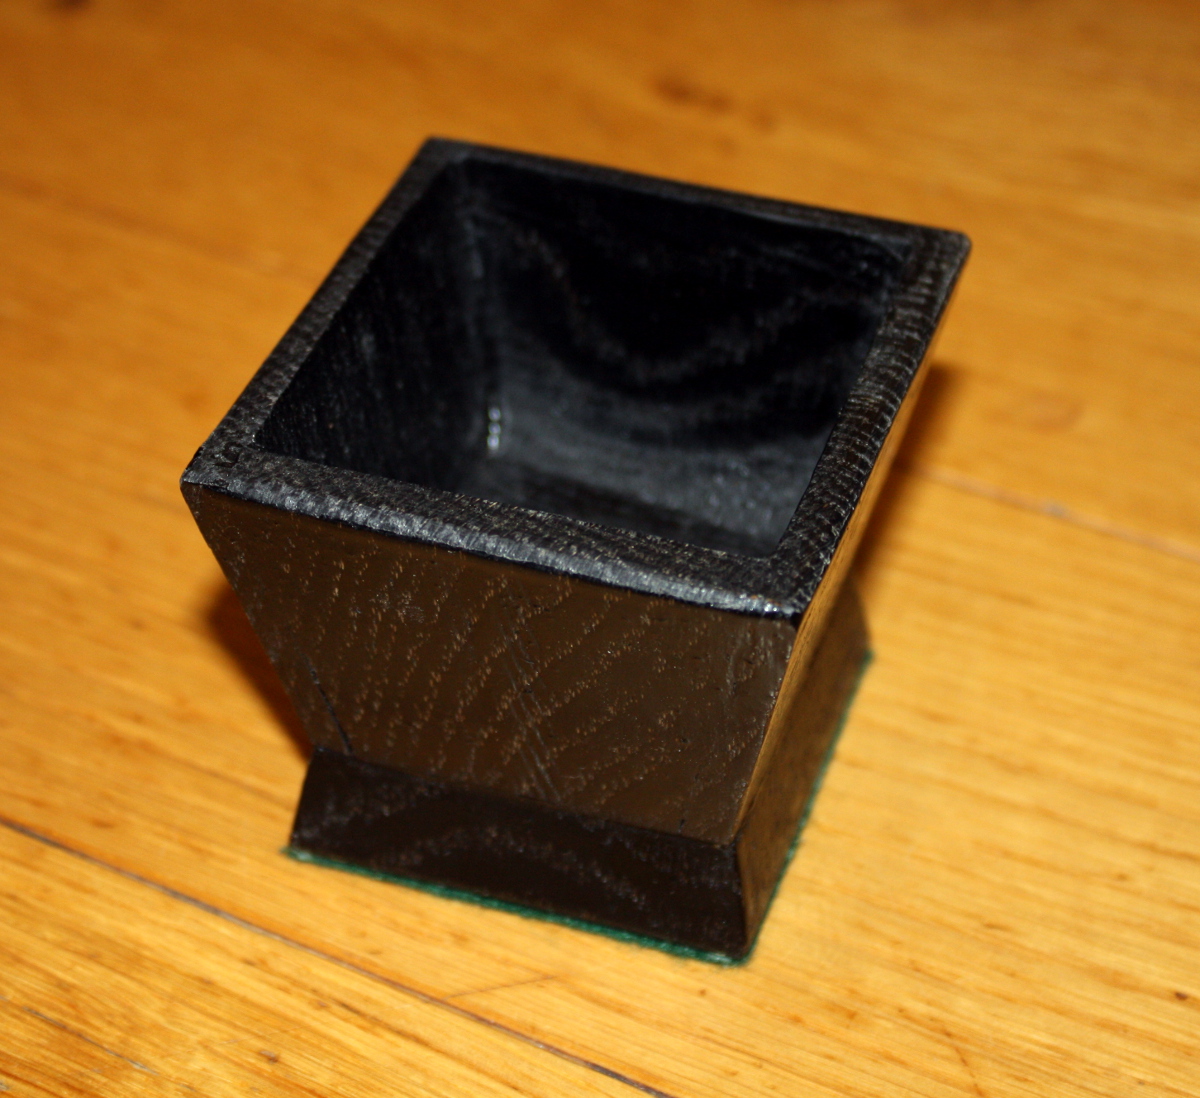
Tried Richard Maguire's ebonising routine - take a handful or two of oak shavings off the floor, boil for ten minutes in a saucepan, paint the resulting tea on the piece, sand down the raised grain, repeat 2-3 times. Then take steel wool, soak in vinegar for a week in a jar with a hole in the lid. Now paint the piece with that solution.
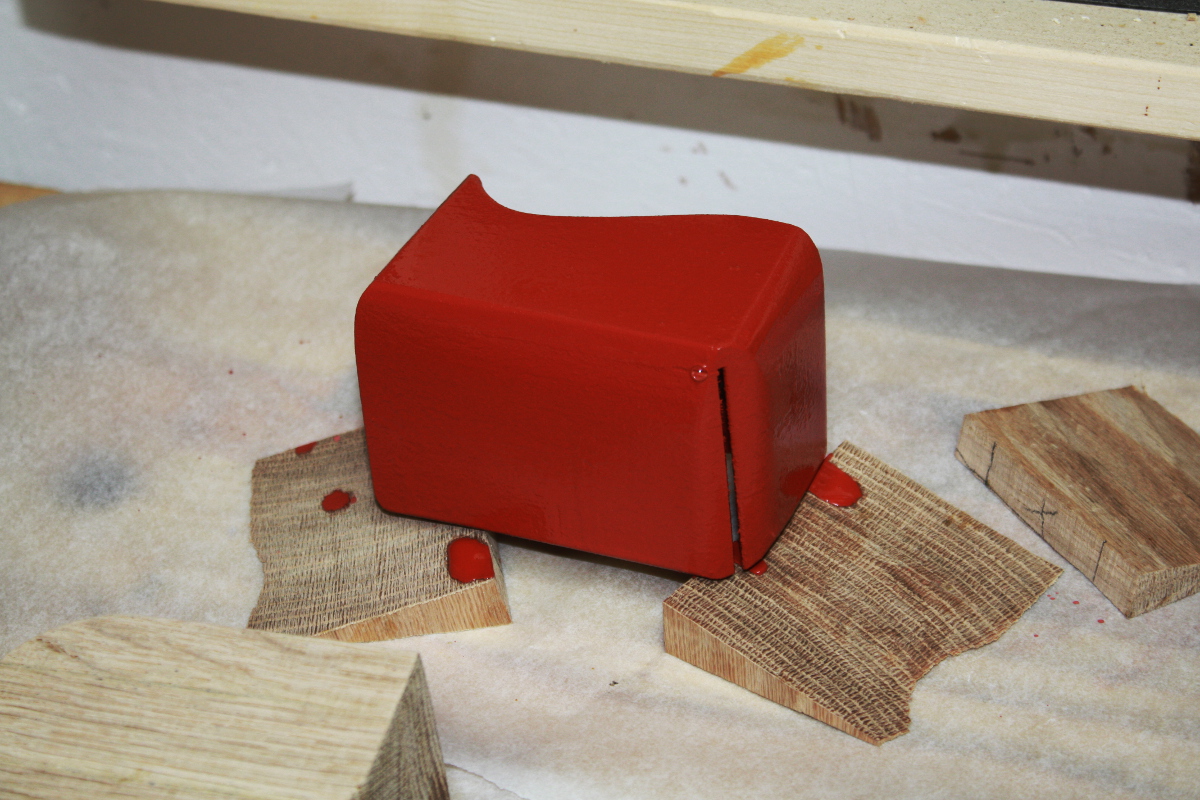
It didn't work too badly even though this was just a small test piece and I didn't give it much sanding and only two coats of the tea.
Before:
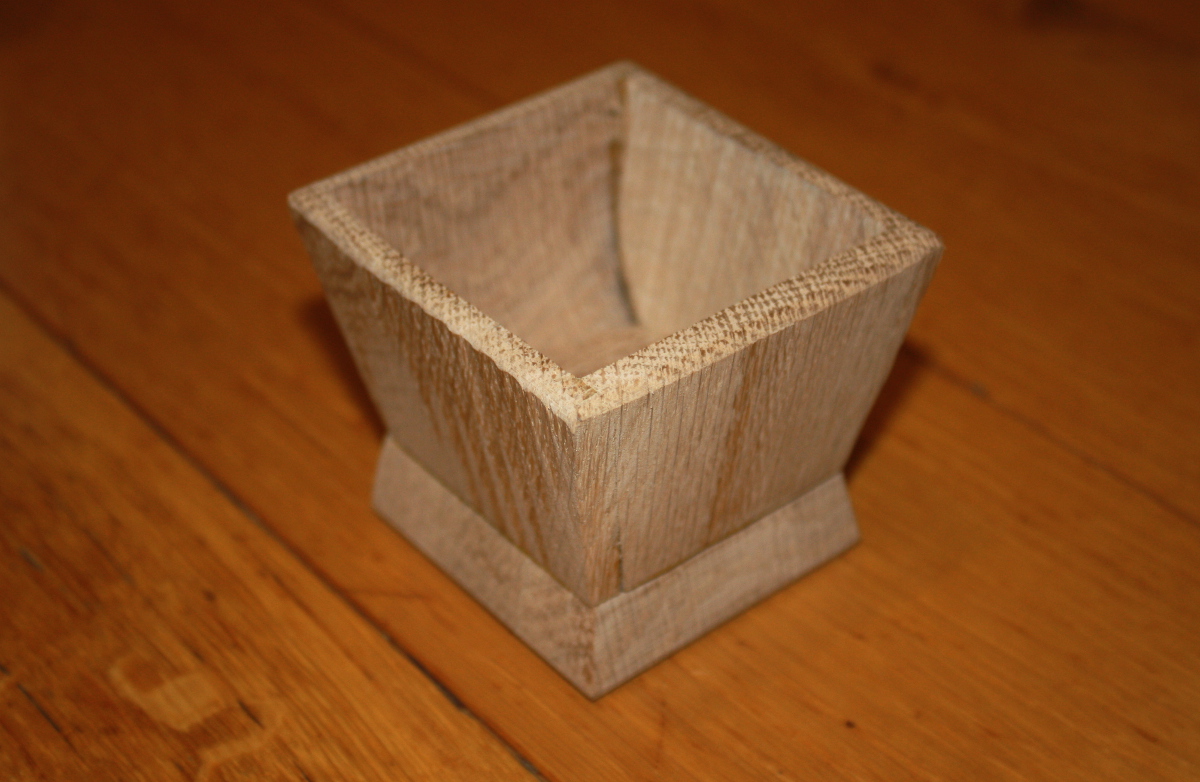
After:
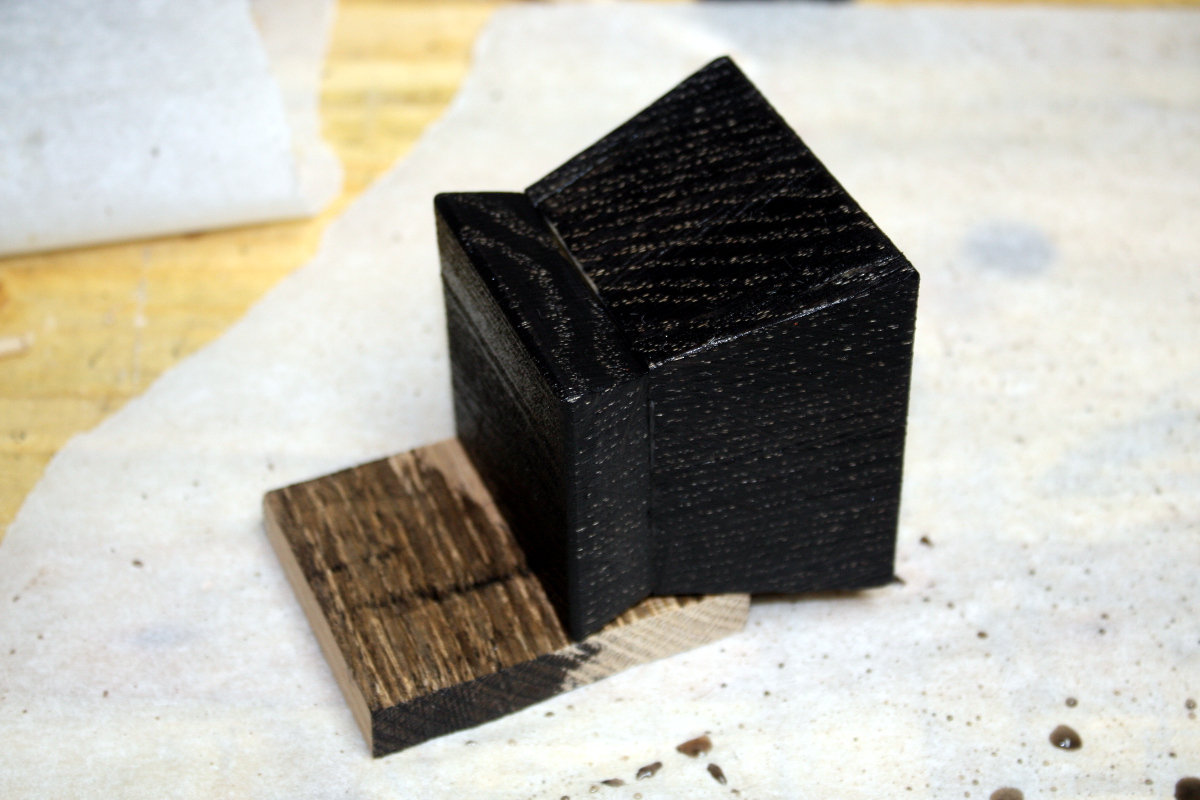
It didn't work too badly even though this was just a small test piece and I didn't give it much sanding and only two coats of the tea.
Before:
After:


")