triton router table problem

UKworkshop.co.uk

Help Support UKworkshop.co.uk:

This site may earn a commission from merchant affiliate links, including eBay, Amazon, and others.

Archangel

Member
Joined
18 Oct 2007
Messages
17
Reaction score
0
Location
Norfolk
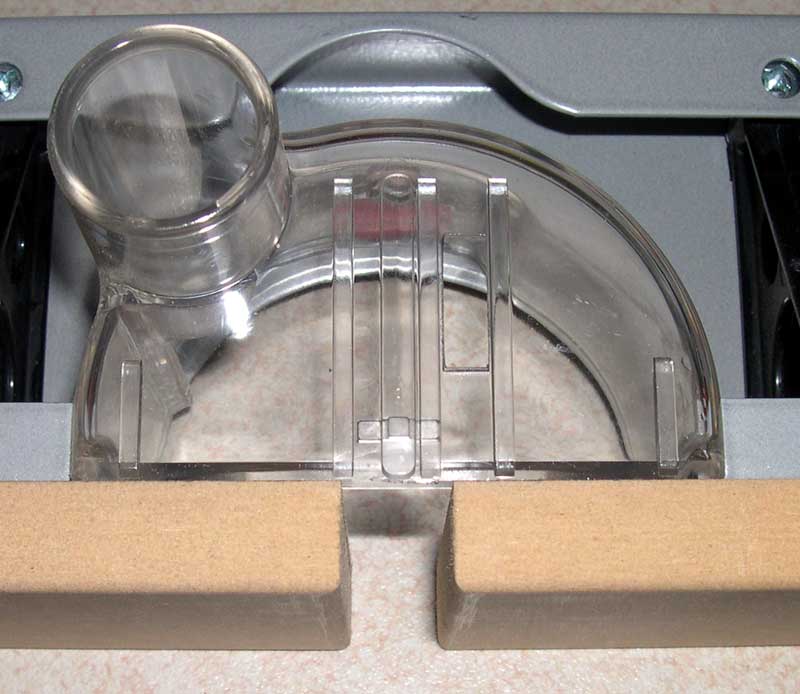
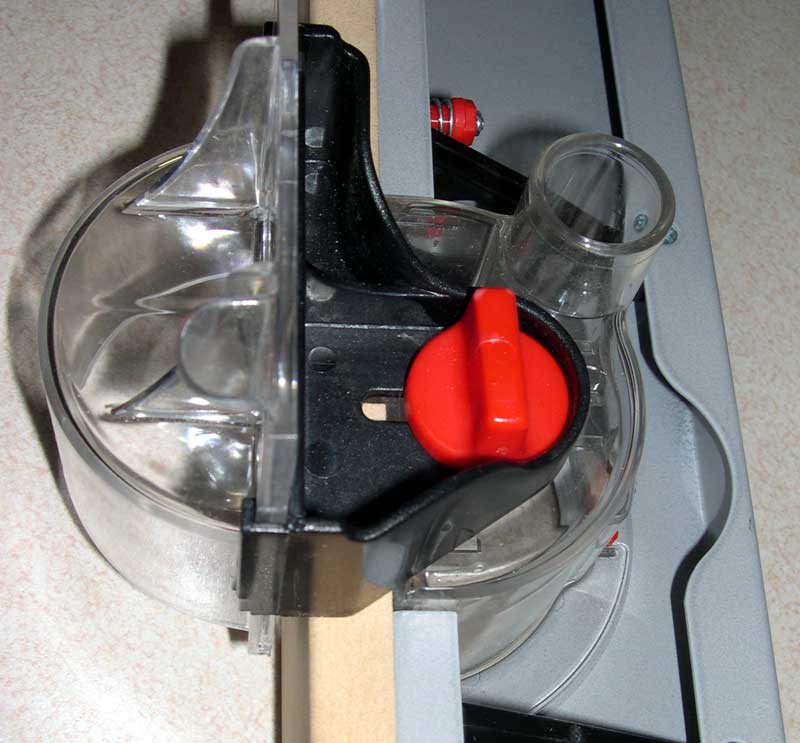
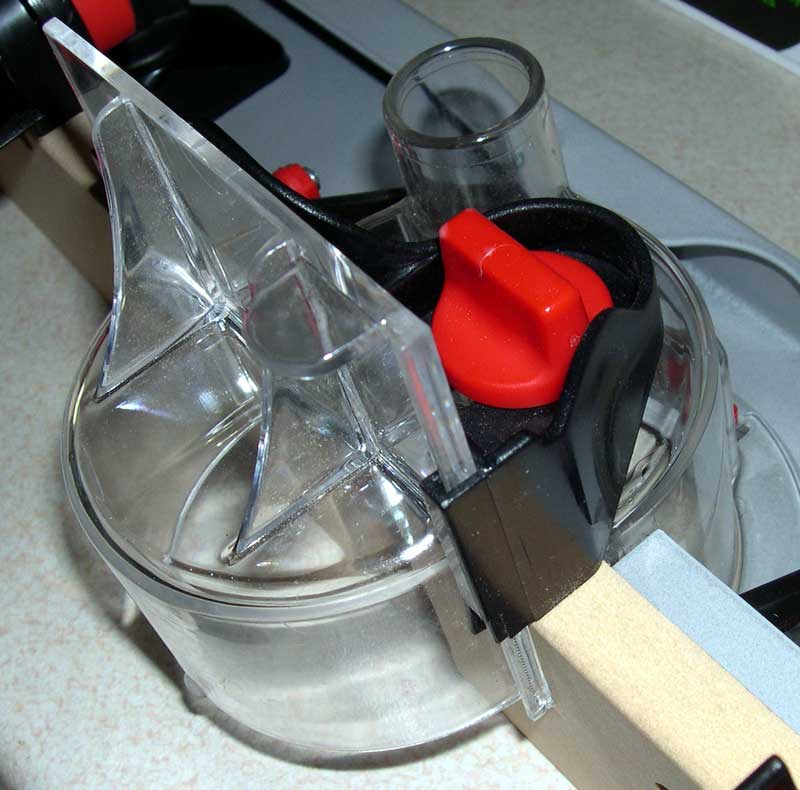
When assembling the Triton router table fence the MDF fence faces hit
the rear guard when they are slid towards the bit.
The fence has been adjusted at right angles to the table, but the rear
fence does not sit at right angles although it seems to be clipped in
position correctly.
The bottom of the guard looks in the right place but the top protrudes
at least a couple of mms.
I did check the Australian Triton forum and noticed someone recently
had a similar problem, but it wasn't clear if it was exactly the same or
whether they resolved it.
I have posted the problem there, but I thought I'd post here as well in
case anyone was familiar with this.
Many thanks, Dave
 
I'm not sure if I understand the problem correctly, but the following pictures may (or may not!) help to clarify it.

This is looking down at the guard, with the adjustable portion removed for clarity. As can be seen, it should fit so that the sides (where they abut the metal front edge) do not protrude, as here.
trf01.jpg


An angular view of the same part. As can be seen, the guard is just shy of flush with the metal fence.
trf02.jpg


Here, the MDF faces are slid together without problem, or interference.
trf03.jpg


Now the top part of the guard is shown in place, loosely attached and as far forward as the adjustment slot allows. The amount of clearance in front of the MDF fence can be clearly seen here.
trf04.jpg


Top section tight against MDF faces. All that needs to be done now is to lower the vertical front guard section to the workpiece height.
trf05.jpg


The only possible cause of a malfunction of the guard is incorrect fitting of the lower section to the metal fence assembly. Remember that there are three points of contact. Two slots close to the vertical face of the fence locate two lugs on the guard. These must be engaged first and can need quite a push until they click in. Now the red locking tab at the rear of the guard must be slid as far up as possible. Now enter the rear lug into the rear fixing slot by squeezing it towards the front of the fence. Once it clicks into place, slide the locking tab down - job done.

Sorry to take up so much room with these pics. HTH :)

Let us know how you get on.

Ray.
 
Thanks Dave and many thanks Ray.
The problem was as you said on the phone, I wasn't pushing in the front
lugs hard enough - they needed a fair bit of welly to get in fully.
Everything looking spot on now. :D :D
Thanks again Ray, Dave
 

Latest posts

Back
Top