You are using an out of date browser. It may not display this or other websites correctly.
You should upgrade or use an alternative browser.
You should upgrade or use an alternative browser.
Tissue box with a twist
- Thread starter devonwoody
- Start date

Help Support UKworkshop.co.uk:
This site may earn a commission from merchant affiliate
links, including eBay, Amazon, and others.
devonwoody
Established Member
A helpful member here helped me out with a drawing template and sent me a png file via email.

I have cut out the pattern and fixed to a scrap piece of maple, but I have now decided to find a longer length of timber and have some spare wastage for working mitre corners later today.

The piece will then be cut to this pattern and used as a template to run a router bearing along edge to create a shaped cut to carcass faces.

I have cut out the pattern and fixed to a scrap piece of maple, but I have now decided to find a longer length of timber and have some spare wastage for working mitre corners later today.

The piece will then be cut to this pattern and used as a template to run a router bearing along edge to create a shaped cut to carcass faces.
Attachments
devonwoody
Established Member
Spent sometime in the ws again yesterday. I've got a 5.25 x5.25 mtrs garage turned over to just a workshop and that is really not enough room, just see the problem below when I wanted to get to my timber store. The piece of timber I wanted was of course at the very bottom again. Don't you find that as well. So I pull out machinery in the way.
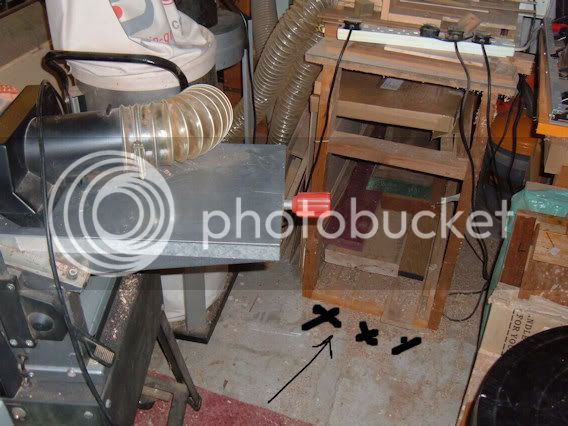
and it gets worse,
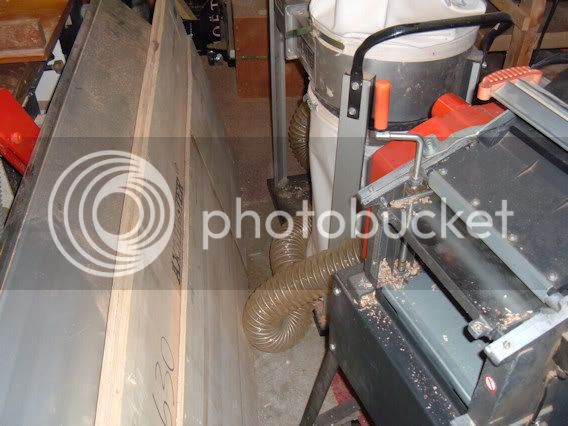
So anyone building a shed here in the UK go for something bigger.
Got this so called piece of African Mahogany board out (which I had found sometime ago in a merchants yard on his rubbish pile) and cut of a 20 inch length.
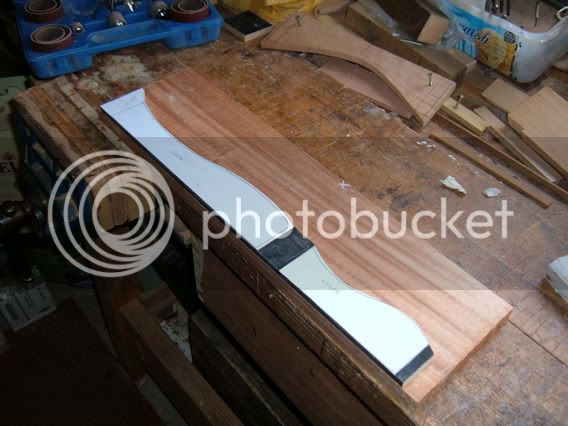
In addition I changed the paper patterns, and used a piece of ply to use for the router format pattern.
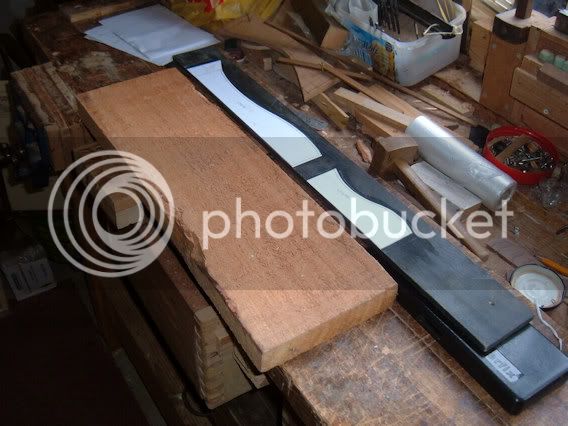
Put the mahogany to the planer, thicknesser and bandsaw.
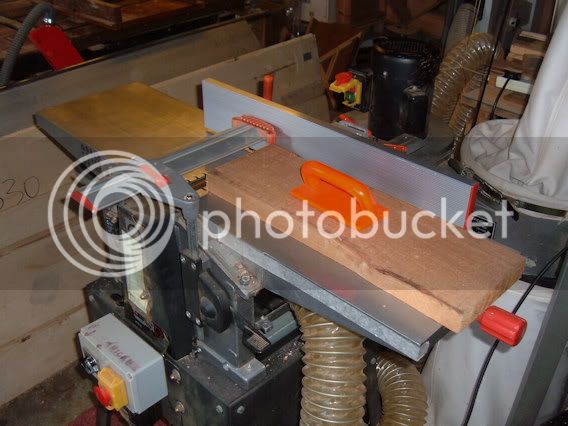
The timber ready but the router former is not.
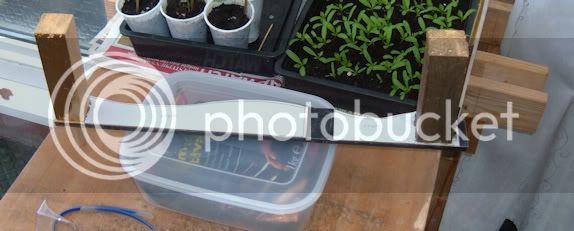
Decided to put some holding handles on the former, connect the handles with some 9mm dowelling and glued.
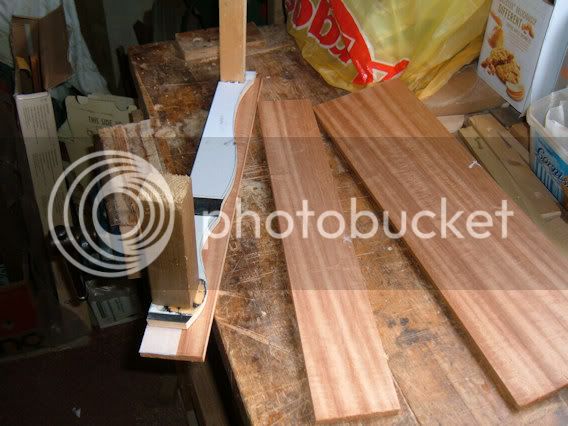
Should be all systems go this weekend.

and it gets worse,

So anyone building a shed here in the UK go for something bigger.
Got this so called piece of African Mahogany board out (which I had found sometime ago in a merchants yard on his rubbish pile) and cut of a 20 inch length.
In addition I changed the paper patterns, and used a piece of ply to use for the router format pattern.

Put the mahogany to the planer, thicknesser and bandsaw.


The timber ready but the router former is not.

Decided to put some holding handles on the former, connect the handles with some 9mm dowelling and glued.

Should be all systems go this weekend.
Webby
Established Member
Cant wait for the next instalment 
looks like this could turn out really nice
looks like this could turn out really nice
devonwoody
Established Member
Been out of the WS for 36 hours, weather again dampening my eagerness.
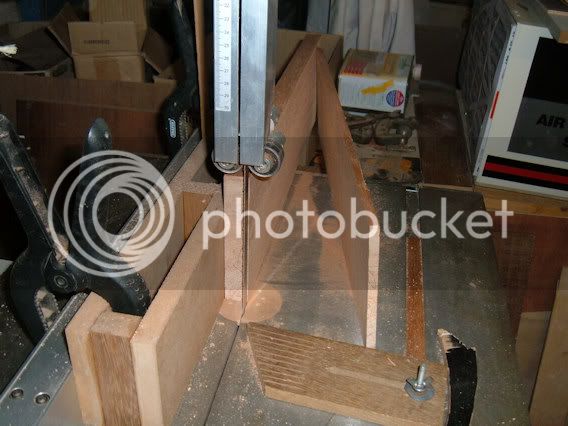
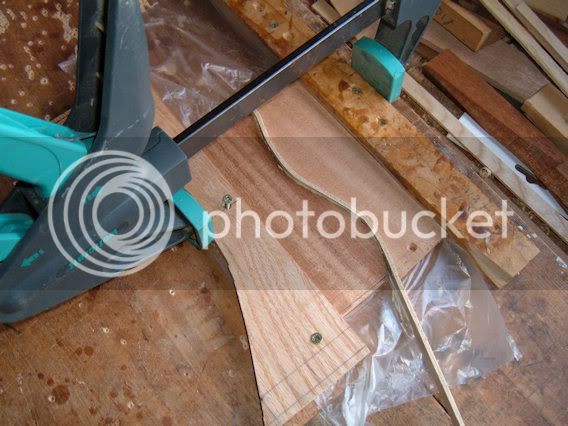
Fitted up the first former with some double sided carpet tape and attached the timber piece (front and end of one side) . This is a variation of an Aussie member who suggested a jig involving clamps but made my variation as pictured. This is the lower portion of the box to be.
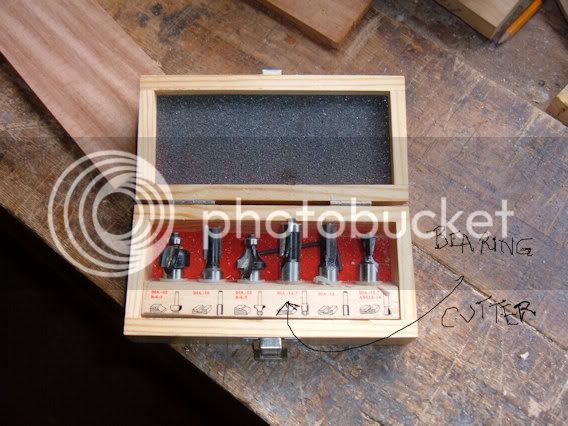
Selected a straight cutter with a bearing. This set was purchased at a wood show some years ago at around £3 per bit.
Set it up on my router table as photo.
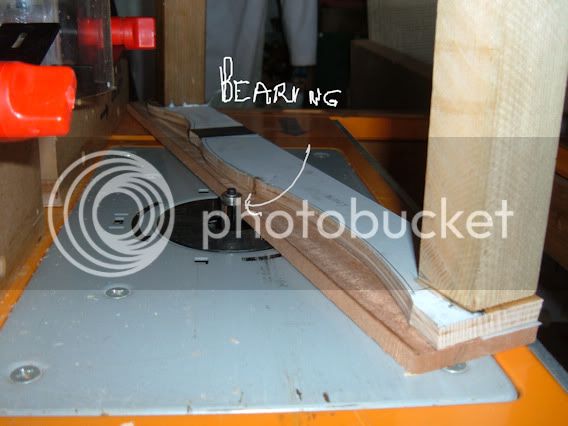
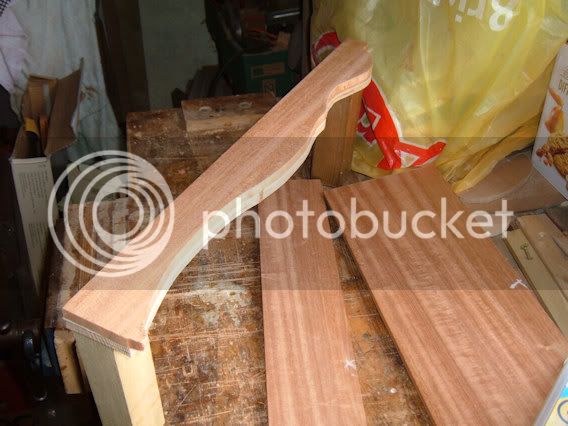
The end result of this operation.
The upper portion of carcass gave me something to think about! I was in the process of changing the bandsaw blade again and then the grey matter came into action and I went and found the cut off section from the first former. Fitted a couple of safety handles and ready for another session today. And then that FIT!
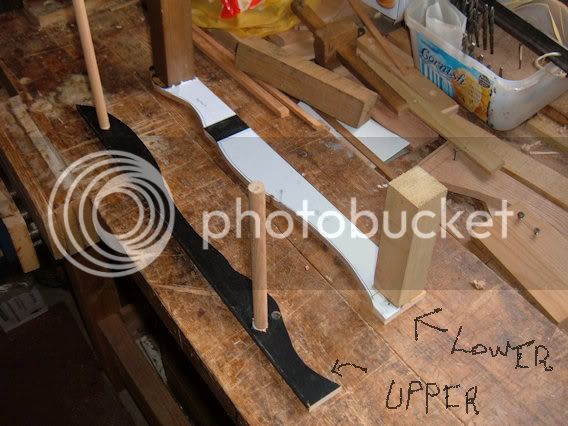
Fitted up the first former with some double sided carpet tape and attached the timber piece (front and end of one side) . This is a variation of an Aussie member who suggested a jig involving clamps but made my variation as pictured. This is the lower portion of the box to be.

Selected a straight cutter with a bearing. This set was purchased at a wood show some years ago at around £3 per bit.

Set it up on my router table as photo.

The end result of this operation.

The upper portion of carcass gave me something to think about! I was in the process of changing the bandsaw blade again and then the grey matter came into action and I went and found the cut off section from the first former. Fitted a couple of safety handles and ready for another session today. And then that FIT!

devonwoody
Established Member
A difficult day, the upper portions played me up. Hogging off the waste at the router table the timber cracked and broke off and the piece was ruined. Fortunately I had a spare sawn piece still hanging around and this time I roughly cut to shape using a jig saw first.
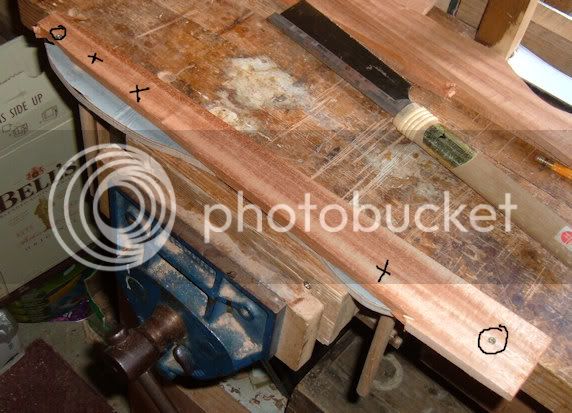
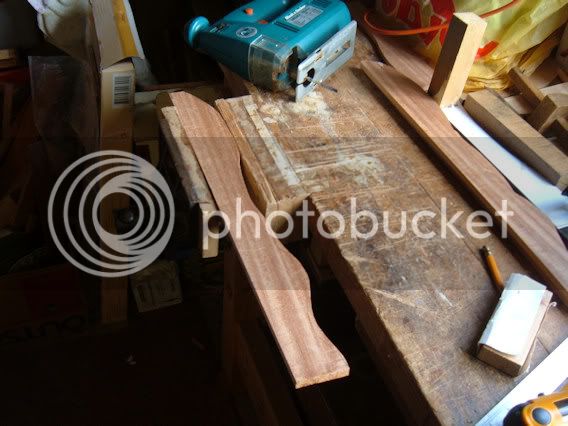
All pieces now shaped, the lighter colour timbers have sawn faces (the piece that cracked) but hopefully they will come right later when I sand or thickness all to same dimensions.
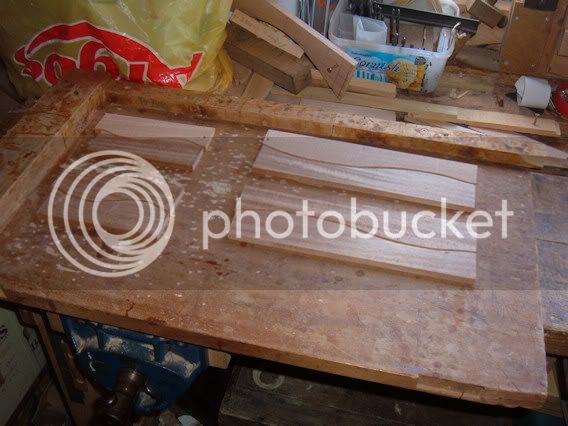
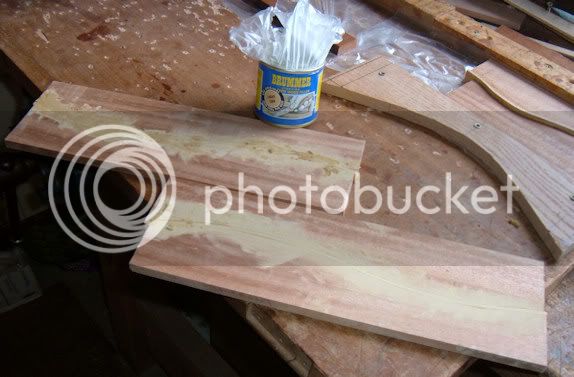
The contrasting insert were fitted next, this was the easy way, just pull together in the vice, but they would not sit flat.
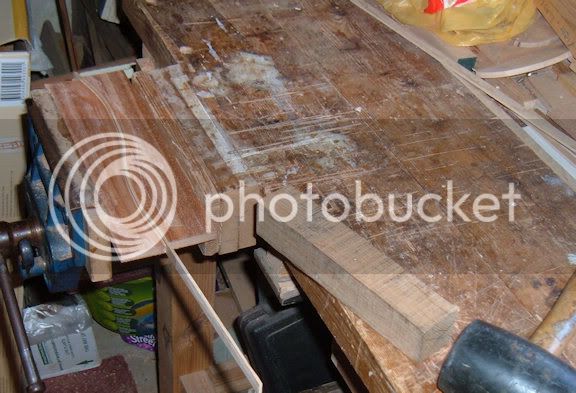
So went back to the previous method, a screwed hold down one end and clamp pulling the other end together, etc..
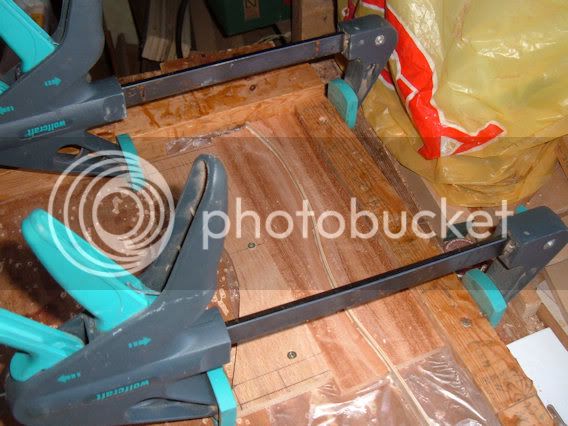
Thats the two long faces glued up.
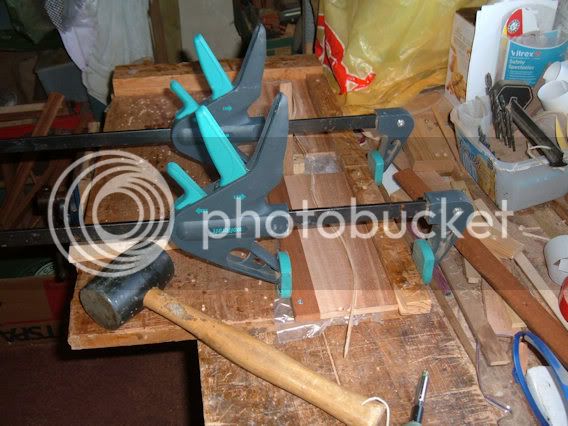
The short ends today, however they have got tighter reverse curves, so I might have to do some kerfing!


All pieces now shaped, the lighter colour timbers have sawn faces (the piece that cracked) but hopefully they will come right later when I sand or thickness all to same dimensions.

The contrasting insert were fitted next, this was the easy way, just pull together in the vice, but they would not sit flat.

So went back to the previous method, a screwed hold down one end and clamp pulling the other end together, etc..

Thats the two long faces glued up.

The short ends today, however they have got tighter reverse curves, so I might have to do some kerfing!

£16.59
£25.00
Woodworking Joinery by Hand: Innovative Techniques Using Japanese Saws and Jigs
Amazon.co.uk

£12.50 (£1,250.00 / kg)
£14.45 (£1,445.00 / kg)
JSP M632 FFP3moulded Disposable Dustmask (Box of 10) One Size suitable for Construction, DIY, Industrial, Sanding, dust protection 99 Percent particle filtration Conforms and Complies to EN 149
Amazon.co.uk

£19.99
Respirator Mask,Safety Dust Face Cover,Dust Face Cover Paint Face Cover,Gas Mask With Filter,For Paint,Dust And Formaldehyde,Sanding,Polishing,Spraying And Other Work
ShenZHEN CIRY MINGYANG LITIAN ELECTRONIC ECOMMERCE

£17.99 (£1.80 / count)
£27.44 (£2.74 / count)
3M 8822 Disposable-fine dust mask FFP2 (10-pack)
Amazon.co.uk

£238.91
£360.17
Trend Portable Benchtop Router Table with Robust Construction for Workshop & Site Use, 240V, CRT/MK3
Amazon.co.uk
devonwoody
Established Member
This is what the first faces look like after an initial clean up.
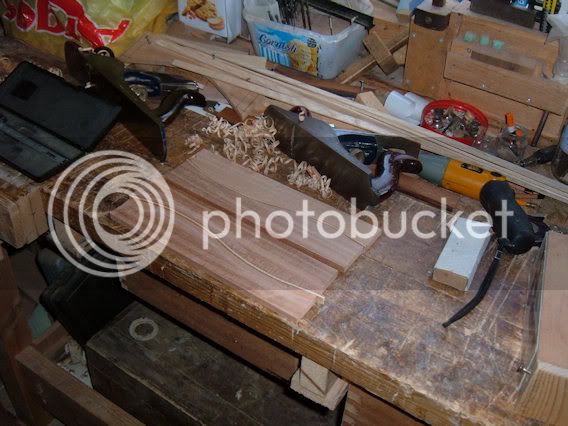
the shorter ends are more troublesome as I expected because of tighter curves. I kerfed the contrast strips.
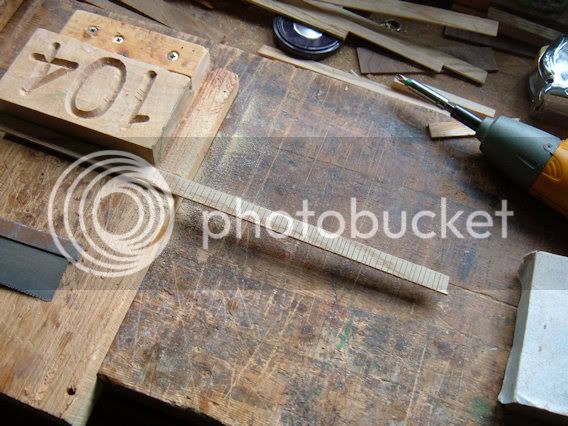
Pictures below demonstrate how I pulled the pieces together. A Screw holds the halves in place one end and then a clamp pulls the free end in and screws then keep the shape.
Who's a naughty boy.
I hope this works, otherwise it means a restart.

the shorter ends are more troublesome as I expected because of tighter curves. I kerfed the contrast strips.

Pictures below demonstrate how I pulled the pieces together. A Screw holds the halves in place one end and then a clamp pulls the free end in and screws then keep the shape.

Who's a naughty boy.

I hope this works, otherwise it means a restart.
devonwoody
Established Member
Don't like it!!!!!!!!!!!!!
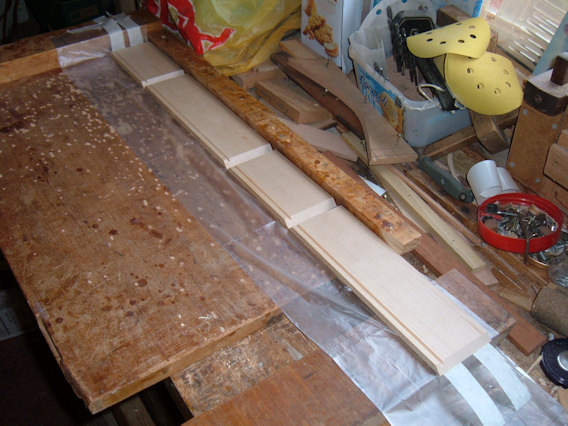
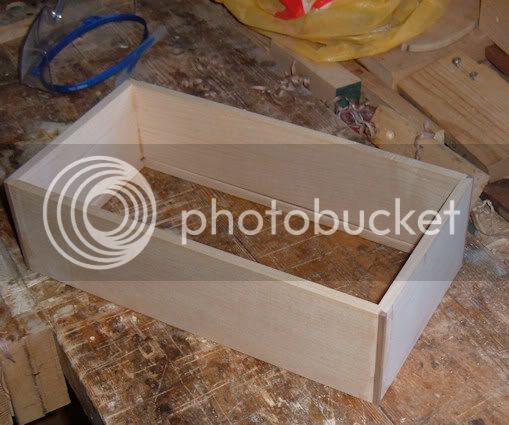
So I have made a plain maple box and will fit the laminated top instead.
 ..
..
The above took me only a few minutes to put in the slider rebates and mitre the corners because the maple boards were already prepared and sized at the beginning of ~April.
The problem with the patterned sides was caused by not having a decent former, this came about because the first (lower section) was cut on the bandsaw and corrections made with sanding to some of the faces. This meant that the high pieces would not match what had been lost through that sanding. I think the patterned formers would be better made on a scroll saw and no adjustments made after cutting.
Hopefully the top is not going to be troublesome!
So I have made a plain maple box and will fit the laminated top instead.


The above took me only a few minutes to put in the slider rebates and mitre the corners because the maple boards were already prepared and sized at the beginning of ~April.
The problem with the patterned sides was caused by not having a decent former, this came about because the first (lower section) was cut on the bandsaw and corrections made with sanding to some of the faces. This meant that the high pieces would not match what had been lost through that sanding. I think the patterned formers would be better made on a scroll saw and no adjustments made after cutting.
Hopefully the top is not going to be troublesome!
Attachments
devonwoody
Established Member
The laminated top is cleaning up quite nicely,I used the hand plane at first to create a reasonably flat surface and then held my breath putting it through the thicknesser a few times and got a very distinctly patterned surface. ( I think something similar could make an attractive occasional table top or other)
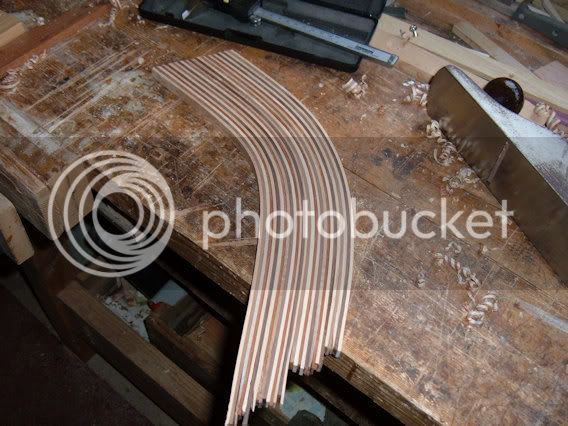
The two sections measure up quite well but not regards the matching of stripes because they were glued up randomly.
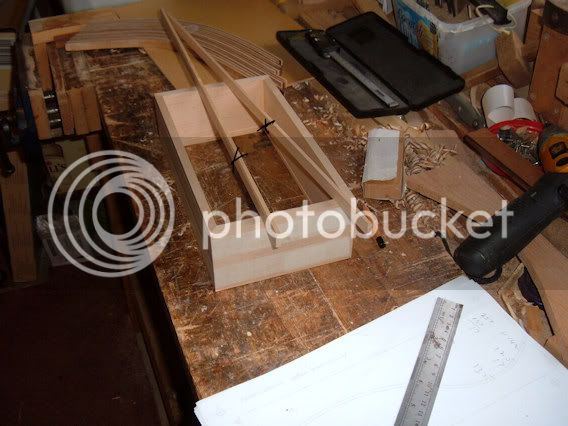
Made some mouldings to encase the patterned top, this is in the development stage so changes might still take place!
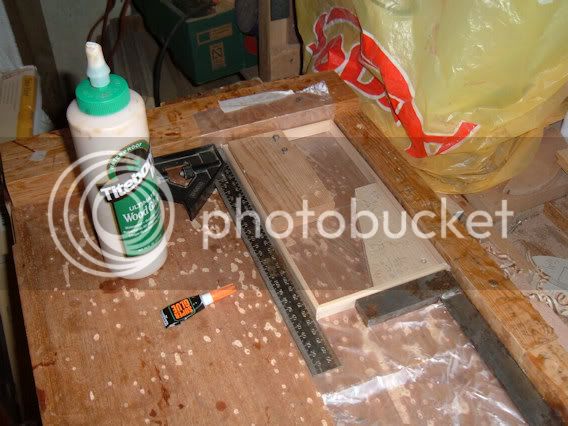

The two sections measure up quite well but not regards the matching of stripes because they were glued up randomly.

Made some mouldings to encase the patterned top, this is in the development stage so changes might still take place!


devonwoody
Established Member
Good day yesterday in spite of the bad weather again.
Fittted the top moulding after making corrections.
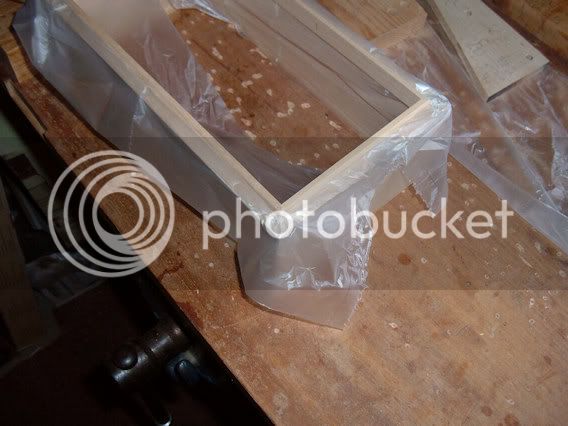
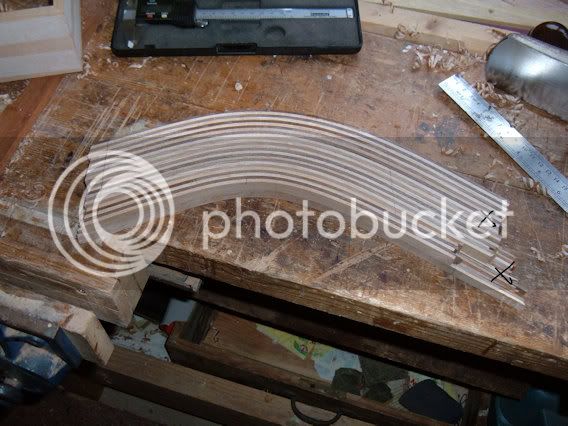
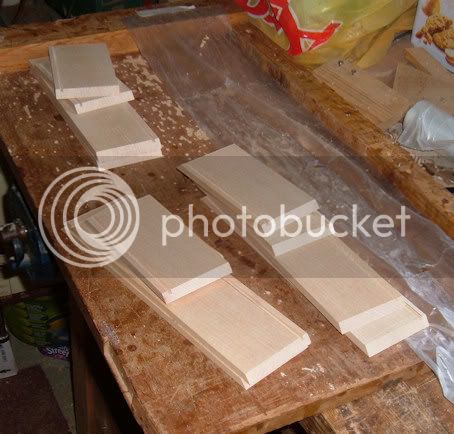
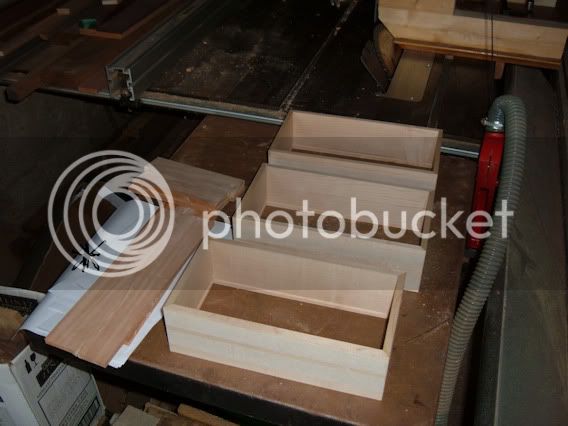
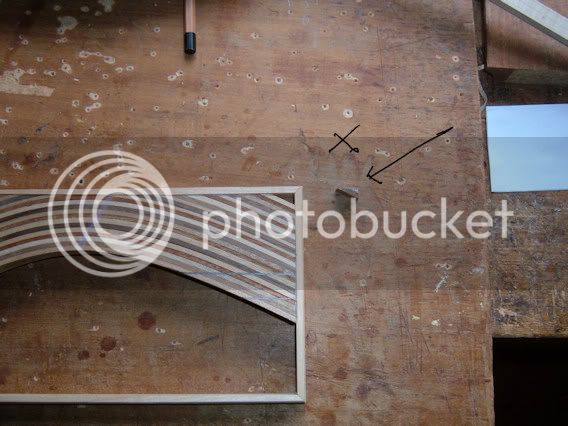
Whilst the glue was setting, knocked up another three carcasses from prepared timbers, left the original idea on the bench marked with cross, not enough contrast for me.
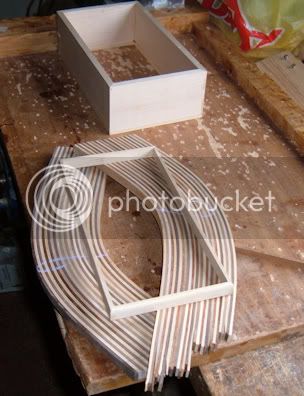
Back to the box in hand, the moulding fits and displayed with laminations laying in place.
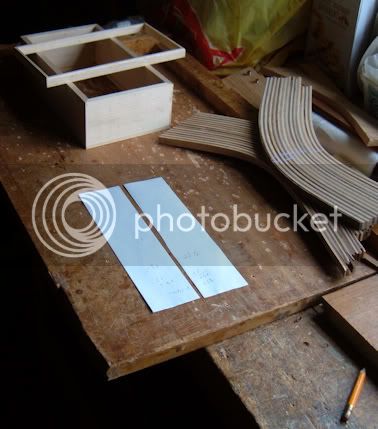
Made a paper patterns for the laminated sections.
Cut the first section to fit, (whoops a corner fell off somewhere but I did eventually find it)
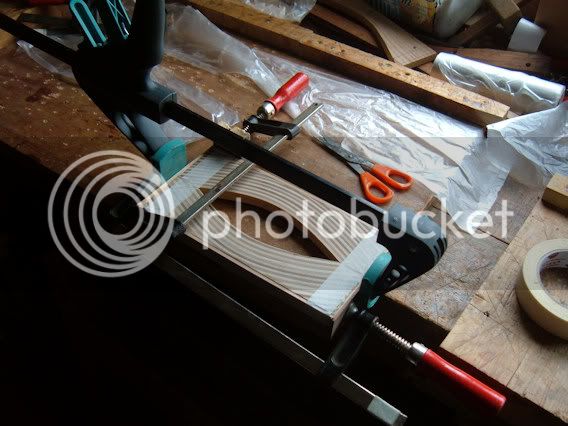
Glued up inside moulding.
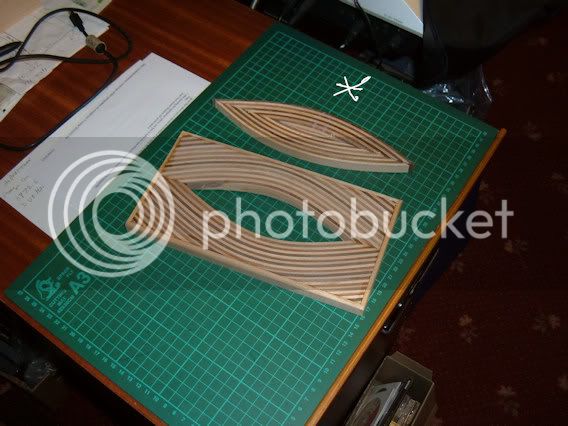
This mornings picture and ready to fit to the carcass later today perhaps. (the offcut marked x I am keeping to incorporate hopefully in future carcass side panel!)
Fittted the top moulding after making corrections.

Whilst the glue was setting, knocked up another three carcasses from prepared timbers, left the original idea on the bench marked with cross, not enough contrast for me.


Back to the box in hand, the moulding fits and displayed with laminations laying in place.

Made a paper patterns for the laminated sections.

Cut the first section to fit, (whoops a corner fell off somewhere but I did eventually find it)

Glued up inside moulding.

This mornings picture and ready to fit to the carcass later today perhaps. (the offcut marked x I am keeping to incorporate hopefully in future carcass side panel!)

devonwoody
Established Member
Nearly there.
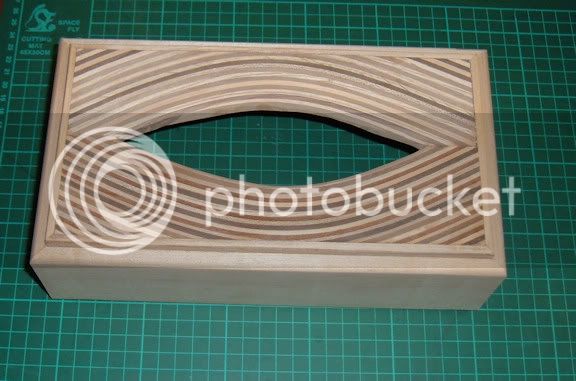
And made these spare parts for future use on the way.
Lamination waste resawn.
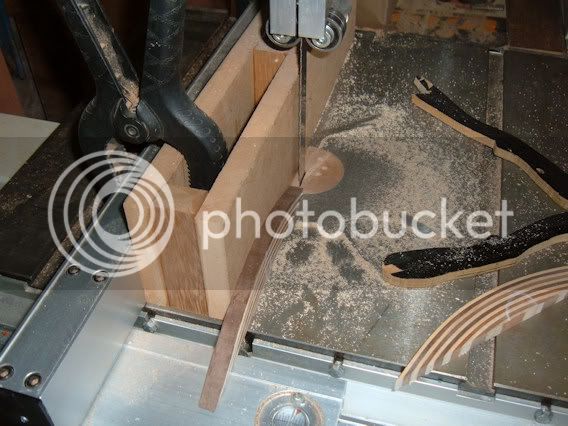
around 6mm thick.
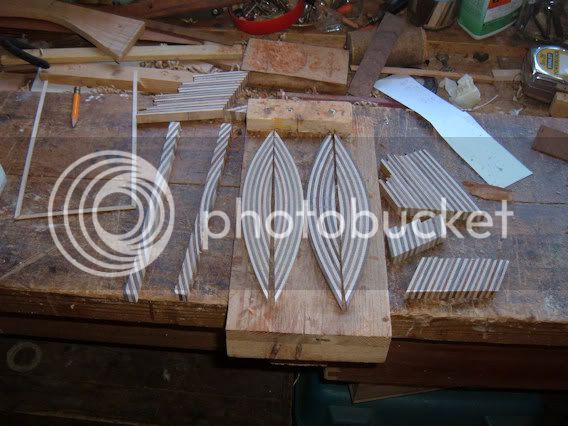
And whilst awaiting top lid to set I started the three little beauties.
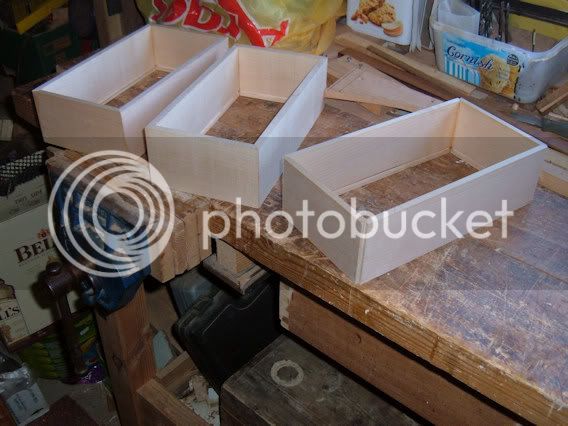
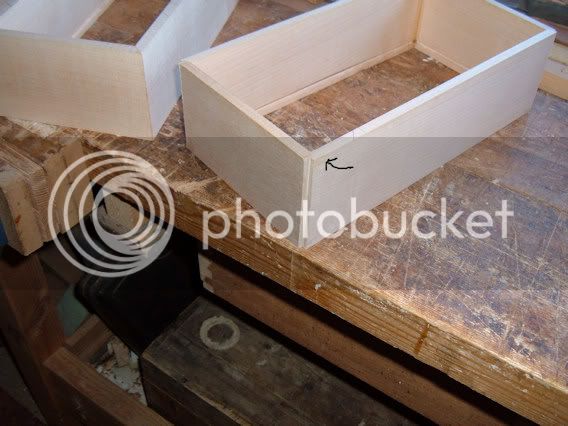
This one on the end has problems, the mitre keeps breaking when passed over the tablesaw, so I have glued up normally and then cut out the corners on the router table, contrast banding will be fitted to hopefully cure the problem.

And made these spare parts for future use on the way.
Lamination waste resawn.

around 6mm thick.

And whilst awaiting top lid to set I started the three little beauties.

This one on the end has problems, the mitre keeps breaking when passed over the tablesaw, so I have glued up normally and then cut out the corners on the router table, contrast banding will be fitted to hopefully cure the problem.

devonwoody
Established Member
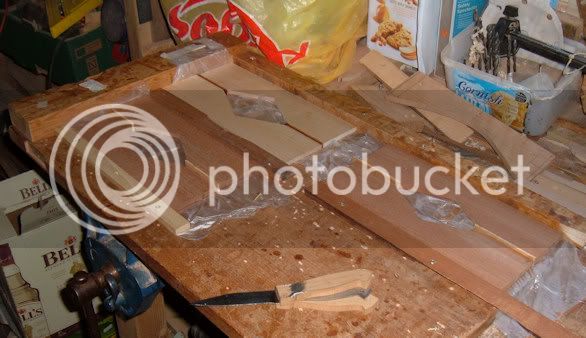
To comment re the above three beauties, I have put a contrast stringer down the four corners of that box with the problem and prepared three top covers as per pics. below.


devonwoody
Established Member
Tony Spear
Established Member
How do you find cutting curves on the Triton table with no lead-in pin?
devonwoody
Established Member
Tony Spear":1sm76z7f said:How do you find cutting curves on the Triton table with no lead-in pin?
If you are referring to the roundover.; There is a bearing wheel on the bit, plus on external edges the fence comes into play and the edge always runs parallel to the fence without going in the gap. (The bit is halfway in the fence)
If you are referring to my attempt to make the carcass with those twisted contrast strips, its was a nightmare and had to ditch the operation and put on a plain carcass for the laminated top.
Tony Spear
Established Member
I was actually referring to this:
devonwoody":3nn5n860 said:Set it up on my router table as photo.

devonwoody
Established Member
Yes Tony it was a disaster, the cutter dug in at those deep areas and then there were grain direction problems along the route. ( I did cut a lot of the waste away on the bandsaw when I discovered the problem)
I attempted to clean up the cut with a round sander and although the cut looked good, the other matching half would not match the pattern because timber had been lost on the starting piece.
So if I had another go I would use a router on the carcass and then inlay a pattern perhaps.
Open to suggestions.
Similar threads
- Replies
- 7
- Views
- 631


