Thicknessing down to 6mm on a lunchbox P/T?

UKworkshop.co.uk

Help Support UKworkshop.co.uk:

This site may earn a commission from merchant affiliate links, including eBay, Amazon, and others.

chaoticbob

Established Member
Joined
14 Nov 2012
Messages
486
Reaction score
75
Location
Wirksworth
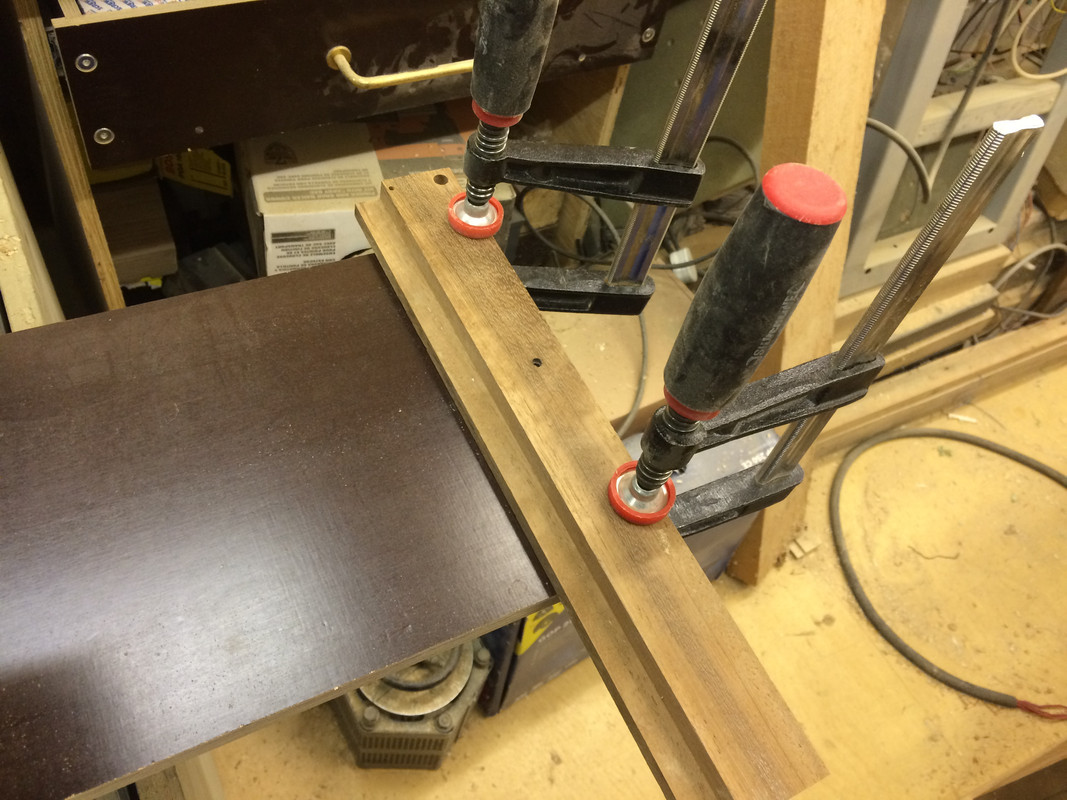
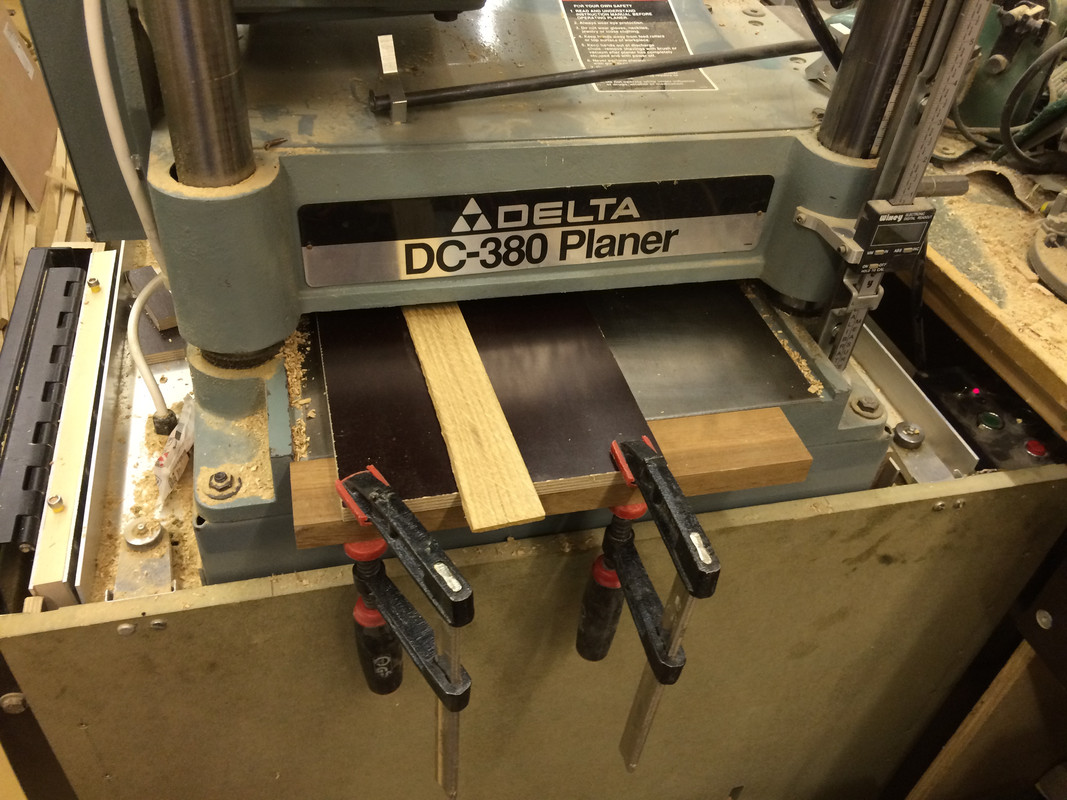
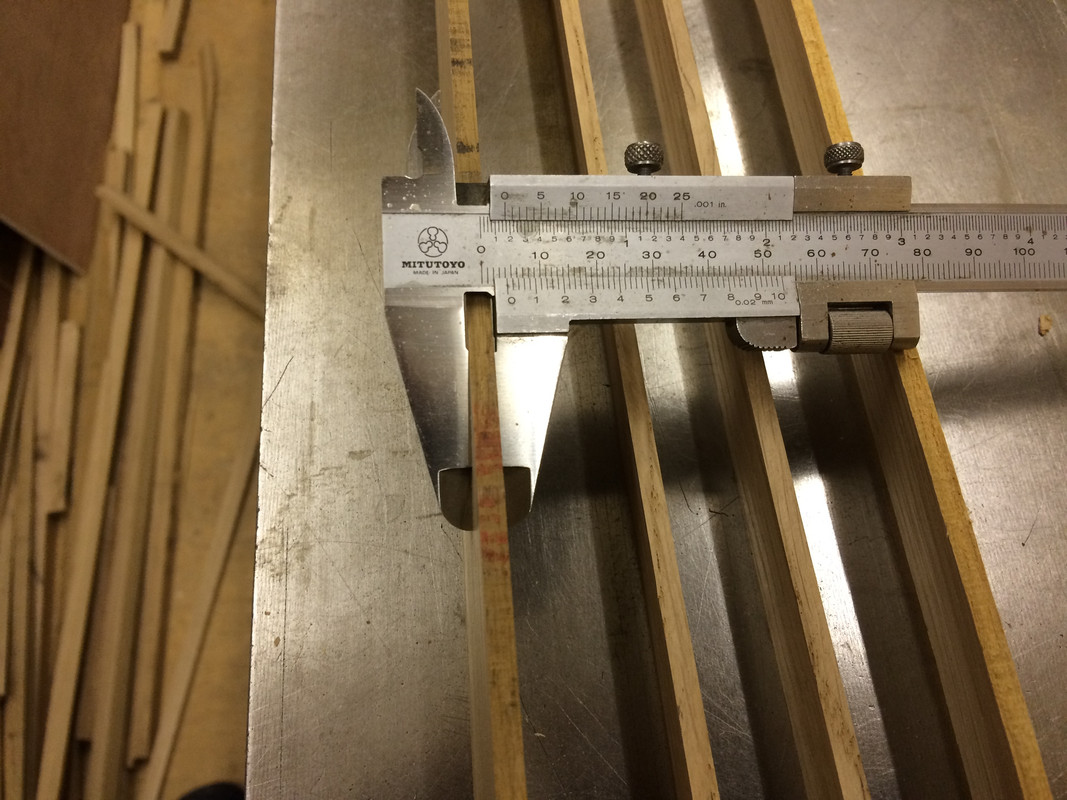
I have some sapele offcuts which I'd like to thickness down to 6mm. My little 'screamer' P/T won't close down that far (maybe a good thing - perhaps working such thin stock wouldn't be safe?) so I need to attach the stock to a backing board I suppose. But how? Any suggestions? I'm a bit reluctant to use metal fasteners for obvious reasons.
Robin.
 
Just make a false bed for the PT out of some 20mm ply with a piece screwed unto it so it catches the front edge of the bed and doesn't get pulled through. I've managed to get down to 3mm thick this way.
 
You could put in a false table effectively raising workpieces. I don't see any safety issue I've used mine to thickness 5mm louvre slats although mine is specified to cutdown to 3.2mm.
 
There is a LOT of force applied to the wood as it goes through the machine. Use LOTS of hot glue, and (as I do) fix a small sacrificial back stop with recessed screws or even proper glue (think shooting board).

Its quite spectacular when the thicknesser rips the glue off and chucks the piece out the back.
Oh,,,,, dont ask......
 
Trevanion":ozxl796v said:
Just make a false bed for the PT out of some 20mm ply with a piece screwed unto it so it catches the front edge of the bed and doesn't get pulled through. I've managed to get down to 3mm thick this way.

Mine is made of contiboard............melamine faced chipboard.........because that has a slipperier face than ply or MDF, thus the work is less likely to get stuck. Write the thickness in permanent marker on the board, so that you can do the necessary subtraction from the depth scale.

Do letterbox-type thicknessers have a flat bed, or do they have rollers? Because obviously, if the latter, then the false bed idea won't work.
 
Check out Ben Crowe's (Crimson Guitars) "Luthier's Masking Tape Trick on YouTube.

Essentially you put two strips of masking tape on each piece, burnish them down and then glue them together with superglue, works better than any double sided tape and easier to remove afterwards.
 
Thanks, plenty of ideas to try - I have a hot glue gun, so I'll try that first. It was the cutting force that worried me, I didn't like to think about the consequences of the stock breaking loose , but it sounds like the glue can work. I also have double sided tape (the 'proper' stuff sold for fixing carpets, much stronger than the pound shop variety.) I've used that for awkward metal turning jobs, but it's a PITA to separate and clean the parts - it really doesn't want to let go, and even more difficult with wood I imagine.
Robin
 
make sure you have a back stop on the sled, and take very thin passes.

Depending on the make of the thicknesser you might still get snipe at both ends.
I use a sled that has longer sacrificial pieces in front and behind the work piece to stop that.
and if the pieces are very small, glue them end to end so the cutter has a single surface to trim.
 
It just so happened that I need to do some thin planing today so I took some pictures.

I need to end up with some oak loose tenons 4.1mm thick.

I dug out a piece of phenolic coated birch ply, only because it was what I had to hand. MFC would have been just as good. even a flat board of plain wood or mdf with some wax would have done.
With couple of F clamps, I attached a batten across the end of the board.


I then fitted the board into the planer with the cutters wound up out of the way like this.


Planing down in about 0.5mm steps, I stopped a couple of mm thicker than I needed, measure the result and compared that to the digital readout to work out where to stop.


The result four pieces with no damage to the ends or snipe at the correct thickness


Perfick and dead easy. Took longer to write up and take photos than setting up the sled.
 
Thanks for taking the time to take/post pics myfordman, most helpful.
On the glue gun method - the pics in the thread CHJ links to show substantial beads of glue above the surface to be planed. Does the machine just cope with these, or is it necessary to trim them off before the stock goes through? I can imagine that if the blades get at all warm it could make a bit of a mess.
Robin.
 
I doubt if planer knives warm up although I've not tried touching them to see!!. They are attached to a huge heatsink, the cutter drum and the dust extractor is pulling a lot of air through as well.
 
Good points, thanks - I'm of a nervous disposition I guess. Worst that could happen is that the machine will get gummed up, then I'll have to buy a proper P/T - which would be tragic, but I would just have to live with it :(
Robin
 
chaoticbob":bohjmqmw said:
. Does the machine just cope with these, or is it necessary to trim them off before the stock goes through? I can imagine that if the blades get at all warm it could make a bit of a mess.
Robin.


Never had a problem, cutters just shave it off in clean shavings, no significant heat involved, only in contact for milliseconds.

Not like in turning use or trying to drill it.
 
Excellent, thanks - I'm migrating from metalworking machinery, where, as you know, machining plastic can lead to unpleasantness if you go too fast.
Robin.
 
chaoticbob":1q9c9ljo said:
Excellent, thanks - I'm migrating from metalworking machinery, where, as you know, machining plastic can lead to unpleasantness if you go too fast.
Robin.
Just the same with wood working machines such as bandsaws, circular saws, routers etc. if the cutter is in constant contact long enough to generate heat.
 

Latest posts

Back
Top