


motownmartin
Established Member
About 8 weeks ago I started woodwork a sa new hobby with the view to make furniture  another 10 years and i might be a bit wiser.
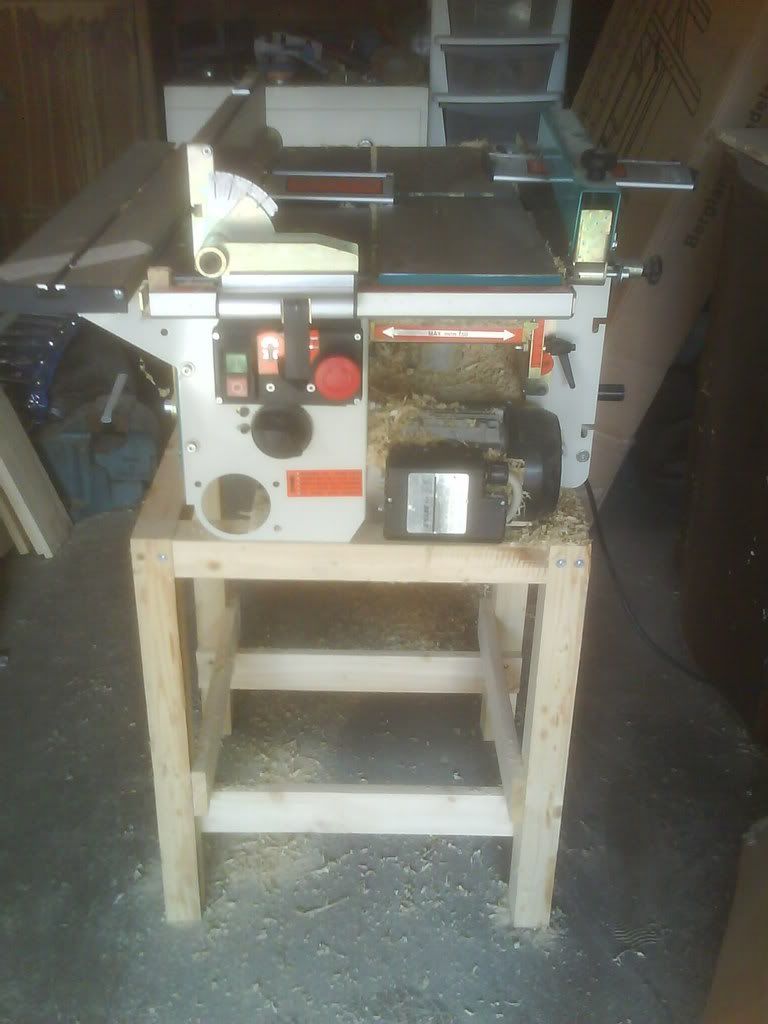
Anyway, five weeks ago I bought a small second hand combination machine (CEMA K156) four weeks ago I joined this forum and what i've picked up on here has been a great help.
The CEMA K156 (sorry about the quality they were taken on a mobile phone)
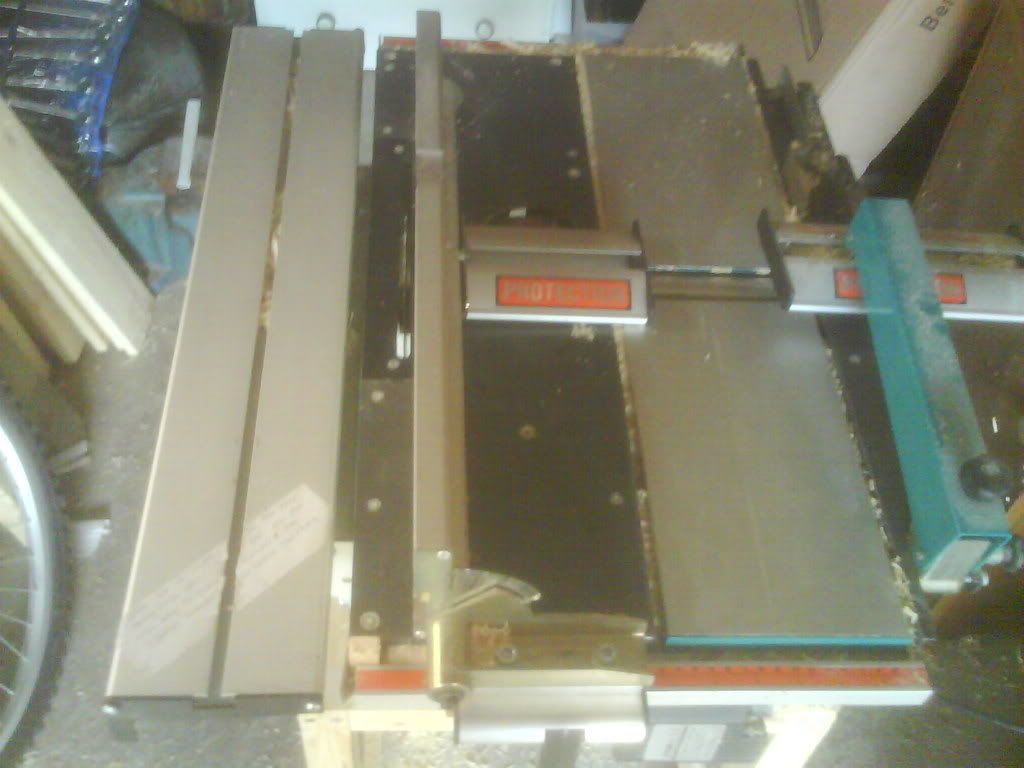
The Table Saw
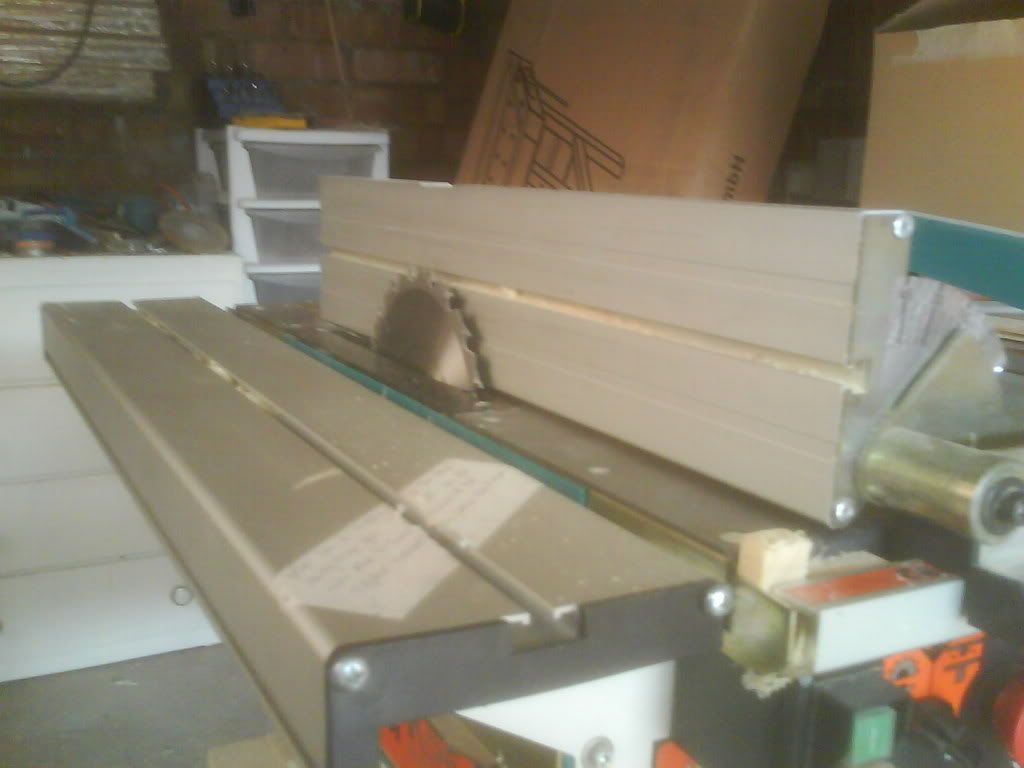
Spindle Moulder
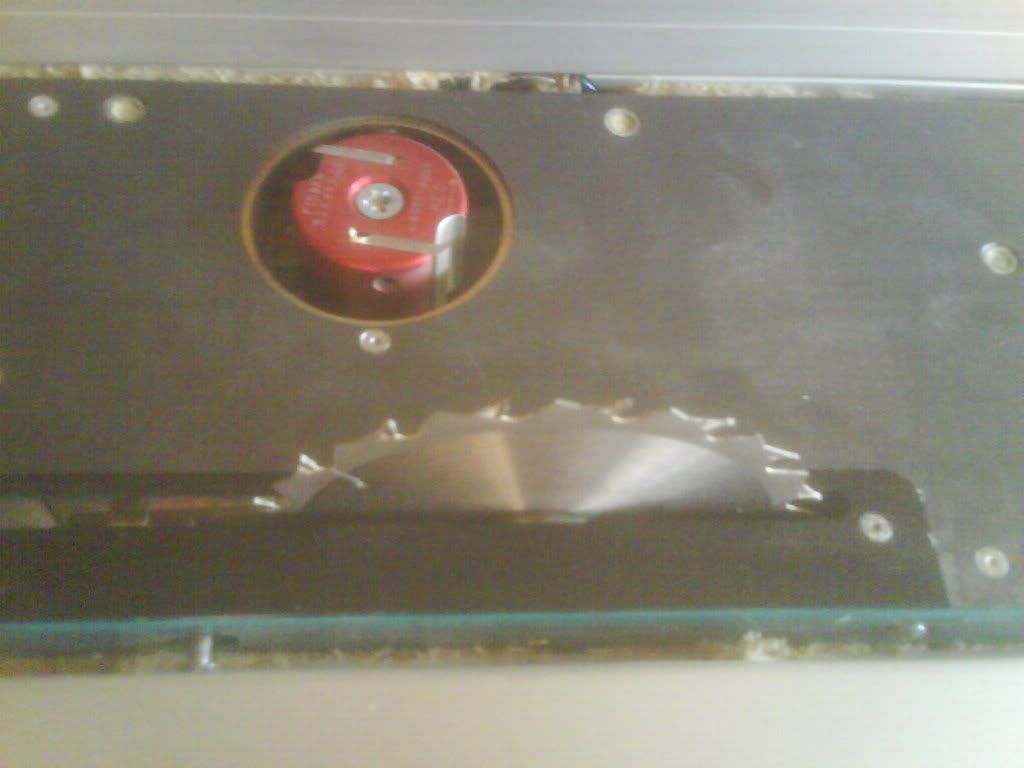
And Planer/thicknesser
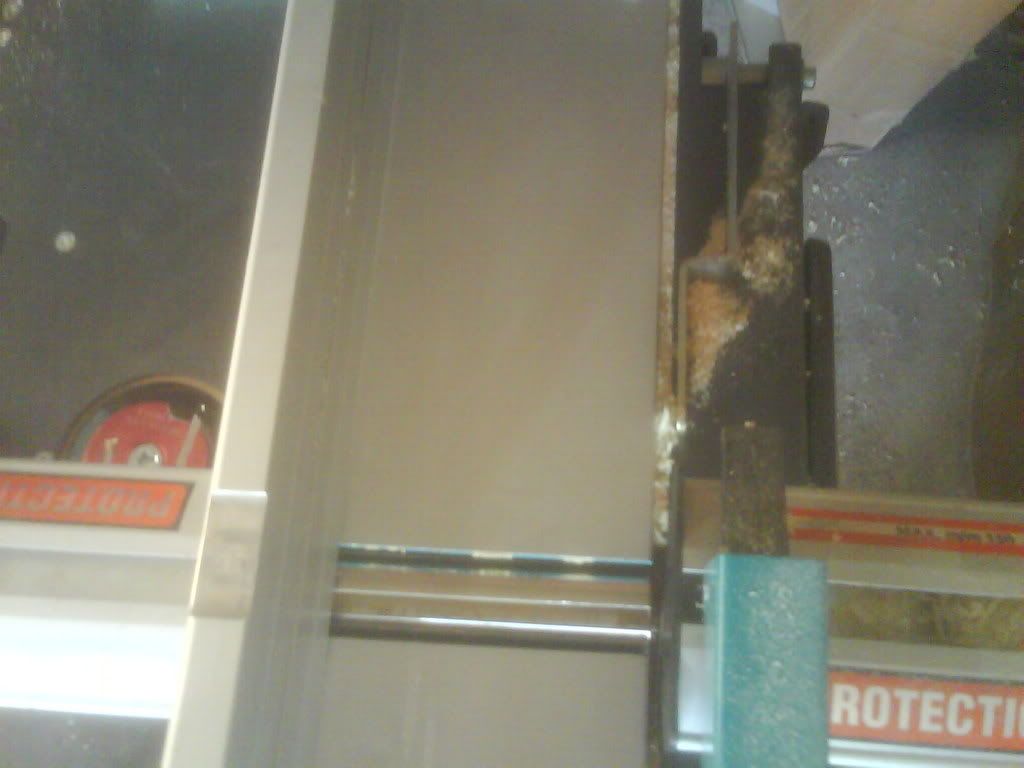
I think it should have a Mortice attachment but it come with it, neither did the spindle block or fence.
The first thing I had to do was make a stand (no joints, just screws)
It's beginning to look like a woodworking machine now, the next job was to make a mitre/crosscut fence to fix on the sliding table. I did this with 3/4" ply and put 2 slots with a router so it can be adjusted, like so.
Crosscut
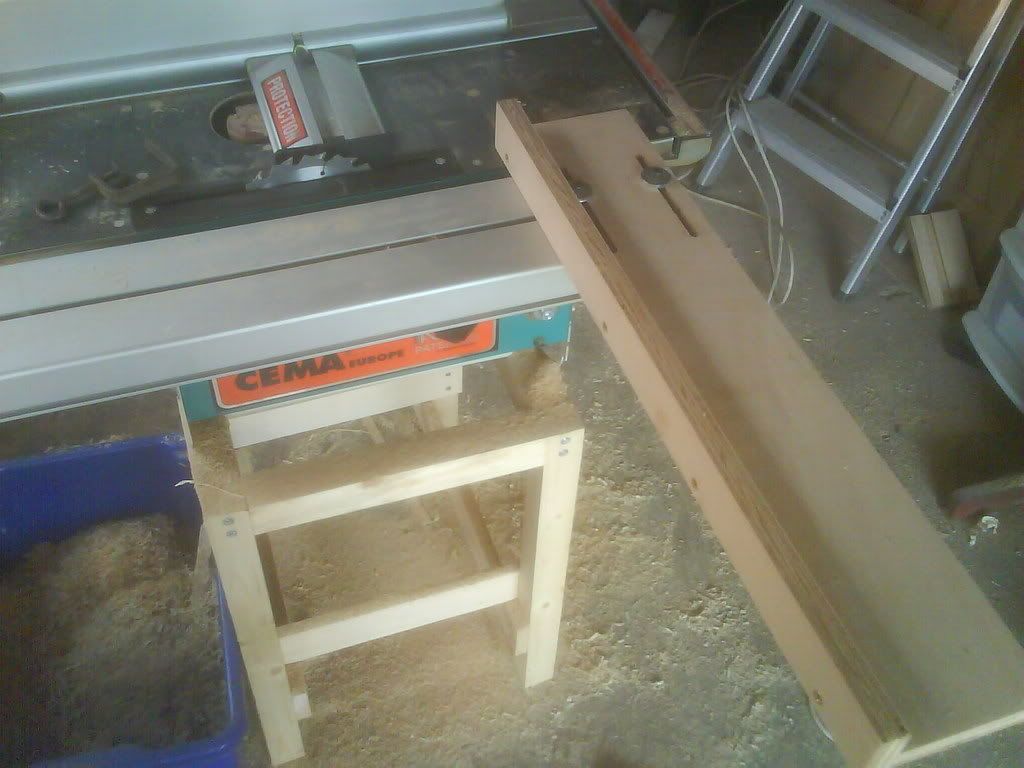
Mitre
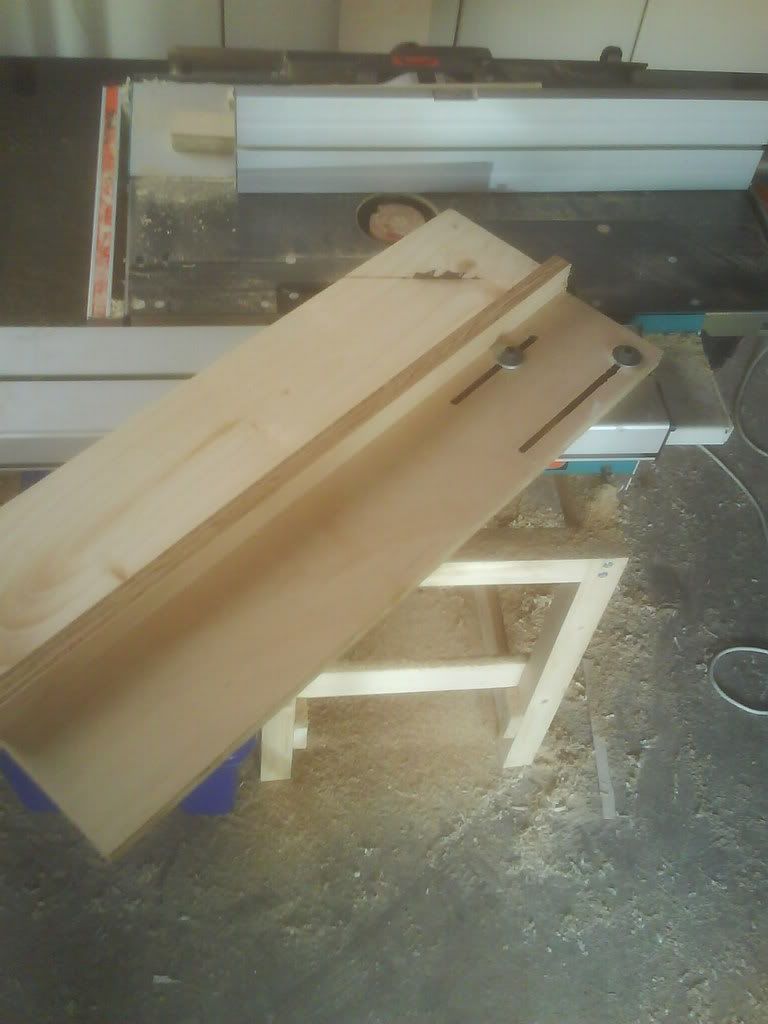
Now the hard bit (hard for me) making a tenonning jig, the materials i used for this are 3/4" ply, 3/4"x3/8" Oak and a small piece of Kitchen worktop.
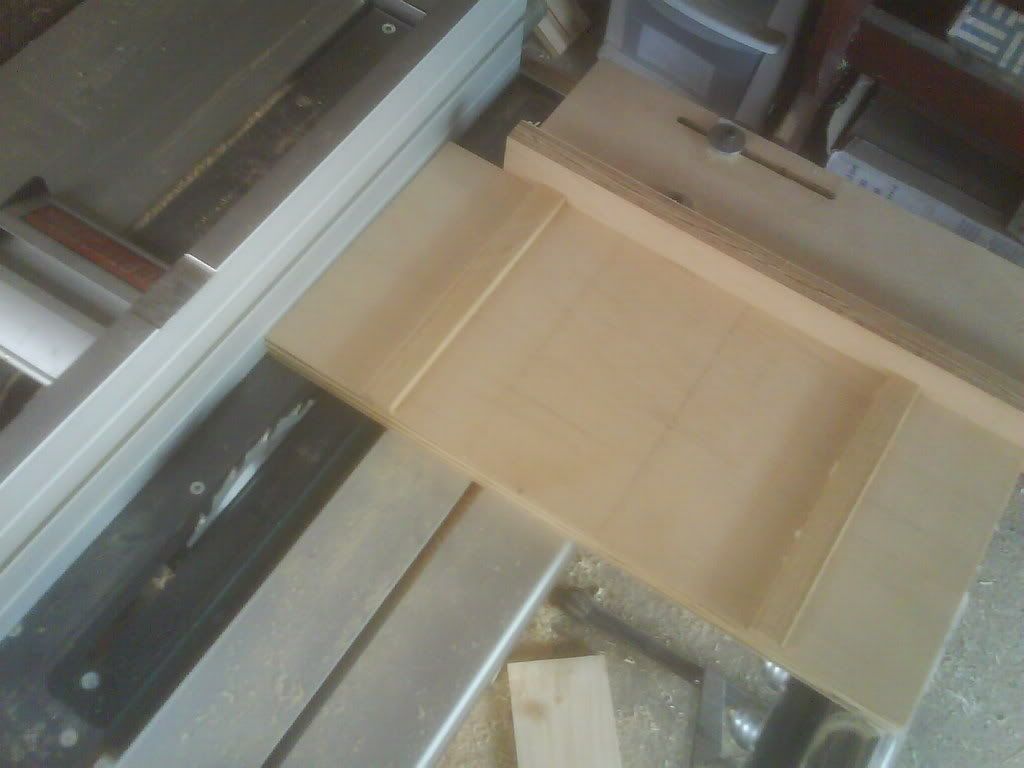
After cutting the ply with the aid of my new crosscut fence i cut the dado grooves in the 2 base boards, glueing the Oak runners in the top one like so
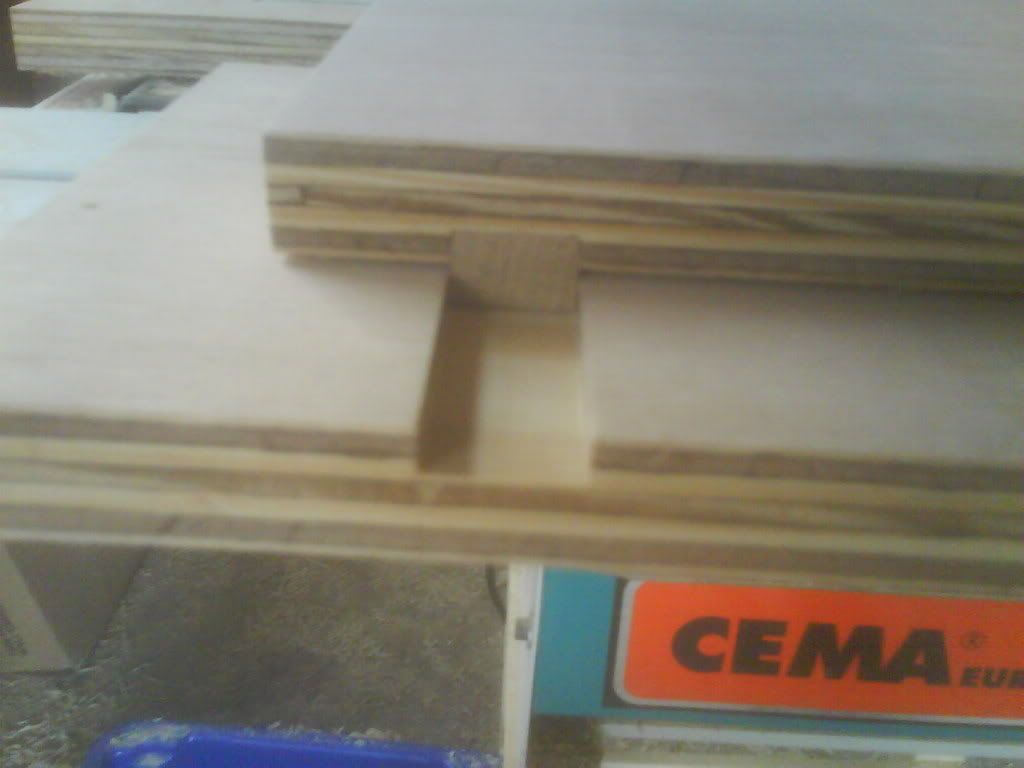
Then trimmed the top base plate (I cut the bottom and top base boards the same dimensions so I could get the runner grooves to match) the bottom board has to be wider for fixing bolts.
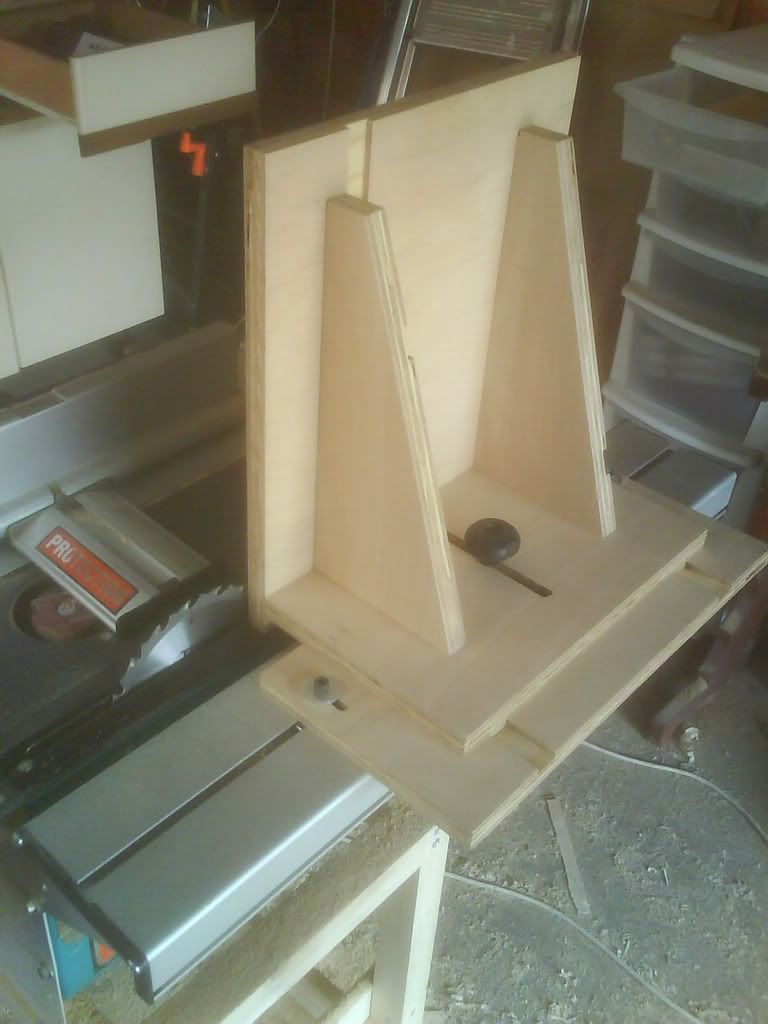
Next to fit the upright board and strengtheners, notice the screwwheel in the centre to clamp when set at the right distance.
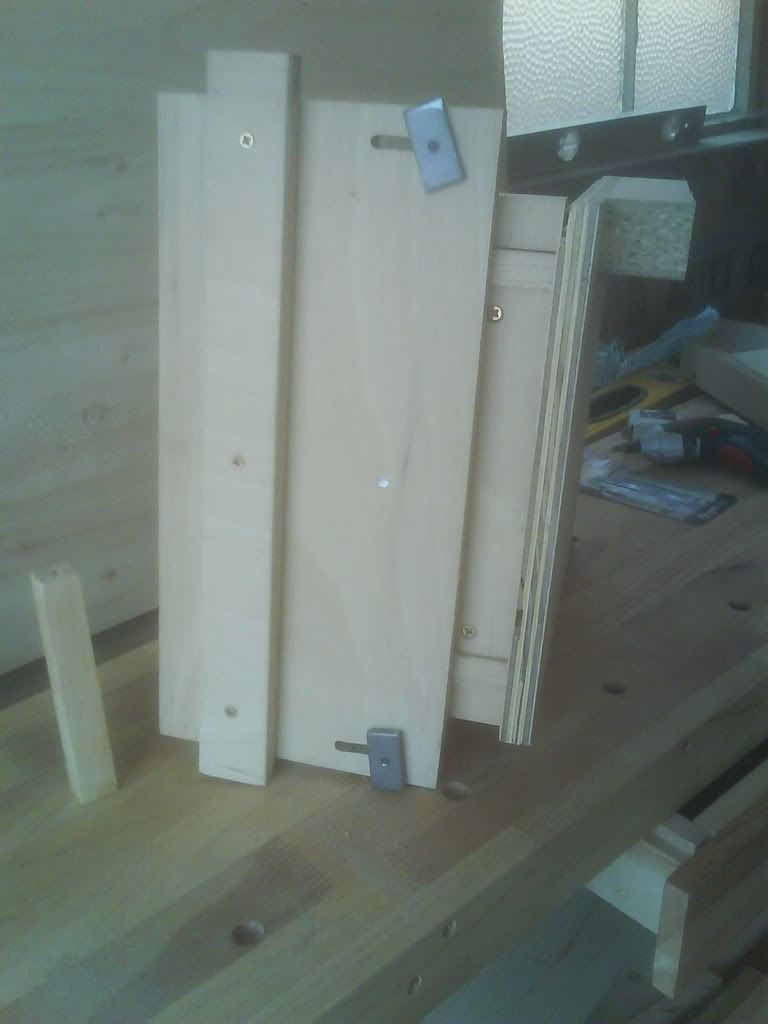
Next is fitting the vertical stop, this is made from a bit of worktop that i had from a friend. This can't be seen very well.

Finally, after setting it all square to the blade I screwed a stop underneath up against the sliding table.
Hey presto.
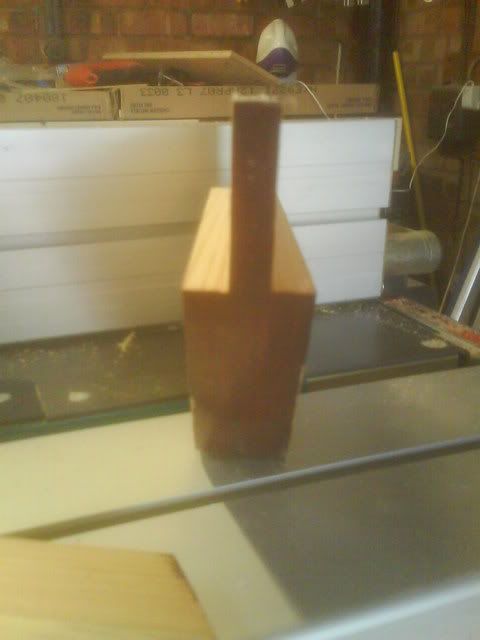
Unfortunately after 10 hours I didn't get any tenons cut, just this practice run on a piece of scrap.

I am not very good at writing or explaining how to do things but I hope this is of interested or useful to some of you, probably not the experienced craftsmen but the newbies like myself.
Thanks for looking.
Martin
another 10 years and i might be a bit wiser.Anyway, five weeks ago I bought a small second hand combination machine (CEMA K156) four weeks ago I joined this forum and what i've picked up on here has been a great help.
The CEMA K156 (sorry about the quality they were taken on a mobile phone)
The Table Saw
Spindle Moulder
And Planer/thicknesser
I think it should have a Mortice attachment but it come with it, neither did the spindle block or fence.
The first thing I had to do was make a stand (no joints, just screws)
It's beginning to look like a woodworking machine now, the next job was to make a mitre/crosscut fence to fix on the sliding table. I did this with 3/4" ply and put 2 slots with a router so it can be adjusted, like so.
Crosscut
Mitre
Now the hard bit (hard for me) making a tenonning jig, the materials i used for this are 3/4" ply, 3/4"x3/8" Oak and a small piece of Kitchen worktop.
After cutting the ply with the aid of my new crosscut fence i cut the dado grooves in the 2 base boards, glueing the Oak runners in the top one like so
Then trimmed the top base plate (I cut the bottom and top base boards the same dimensions so I could get the runner grooves to match) the bottom board has to be wider for fixing bolts.
Next to fit the upright board and strengtheners, notice the screwwheel in the centre to clamp when set at the right distance.
Next is fitting the vertical stop, this is made from a bit of worktop that i had from a friend. This can't be seen very well.
Finally, after setting it all square to the blade I screwed a stop underneath up against the sliding table.
Hey presto.
Unfortunately after 10 hours I didn't get any tenons cut, just this practice run on a piece of scrap.
I am not very good at writing or explaining how to do things but I hope this is of interested or useful to some of you, probably not the experienced craftsmen but the newbies like myself.
Thanks for looking.
Martin