


I have a pine floor (wood, not engineered or laminate), laid in my front and back room and the entry hall. It's quite nice condition in most places but needs a general overhaul.
Far as I can tell/guess it's laid on a screed base. I think most of the recent work on my gaff was done by the previous to one owner who was a builder according to local legend (Morris next door). Most of the work was done to a fairly good standard but oh boy, did they love a bit of unfinished pine. It's everywhere....
You get the feeling they liked pine cladding much more than painting. Most of the house that I haven't sorted looks like this. Fair play, tastes change. Could be worse.
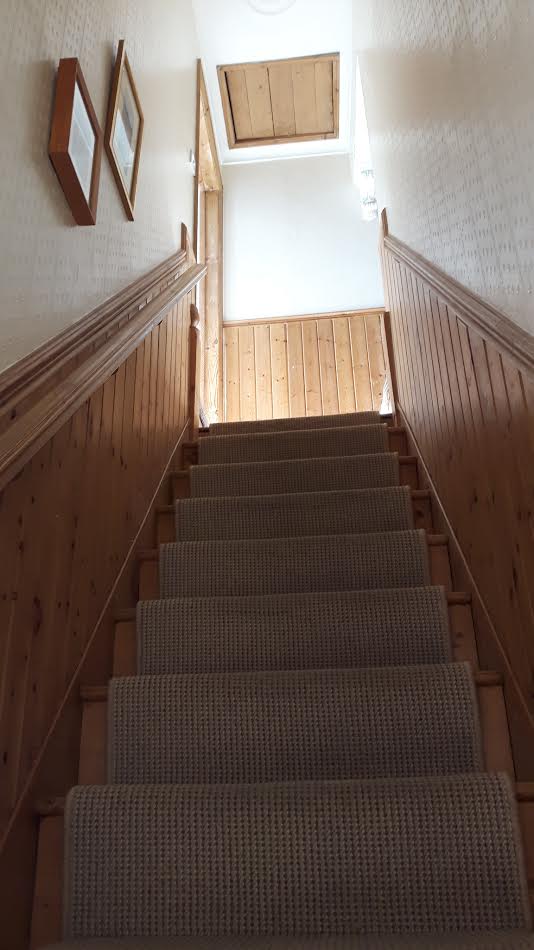
There's a couple of bits of the house that baffle me though.
Everytime I actually look up at this I picture the same conversation in my head.
Previous owner 1: We have this bit of unfinished pine architrave left over but I cant bear to bin it. What should we do?
Previous Owner 2: F***in' nail it over the entrance to the front room of course! You can never have enough unfinished pine architrave! Are you mad to even ask?!?

:shock:
Far as I can tell the previous owners did nothing for ten years except badly bodge few things like painting including painting over the light switches, breaking the sinks etc, nothing like doing a job properly eh, guess cutting in must have seemed a bit of a faff, and generally let the house fall into mild decay. Nothing fatal, just a general and slow refurb of the house as time and money allows. Tell the truth we couldn't have afforded the house if it was in good nick so there's that.
So. Finally on topic. Sorry.
Been doing the front room up. I'm going ok. Oversize fire surround out in one piece, skirtings off, rendered and skimmed, proper job on the decorating ongoing. But I have these woeful gaps in the floor.
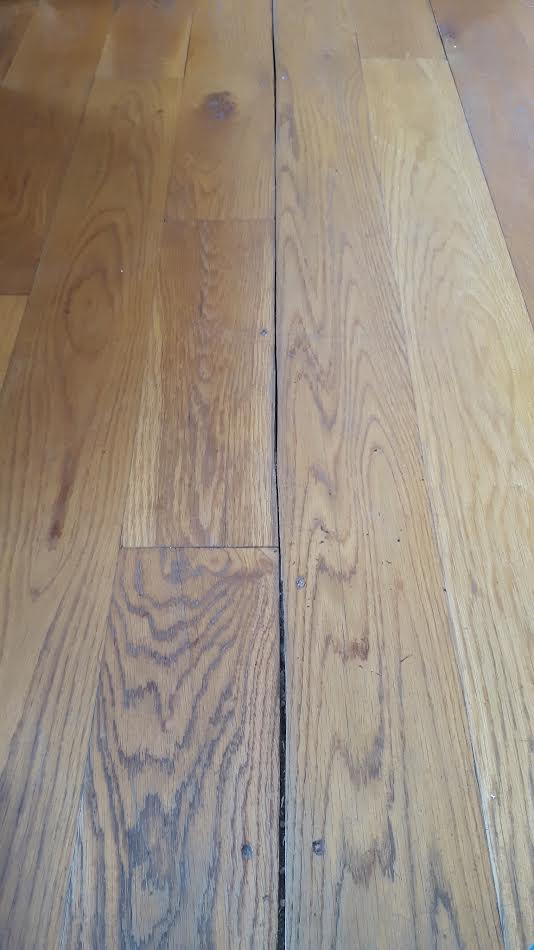
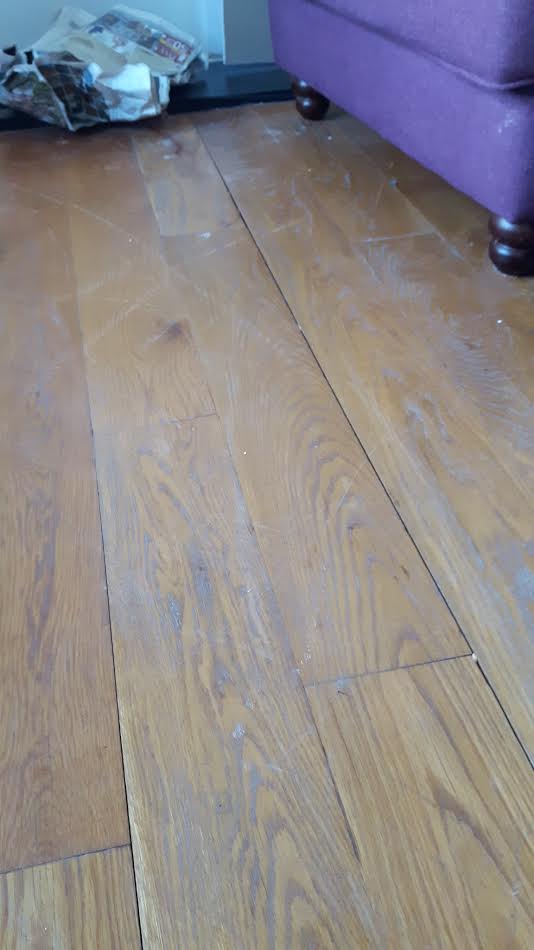
Far as I can see I can't lift and trim the offenders without lifting the whole floor and relaying. That's not an option. Really.
So what I'm wondering, is could I bang the router on it with the aid of a straight edge guide. Trim out with a straight bit to maybe 4mm width and a regular depth, lets say 6mm. Then glue and tap in a 4mm strip. Plane off the extra height flush, re-sand the floor and finish to taste.
I'm not that worried about the pattern showing the inlaid strip tbh. I can live with that when it's finished but I can't live with the gaps there atm.
Is this a sensible work around for the costs involved? TBH the money for a new floor is just not there. This seems like the best option and lucky me the gaps don't even reach to the edges so I won't have to try to continue the cuts by hand where the router won't reach, just square up the ends with a chisel. Bit like a big stringing project really.
I'd appreciate any advice or help.
Cheers.
Chris
Far as I can tell/guess it's laid on a screed base. I think most of the recent work on my gaff was done by the previous to one owner who was a builder according to local legend (Morris next door). Most of the work was done to a fairly good standard but oh boy, did they love a bit of unfinished pine. It's everywhere....
You get the feeling they liked pine cladding much more than painting. Most of the house that I haven't sorted looks like this. Fair play, tastes change. Could be worse.
There's a couple of bits of the house that baffle me though.
Everytime I actually look up at this I picture the same conversation in my head.
Previous owner 1: We have this bit of unfinished pine architrave left over but I cant bear to bin it. What should we do?
Previous Owner 2: F***in' nail it over the entrance to the front room of course! You can never have enough unfinished pine architrave! Are you mad to even ask?!?
:shock:
Far as I can tell the previous owners did nothing for ten years except badly bodge few things like painting including painting over the light switches, breaking the sinks etc, nothing like doing a job properly eh, guess cutting in must have seemed a bit of a faff, and generally let the house fall into mild decay. Nothing fatal, just a general and slow refurb of the house as time and money allows. Tell the truth we couldn't have afforded the house if it was in good nick so there's that.
So. Finally on topic. Sorry.
Been doing the front room up. I'm going ok. Oversize fire surround out in one piece, skirtings off, rendered and skimmed, proper job on the decorating ongoing. But I have these woeful gaps in the floor.
Far as I can see I can't lift and trim the offenders without lifting the whole floor and relaying. That's not an option. Really.
So what I'm wondering, is could I bang the router on it with the aid of a straight edge guide. Trim out with a straight bit to maybe 4mm width and a regular depth, lets say 6mm. Then glue and tap in a 4mm strip. Plane off the extra height flush, re-sand the floor and finish to taste.
I'm not that worried about the pattern showing the inlaid strip tbh. I can live with that when it's finished but I can't live with the gaps there atm.
Is this a sensible work around for the costs involved? TBH the money for a new floor is just not there. This seems like the best option and lucky me the gaps don't even reach to the edges so I won't have to try to continue the cuts by hand where the router won't reach, just square up the ends with a chisel. Bit like a big stringing project really.
I'd appreciate any advice or help.
Cheers.
Chris


