


As this is not strictly "woodwork" the mods may wish to move it, but as most of us are into DIY as well, I thought some may find it of interest. This is a project that I recently finished. SWMBO decided that we needed a new hall carpet - well it was 29 years old and had seen 2 x teenage children and 2 dogs, so she had a point. Then of course it had to match the stair-carpet, and as the lounge, dining room and study carpets were of a similar vintage, it wouldn't look right unless they were replaced as well, and wouldn't it be nice if the whole ground floor matched. Have you ever been on the receiving end of one of these conversations?
Then as we have never liked the very heavy stone fireplace, if this was ever to be replaced it had to be before the new carpet was fitted, or it would never happen. It is in these ways that bank accounts are emptied.
We looked at natural stone fireplaces but they were an "arm and a leg" job - £3,500 plus fitting! So we eventually settled on a reconstituted Bathstone fireplace from Templestone Fire Surrounds in Castle Cary. Lovely people to deal with and a good product at an affordable price. We opted for their Jacobean model.
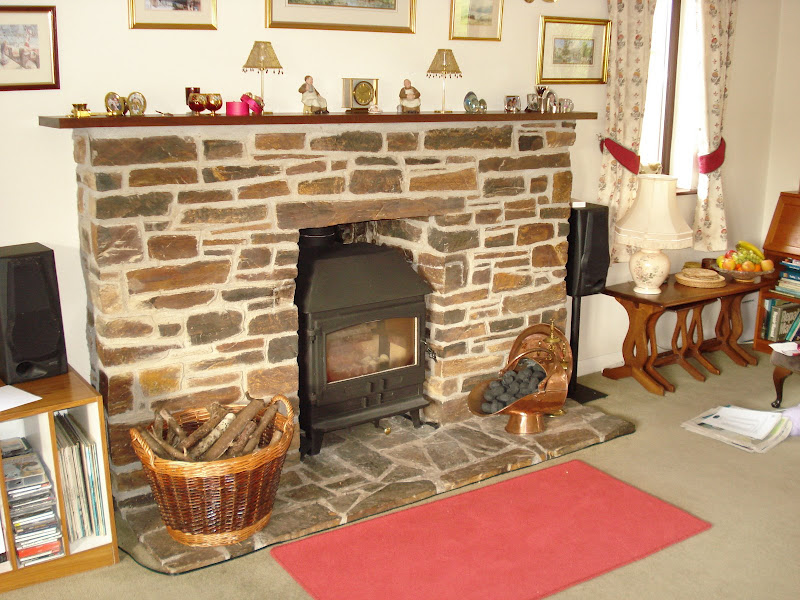
This is what we wanted to get rid of. The photo is kind to it. In real life it was heavy and oppressive and dominated the room.
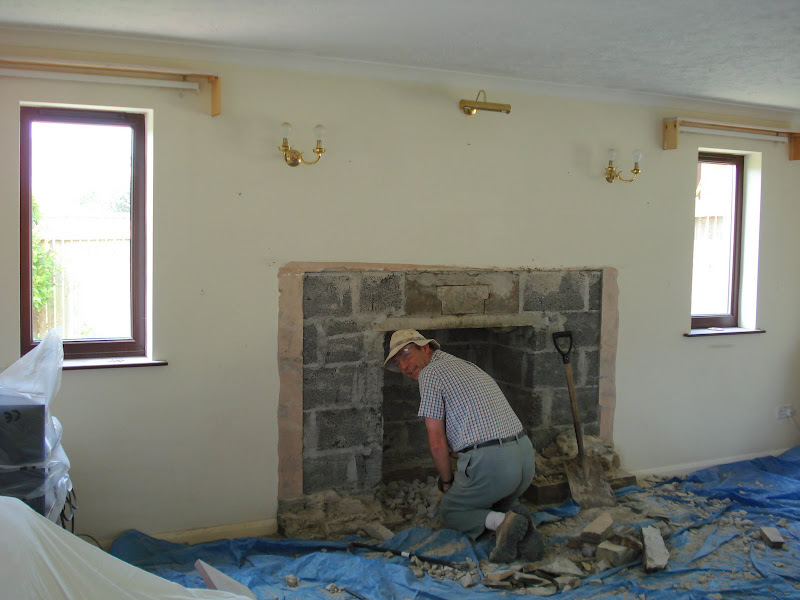
So, it had to go. It was built into the blockwork and off the floor slab, and the plastering and screeding had been done around it. So had to make good the screed and plaster before I could even start the fitting.
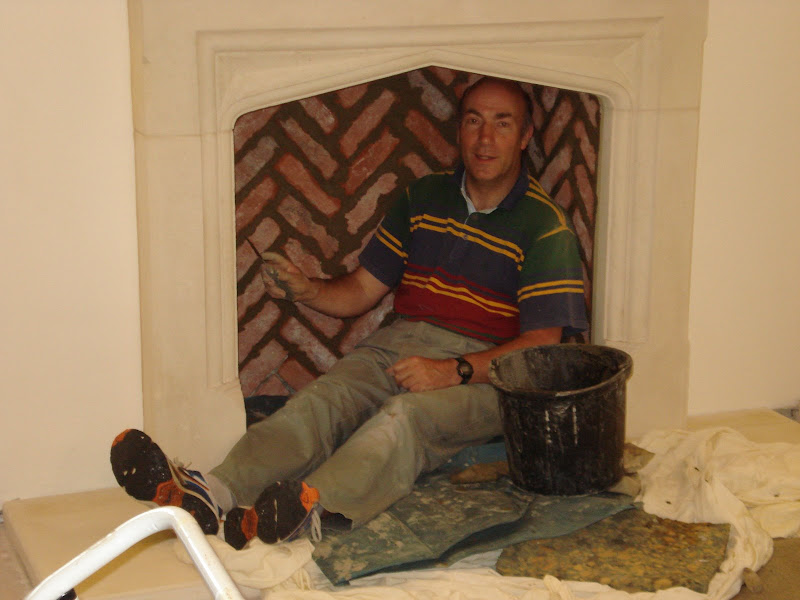
The fire recess was faced with brick slips about 20mm thick, and they took an age to point in.
And here's the end result. Never done anything like this before and I'm pleased with the result.
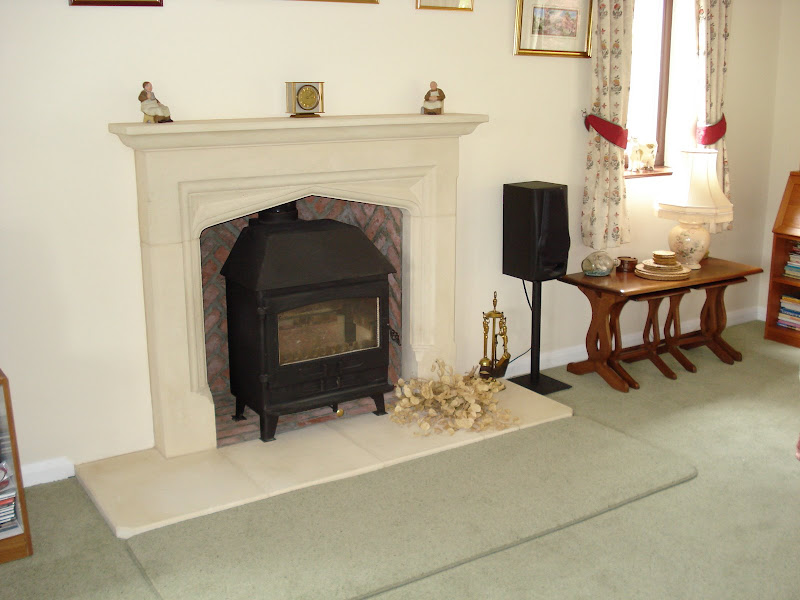
So, with that behind me I can get back to doing some woodwork! The tables on the right are a project from about 25 years ago.
Then as we have never liked the very heavy stone fireplace, if this was ever to be replaced it had to be before the new carpet was fitted, or it would never happen. It is in these ways that bank accounts are emptied.
We looked at natural stone fireplaces but they were an "arm and a leg" job - £3,500 plus fitting! So we eventually settled on a reconstituted Bathstone fireplace from Templestone Fire Surrounds in Castle Cary. Lovely people to deal with and a good product at an affordable price. We opted for their Jacobean model.
This is what we wanted to get rid of. The photo is kind to it. In real life it was heavy and oppressive and dominated the room.
So, it had to go. It was built into the blockwork and off the floor slab, and the plastering and screeding had been done around it. So had to make good the screed and plaster before I could even start the fitting.
The fire recess was faced with brick slips about 20mm thick, and they took an age to point in.
And here's the end result. Never done anything like this before and I'm pleased with the result.
So, with that behind me I can get back to doing some woodwork! The tables on the right are a project from about 25 years ago.
 .
.