Dark blue stain, recommendation anyone?

UKworkshop.co.uk

Help Support UKworkshop.co.uk:

This site may earn a commission from merchant affiliate links, including eBay, Amazon, and others.

Brianp

Established Member
Joined
10 Apr 2013
Messages
159
Reaction score
0
Location
Kildare, Ireland
Hi folks,

Thinking about a project I'd like to do with a dark blue almost navy stain on a piece of sycamore - anyone here ever done something similar and mind sharing their thoughts on what sort of stain to use? Would pen ink be ridiculous? Thanks!

Brian.
 
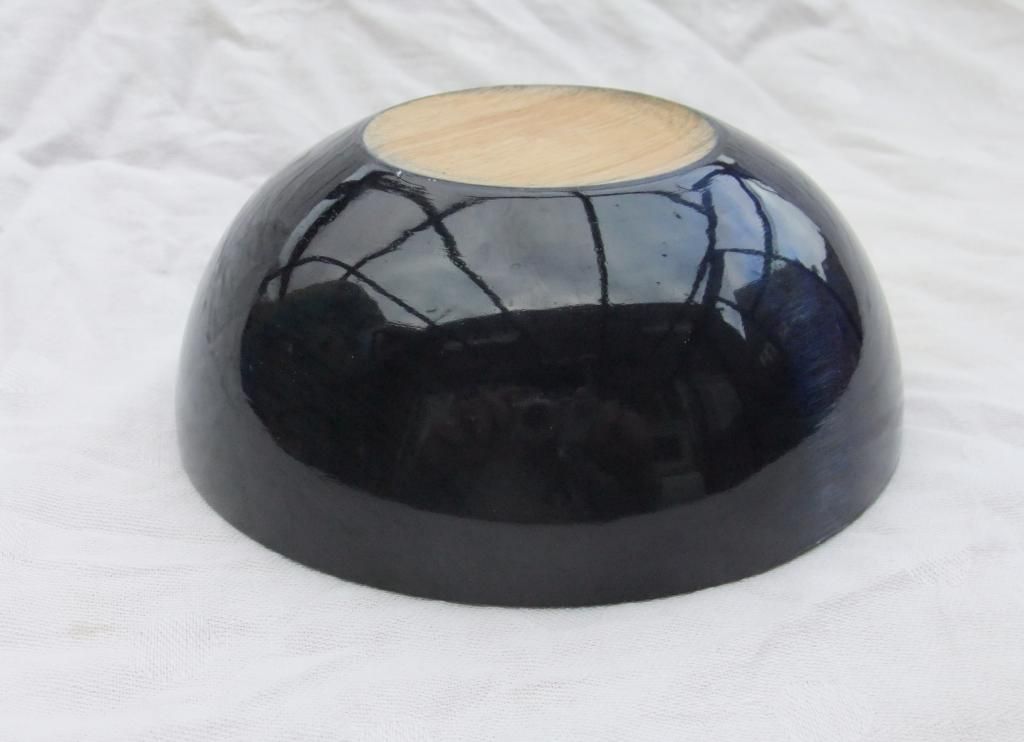
Do you mean something like this. If so then this bowl was done with Royal Blue spirit stain. I brought a pack of them from Axminster to use as experiments. If you go for these also buy some surgical gloves it takes ages to get it out

DSCF1632_zps2ec4d9cf.jpg
 
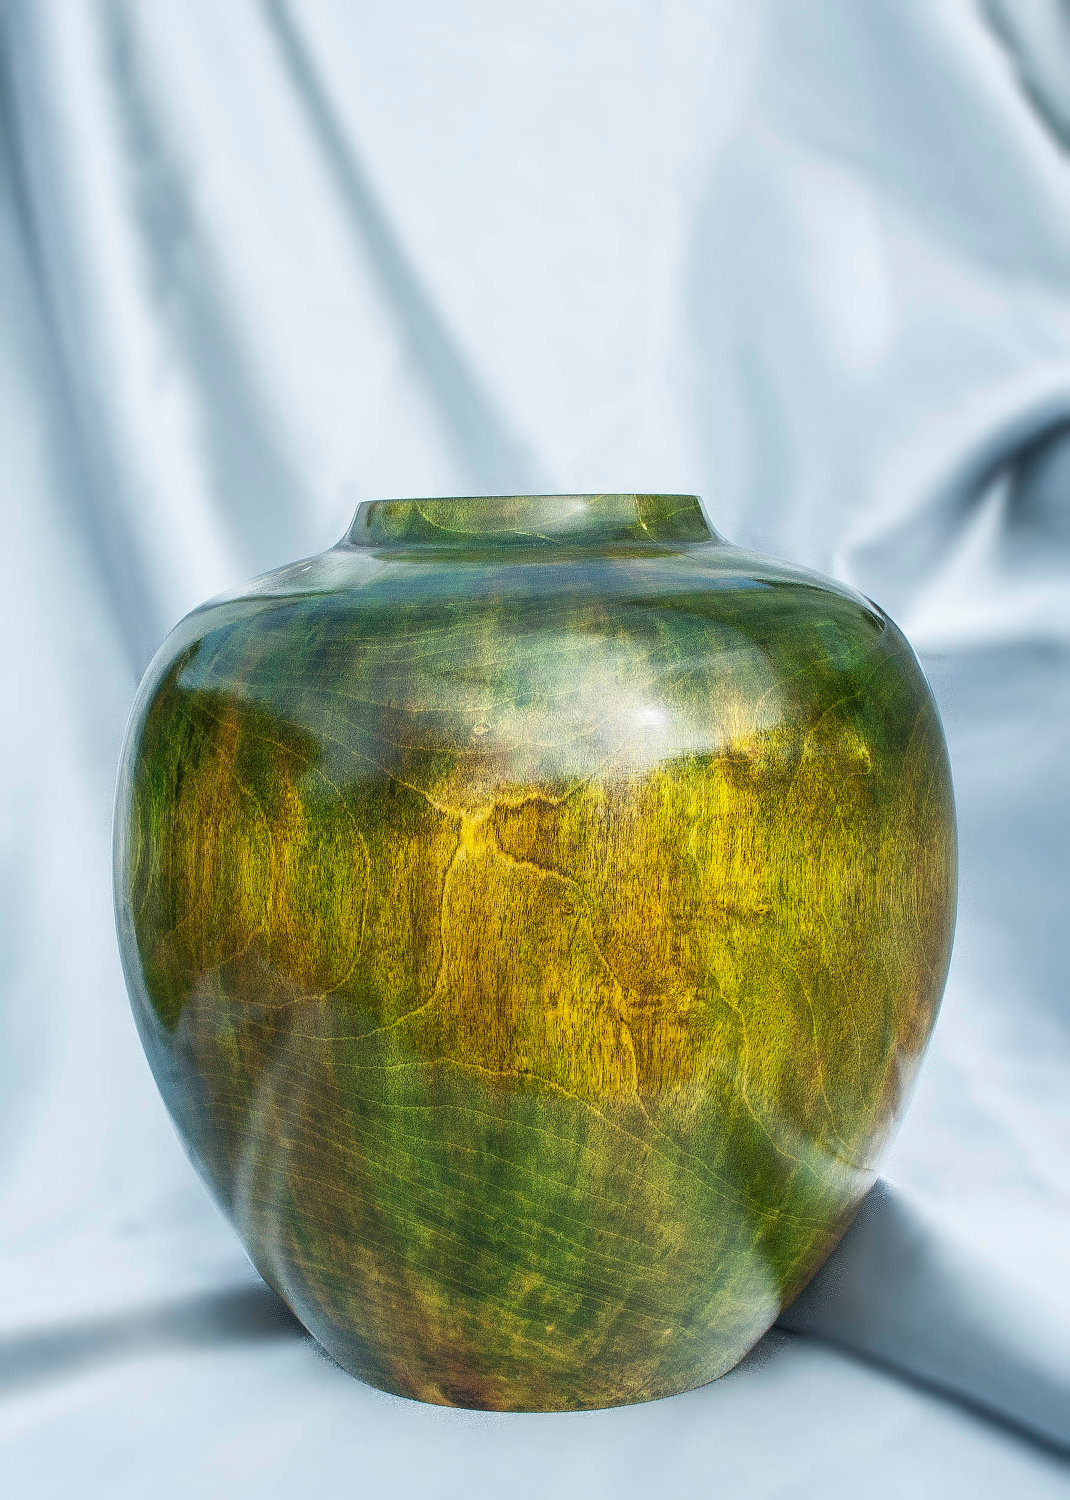
I bought some dyes from http://www.etsy.com/uk/listing/11217767 ... =related-3
they come in powder form and are mixed with warm water. You get 5 different colours in the kit but they can be mixed to make any colour you desire. As the blurb says they are very strong so a tiny amount goes a long way.
+1 for the surgical gloves. After making the apple with worm for Jan challenge my fingers were red for days.
 
Chestnut spirit stains are very good, the Navy Blue can be combined with the blue for an electric blue look or black for a very dark blue. I just lay one over the other rather than mix in a pot. These are the same ones Dalboy mentions.
 
Yeah, thanks guys - Dalboy's example is just about what I'm looking for so I've ordered some of the royal blue. Being spirit stains, they won't raise the grain either! Will oil work on these as well as lacquers? I don't think (yet) I want a gloss finish, the satin from oil might be preferable.
 
Oil will work fine, this was done using spirit stain and finishing oil buffed up with the three wheel system from Chestnut. Obviously the level of gloss will be relative to the level of buffing. You need to give the finishing oil a good few days in a dry environment to cure properly first though.

il_fullxfull.371704033_ngoe.jpg
 
Got my royal blue onto the wood (shallow bowls) today and I'm really happy with the colour. The unfortunate thing is, that as I feared, it's highlighting my finishing! Owing to rapid unintended deconstruction of my sanding arbour, I ended up hand sanding it. Went to 320 grit but there are still plenty of sanding marks on the bowls. :(

I haven't oiled/buffed yet, so I'm expecting that will raise the grain a little - will I have a chance to sand it gently a little between oil coats without cutting into the colour too much? (I will have a sanding arbour by then....) - oh and I've also bought a dome buffing brush for fun!

Thanks guys.
 
Good you're having a go Brian, Chas helped me put together a small pdf file that prints out as a small booklet on the subject of colouring and finishing, if you have not read it, you may find some of it helpful, you can get it from Chas' website under the projects and aids section here there are two files:

Coloured Work Buffing Guide (Pamphlet PDF 1.43mb)
Colouring Technique (Pamphlet PDF 560kb)

Your best bet with your current piece though, if you have left sanding lines or tear marks in it, will be to aggressively remove them, start with 180 or even 120 if it requires it and check that all scuffs and tears are gone, it isn't always necessary to have the piece spinning to do this, if you have a particularly troublesome spot, lock the lathe up and using a drill mounted pad, sand the area till the tear is gone. Once you have got all the toolmarks etc off the finish, then start to move down through the grits, if you use a power sander then hold it in such a fashion that the part of the pad that is cutting the work is rotating close to a right angle to the direction of the lathe rotation, this helps to avoid any ring scratches, once you get to the 240 grit, once you finish with the power sander or whatever, then sand with the grain by hand to give a very fine finish, do this with the 240, 320 and 400 grit. Check the piece over very carefully by rotating it under a lamp or bright light to spot any obvious scratch marks. If all is clear, then recolour the piece, as you are working with a single colour and a dark one at that you will find this will work perfectly well and you wont spoil the item, the new colouring will easily cover over anything left by the initial colour session.
 
KimG":2jabhanb said:
Good you're having a go Brian, Chas helped me put together a small pdf file that prints out as a small booklet on the subject of colouring and finishing, if you have not read it, you may find some of it helpful, you can get it from Chas' website under the projects and aids section here there are two files:

Coloured Work Buffing Guide (Pamphlet PDF 1.43mb)
Colouring Technique (Pamphlet PDF 560kb)

Your best bet with your current piece though, if you have left sanding lines or tear marks in it, will be to aggressively remove them, start with 180 or even 120 if it requires it and check that all scuffs and tears are gone, it isn't always necessary to have the piece spinning to do this, if you have a particularly troublesome spot, lock the lathe up and using a drill mounted pad, sand the area till the tear is gone. Once you have got all the toolmarks etc off the finish, then start to move down through the grits, if you use a power sander then hold it in such a fashion that the part of the pad that is cutting the work is rotating close to a right angle to the direction of the lathe rotation, this helps to avoid any ring scratches, once you get to the 240 grit, once you finish with the power sander or whatever, then sand with the grain by hand to give a very fine finish, do this with the 240, 320 and 400 grit. Check the piece over very carefully by rotating it under a lamp or bright light to spot any obvious scratch marks. If all is clear, then recolour the piece, as you are working with a single colour and a dark one at that you will find this will work perfectly well and you wont spoil the item, the new colouring will easily cover over anything left by the initial colour session.

Thanks for the encouragement!

Spent the afternoon (amongst other things!) sanding back down - I'm now 100% sure that there is no substitute for power sanding on faceplate/bowl work! Restained and much much happier with the finish. Going to let it settle overnight and then start the Danish Oil applications tomorrow evening, after the ironing. Then I can christen the new buffing brush towards the end of the week.

The grain is slightly raised - I suspect any buffing will sort this out though.
 
Nice one Brian! I am unfamiliar with Danish oil as a finish for this type of work, does it polymerize? (i.e. form a hard skin) I have used finishing oil a few times on coloured work, that does polymerize. If you are going for a fairly glossy finish and are not sure about how the danish oil ends up (no doubt someone who does know will pop in with some advice) then I would consider using finishing oil.
 
Thanks KimG, yeah it does seem to be a hard drying oil, so should take a bit of buffing.

http://www.rustins.eu/web/images/infosh ... ishOil.pdf

Kind of gives a satin sheen which might just come up nicely with a bit of buffing - I do admire your shining abilities, but I don't think I'll aim so high just yet. But something approaching that would look nice!

Will take care with them, have some 0000 steel wool for denibbing. Fingers crossed!
 
Back
Top