


I am a newbie with more tools then skill and here is my first project post.
My 3yr old son is moving room to make way for a new arrival, so to ‘sell’ the move to him I decided to build a bookshelf for all his stuff.
I think a recent FWW on how to build bookshelves was my primary reference. I spent quite a while fiddling around on SketchUp before settling on a design. Initially I was thinking of a simple MDF affair; but am happy to say that I pursued with something more challenging.
The carcass is still 18mm MDF, 15mm plywood for shelves, with softwood (spruce?) used for lipping, faceframe and one piece of the carcass.
Total Cost:
MDF - Free (I had a 6*4 piece lying around)
Spruce - £2 (had a few spare floor boards already)
Ply - £5 (Merchant Grade offcuts at local merchant)
Paint - £20 (1ltr of Primer, 1ltr of Farrow & Ball eggshell)
Brush - £7
Router Cutter - £30 (Beading cutter from Trend)
Total - £64
Dimensions are: 1200mm H * 960mm W * 340mm D
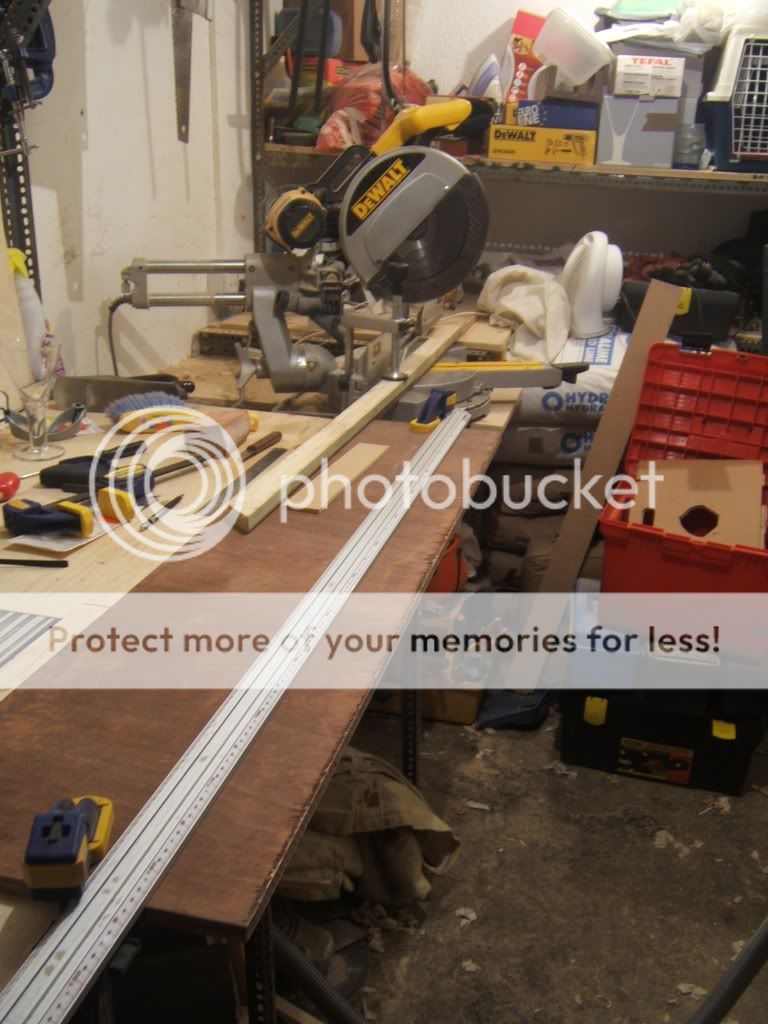
Sorry the WIP pictures aren’t great
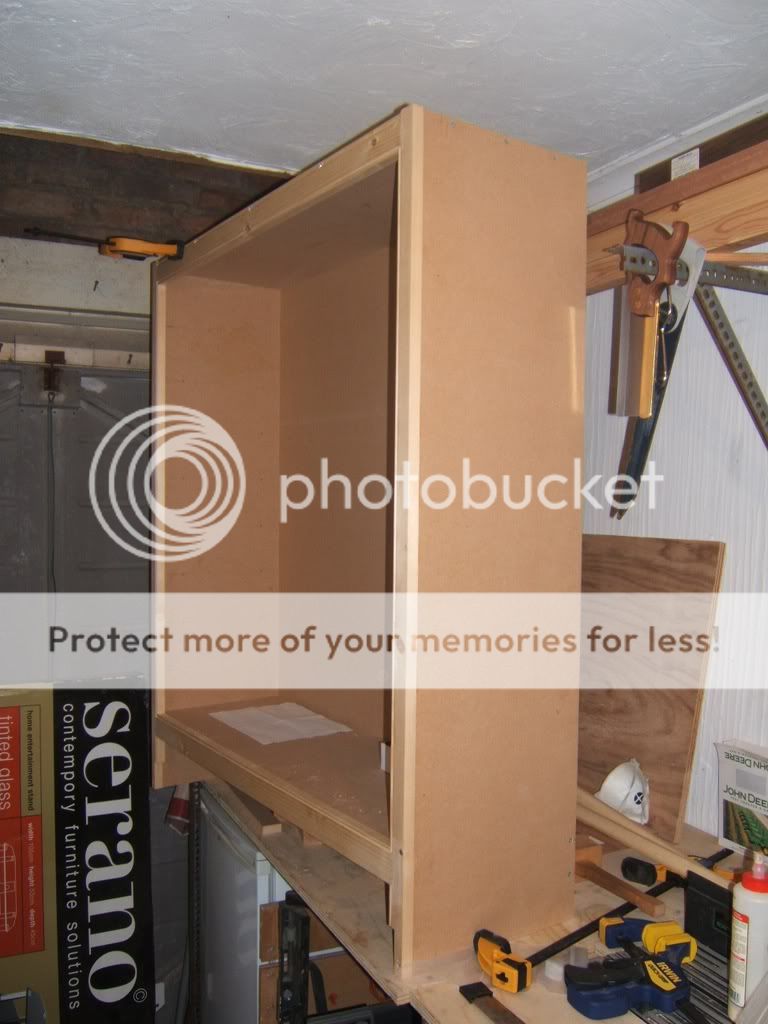
Here is the carcass with the face frame applied. Carcass construction is four pieces of MDF; the top and bottom shelf are set into rebates in the sides and glued and screwed. The back is 9mm MDF again glued into a rebate in the sides. Finally there is one piece of 6*1 as a batton at the back below the bottom shelf, which I used to give some additional strength to the structure.
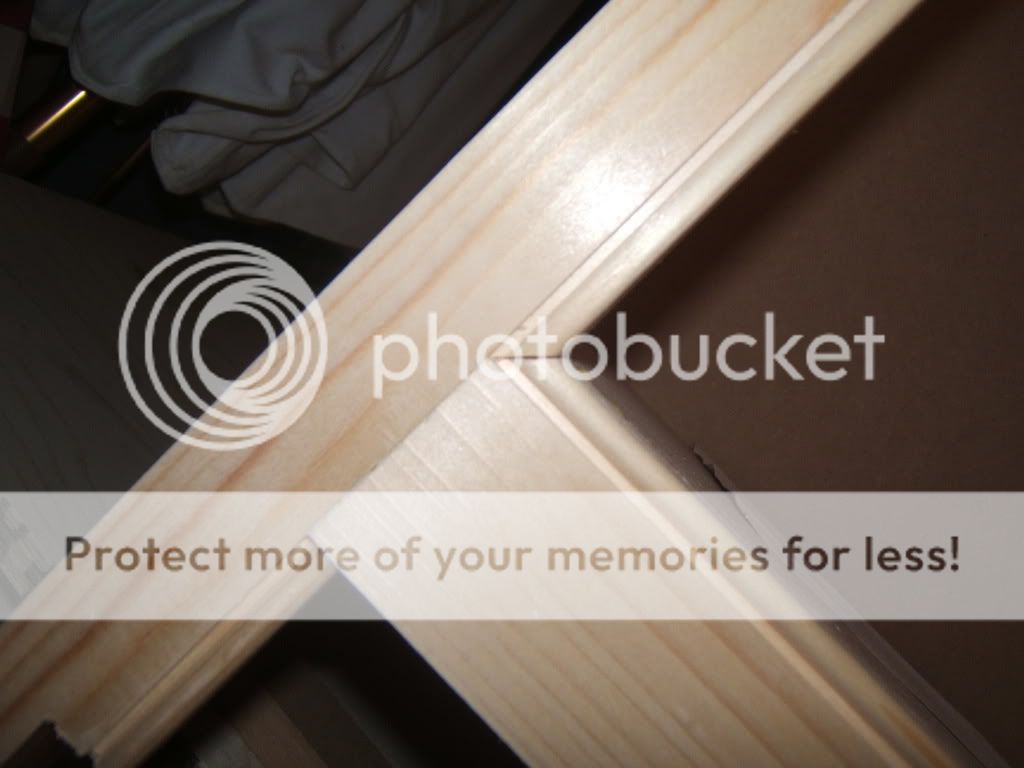
The face frame is 1” softwood beaded on a router table and joined with mortise and tenon joints, mitred at the moulded part (I didn’t get the mitres as tight as I would have liked, but I’ve convinced myself it is because I rushed them!)
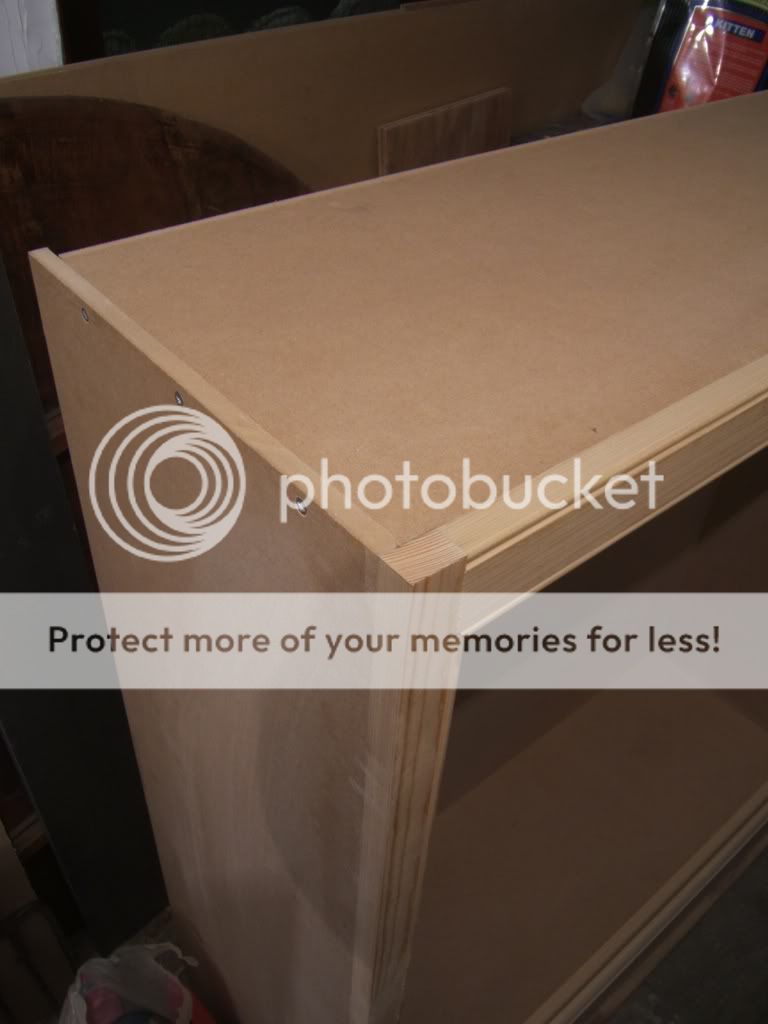
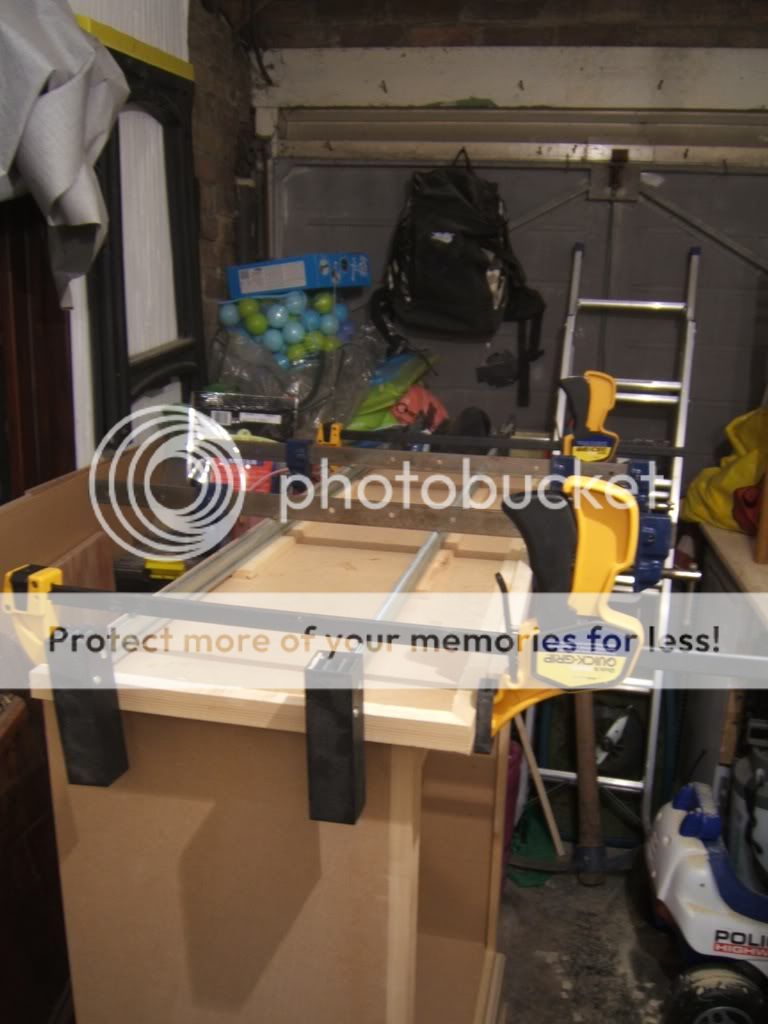
It was the first time I tried lipping and was quite pleased with the result. I trimmed everything flush with a No. 4 plane with a curved blade. It’s amazing how quickly you realise that you can never have too many clamps
Bad moment for the elastic to go on my last dust mask, but managed to improvise
Finished painted article with some close ups on the moulding (done using a ½” cove and ½” rounding over bit)
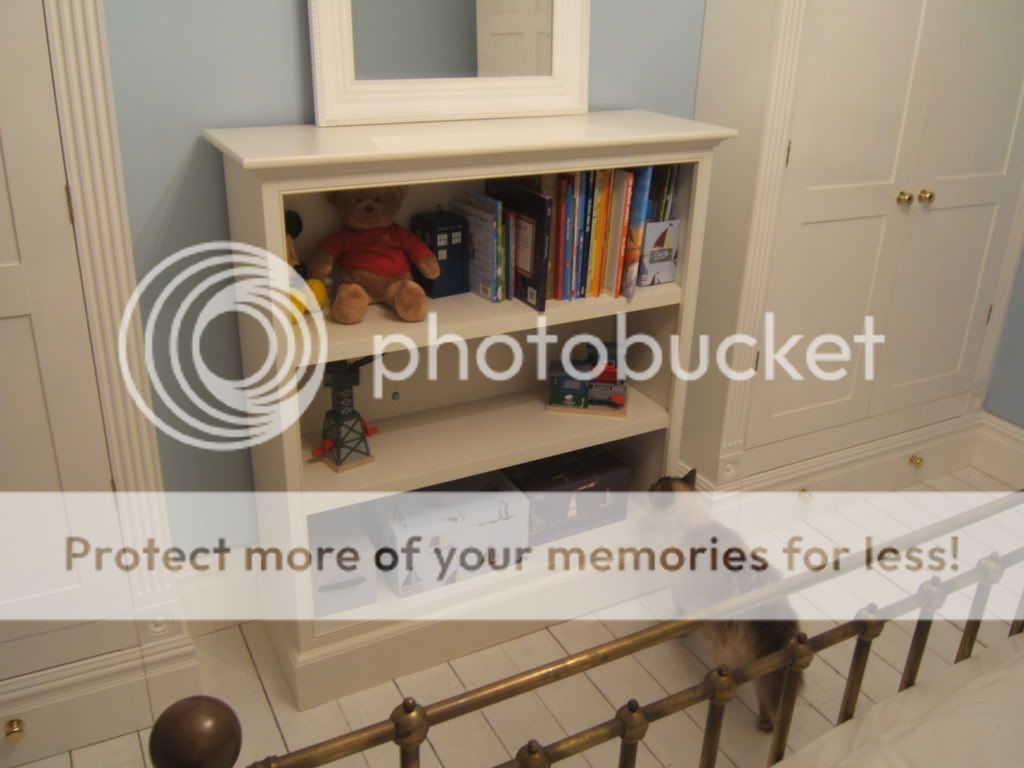
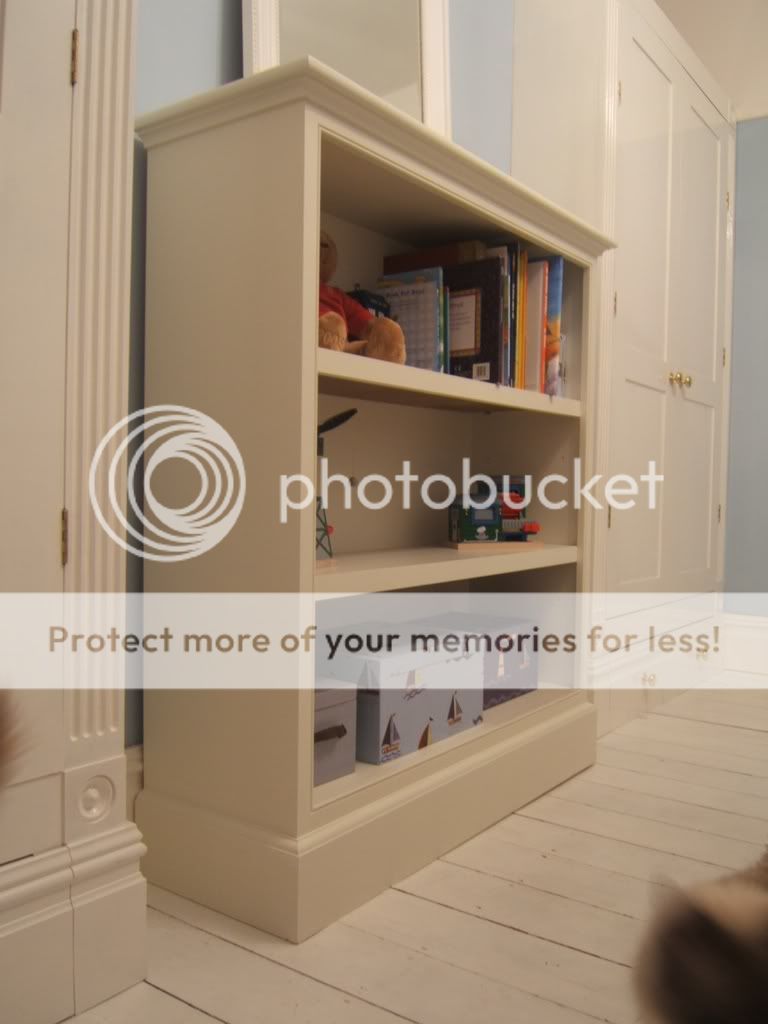


I used some levelling feet at each side on the front as the floor was very uneaven and shelf pegs from Trend (makes total cost £67)
Overall I was very pleased with the end result, particularly the amount of spare wood that I managed to re-use. I wish I had a table saw, rather than having to use a clamp guide though
My 3yr old son is moving room to make way for a new arrival, so to ‘sell’ the move to him I decided to build a bookshelf for all his stuff.
I think a recent FWW on how to build bookshelves was my primary reference. I spent quite a while fiddling around on SketchUp before settling on a design. Initially I was thinking of a simple MDF affair; but am happy to say that I pursued with something more challenging.
The carcass is still 18mm MDF, 15mm plywood for shelves, with softwood (spruce?) used for lipping, faceframe and one piece of the carcass.
Total Cost:
MDF - Free (I had a 6*4 piece lying around)
Spruce - £2 (had a few spare floor boards already)
Ply - £5 (Merchant Grade offcuts at local merchant)
Paint - £20 (1ltr of Primer, 1ltr of Farrow & Ball eggshell)
Brush - £7
Router Cutter - £30 (Beading cutter from Trend)
Total - £64
Dimensions are: 1200mm H * 960mm W * 340mm D
Sorry the WIP pictures aren’t great
Here is the carcass with the face frame applied. Carcass construction is four pieces of MDF; the top and bottom shelf are set into rebates in the sides and glued and screwed. The back is 9mm MDF again glued into a rebate in the sides. Finally there is one piece of 6*1 as a batton at the back below the bottom shelf, which I used to give some additional strength to the structure.
The face frame is 1” softwood beaded on a router table and joined with mortise and tenon joints, mitred at the moulded part (I didn’t get the mitres as tight as I would have liked, but I’ve convinced myself it is because I rushed them!)
It was the first time I tried lipping and was quite pleased with the result. I trimmed everything flush with a No. 4 plane with a curved blade. It’s amazing how quickly you realise that you can never have too many clamps
Bad moment for the elastic to go on my last dust mask, but managed to improvise
Finished painted article with some close ups on the moulding (done using a ½” cove and ½” rounding over bit)
I used some levelling feet at each side on the front as the floor was very uneaven and shelf pegs from Trend (makes total cost £67)
Overall I was very pleased with the end result, particularly the amount of spare wood that I managed to re-use. I wish I had a table saw, rather than having to use a clamp guide though
")