Another box with a secret compartment

UKworkshop.co.uk

Help Support UKworkshop.co.uk:

This site may earn a commission from merchant affiliate links, including eBay, Amazon, and others.

devonwoody

Established Member
Joined
11 Apr 2004
Messages
13,493
Reaction score
25
Location
Paignton Devon
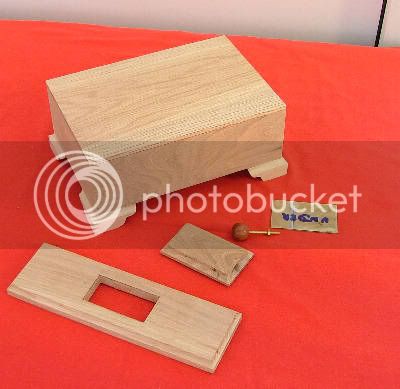
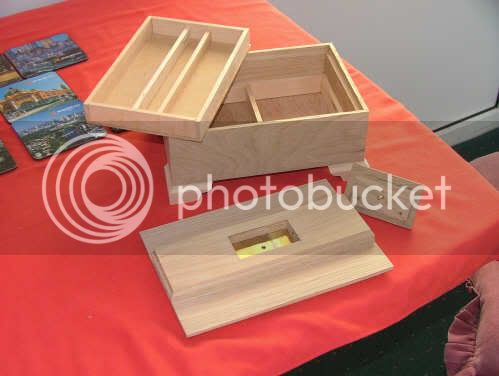
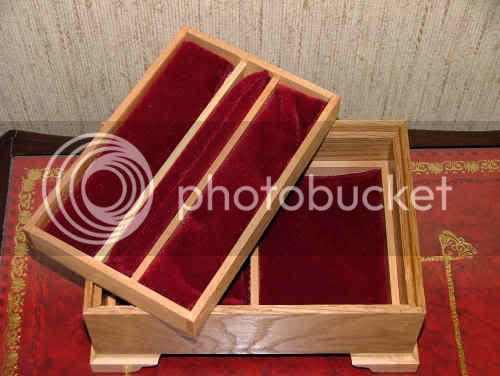
A new jewellery box with a secret compartment is to be a gift for a daughter.
After a glorious restart in the workshop yesterday the weather down here has gone very damp and depressing.
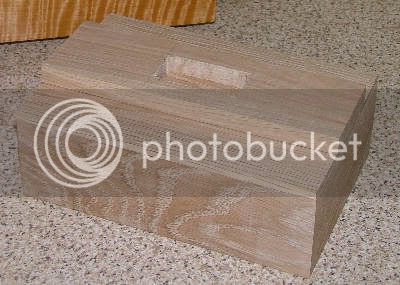
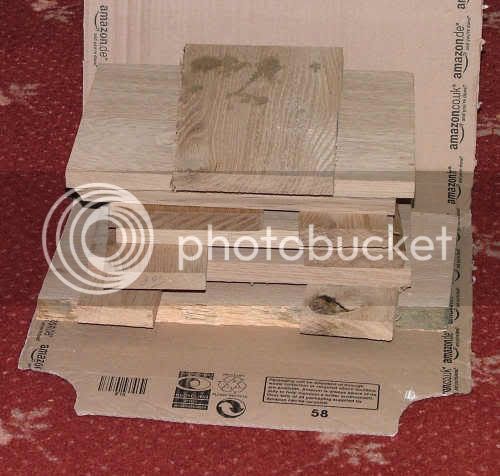
However I have a fair number of oak off cuts to use so I have decided to make another jewellery box this time for a daughter.

2006_0330jewelleryboxmarch060002.jpg


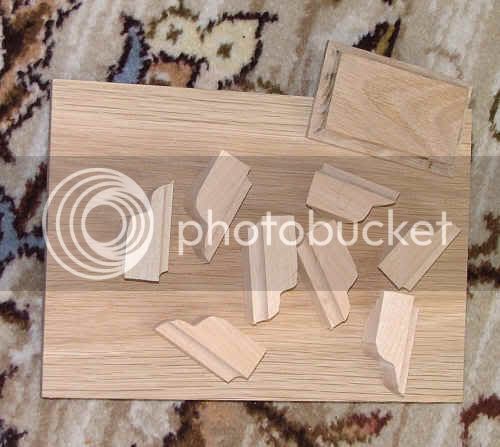
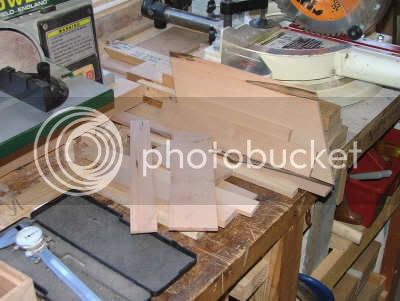
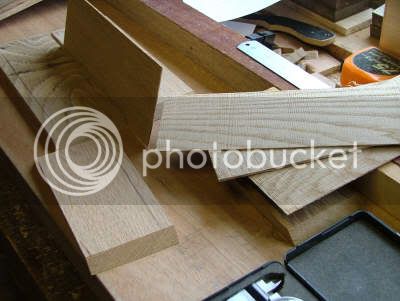
Ripped up the widths and put through the P/T in the morning session. But did put the pieces through the band saw which for some reason is behaving itself in a most admirable way, its cutting veneer slices of the oak which saves me wasting my planer blades when reducing the thickness necessary for the box. The bandsaw being used is the old Record model RSBS14.
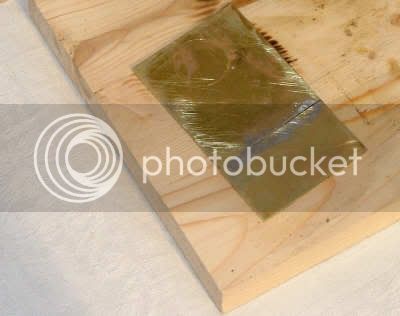
The veneers
veneers.jpg


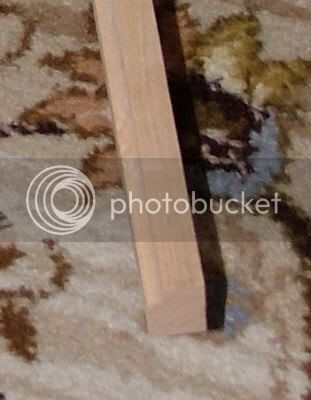
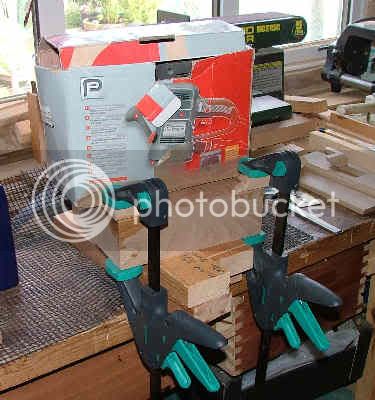
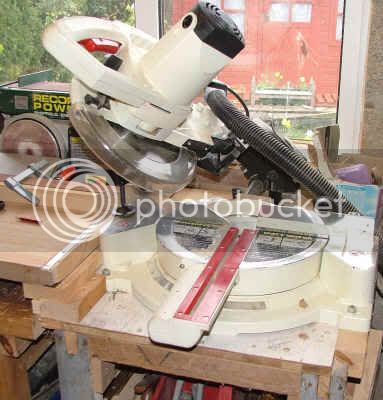
I have cut the corner mitres using the SCMS saw as per picture and when checking the cuts after coming of the machine they appeared to be very satisfactory. However later in the afternoon when I came to set them up on my box gluing jig things were very much amiss. I don't know if it’s possible for mitre cuts to change with timber tension or some kind of drying out process but I had to put all the joints to the sander to get a decent 90 degree fit at all corners.

scmsmitrecuts.jpg


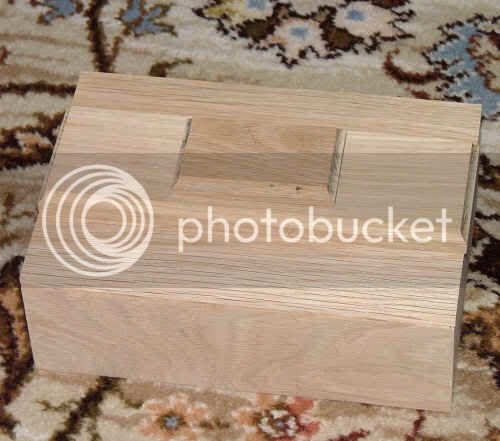
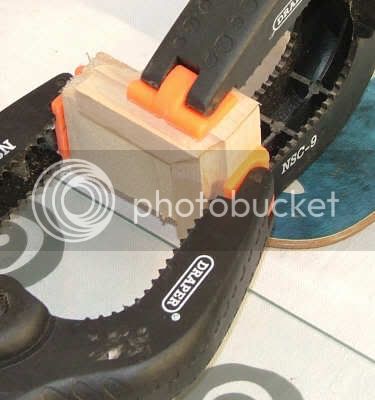
Before putting in to the gluing up jig I did a top rebate on all pieces to accommodate the lid (which will drop in) and also cut a 3.8mm dado on the bottom pieces for the base. These were all done on the router table using a rebate & a fine trenching bit.

gluedupinjig.jpg


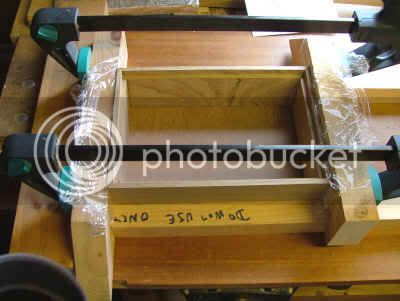
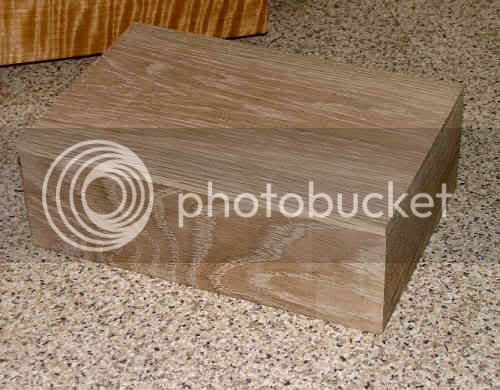
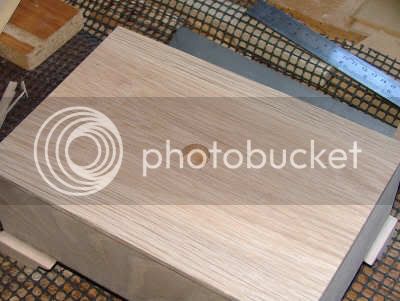
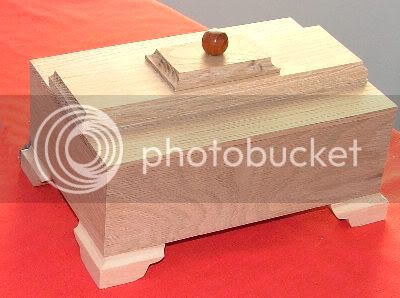
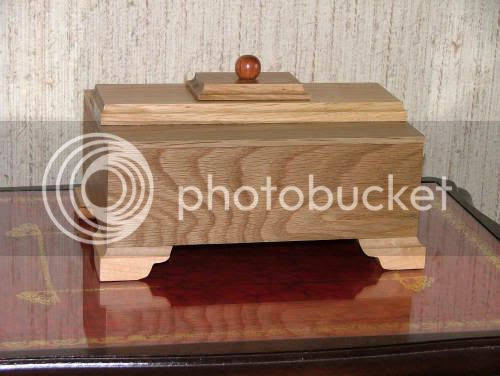
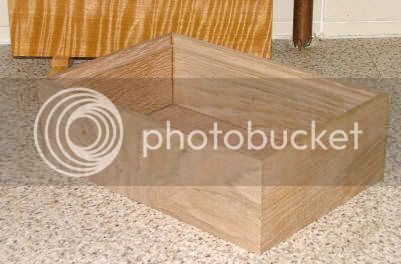
Final picture today shows the box glued and awaiting another session tomorrow making the lid.

basereadyw.jpg

.
 
It's good to see that you are back in the workshop DW.

Another nice box on the way.

Andy
 
DW

Nice job, are you going to use fillets in the mitres?

You're so lucky to be able to use the kitchen and an extention to the WS.
 
Waka":18u7itib said:
DW

Nice job, are you going to use fillets in the mitres?
I did consider that but have decided when the box is lined internally those imperfections wont be seen.

They have come about because I had a brainwave, I thought I would sand the inside of the box pieces before gluing up and I reckon the longer side pieces the wood must be softer and the sander has thinned down the thickness greater than the short sides and this was not noticed until the next day. Or it could be that now the box has come in out of the workshop (80%humidity to the home which is much less) the wood is shrinking.
Waka perhaps one of your small handplanes could reduce the internal thicknesses for me?
 
Day2


I had a reasonably successful day in the workshop yesterday, I found another oak offcut that was large enough to make the top lid. The last occasion I made this box the lid was made up with 3 boards and I had trouble with warping. However I am pleased to say after cutting and bringing into the home for the night no bowing has occurred and looks like I am going to be lucky with a flat fit. The secret compartment has had some preparation done in that I have fretted out the aperture and will clean up later today with a chisel using that shoulder cutting jig of Australian fame (a la David Cohen).

It also looks like I have some more sanding to do as I can now spot some snipe on the lid also the front board looks a little suspect in the photographs.

lidonw.jpg


secret1w.jpg


Also Janet has now finished her project, this was started the 1st December and with many interruptions over the last three months was completed yesterday. The design was purchased at the Victoria House, Mittagong.NSW. Which has a web site for orders, I can honestly say it has the largest collection of embroidery subjects that I have ever seen.

teddybears1w.jpg

.
 
Day 3

Everything seems to be going well. The lid has remained stable, so a secondary lid to accommodate the secret compartment has been prepared together with its top short piece which covers the aperture. The photo studio has moved from the kitchen to the living room to avoid any kitchen duties that could crop up at the moment.
lidpartsw.jpg


lidinpositionw.jpg


A length of sycamore has been machined on the router table which will provide the feet. The feet will have to be cut to shape use a fret saw and then put to the mitre chop saw for fitting to the base of the box.

feetw.jpg


So had a good day and to finish off the wife brought me in a large double whisky just before bedtime, she won't get away with that one much longer, they are going to change the law on consent here in the UK.
 
Day 4.

Had to remake the small closure lid of the box, the first one is doing the twist! However pleased to say the replacement was quickly remade and brought indoors for the night and is laying flat this morning.

In the meantime I cut out the bracket feet using a hand fretsaw and these templates which I knocked up to actual size on my computer using one of those draw programs and the printed out and then affixed to the batten.

bracketfeetw.jpg


templateww.jpg


Will report further progress in 48 hours.
 
day5

Only little progress to report today owing to my attendance required for shopping duties.

However I did get the bracket feet glued up using some clamps as per picture below.

feet2w.jpg


Also I got some .025 brass bar out of my model railway kit and soldered some pieces up to make a brass plate which will be used to secure the secret compartment.

brassw.jpg


Now I have got to go in search of a long brass bolt or brass rodding.
.

__________________
 
Day 6.

One of those mess about days.
The day started off making a decision to remove the alignment plate under the top lid because of more twist. The replacement also proved troublesome so the alignment plate was made up of two thin veneers.

toplidw.jpg


Next job was sourcing some M3 brass bolts and nuts in town, third telephone call located some around 1 mile away, that was a bit of luck. So purchased 6 bolts which should mean there will be enough stock for all the female members of the family to have a box each over the coming months.

boltsw.jpg


I then chopped out a recess for the brass holding plate to drop in under the secret compartment.

The next task was to locate a turned knob which a UK forum member turned for me a couple of months ago, when found I constructed a jig so a centre hole could be drilled into the knob to take one of those brass bolts (head removed)
The photographs should explain the steps taken. The brass roding was then secured into the knob with a dab of superglue.

knobw.jpg

knob2w.jpg


The bracket feet were next fitted which were made up a couple of days ago and secured with glue to the base of each corner of the box as per picture showing counter balance weight to stop the collapse of glue up.
glueonfeetw.jpg


Final photograph today shows all the external parts of this box ready, with just a hole and nut tobe soldered onto the brass plate and secret compartment to be glued to the lid and another job then just awaiting the internal compartments to be constructed.
allexternalpartsw.jpg


.
 
Day 7 (the finish)

Final day, except for that sanding and a finish. Nothing needed remaking today. The secret compartment was glued to the top lid and closure lid with brass work was finished off. Inside two layers of compartments were constructed from the off cut box in sycamore. The wife will make some velvet cushions to line the inside compartments and I will deliver to a daughter with a finish of shellac and wax polish at the end of the month. The large drop on lid has shrunk around 1mm in width over the week, so the next box the timber is going to be brought indoors to season hopefully avoiding this problem. In fact if I make another box before the end of the month I might try substituting lids to match apertures.

The nut soldered under brass plate:
1brassnut1w.jpg


Hole drilled on main lid to accomodate the nut shown above:
2holeinlidtoaccomodatethebrassunder.jpg


Sycamore pieces from the offcut box for the compartment dividers:
3scrapsycamoreofcompartmentsw.jpg


All parts on display:
4allpartsondisplayw.jpg


The box finished (will be treated with shellac and wax at a later time)
5finishedw.jpg

.


__________________
 
Yep spotted it straight away John. To be honest, since you started this thread i've been checking my inbox, expected to see a request for another. I forgot that had sent you more than one. :D
 
como":8fbxgl42 said:
Yep spotted it straight away John. To be honest, since you started this thread i've been checking my inbox, expected to see a request for another. I forgot that had sent you more than one. :D

To be humble Como, I could do with another 6. :) :wink: :)
 
Gave the jewellery box a coat of shellac clear, and then polished up with wax, finally the wife made the internal cushions.

boxwaxw1.jpg


boxwaxinternal2w.jpg


The project went reasonably well apart from the main lid which has shrunk slightly across its width. Looking to the next box I have brought some oak off cuts into the home and storing them close to the radiator hoping this will dry them out over the next week and stop any shrinkage on the next making.

seasoningw.jpg
 
Back
Top