Rhyolith
Established Member
Because obviously I don't have enough restoration projects on...
(A lot rambling, sorry! theres one important question at the bottom.)
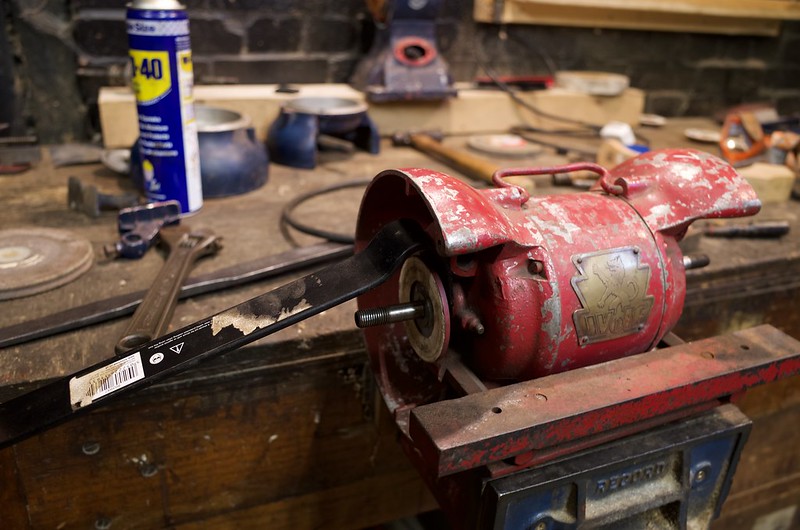
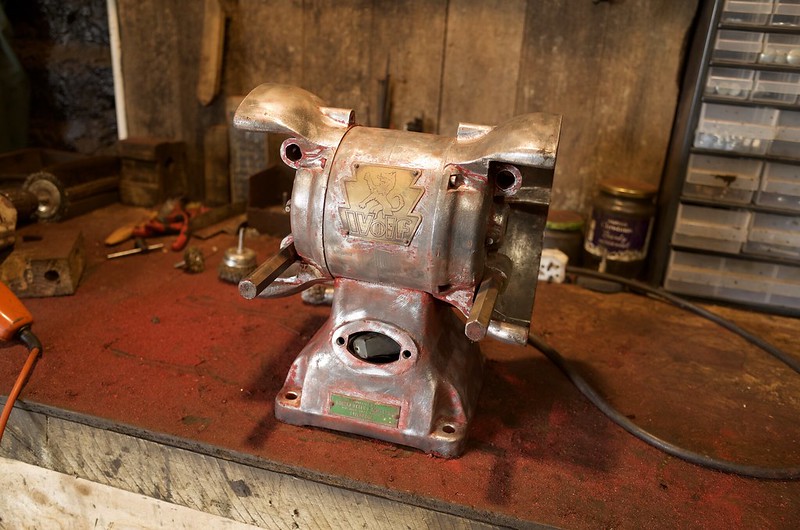
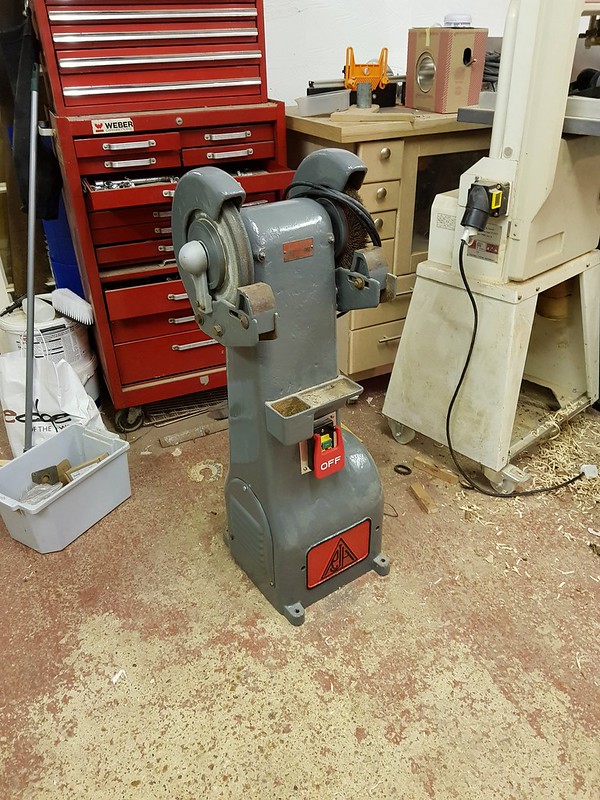
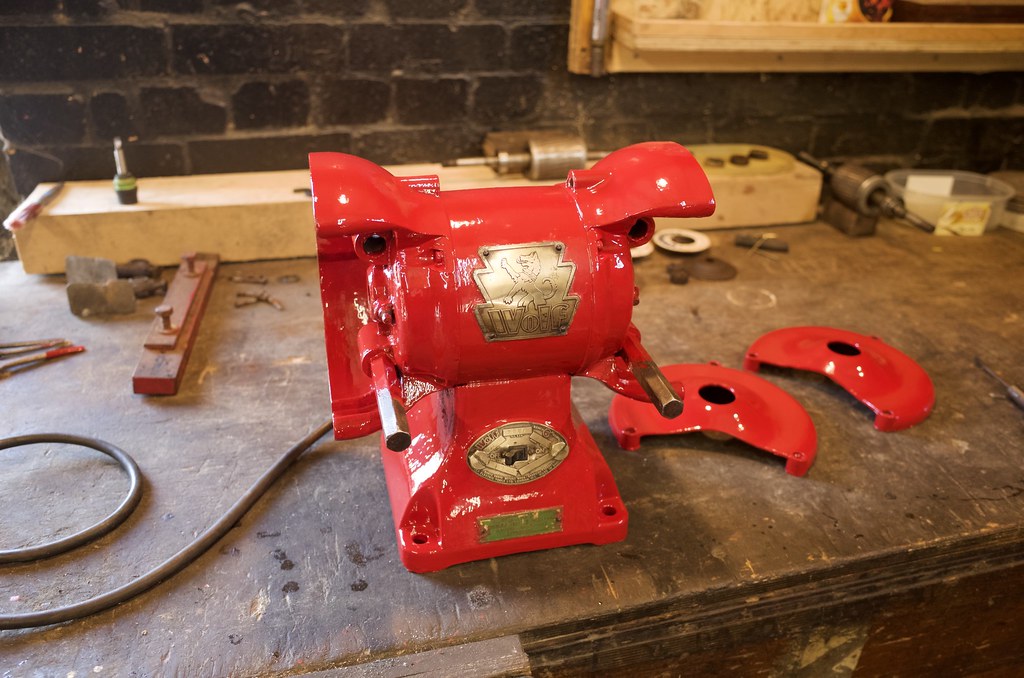
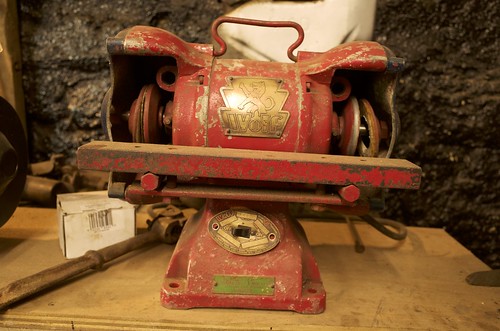
I have been intending to give this grinder a full aesthetic make over for a while, just because of how good it will look with fresh paint and a polish name plate. (only have picture of it from just before i started using it, only difference is the switch has been fixed and wheels).
 Untitled by Rhyolith, on Flickr
I have been using it for a few months and have had issues with vibration, its not awful but enough for me to want to fix it. Bit of investigating (mainly testing wheels on my hand powered grinder) revealed the worst of it was from the cheapo silver line wheels I was foolishly using, one of them was notably off centre :shock: They should not be aloud to sell these as thats actually dangerous in my opinion... always trust the 1950s machine over the modern disposables! Will be getting some better wheels in due course.
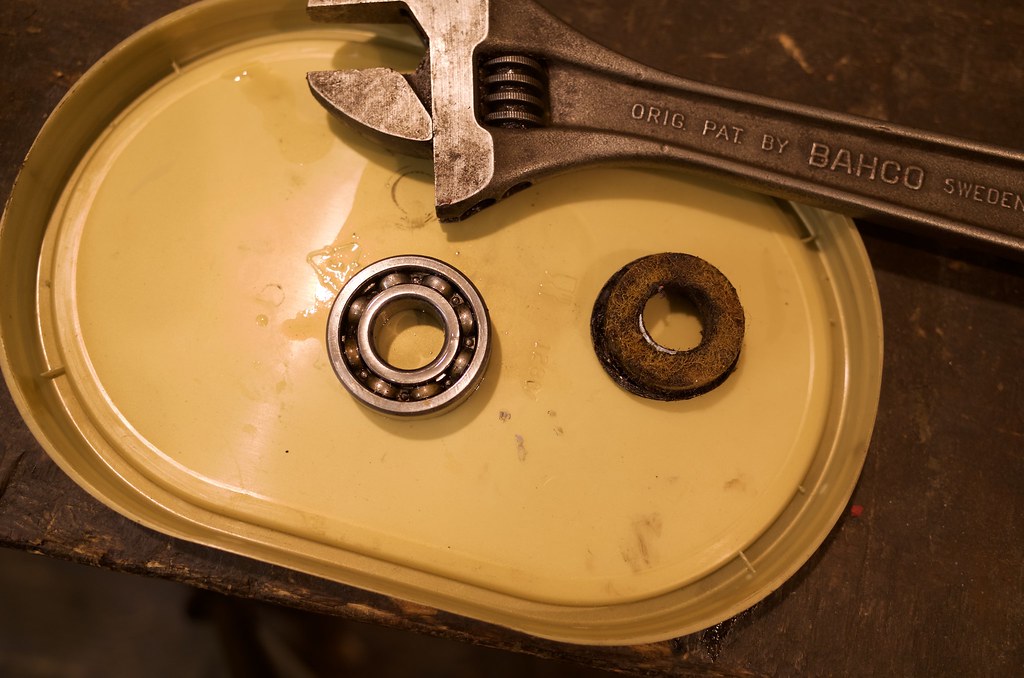
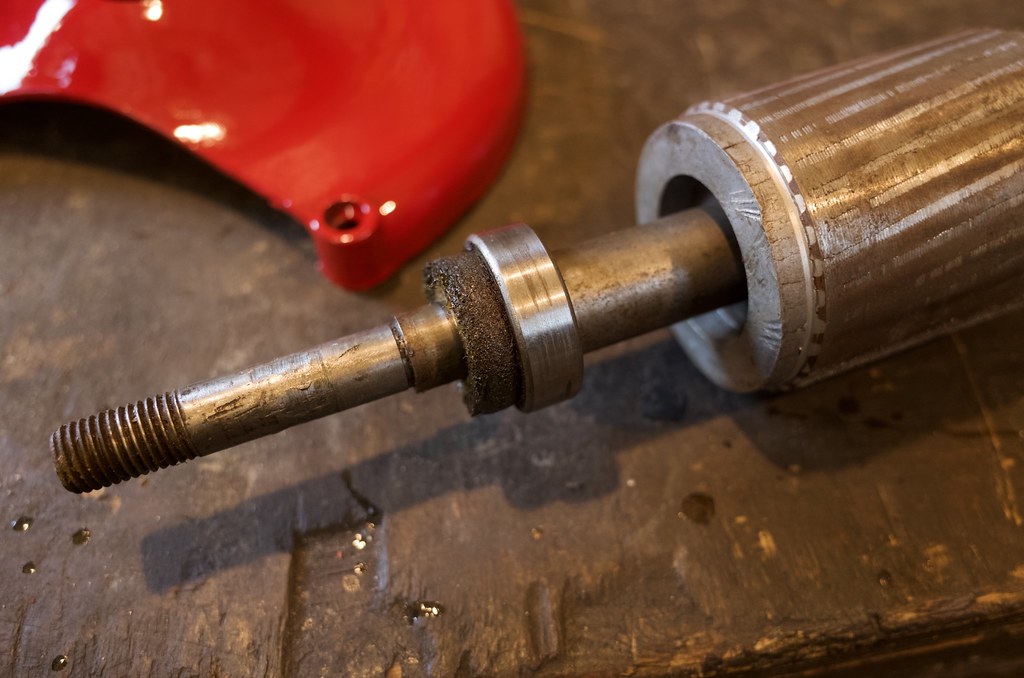
A bit of testing with a very long flat screwdriver as a lever to exaggerated the up down movement of the spindle did reveal a slight wander on one side. I have managed to improve it with some carful bending with a bug spanner, but unsurprisingly getting it perfect is proving very difficult.
This is already a frankingrinder of two identical broken/imcomplete machines. So I have dug out the other one again and it looks like its spindle is perfect.
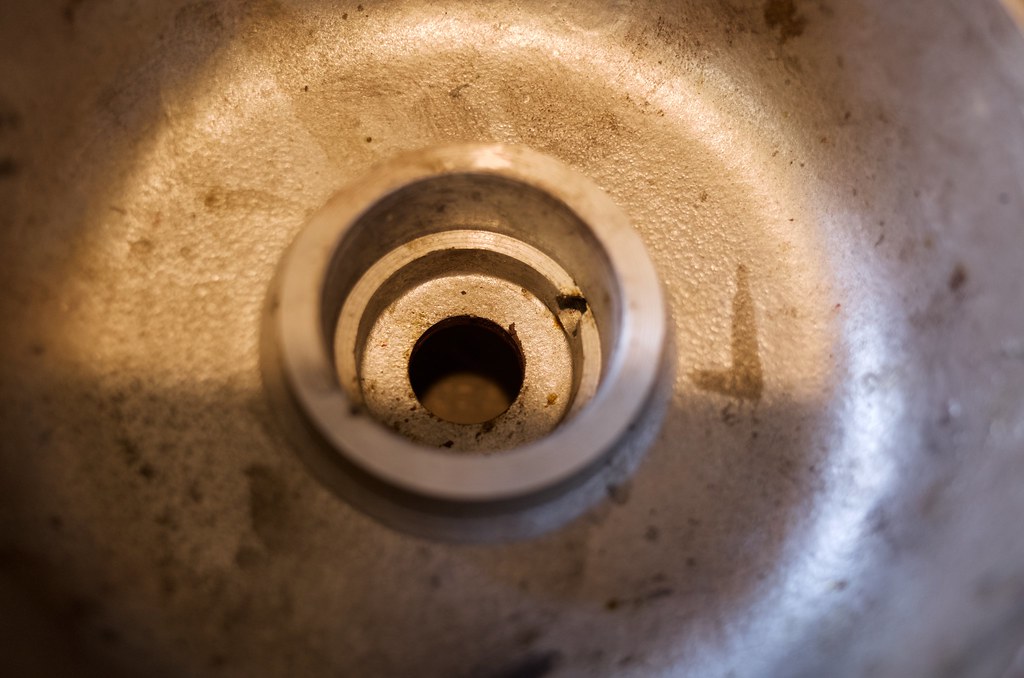
 Motor Dismantling by Rhyolith, on Flickr
I can't see any reason not to try and install this one in the other.
Are there any electrical reasons this won't work?
(A lot rambling, sorry! theres one important question at the bottom.)
I have been intending to give this grinder a full aesthetic make over for a while, just because of how good it will look with fresh paint and a polish name plate. (only have picture of it from just before i started using it, only difference is the switch has been fixed and wheels).
Untitled by Rhyolith, on FlickrI have been using it for a few months and have had issues with vibration, its not awful but enough for me to want to fix it. Bit of investigating (mainly testing wheels on my hand powered grinder) revealed the worst of it was from the cheapo silver line wheels I was foolishly using, one of them was notably off centre :shock: They should not be aloud to sell these as thats actually dangerous in my opinion... always trust the 1950s machine over the modern disposables! Will be getting some better wheels in due course.
A bit of testing with a very long flat screwdriver as a lever to exaggerated the up down movement of the spindle did reveal a slight wander on one side. I have managed to improve it with some carful bending with a bug spanner, but unsurprisingly getting it perfect is proving very difficult.
This is already a frankingrinder of two identical broken/imcomplete machines. So I have dug out the other one again and it looks like its spindle is perfect.
Motor Dismantling by Rhyolith, on FlickrI can't see any reason not to try and install this one in the other.
Are there any electrical reasons this won't work?
")