workshop build
- Thread starter pitch pine
- Start date


pitch pine":2om765t4 said:
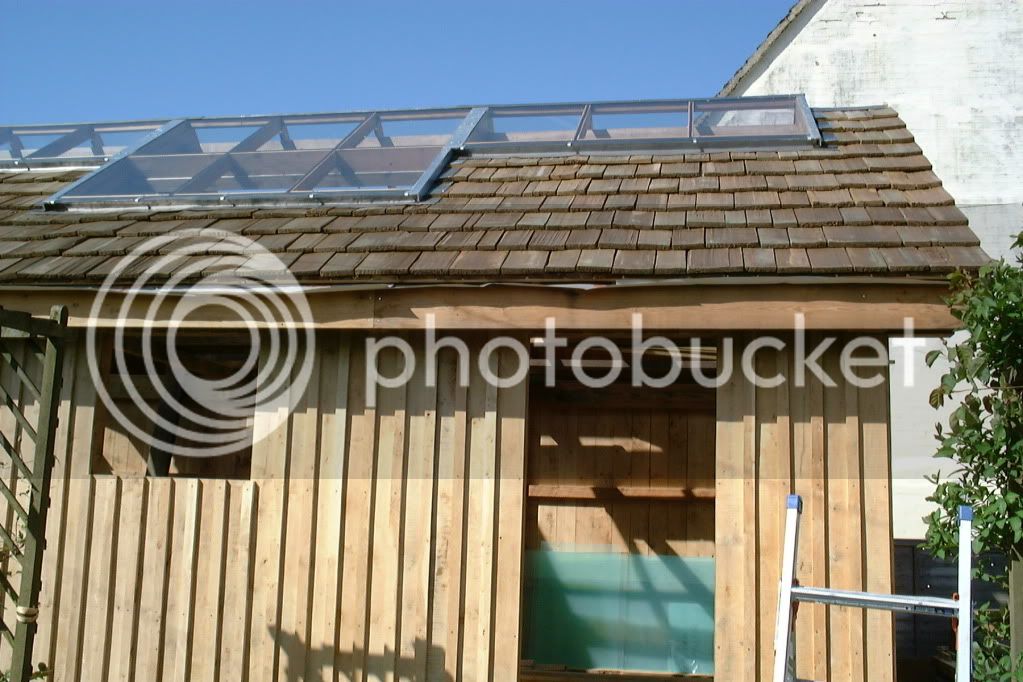
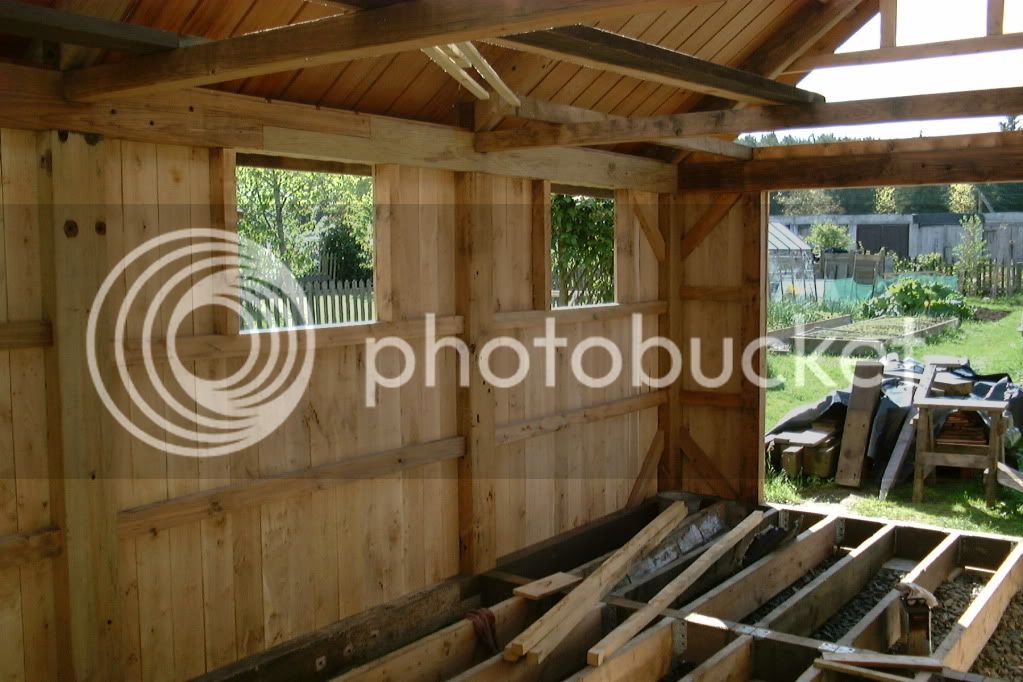
You can see the scarf joint in the wall plate above the window. No fancy joinery here, held with stainless studding. There is also a scarf in the sill beam below the post between the windows.[/u]
Enter your email address to join: