johnf
Established Member
Hi did you get planing permission for this grand design


")
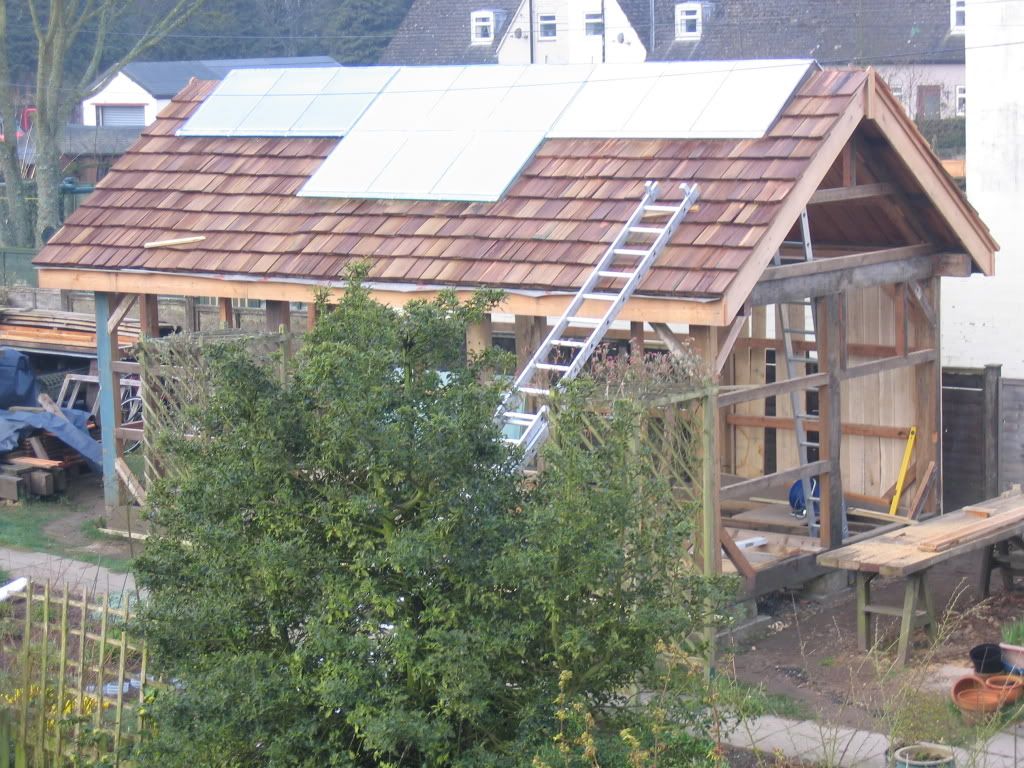
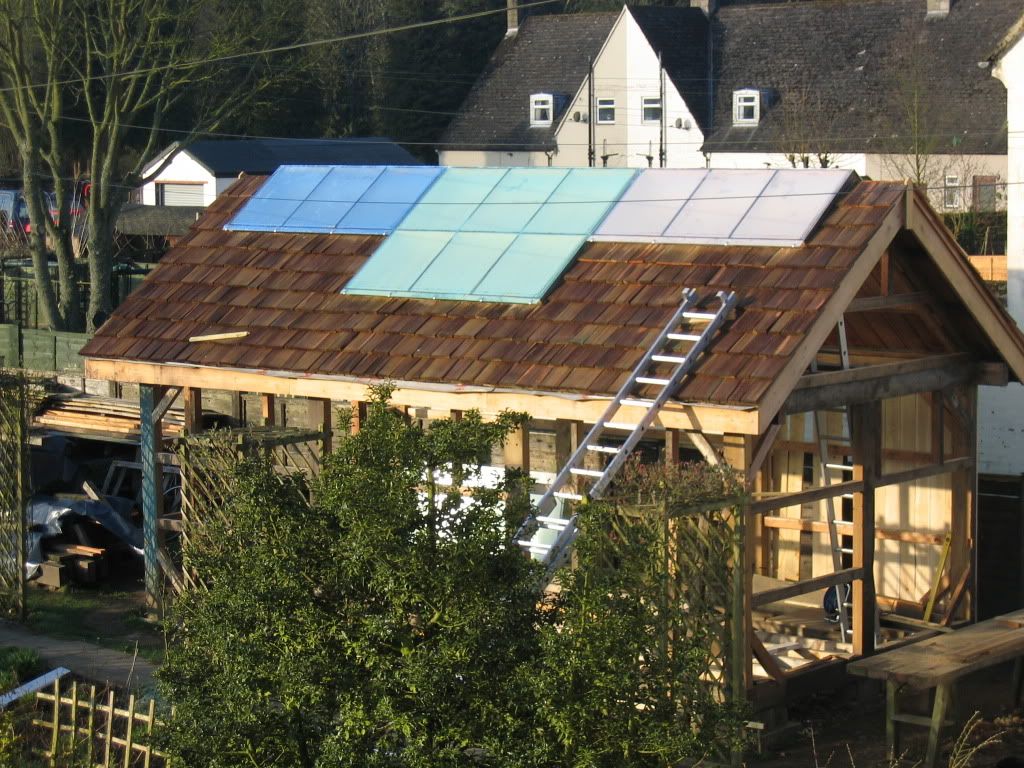
head clansman":2hq149w3 said:Mike when the ridge capping is fitted the spacing is fine.
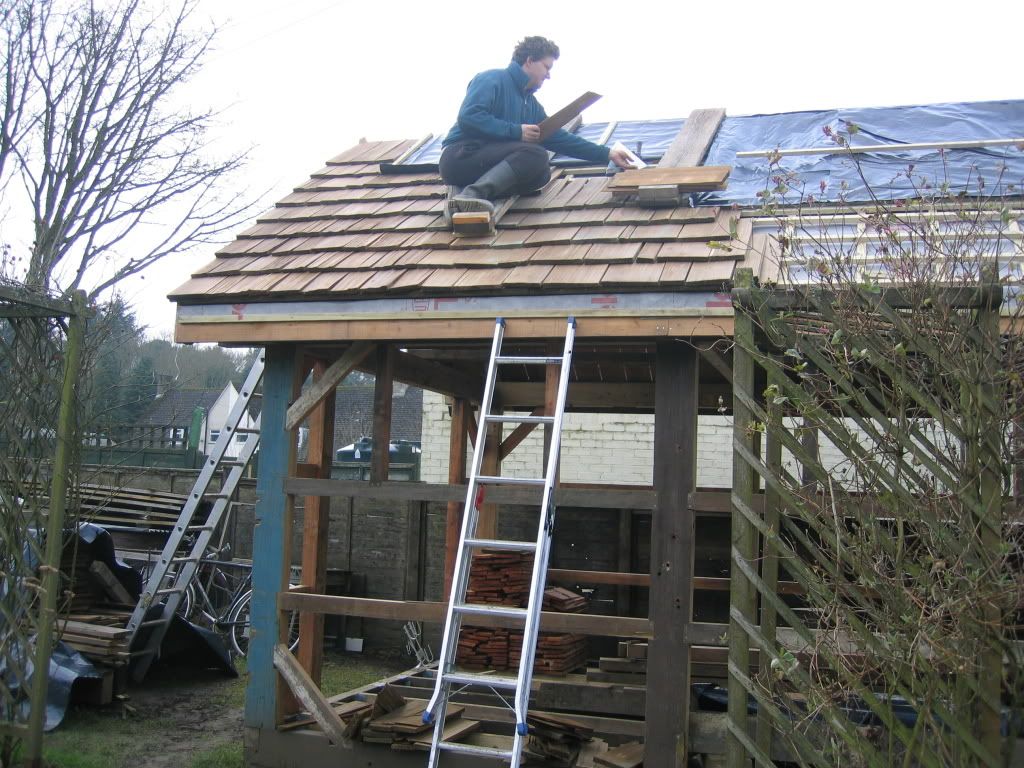
hcpitch pine":2bkgt5js said:Didn't know about starting from the bottom right hand corner when roofing...
crazylilting":39a7yeg1 said:What if your left handed?
Enter your email address to join: