Wall Tool Chest (potential WIP)

UKworkshop.co.uk

Help Support UKworkshop.co.uk:

This site may earn a commission from merchant affiliate links, including eBay, Amazon, and others.
I am not sure whether to cut a jig out and run a router to remove the bulk. Or use a drill press to remove the middle dimple. I know i will do the last few millimetres with chisel and a knife line but it feels very risky.
Owen
 
That's why I'd do a rehearsal or two - try out one method and if it's not good enough, try another. My first thought would be to use a gouge to carve out the dimple to match the plasticine cast, then set the pull in place and knife around it, and excavate for the back plate with a little Stanley 271 - but I'm not a fan of using electric routers for this sort of thing; others are.

(And this is only from thinking about it - not direct experience!)
 
seem to remember last time i fitted something like those pulls i used either a forstner bit or possibly a kitchen hinge cutter. obviously dependant on sizes .
hth
all the best
rob
 
Its been a while a since I last updated and things have taken a little hiatus. I was making steady progress when i got an ear infection, dind't think too much of it. However I soon woke up deaf, dizzy and with nausea. Couldnt walk 20ft without falling over. Then just as that started to clear up I have now got bells palsy so half my face is paralysed. Brilliant! I am only 36 I am falling to pieces. Its been a bit of a knock.
On the bright side my daughter was one today.
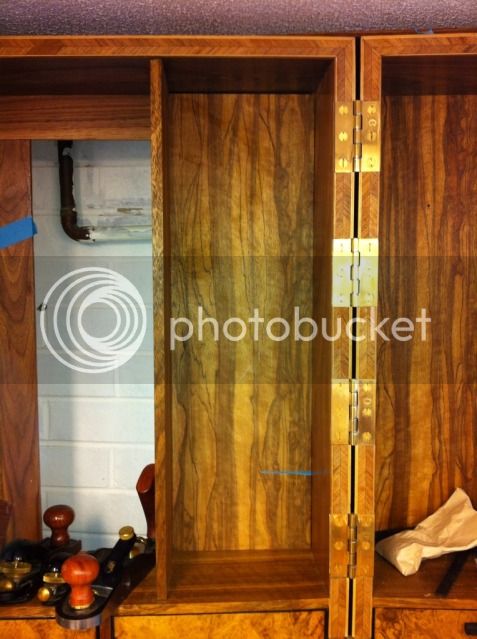
Anyway back to the chest :?

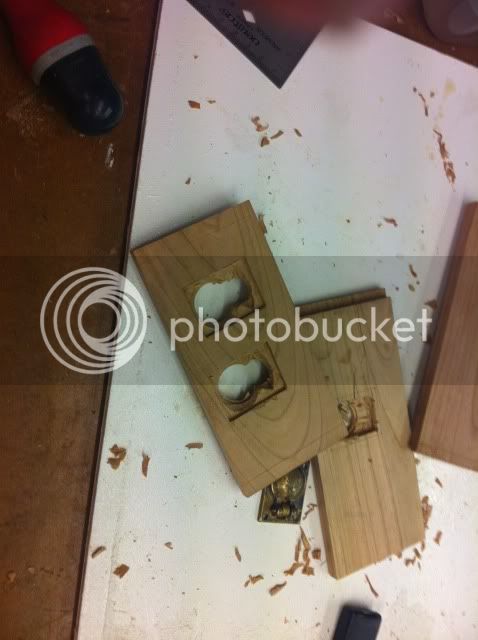
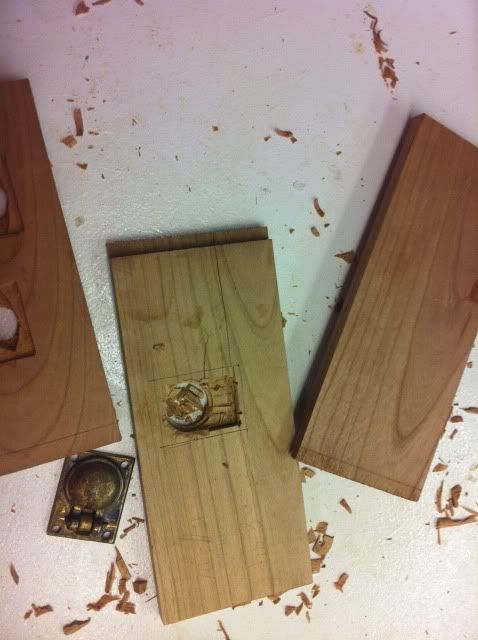
I tried out some sample insetting of the pulls into the drawer fronts and nothing would make a satisfactory fit without major problems so I scapped this plan.
IMG_0709.jpg

IMG_0710.jpg


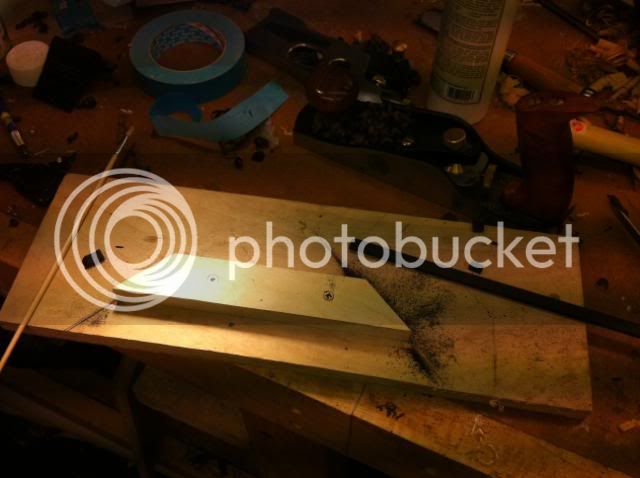
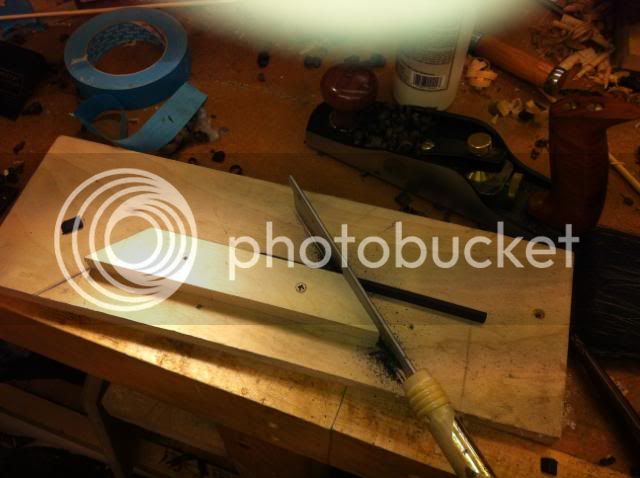
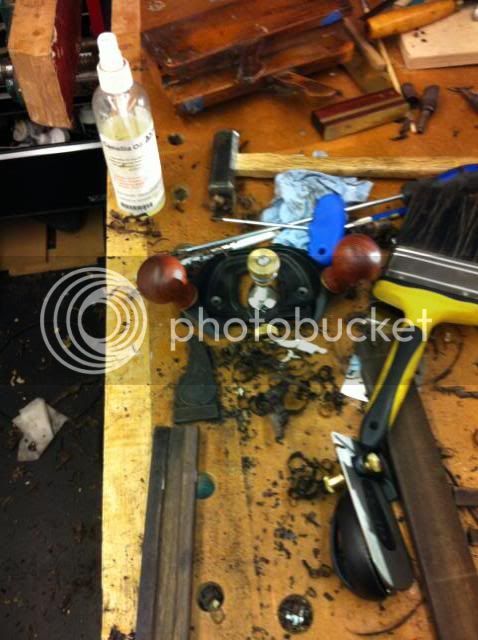
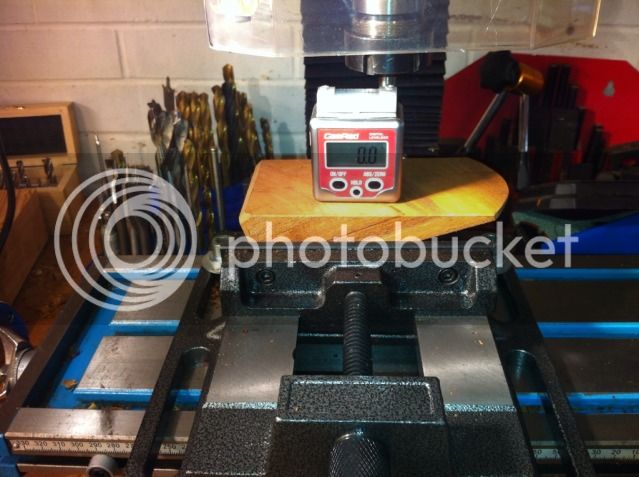
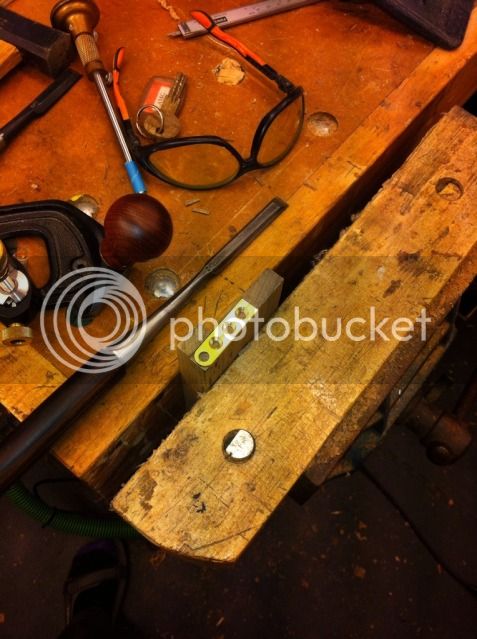
I then decided to rethink my options and decided to resort to a simple pull. I worked out that i could have a 10mm pull if i offset the handles on each side of the chest leaves. I went for simple and as I can't turn i decied for a profiled pull. I used the domino to slot out the pull locations. 5mm slot cut. easy!
IMG_0723.jpg

IMG_0722.jpg

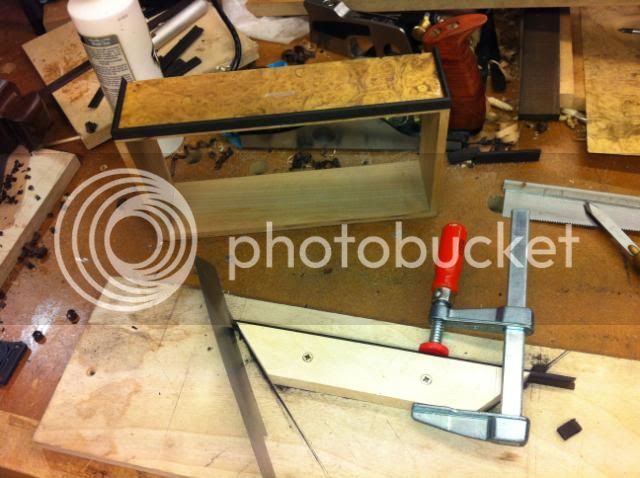
I then routed out the slots in the drawer fronts for the cock bead. I found this very stressful as i tore out the veneer and as a result had to knife out all the grooves first to avoid splitting. I then worked back with a shoulder plane to get a clean edge. At this point the dovetails were largely obscured and I must be honest I am not sure it was worth the effort as I could have jointed them more easlily without the pain. I trimmed off the waste with a saw to sped things up!
IMG_0724.jpg

IMG_0725.jpg

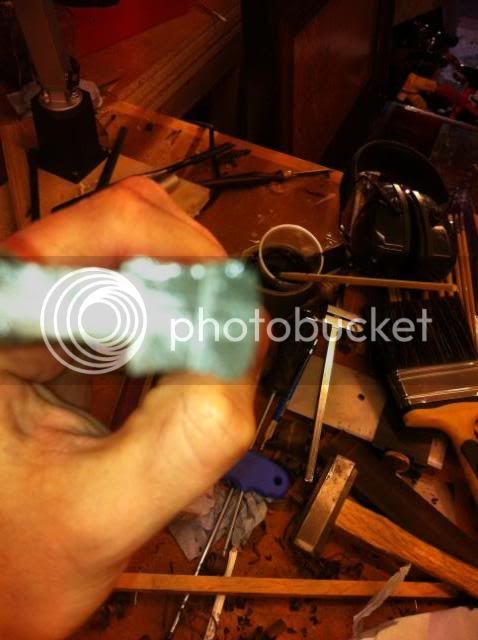
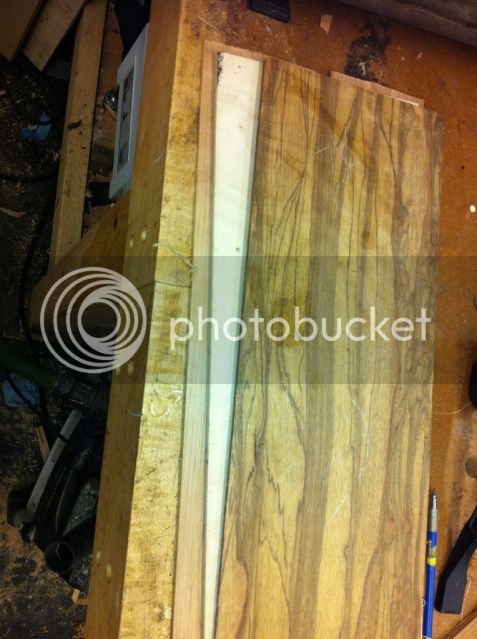
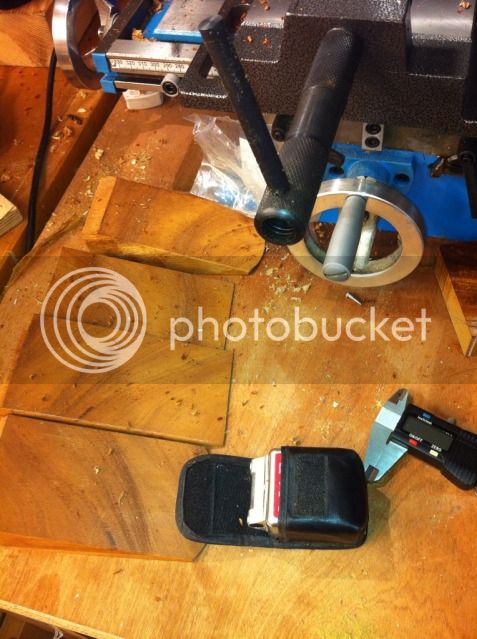
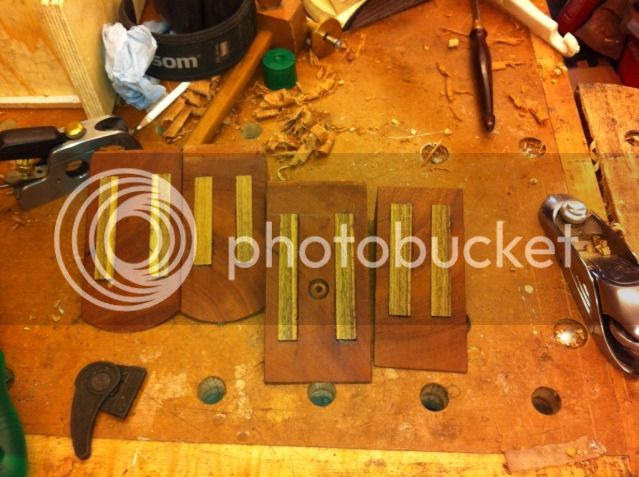
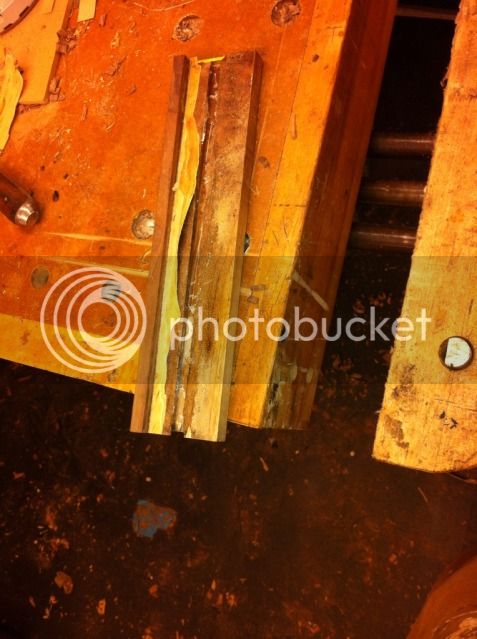
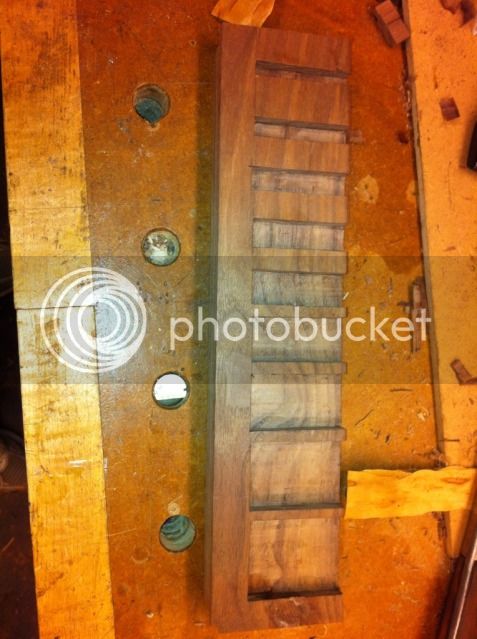
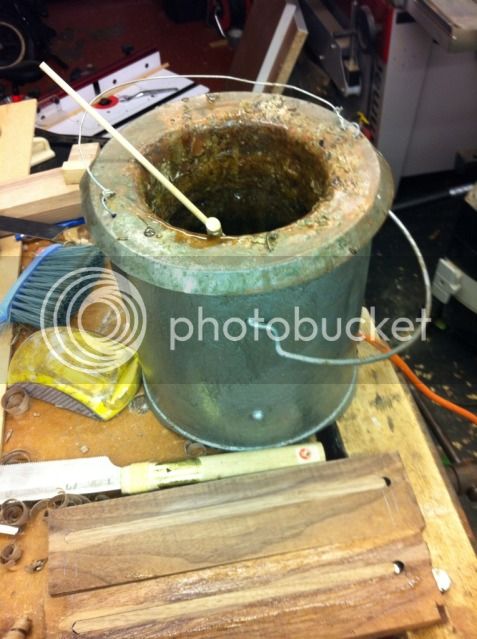
I then got to work with the ebony strips. They were variable shade of blacks so I have tinted them all. But they were a cheap ebony turning blank and some old strips that i had so i can't complain. I created a thicknessing jig by routing out a groove to plane the bandsawn strips to the right thickness (packed out with tape). I also created some narrow strips to hold the strips upright when i planed then down in th width. I then uses a cabinet scraper with a hole shape out witha drill bit and file to create the simple bead profile. Simple and effective.
IMG_0732.jpg

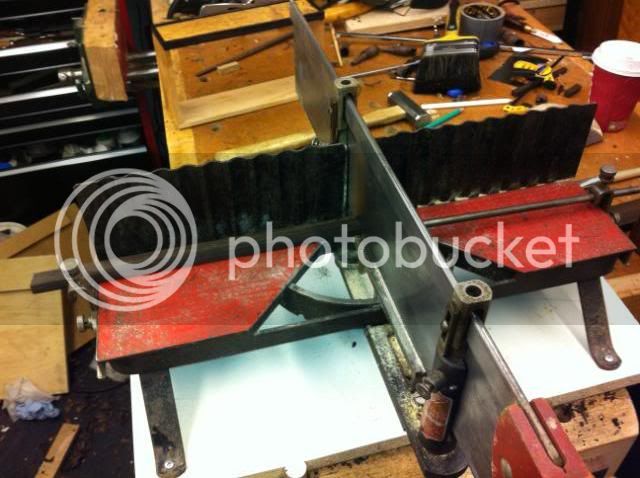
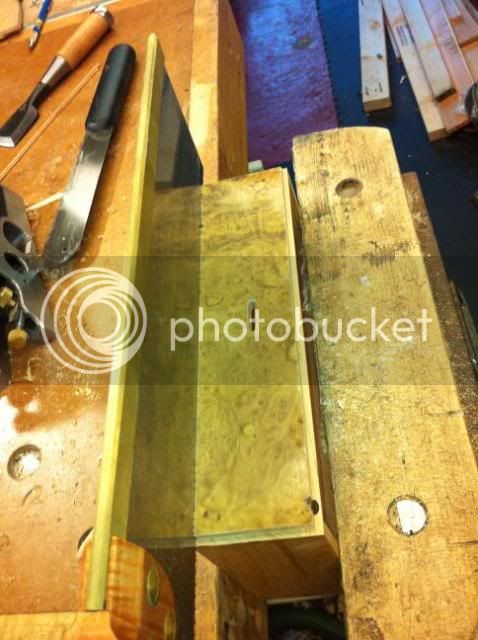
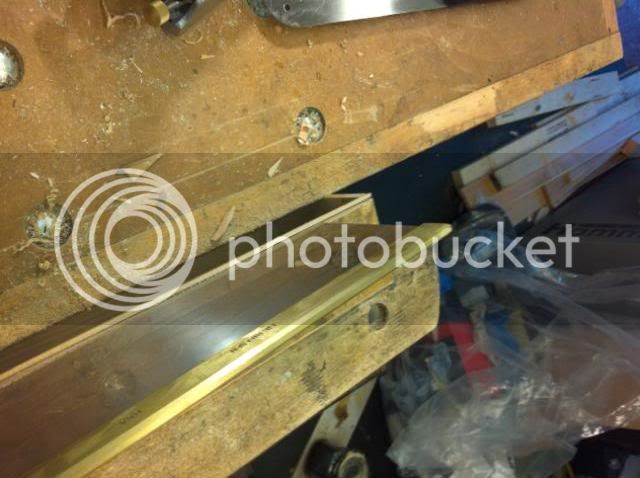
I then made a mitre jig which is a simple bit of ply. This allowed me to use my pull saw and my chisels. It worked very well and i would have liked to use the narrow edge on the back of the chisel but japanese chisels preclude this.
I was left with a somex comple mitres for the top piece of beading but they turned out ok and perfection can be next time. :lol:
IMG_0731.jpg

IMG_0733.jpg

IMG_0736.jpg

IMG_0734.jpg

IMG_0737.jpg

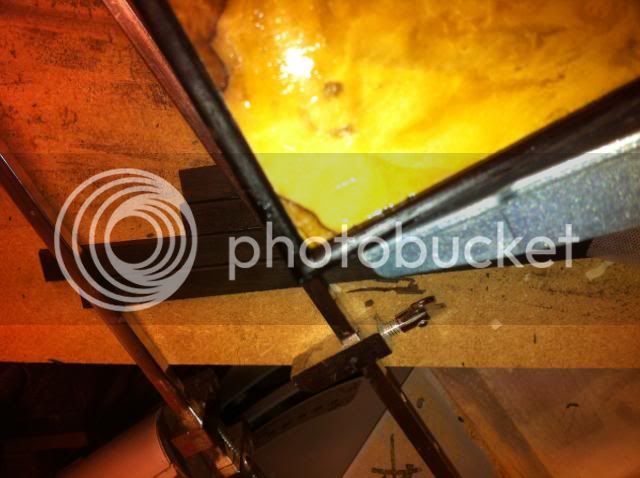
All the beads were stuck on with hide glue which was handy I needed to reverse a few bits later on. I started on trim glue by titebond but we didn't get on.
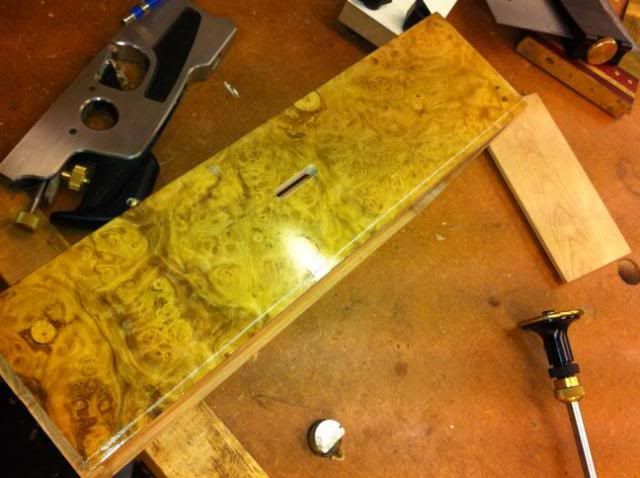
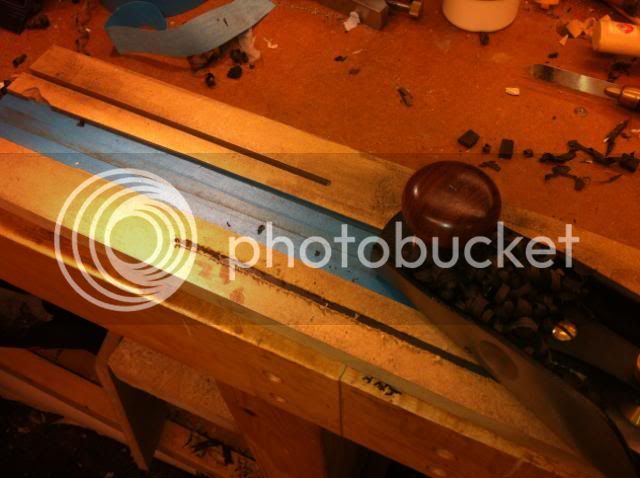
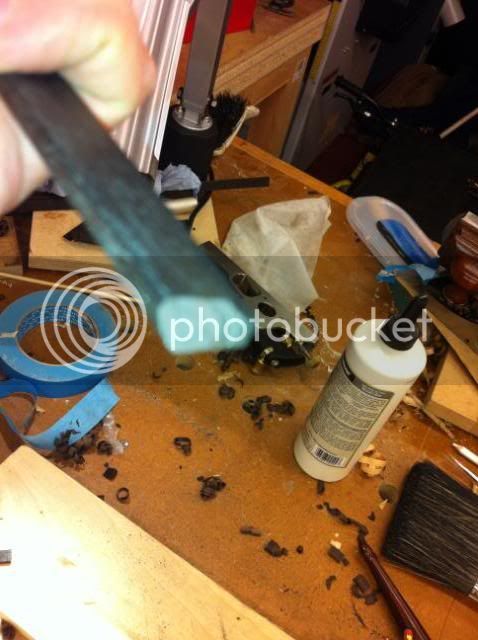
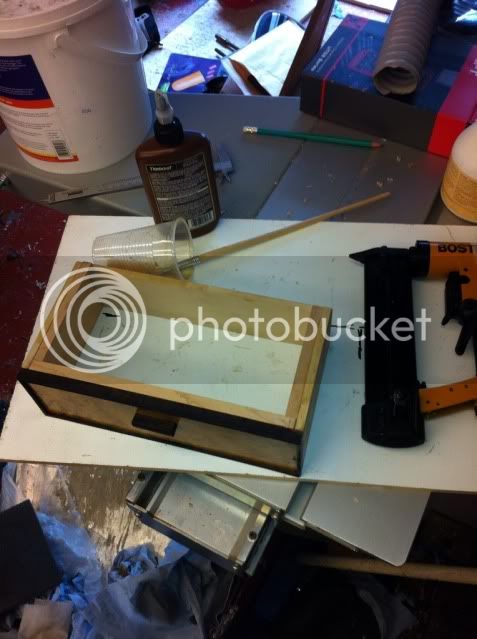
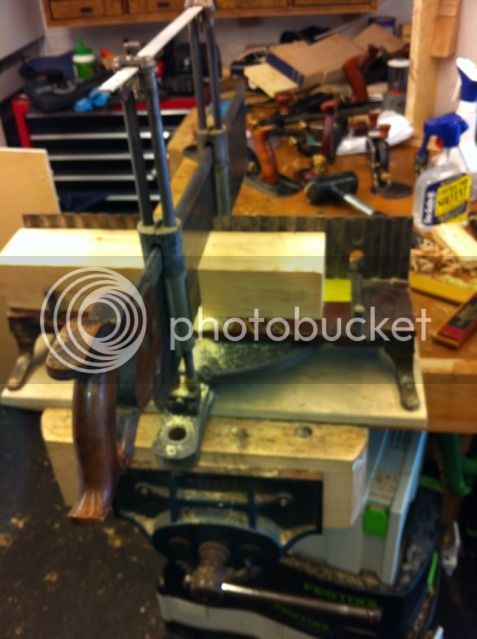
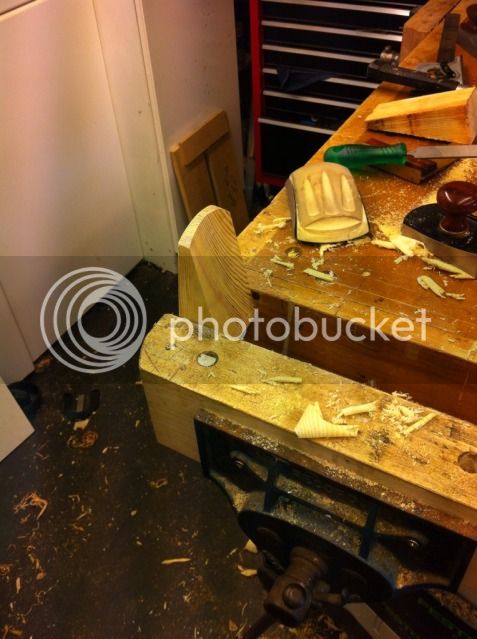
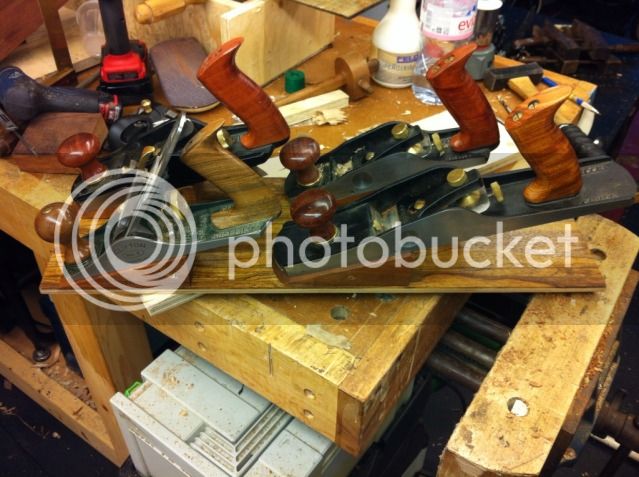
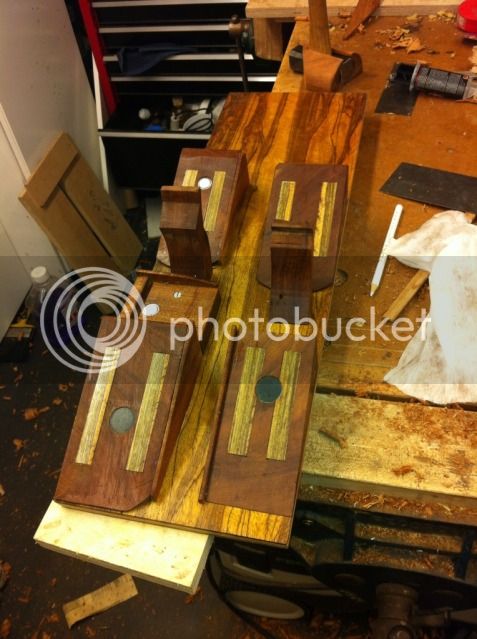
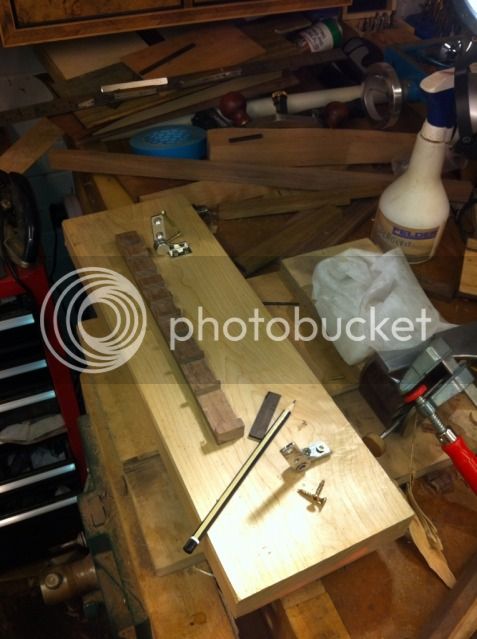
Finally I started making the handles. i routed out the srips with a plough plane (a record 50c, not sure if i had all that set up right) and then tweaked with the lovely veritas router plane and side rebate planes. I then profiled them with old moulding planes. Which are brilliant for thsi sort of thing. Chopped to length with the mitre saw, old style. Excuse the mess i was on a mission to get it done.

IMG_0741.jpg

IMG_0743.jpg

IMG_0744.jpg

IMG_0745.jpg
 
After a slightly less than great week I managed to get a few hours in the garage and moved things on a bit. I got the handles fixed in and planed the dawers to a reasonable fit. I will final tweak them in a couple of days.
I then made up some drawers slips from some scrap maple and glued and pined them in place.
Next step cut the ply for the bottom, fit some stops and then on to the complex bit. Bit sick of the time spent on them :?
da1bc9c7.jpg

6331c323.jpg


Rough shot of them in place. I think they will be servicable with some wax and a buff!
6ecdcb02.jpg
 
There's such a lot here. An amazing cabinet, tools to drool over. Some very neat processes... and a few tricks (I like Andy's plasticine one, for example).
I feel it was bold to split the halves with the Tsaw (not even half as bold as contemplating a handsaw though). I have seen it done with a bandsaw which can offer a far thinner kerf. The tablesaw will be easier but I felt it a shame you might have lost almost 3mm of matched stock in the process. Still amazing though - a piece of very fine furniture that any home would be embarrassed to accommodate, let alone a workshop.
Well done for making it, but then taking so many pics along the way. A versatile achievement indeed.
 
Cheers, I feel i have started on a monster and I need to keep the motivation going. I have a plan for the inside in my mind and i think its going to be fun and games. I realised when i did the drawers that i had only done the simple bits so far. :shock:
Owen
 
I've not had a look in the projects section for a while so it was a pleasure to come across this build. It's clearly been a lot of work but I think the end result is more than worth it.
 
I dont know what to say, this quality of craftmanship makes any comment I could make superfluous. What makes it worse is I am in the process of making a wall tool box myself which is about 75% complete. I have taken a few pic's with the intention of putting them on a post and then, see this marvellous piece of work, nay art, against my ulitarian effort (I did use an nice piece of oak thoough) posting.php?mode=reply&f=15&t=58767#
 
I think my photographs are hiding the mistakes well. :oops:
Get the pictures up! the work that people produce is on the whole what interest me most. I have nothing but respect for what other people do and as such i find it hard to see anything negative in others effort. I think if you make the effort to produce something of your own when we live in a world thats easier (and often cheaper) to buy something then respect is due.
I think tool boxes etc are a form of art in themselves regardless of their complexity.
Owen
 
After an olympic sized break I have been back on with the project. First steps were veneering the back panel for the 1st tool bank.
veneers
5FD986C3-4D63-4C53-921B-70FD450B79BB-314-000000235F39788D.jpg

glued and in the bag etc
B61EACDB-C6D2-48AD-B6E6-CC8F5EACA8B9-314-0000002377E27191.jpg

B7948DFC-1FB2-4B8F-ACC2-63137EB60E4C-314-00000023656999F7.jpg

cut to size and rough fitting
00505760-D4E7-4FEE-9BB6-84525D017DB9-314-00000023483925F2.jpg

I then built a box the same size to try out a few layouts.
07EBD345-1E44-45FE-A06D-D0D581CA962D-314-0000002359F6D1FD.jpg

cut some wedges on the mitre saw as a test.
C0B589CB-3892-4347-B25D-0B1DE3C92025-314-000000233D7B2A03.jpg

Using a combination of wedges and magnets we have some holders
7DD852A9-F3F4-47A8-8A1B-AE3FDC35F331-314-0000002354A97699.jpg

I then made some nicer wedges out of some browny mahogany type wood, unknown. These were matched to width for the planes.
84082058-D772-4D93-847B-9B943C525088-314-0000002330C2132C.jpg

0AC79008-9FAD-49E7-9A9D-7AFEB99554E5-314-000000232790F813.jpg
 
Leveled the wedges off in the drillpress with the digital protractor and cut out some strips for the greenheart (thanks for the id folks) wear strips and holes drilled for the magnets. I held them in place with the lee valley magnet holders which are great.
07D773F6-9219-47DA-9F28-6EC574B94DA8-314-0000002342488E0C.jpg

DBEA635D-08E4-443A-9F84-609D3421B47F-314-0000002308E6DAF6.jpg

mock up
CD912B80-C78A-4755-8AE3-05023CB97B3C-314-000000231E76D823.jpg

68E95331-B70E-4F7E-90F8-CB16E6E42D7A-314-0000002316914918.jpg

I was going to screw in the wedges but changed my mind. Then I found the magnets were not quite holding the slipping so I spend a lot of time fiddling with shapes involving the rasps and bandsaw to make some holders.
006D1F50-C1E3-46CC-8044-27C916215E1F-314-00000022DF4CCEC2.jpg

So far some planes fitted and hammer.
34E8D113-EE80-46DE-BA03-4CEB62714FBD-314-00000022EA615BA4.jpg

close up of screwdriver hidden
AA7F1FCE-7C45-495A-98E4-A5D9FEE0EDD9-314-00000022D72151C0.jpg

E774414E-F75A-41C9-90F4-1EAC8E586F29-314-00000022F3560E45.jpg

so far i have fitted three planes, hammers, a screwdriver and bits, side rebate plane. Next job will be the block planes, one more plane and some pincers.
When i started with this i had visions of a studley level of ingenuity however reality has sunk in and it is very difficult to easily build something in 3d and have all bits accessable. I have already had to move and adjust things due to collisions. I have screwed things in so at a later date I can upgrade the fittings. In adition I have accepted that some items will have to be pulled out to get to others but i have applied logic. I have placed the pincers behind the hammer, chances are if i have miss nailed something i will need pincers, therefore the hammer will apready be out.
The side rebate is hard to access but i rarely use it. The main planes can be accessed without difficulty.
I think I have wasted about 10hours on duff layouts just for these few items. Hope you are enjying the snail like progress.
owen
 
Slow is my middle name so I wouldnt worry about your progress. I like the offset handles on the drawers, makes you realise how tight everything is/will be. You are quite correct about storing things in a compact space v's actually using them, a difficult task indeed. I have been considering a swing out saw till and chisel rack for my own future chest (ie probably never :lol: ) to give compact storage but allow access, having lighter tools/objects on moveable sections should put less stress on the hinged parts.
 
Interesting. I have plan for a tilting chisel rack and was considering how to approach the saws or even to fit them in. I would be interested in other ideas as their is less out there on the web to copy or get inspired from than you think. I guess not everybody is willing to waste this much time :lol:
owen
 
The only other thing that had come to mind is some variation of the moveable tills in the tool chests that Chris Schwarz is popularising, having three verticle 'drawers' that can be pulled out one at a time - each drawer (more like a rack ) having small/medium sized tools mounted on it (possably on both sides). This would allow tools to be crammed into a small space but with good visability and accessability once the drawer/rack is pulled out (on full extension runners).

Anyways enough rubbish from me.
 
After a brief pause due to work and a quick table the wife made me knock out
E84FC8ED-587D-4E57-8606-73F412555CDE-510-0000006DC997FE9D.jpg

I have got back to my tool chest. After much pondering I decided to make a tilting chisel rack to allow easy access to stuff behind and ease of use.
I wanted to see the chisel blades and have them held firm so i decided to make use of some rare earth magnets.
I started by hammer veneering a back panel.
8FF489E8-C71A-4EB9-BF80-A05B40F30DF9-1796-000002685F44FC4D.jpg

C541C2C6-C330-4E1D-959A-F4E64956AF15-1796-000002685924E650.jpg

I then made some racks to mount the chisels in
D23FE62C-7BF0-45B1-B73C-A02F1114DC8D-1796-0000026853BF1B3D.jpg

Fitted the knife hinge
56368D41-AA17-4373-9422-C4FE102647CA-1796-000002684570B172.jpg

made a seperator for the chisels.
81216FF6-4272-438D-8650-DA1BD94AA224-1796-00000268248FF24E.jpg

then I inserted magnets and glued it together. I then realised this was rubbish and was never going to work!! The rack flopped forward at a silly pace it was wobbly and rubbish. :oops:
9499F40F-1E4B-450C-B46F-FF84A6714C5F-1796-0000026816CFD864.jpg

8 hours down the drain.
I rethought the options and decided that the rack was ok, but the hinge needed friction. I then did some research on torsion hinges and decided on some by sugasune. Very stiff but allowed positioning of the rack as needed with the chisels in. I then routed out the chisel partions, routed out the magnet strip, fitted a strip to hold the magnets, glued the rack back together. Routed the torsion hinges. and fitted them.
I then felt the hinge would exert too much pressure on the wood so i tapped out some aluminium strips to fit the hinge through too to allow the pressure to be spread.
1872D3B9-C539-4355-9435-7EDE1195ED78-1796-000002681D823392.jpg

9452891E-EB2C-49C6-89E4-98FA0E8EE014-1796-0000026829DDFD47.jpg

769126AB-24D4-409A-94A9-5671408DB565-1796-0000026810B2D4C5.jpg

184764CC-4A30-42D2-B8DE-761B4C44D0E9-1796-00000268091A01CA.jpg

I then decorated the retaining strip with some veneer and fitted two racks of chisel.
7572E4F3-D550-41AC-8942-87163EA3CC9D-1796-00000267F256F90F.jpg

181F5617-4F68-4882-85AE-FD6382085D03-1796-00000267FAD77FE4.jpg

Clearly I have missed a few photos but I hope you get the idea. It seems to work well
I have left enough space for a set of rasps and misc tools and the back panel will house my big rasps and paring chisels. To follow soon. Any comments welcome!
Owen
 
I have only just worked out what you meant. :lol:
My wife is the fishkeeper, we used to have seahorse but we now have a few shrimps and some clown fishes and a couple of snails. Since having two kids it seems a bit harder to find the time.
Owen
 
Corset":ude5t95s said:
I have only just worked out what you meant. :lol:
My wife is the fishkeeper, we used to have seahorse but we now have a few shrimps and some clown fishes and a couple of snails. Since having two kids it seems a bit harder to find the time.
Owen

:D

Very true, had to give up on mine.


Chisel rack turned out ok in the end.
 

Latest posts

Back
Top