The UKW Infill Project

UKworkshop.co.uk

Help Support UKworkshop.co.uk:

This site may earn a commission from merchant affiliate links, including eBay, Amazon, and others.
Hi Pete....

Finally finished the iron to send to you for hardening...

20140725_214756.jpg


As requested...I've left between 0.5mm and 1.0mm on the leading edge.

20140725_214923-1.jpg


Cheers mate

Jimi
 
Before I head off to this morning's bootfair...a quick question for an impending job.

Before I file the heads off of the infill screws...what to people think about peining the heads down into the countersinks or just grinding them straight off?

Any experience with this final act?

Jimi
 
Hi Jimi

I didn't pein the screws on my scraper plane and it turned out ok.
It the countersink angle matches the screw head it shouldn't matter.

Can't wait for the blade.

Pete
 
There's a feature in the latest F&C about Norris Planes - some of the early ones had all the screw heads and grooves showing.

Rod
 
Ha! You guys are so kind! Huge exaggerations but kind, none-the-less!! :mrgreen:

Over the last few nights I have been having nightmares about how to make the bolts for the lever cap! This is one thing that really worried me because I had never made a bolt before and I spent all this time working out how to do it.

In the end..it turned out fairly easy...

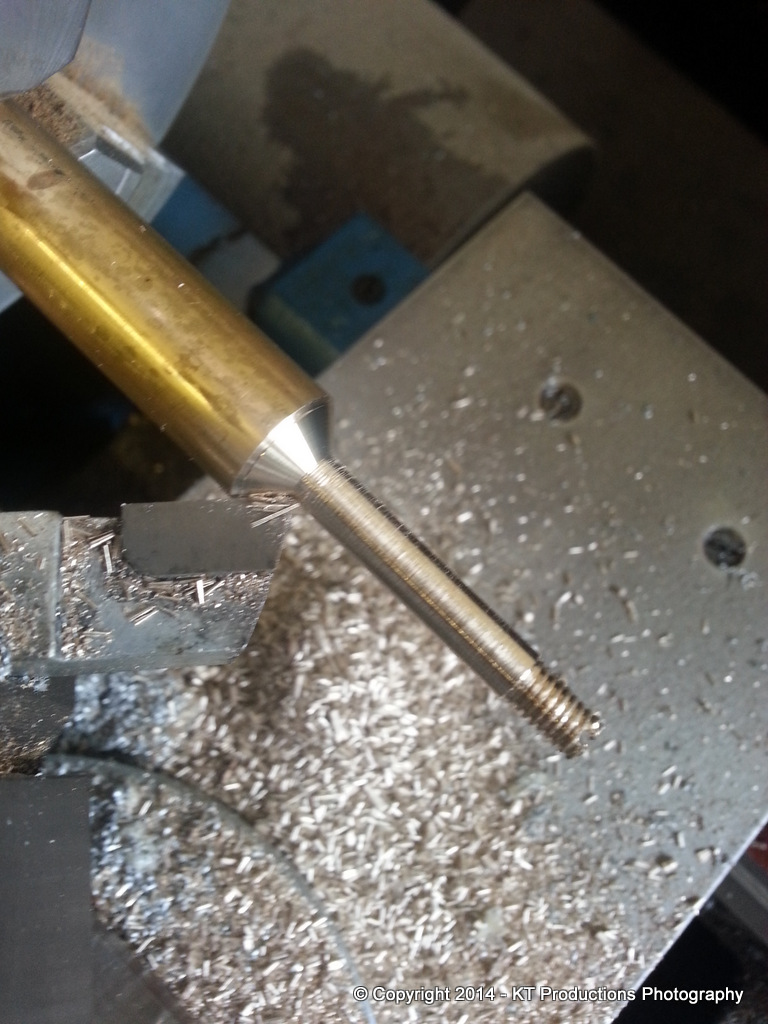
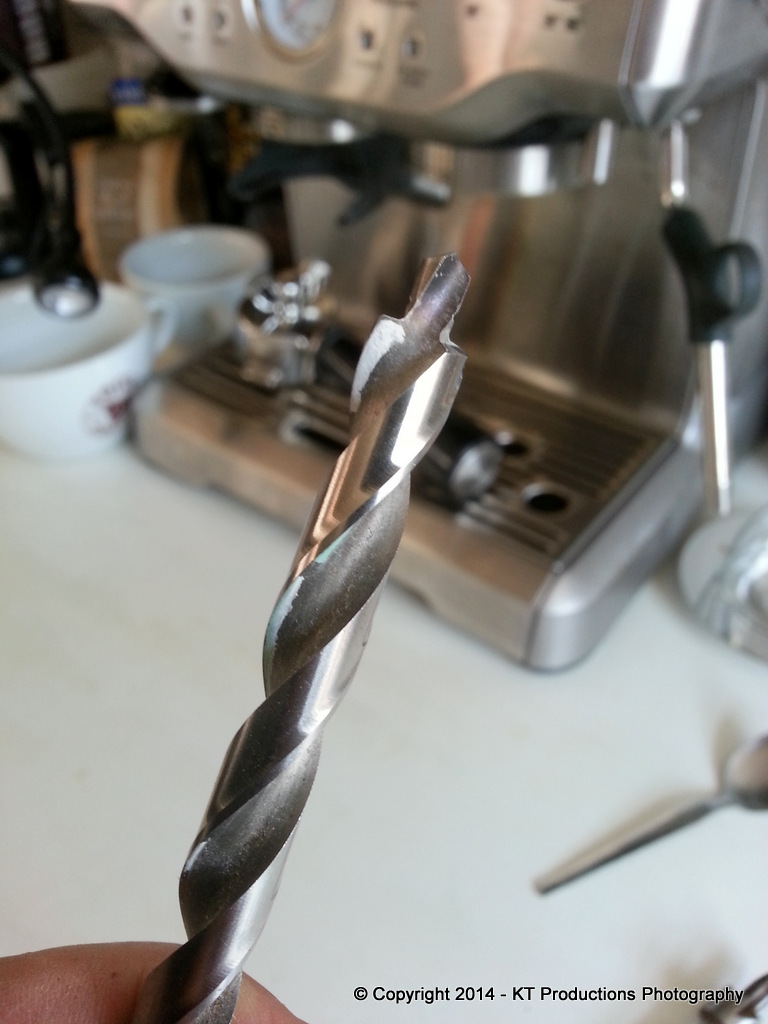
First...round bar just a bit bigger than the biggest part of the head...

20140728_155531.jpg


But setting the edge of the cutting tool at precisely the correct angle for the countersink...I could cut back the stock to way over the required length and create the correct countersink shoulder at the same time.

Note...here I have tested the diameter of the stock at the very end first so I know how far to go for the right thread diameter...or so I thought!

Unfortunately...I measured an M6 bolt when in fact...I was supposed to be making an M5 bolt! (homer)

Now...this sort of error I can cope with...although it was not ideal...but taking more off when you realise is easier than putting it back on again!!

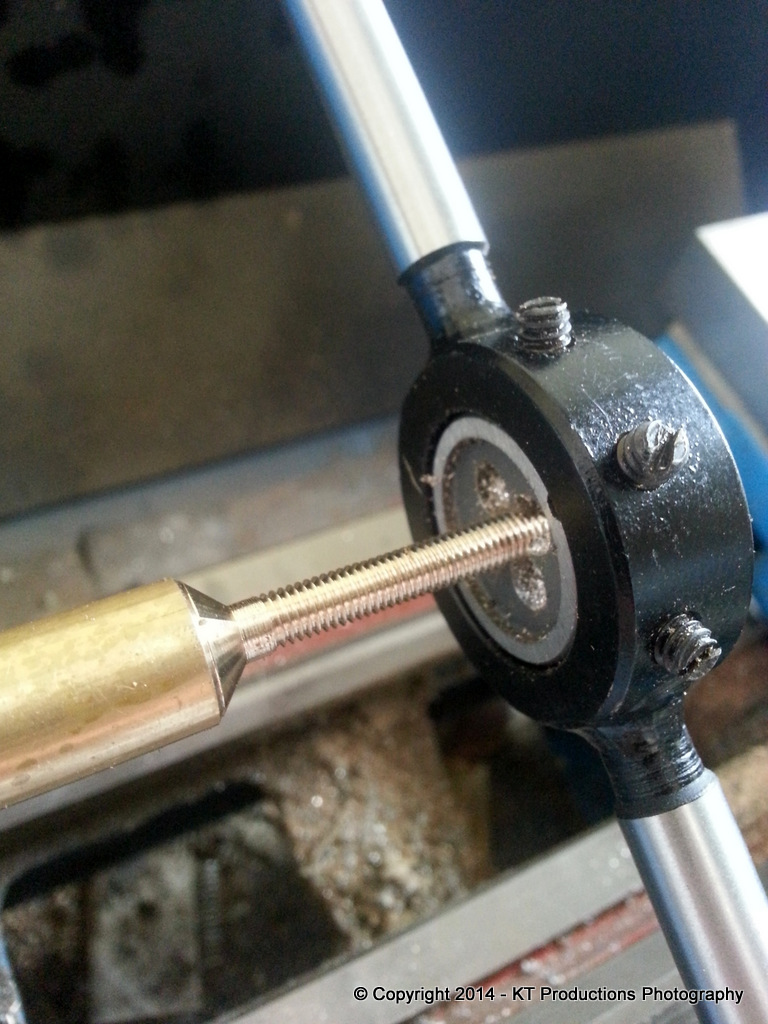
So then I could cut the thread back to the head with the die.

20140728_155942.jpg


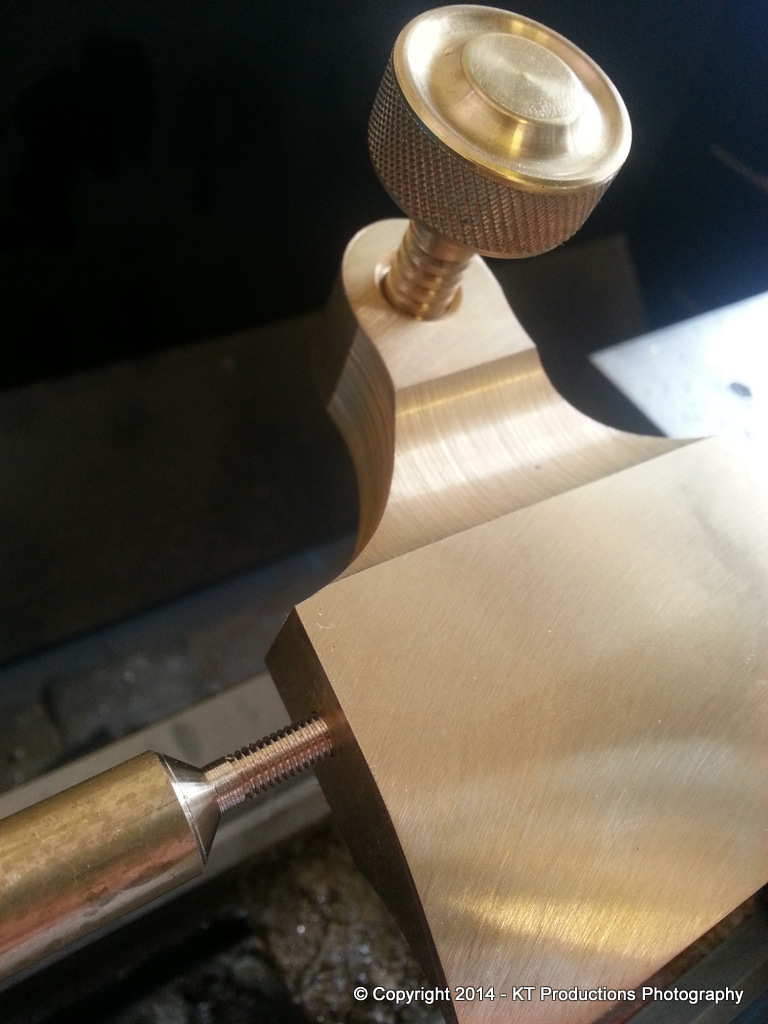
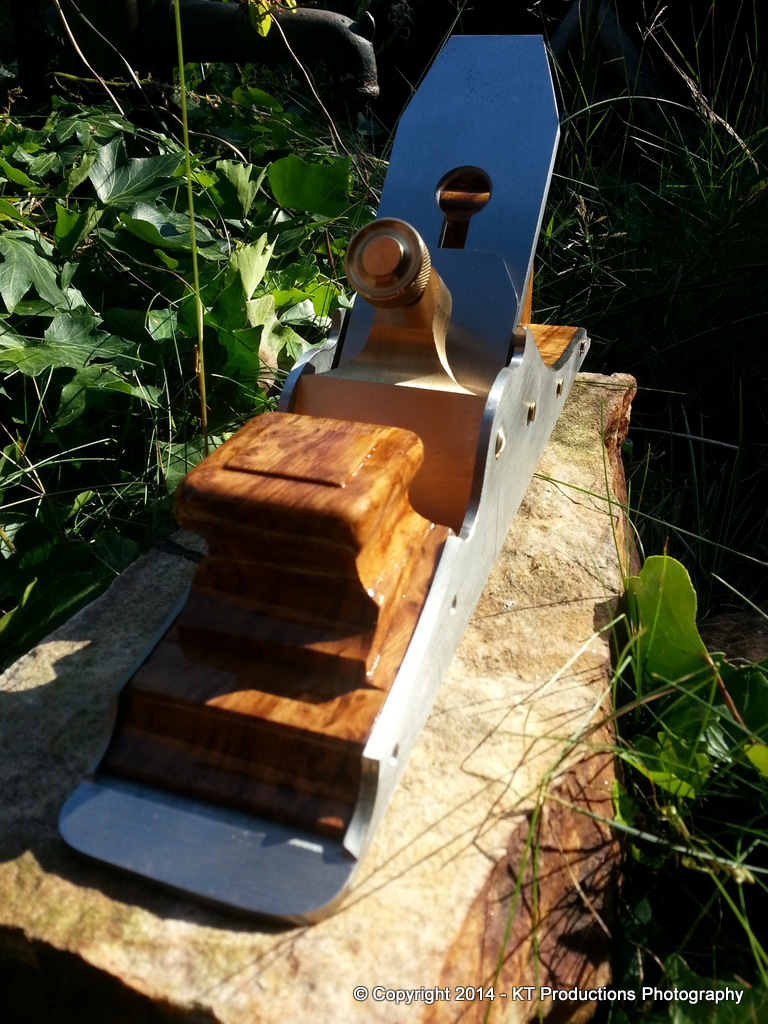
So...just to make sure I had not gone completely mad...I tested it on the lever cap....

20140728_160119.jpg


Well that worked! :mrgreen:

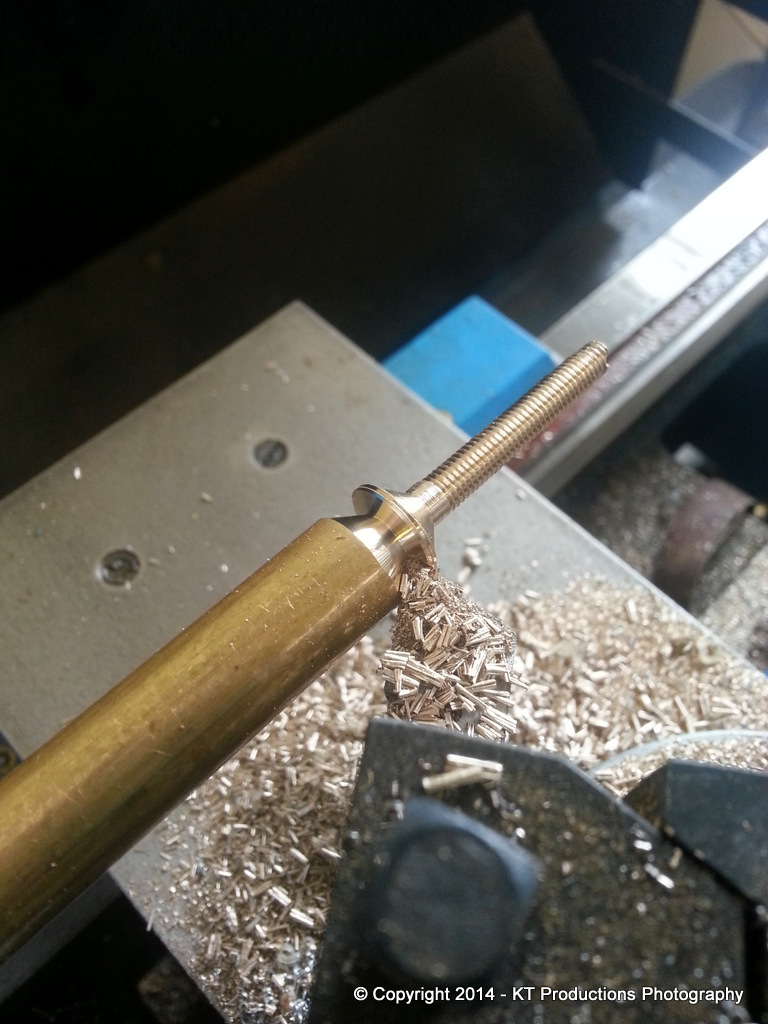
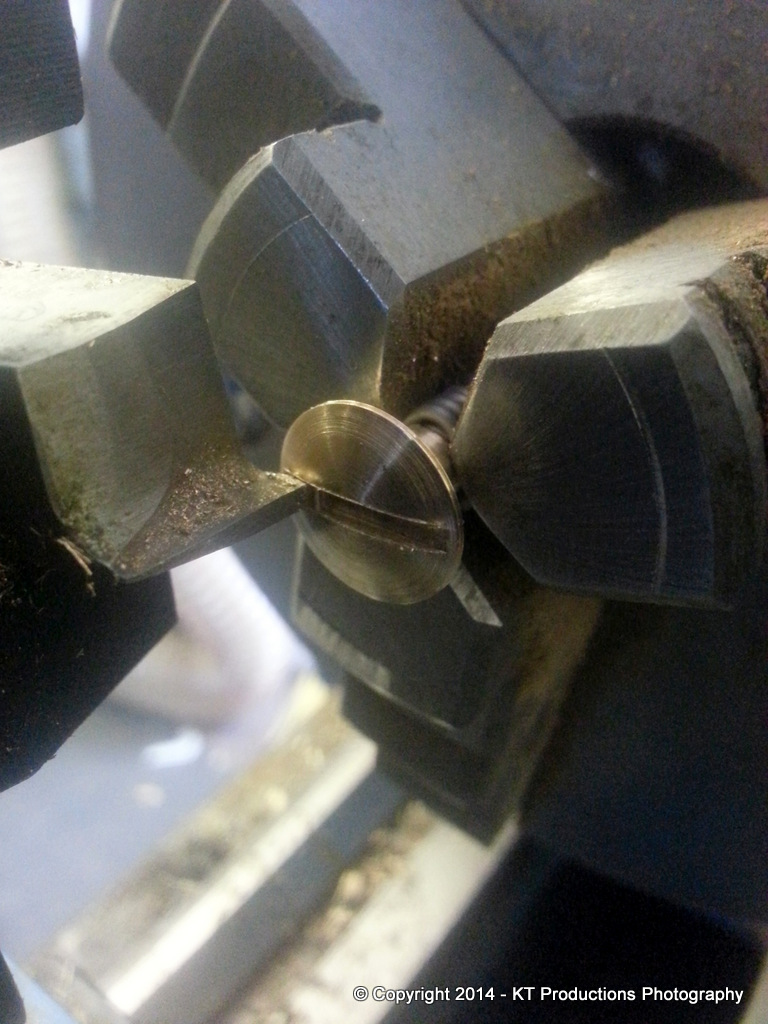
Now to combine two actions...the cutting of the dome and the parting of the bolt from the stock...

20140728_161317.jpg


Fortunately the V-cutter had just about the right angle on the other face to leave it was it was and cut back the dome...move and cut again...

20140728_172240.jpg


(apologies again for a phone shot with poor depth of field!)

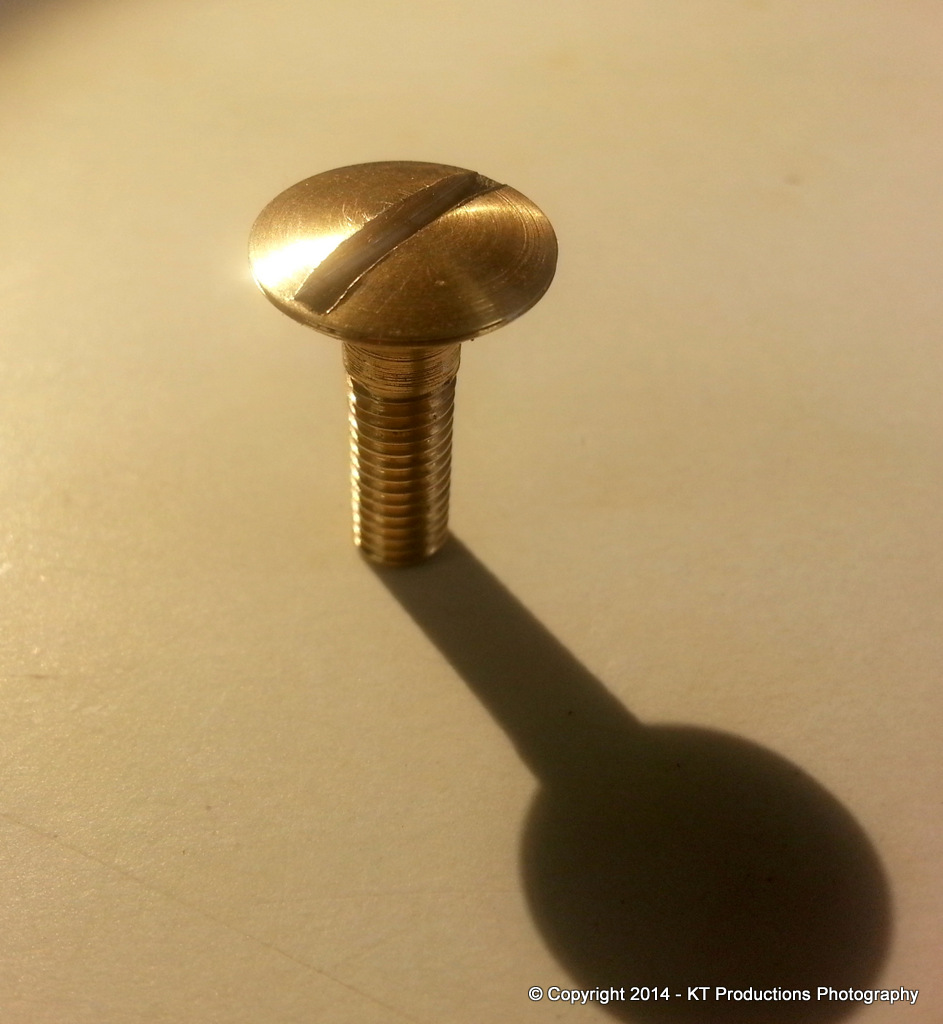
Now...I had a rough plan on cutting the slot...varying in setting up a slit saw...to milling using a fine milling bit...but in the end...I just scratched it out with a parting tool and no power on the lathe...

20140728_182729.jpg


Ok...probably not orthodox but it worked...the brass being very soft and the parting edge being very hard..

But it took a while!! :mrgreen:

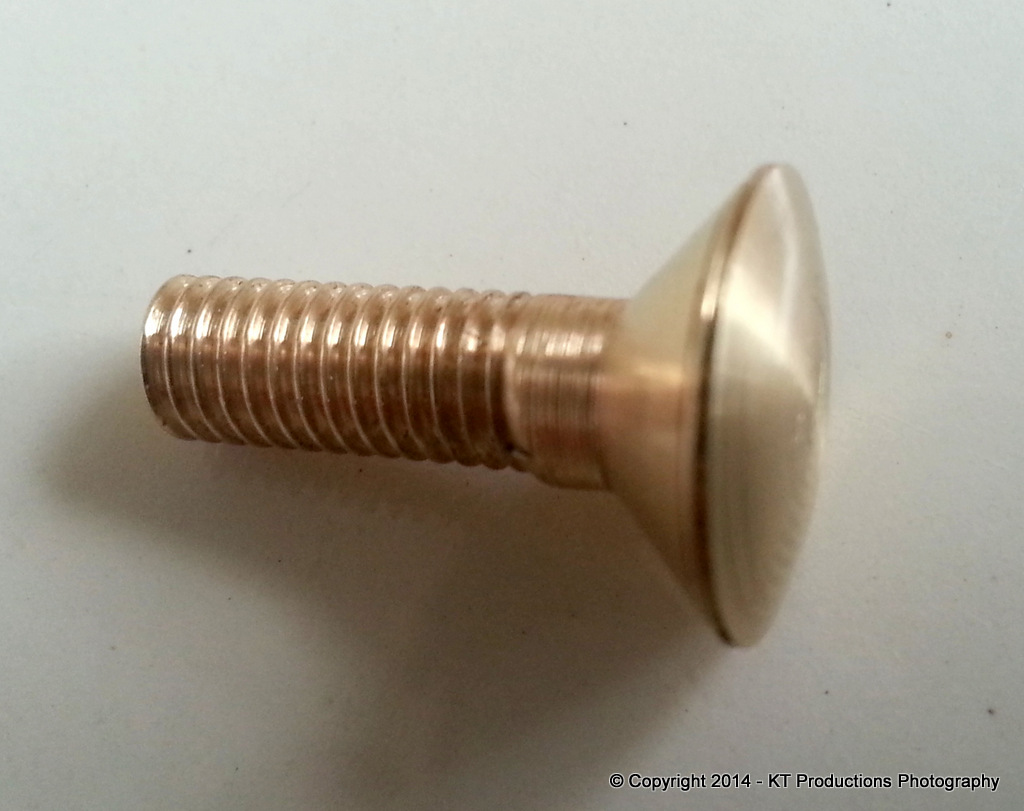
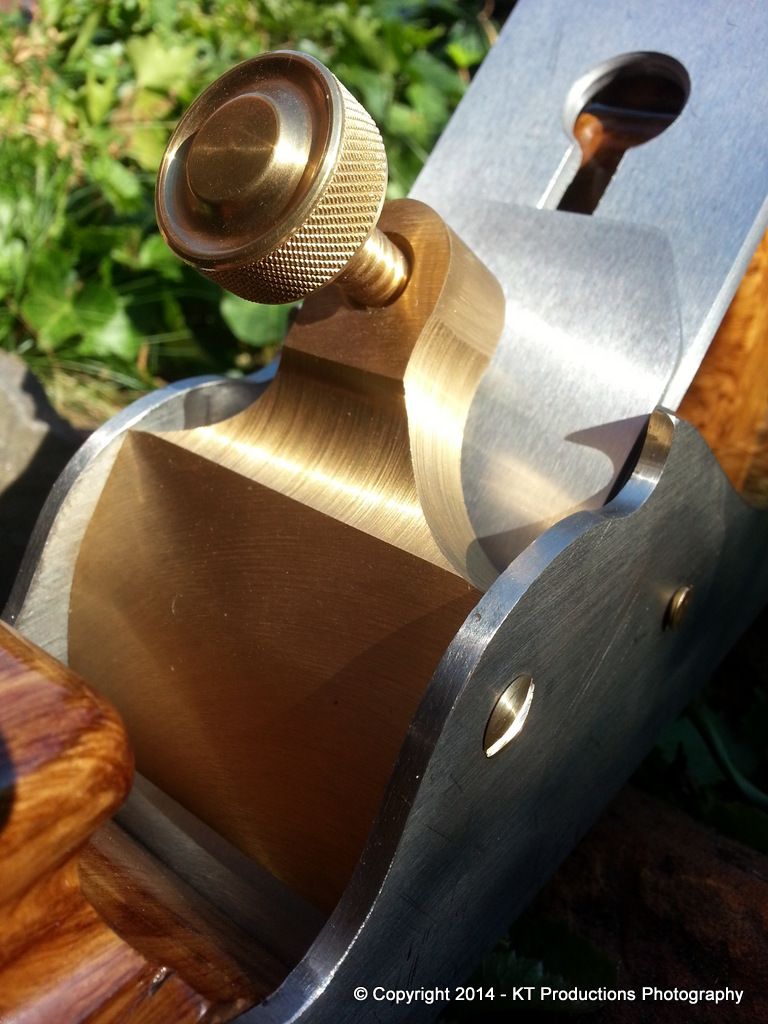
Well...it needs a bit of finishing but it came out ok!

20140728_183420.jpg


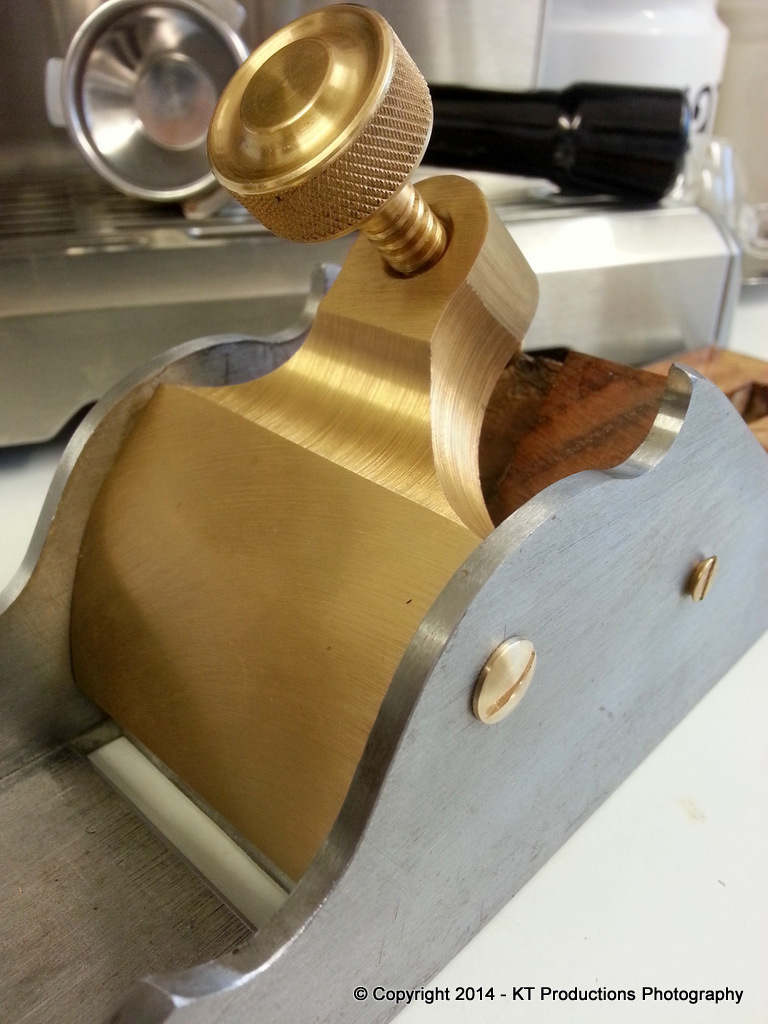
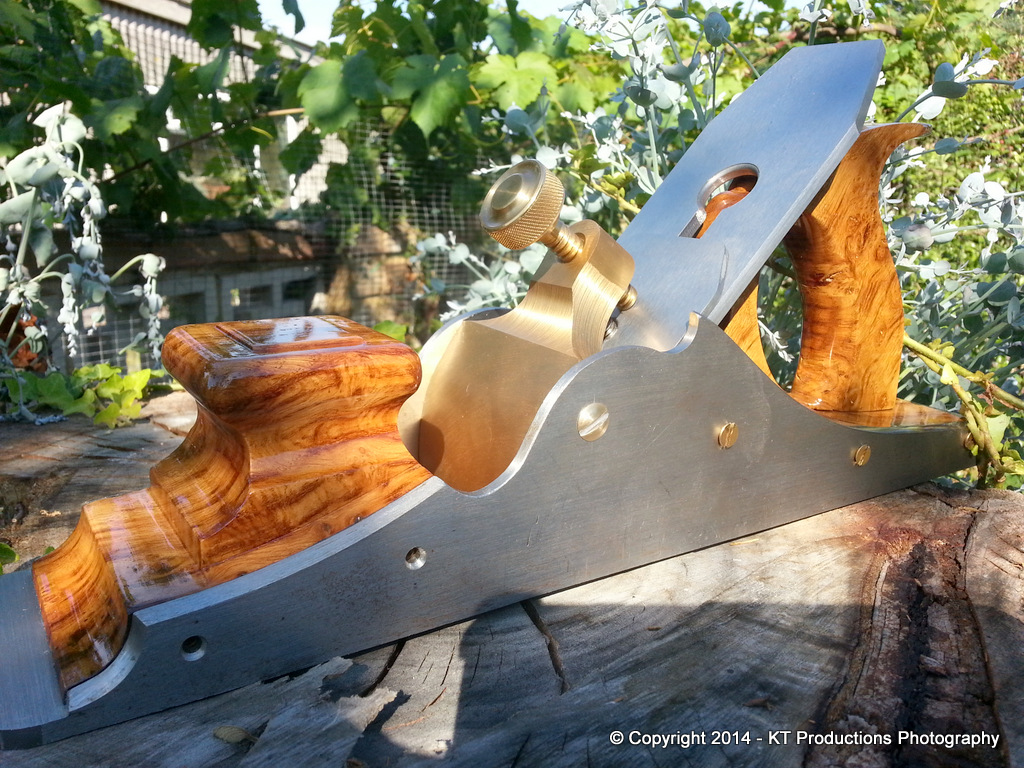
And finally to test fit...

20140728_192944.jpg


I have left it proud...deliberately...while I make the other one (tomorrow!).

I am pretty sure I want to slim it down and get it to hit the steel JUST at the point of the top of the countersink. Also...I have a feeling that I need to reduce the amount of camber in the dome...but again..I want to get used to it and decide.

The old adage that you can take a bit off but you can't add it back on again...definitely applies here!

What do you guys and girls think?

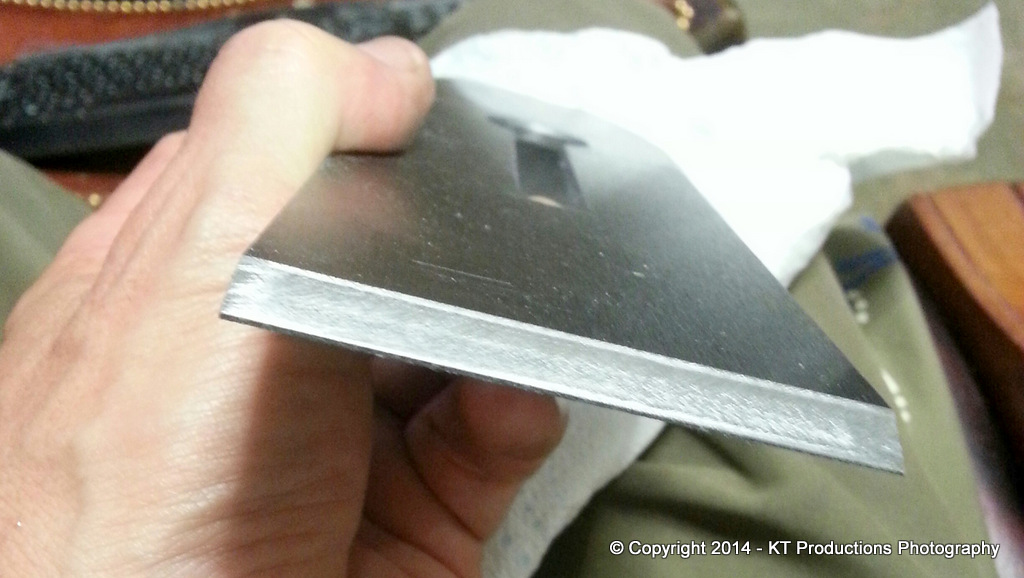
Pete has also confirmed receipt of the thinner of the two blades and I will be sending the other one to Philly once I have these bolts sorted.

Cheers

Jimi
 
Jimi,
As you probably know I haven't actually posted on here before, however I have been following every step with great interest! (even going back to the ones before I joined the forum!)
I have just thought that my considerable inexperience would hinder rather than help with the progress of such a master piece.

The method which you used to cut the slot in the screw head is one I have been pondering for a while now, but have never had a chance to test it. As you say, it might be a bit unorthodox, but it works and now I know that it does!

Thanks,
Harry
 
I wish I could add something Jimi but this metalworking has me lost. All I know is that the final result is going to be good. Keep it comming.
 
Hi Jimi

I think it would be better slightly below the body countersink so the top of the dome is flush with the surface.
A very slight dome on the bolt just to make it look like its hand made, but feel free to disagree with me.

Pete
 
Looking great Jim.
I agree with you that you should aim for the sweet spot where the rim disappears to nothing, so the dome rises from the surface with no step and the bottom of the slot coincides with the rim. I'm sure you can do it now you've had a practice run. Compared to other parts of this masterpiece, it's relatively practical to make several screws and carry on until you have a pair of perfect ones.

Judging from the photos the convexity of the head looks just right.
 
Hi Harry

Thanks for your first post..and to go back to the rest of the thread was an epic feat...I think I'll leave that till the end! :mrgreen:
I have to say, I try to avoid metalwork unless it is necessary to make something I can't buy and making bolts was never on my agenda...I would have preferred to just buy some but owning to a poor assumption on my part...the countersinks are now a done job and the fact that the only brass ones I can find are too small a head...forced me to embark on this crazy route!

Hence cutting the heads has never been on my "how to do it" list! :lol: But I figured I would give this method a go for such a small item and it did work. I'm glad that it has now given you the confidence to try it...it certainly saves a lot of setting up for the other more common methods!

GS...I certainly will keep the posts coming...the time it's taking me...this makes Ben Hur look like a short story though! :oops:

Now...Pete and Andy...thanks for the feedback. I think I know what the optimum solution to this is...and that's to cut a shelf in the countersink in the body and leave the bolt as it is so that the parallel sides sit down on the shelf...the dome recesses and all is hunky dory...BUT....

...what I would need was a shelf cutter which has a guide centre the same size hole as the clearance hole is now....with radial cutters to cut the parallel sided shelf...

And before anyone says..."why not make one Jim"...... :twisted: :twisted: :twisted:

It think I shall go ponder plan B! :mrgreen:

Cheers

Jim
 
UPDATE.....

I knew I had some such beastie in my "found at bootfair and may be useful one day" drawer:

20140729_121101.jpg


Sadly...this one is just a tad too small...so anyone know what these beasties are called.

I assume they are used to recess cheesehead screws into steel so that they are flush...the outer edge will produce a shelf right to the bottom while the centre drills the hole.

It's worth buying one the right size for this...I may be using this technique again.

Any ideas?

Jimi
 
You want to make a counterbore with a flat bottom ?

You could make something like that by taking an unloved carbon steel drill, annealing it, turning it down then rehardening it, I guess.
Or drill the head recess partly with a regular drill, then flatten the shoulder using one with the end ground off square ?

Or splash out on someting like this:

http://www.presto-tools.cn/product_deta ... uctid=1048

I remember passing the Presto works on our Saturday shopping trips into Sheffield city centre. Now presto.cn - we're doomed !
 
Jimi,
It is called a counterbore or spot facer. Try Tracy Tools for supply.
 
AH!!

Thanks guys! Yes..counterbore..of course...and that link shows there is an 11mm one which is what I need.

Ok...we're cooking on gas.

I am however typing this using Braille! :mrgreen:

I had totally forgot they dilate my eyes to do the diabetic retinal scan and so I am now totally useless for a few hours...

Blast...and I was raring to go on this today.

I think we're getting somewhere now though.

Thanks Tony and Richard.

Jimi
 
As Andy says..I can make as many of these bolts as I want so when my eyes started to focus I took the dome down to the "sweet spot" and this was the result...

20140729_164440.jpg


What's the thinking?


20140729_164848.jpg


The sun was going behind the house so a little difficult to see how much this sticks out...

20140729_165240.jpg


...not sure that taking it into artificial light makes it easier to see but here ya go...

20140729_165558.jpg


I need to sort out the finish but the profile is rather pleasing.....

Views please??

I bought an M6 HSS counterbore on FleaBay and when that arrives I will decide whether to use this to recess the bolt.

Cheers

Jimi
 
Phew...well that's alright then! 8)

When two different ideas merge into unity....I can rest easy...and go and make No. 2

I will be selling these bolts on Fleabay later in the week...£80 a pair...BARGAIN!!! :oops:

They have to be the most expensive bleedin' bolts ever made...a whole day's work... NEXT time I make one of these infilly thingies....I will buy some expensive bolts and design the holes around them! :mrgreen: :mrgreen: :wink:

Thankfully...my eyesight has now been restored to normal...now all I've got to do is remember each step in sequence...including the tweeks! #-o

Jimi
 
Back
Top