Sheffield Tony
Ghost of the disenchanted
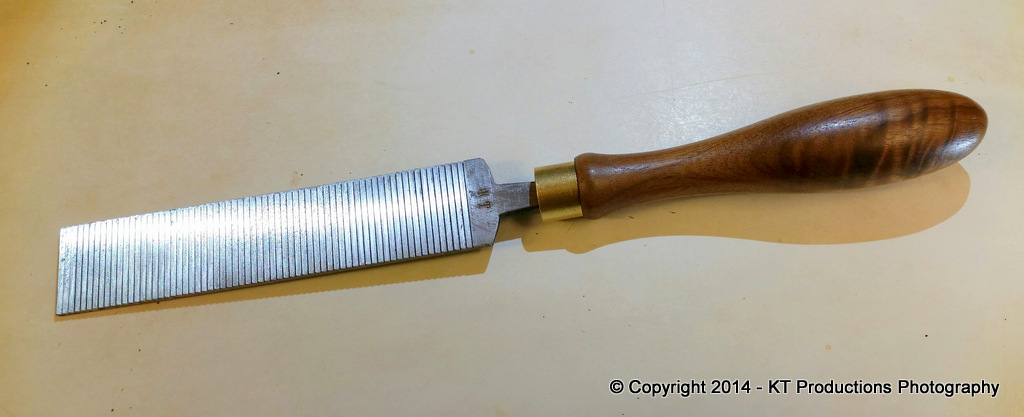
Racers":2984ydhy said:Nicely done Jimi, they look the dogs dangly bits.
Pete
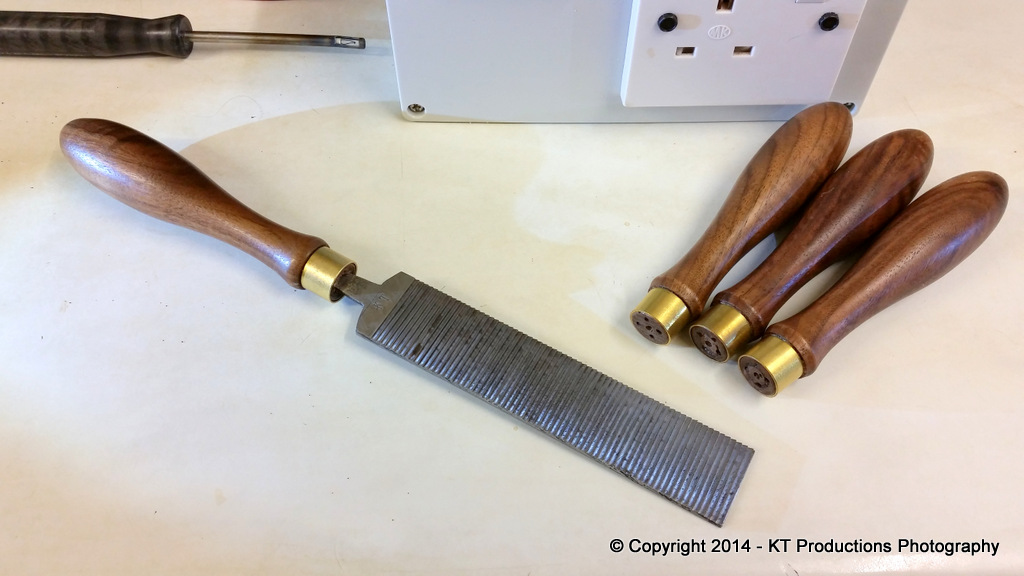
Looking at the photos, it seems that for once the dog kept its dangly bits well out of the way ! Smart move.


Racers":2984ydhy said:Nicely done Jimi, they look the dogs dangly bits.
Pete
")
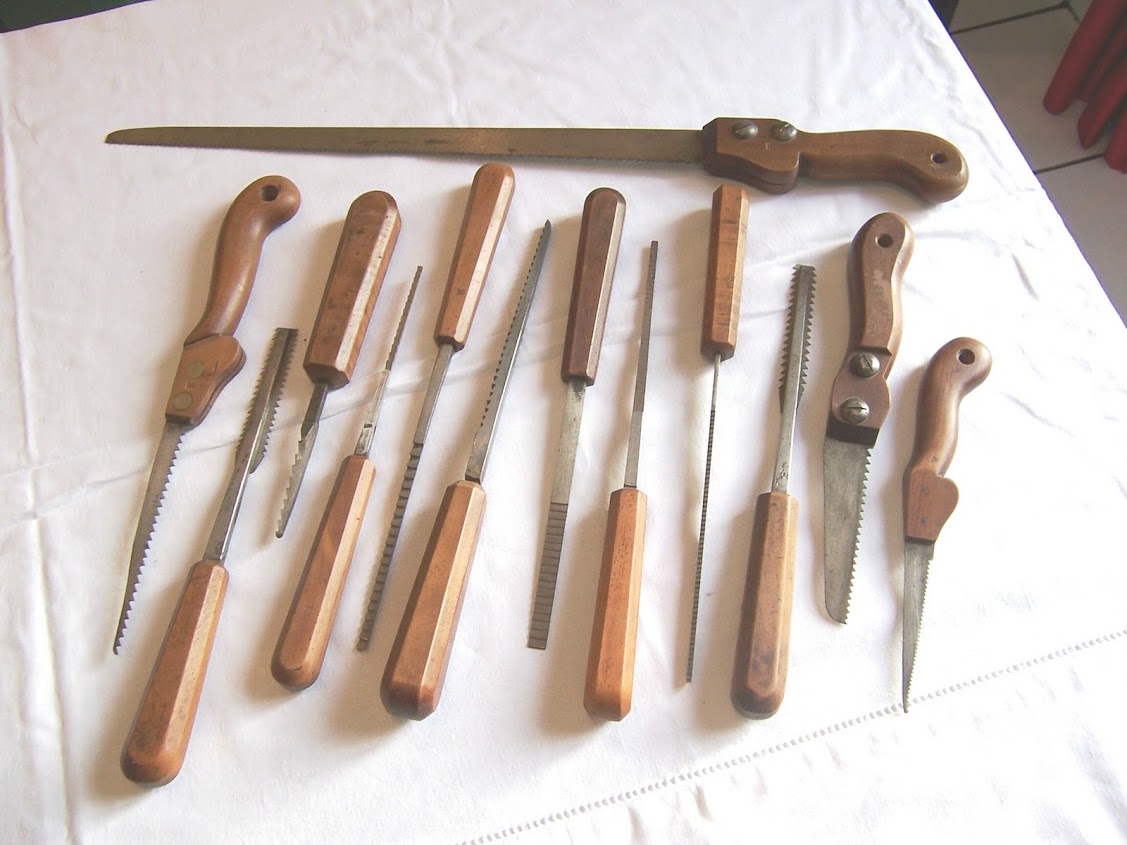
woodpig":3fk1o4wj said:These work well on wood as well.

Can't lay my hands on one at the moment but they're used in car body repair shops.
http://www.kenteurope.com/uk/shop/viewf ... &type=Auto

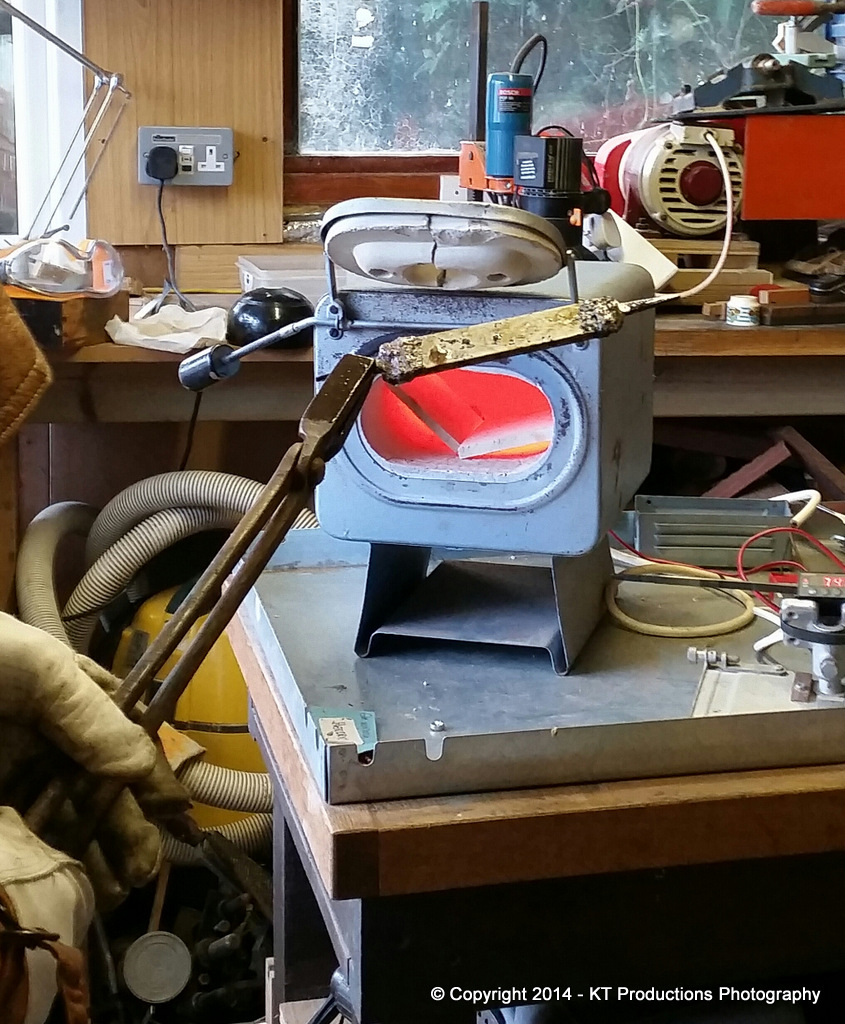
Sheffield Tony":qa7akvbx said:It is a bit of an odd shape so maybe not, but I was wondering if the vermiculite board used in wood stoves could be used for this - it can be cut and shaped fairly easily.
phil.p":28kx0974 said:Potters kilns run at 1300c - 1400c iirc.
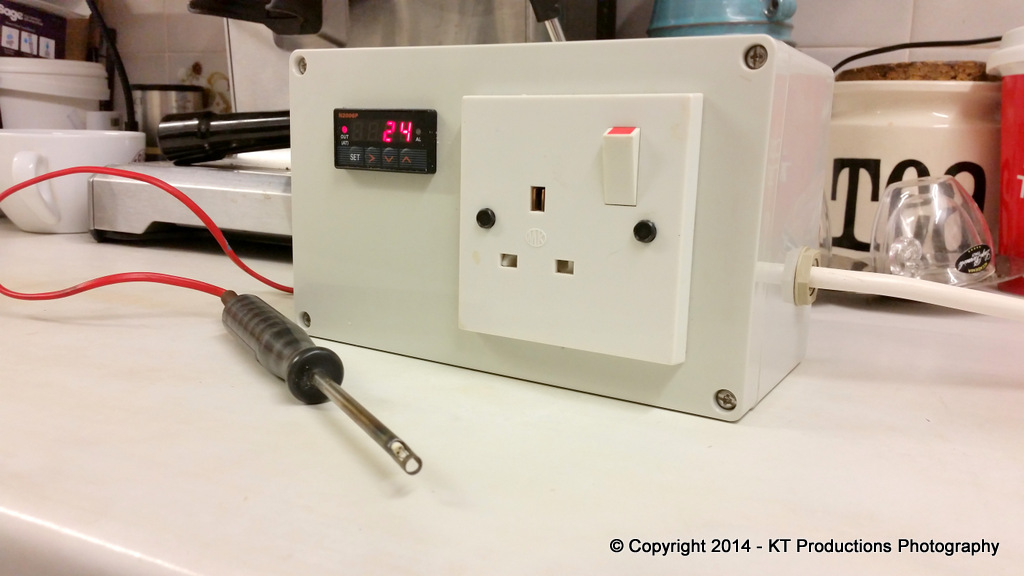
G S Haydon":gw21asy8 said:=D> Jim, Toby =D> . I have followed the progress and it's been great. Your blog post was a great read Jim, choice PPE to boot!
G S Haydon":zza0e8cz said:Ha! Jim, you learned that I was not best suited to that task
Enter your email address to join: