Saint Simon":3ffsgpac said:
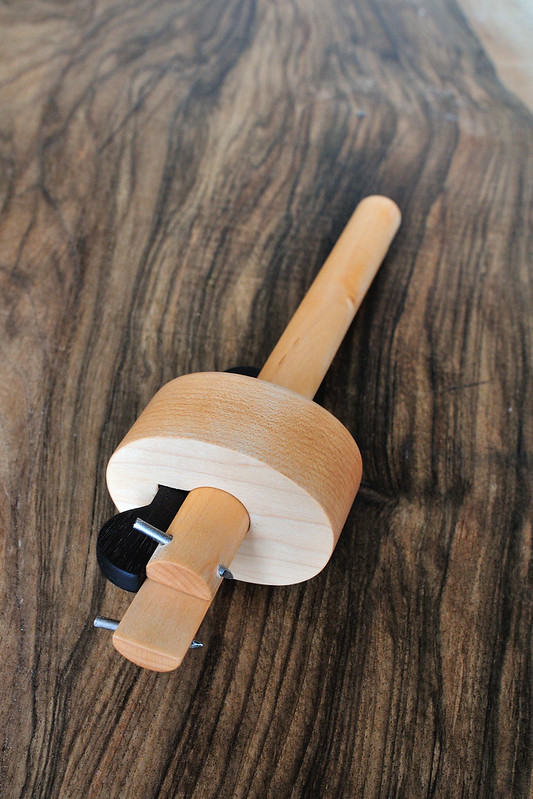
Derek, the knob is for pulling the gauge so that its "fence" is pulled hard against the edge of wood to be marked. I'm sure most people are happy with a one handed grip on marking/cutting gauges but I like to pull with my second hand and this mod, which I copied from a Stanley 70 1/2, helps me do this.
Any resemblance to Mickey Mouse is entirely fortuitous.
Simon
Hi Simon
Just checking why you feel there is a need ... if the knife the correct way around? Flat side away from you pulls the fence against the side of the board. But flat side towards you will push the fence away from the side of the board.
And do you take light cuts first? Or go in hard?
Regards from Perth
Derek


")