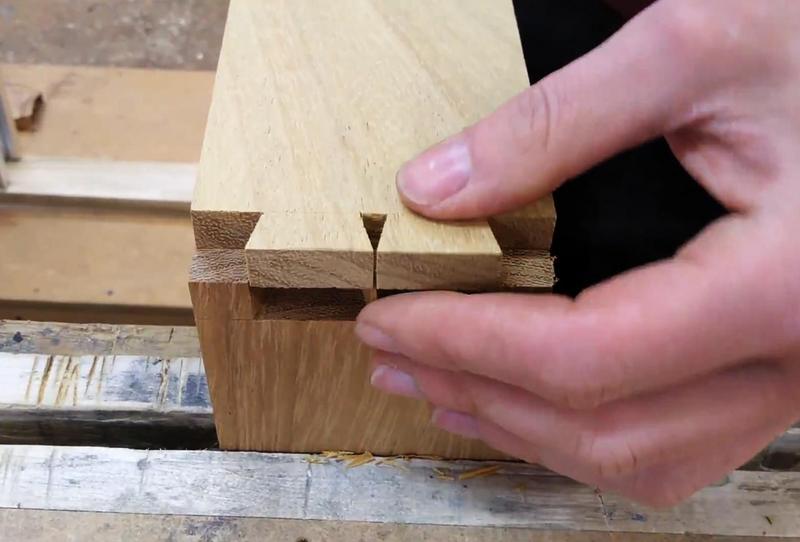
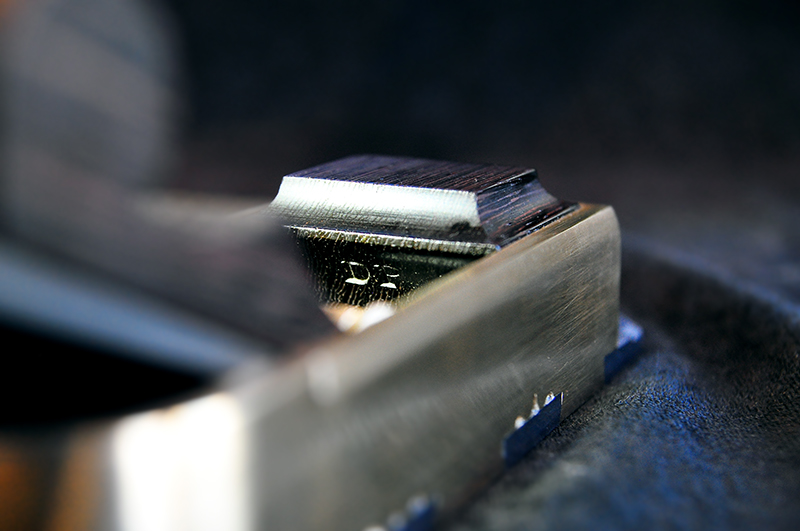
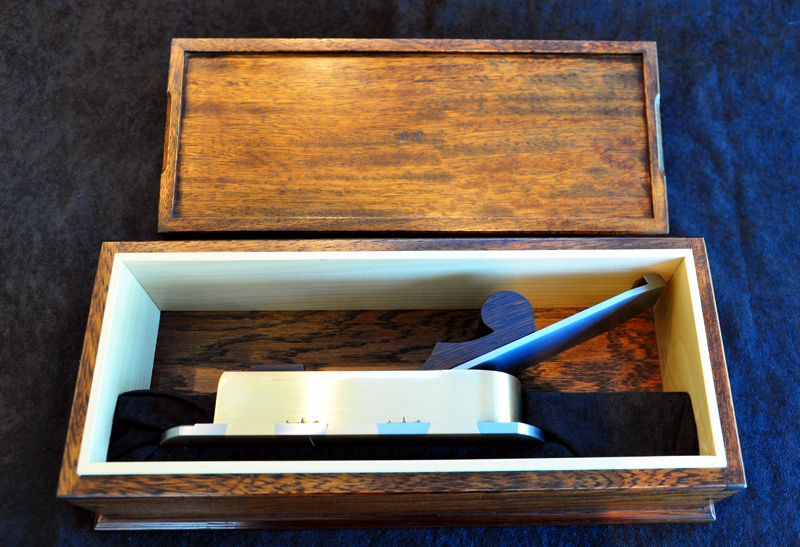
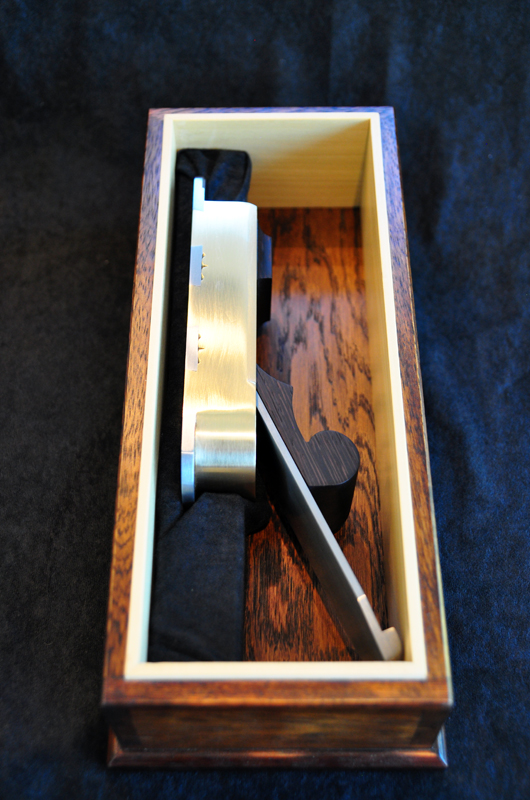
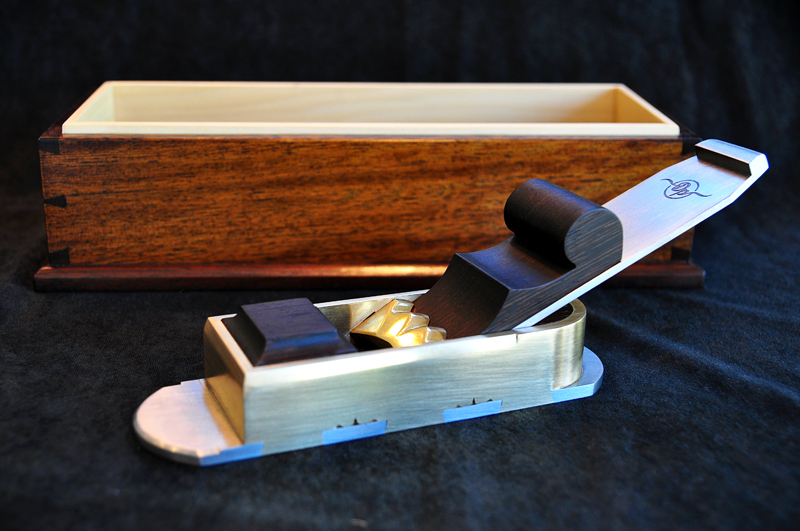
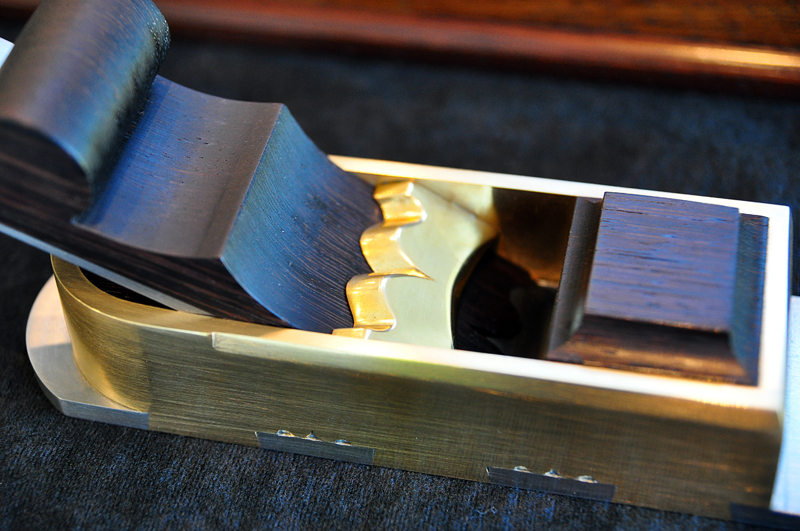
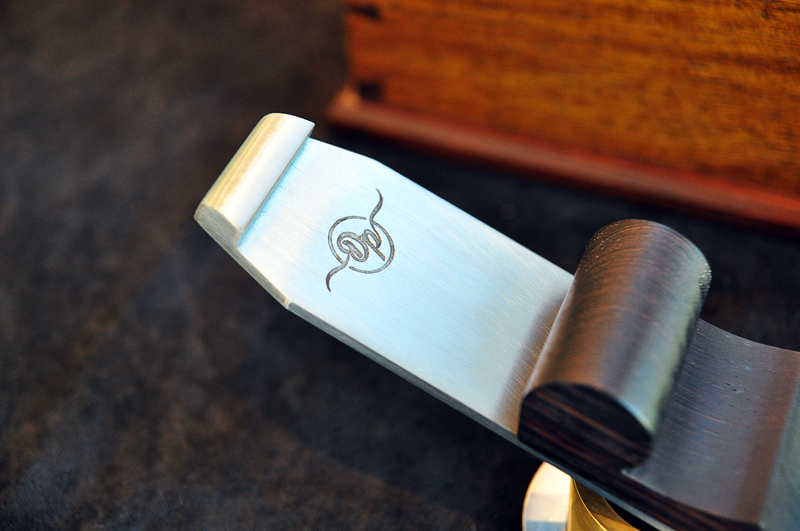
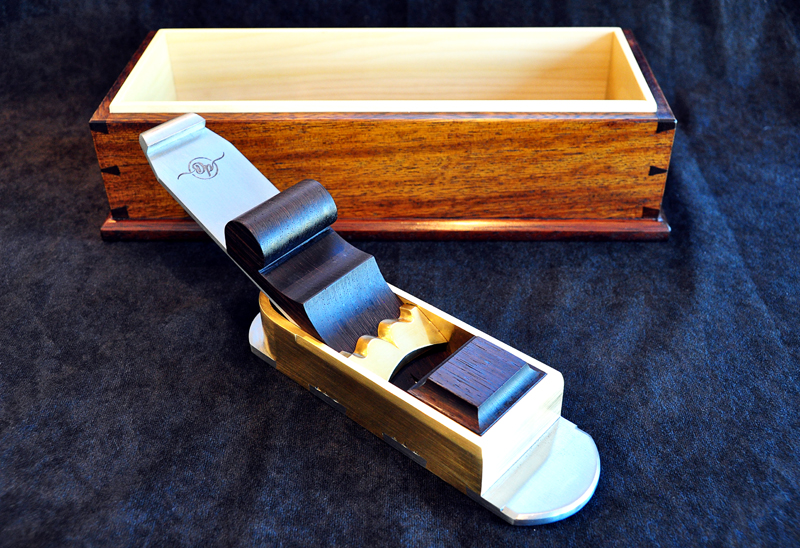
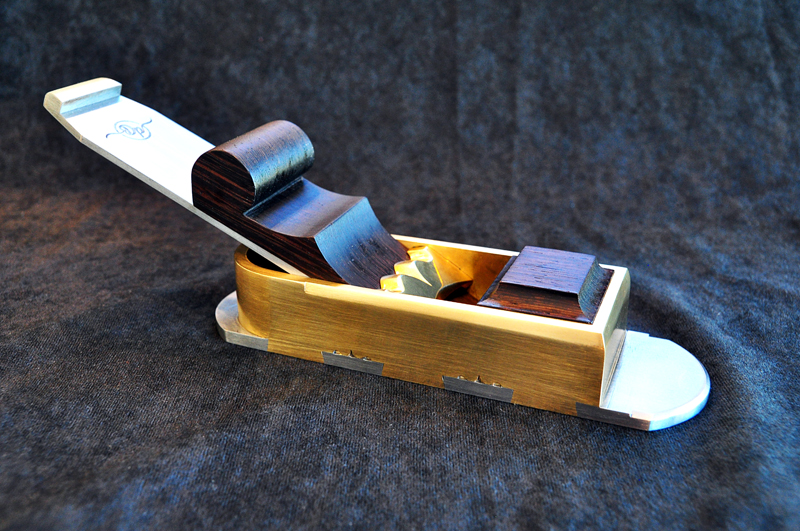
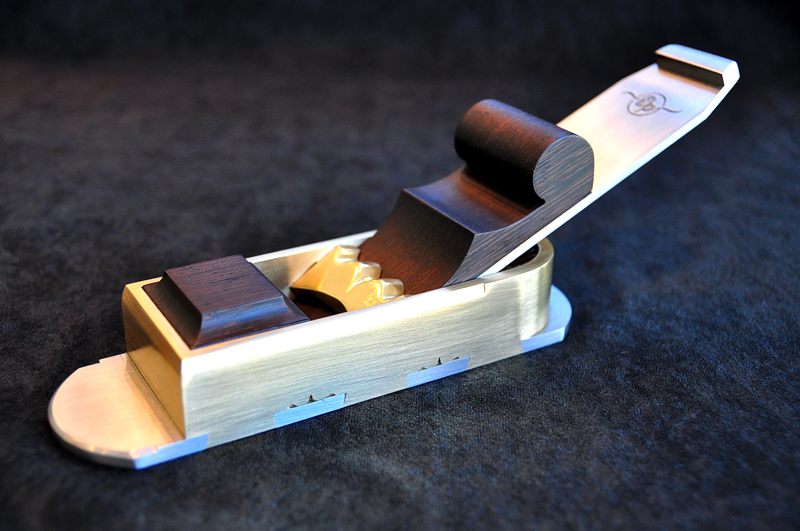
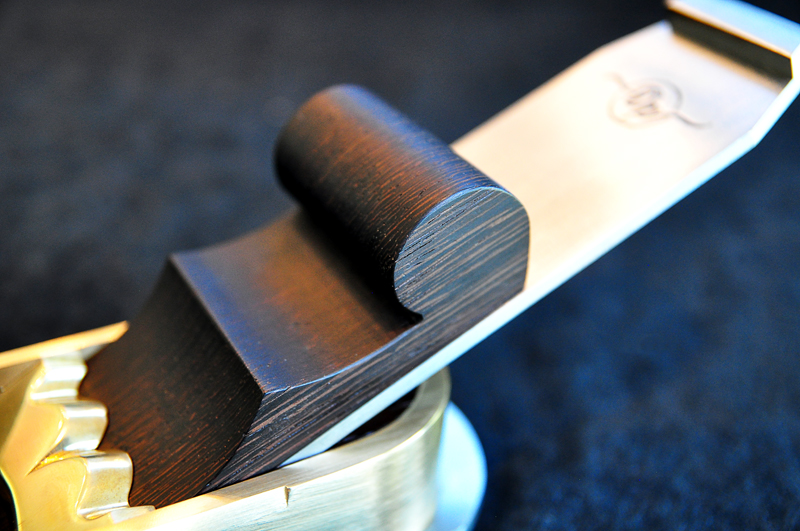
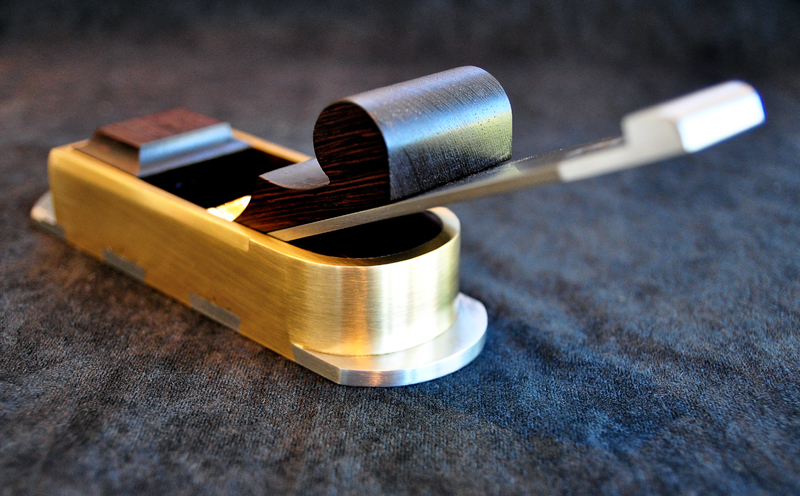
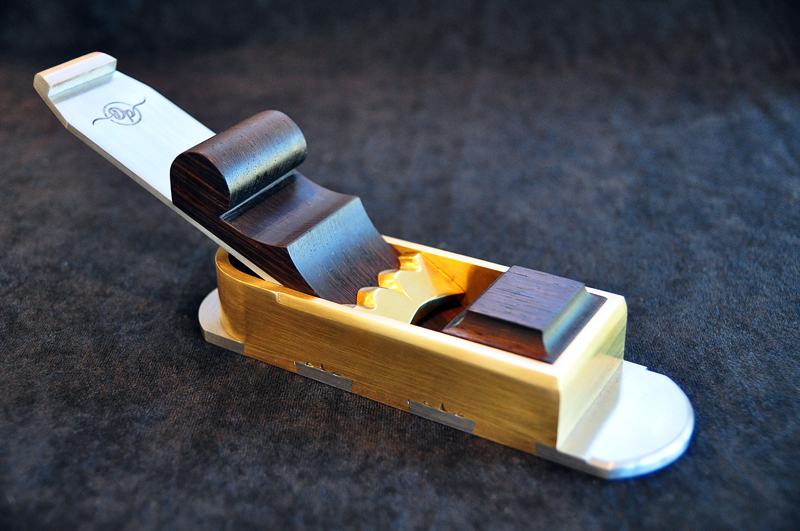
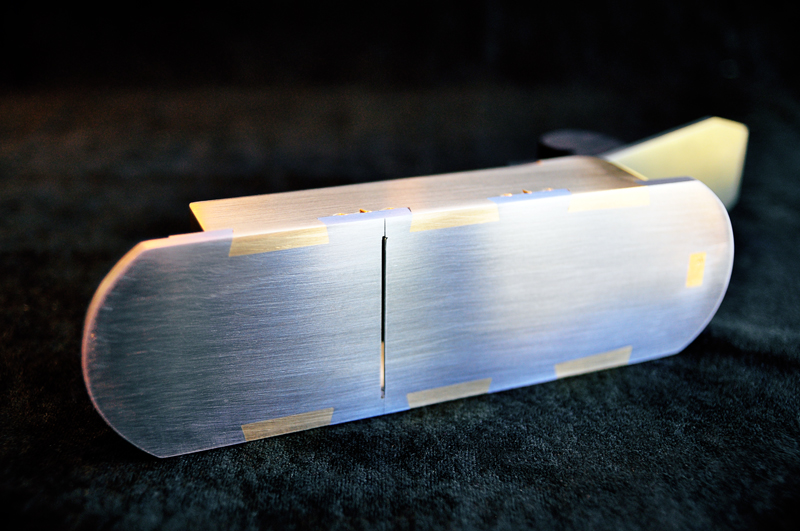
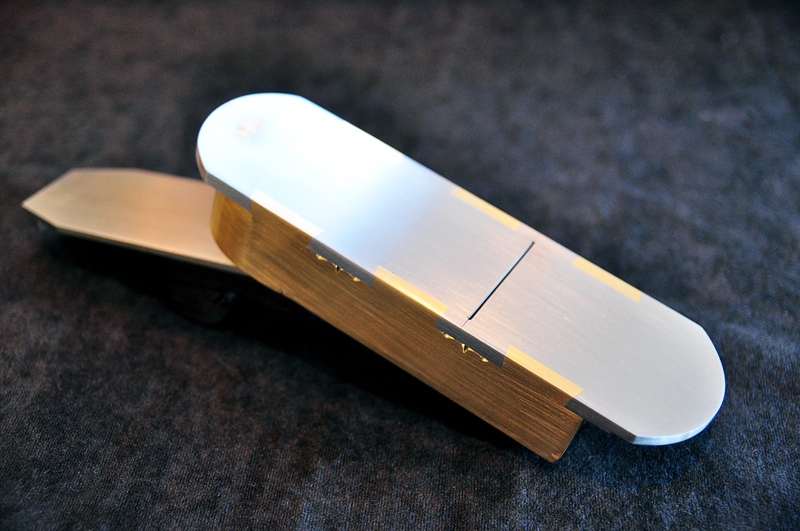
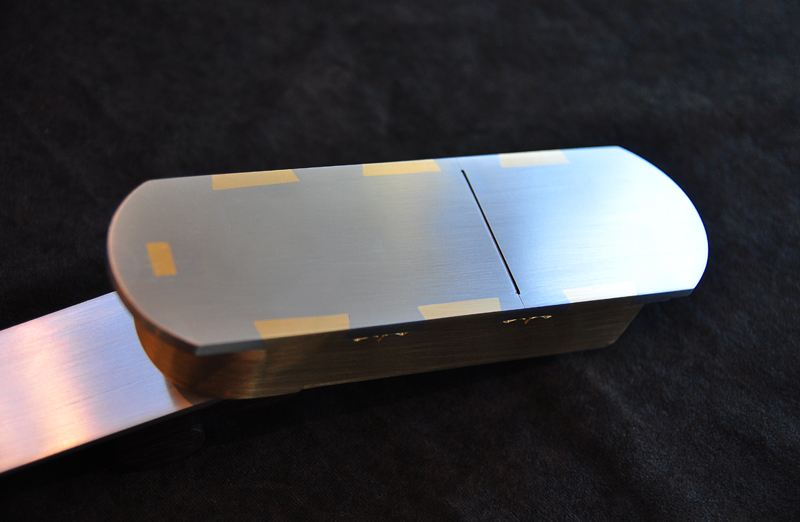
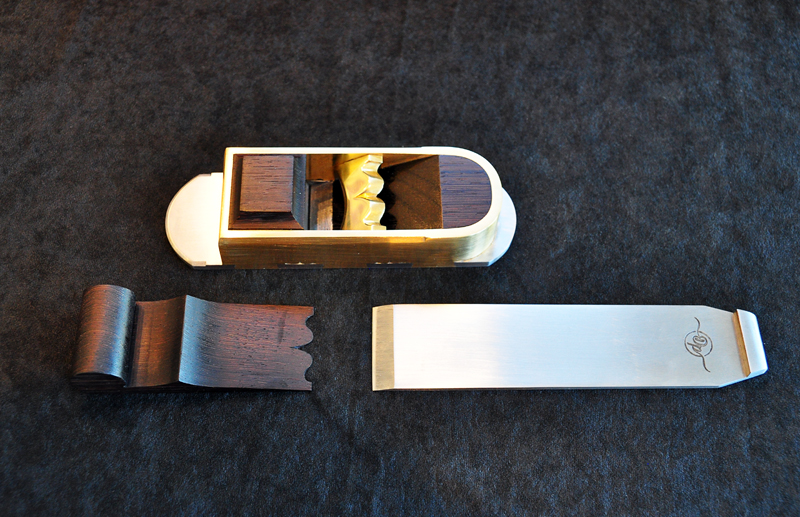
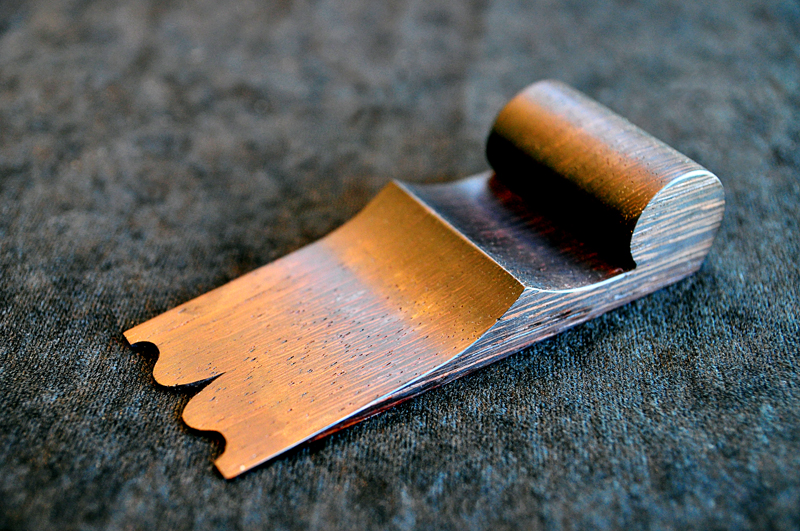
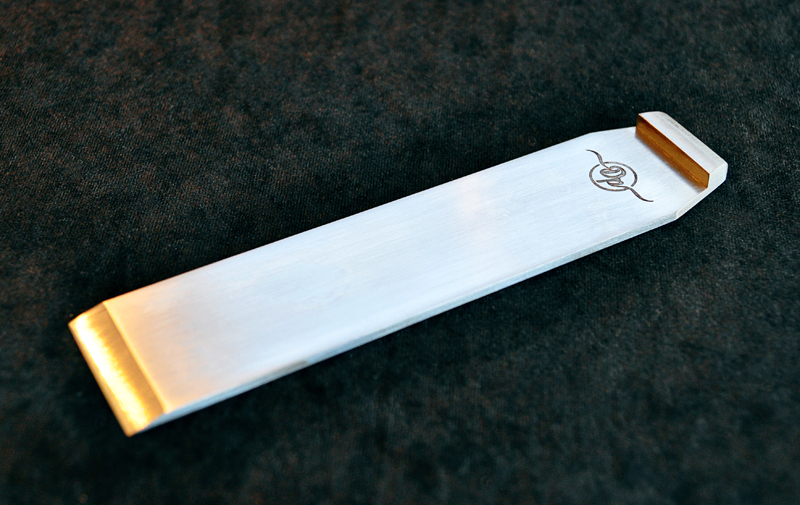
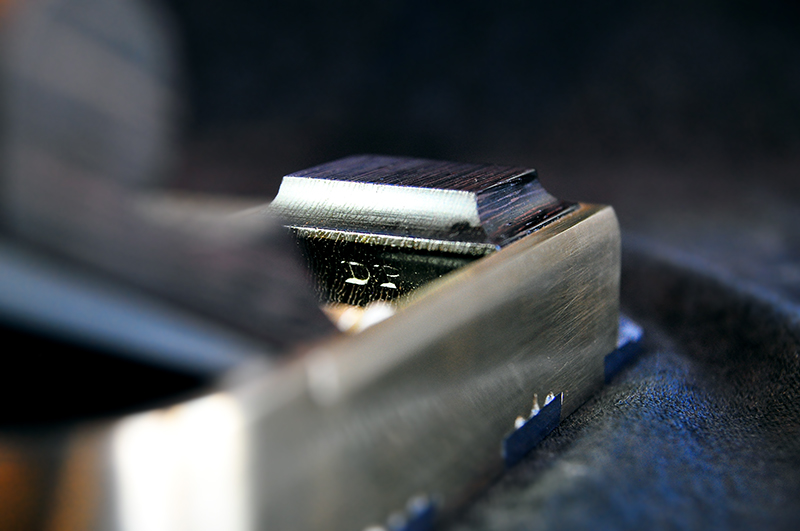
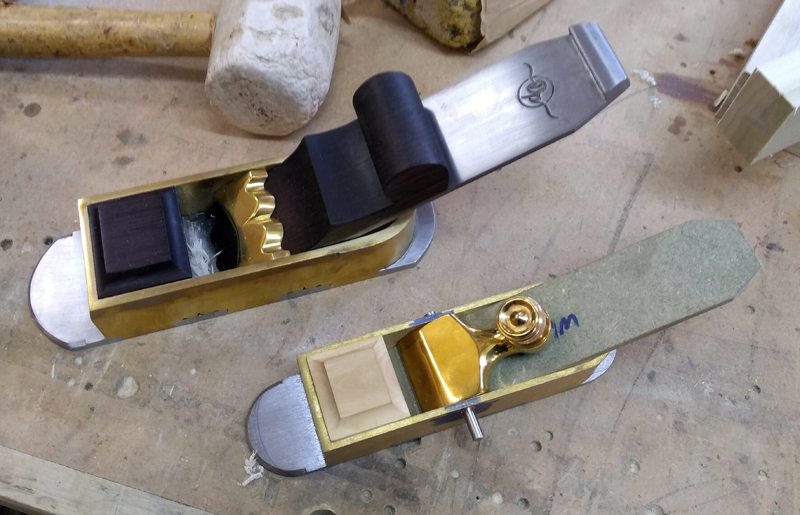
Just looking at the pictures, the gaps don't look too horrendous, Hattori, but they are big by the standards of a separate-sided plane where you can cut the dovetails so they are a tight fit. You had to end up with a wide gap at the tops of the tails because the only way to assemble was to push the sides straight down. I can't see any other way to do it, and presume that's how all continuous-side mitres were done. I've often thought of making a mitre plane for the fun of it, and have always wondered how I'd handle a continuous side. How did you mark out the pins on the sole, for e.g.? It's obviously not possible to scribe them directly off the sides. The only way I have thought of is to make a long cardboard template that I can use to lay out both pins & tails by wrapping it around the sides, then opening it out o lay out the pins on the sole.
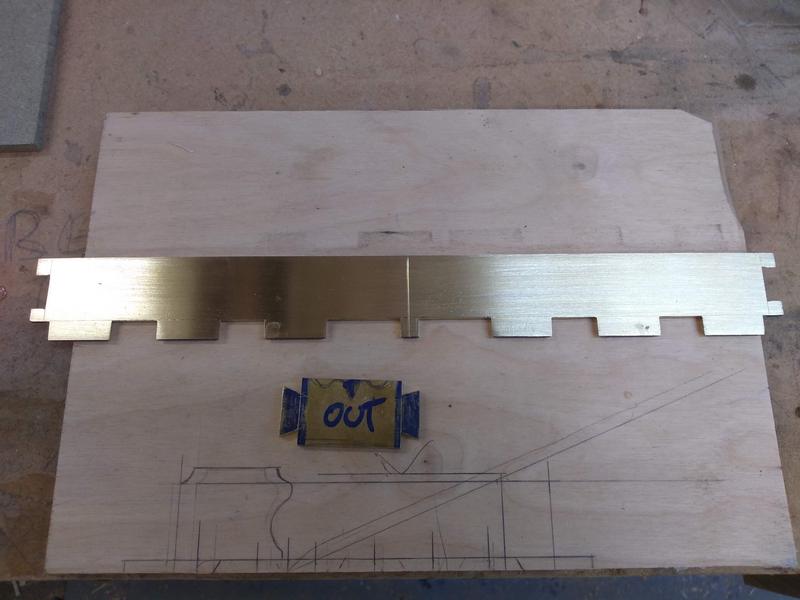
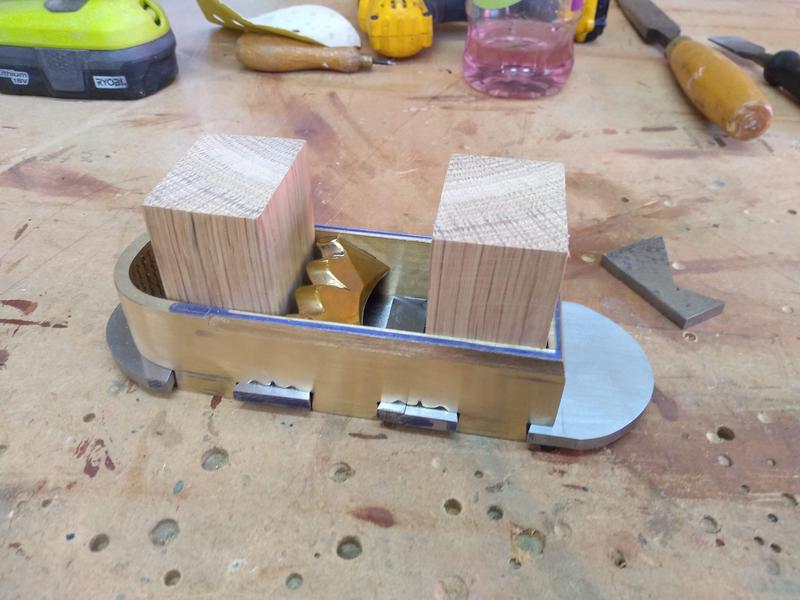
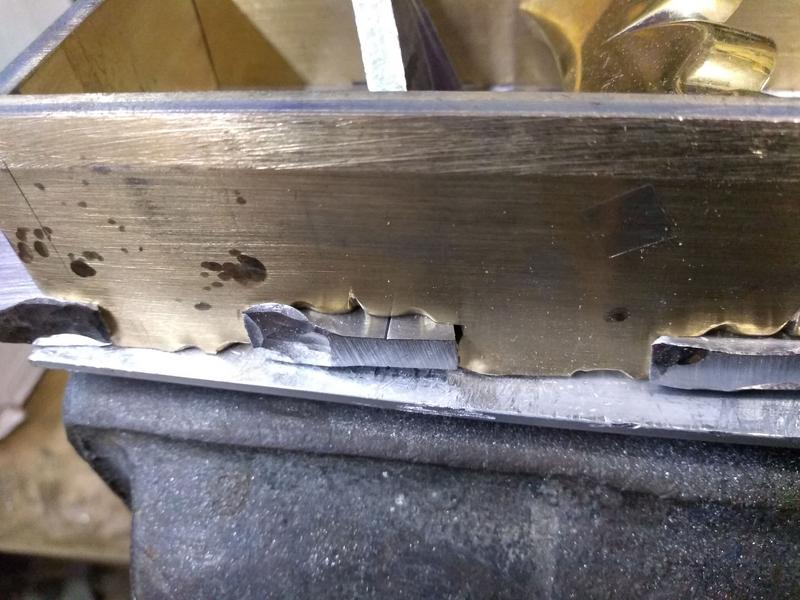
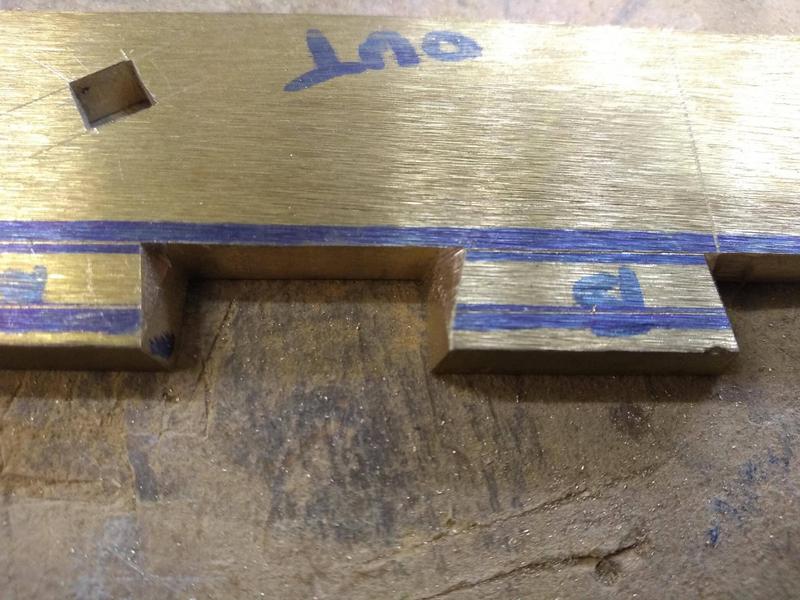
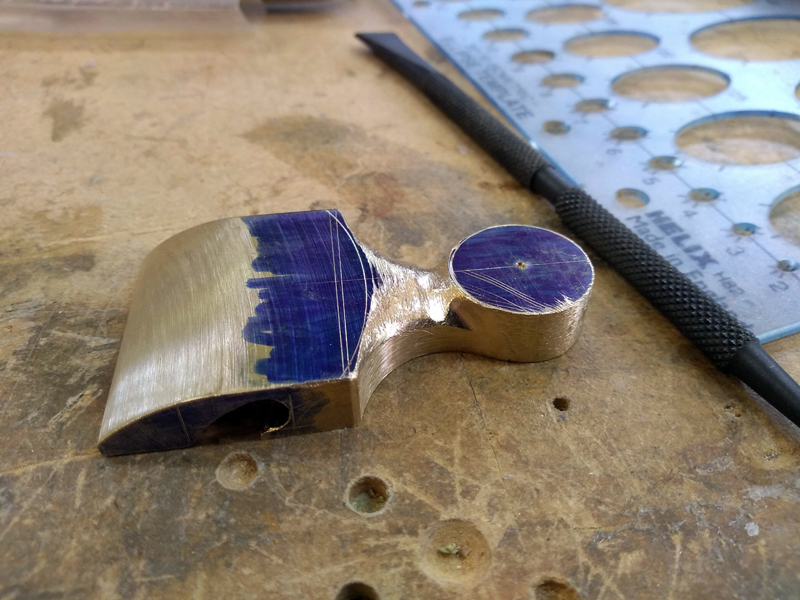
I had some big gaps to deal with on the panel-plane I made from the kit. It came with sides & soles pre-cut, as I mentioned earlier, but the cutting was very rough:
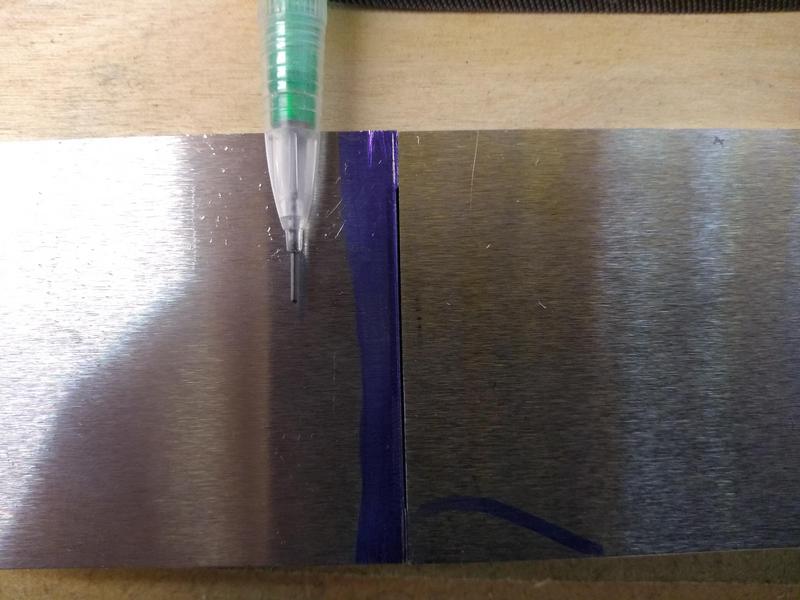
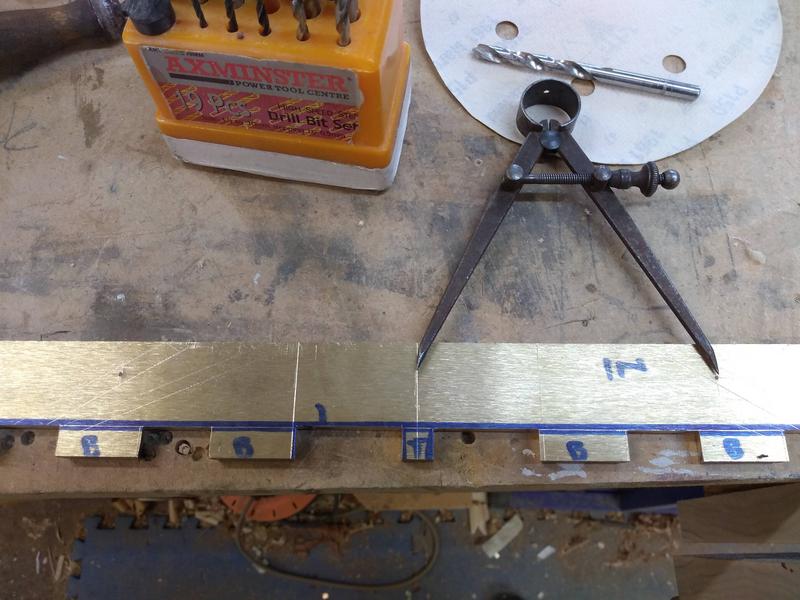
The person what done the cutting also thought back-to-front from the typical way of cutting the pins & tails, the "tails' were cut on the sole:
I would have cut the existing mess off completely & started over with fresh tails & pins, if there had been enough spare metal, but there wasn't, so I battled on. It was made all the more difficult because there were no scribe-lines to work to, it was all guess, file, & try 'til they fit. The amount allowed for peening was also very skimpy, so I had some anxious moments closing some of the larger gaps. Like your plane, it all turned out better than I expected, given the battle I'd had, but certainly not perfect. I am still chasing the perfect job and I'm up to plane #15. I've come close, but there have always been one or two little visible lines or pin holes that didn't fill properly. I hope to complete my apprenticeship one day!
Hattori-Hanzo":d1lrtrrx said:
...... In one of Bill's videos he explains that on early mitre planes the dovetail angle would be minimal and on some it would almost be vertical.
I've tried to accentuate the dovetail by using a steeper angle but this was probably my downfall.....
......It's amazing the difference 1mm makes to peining........
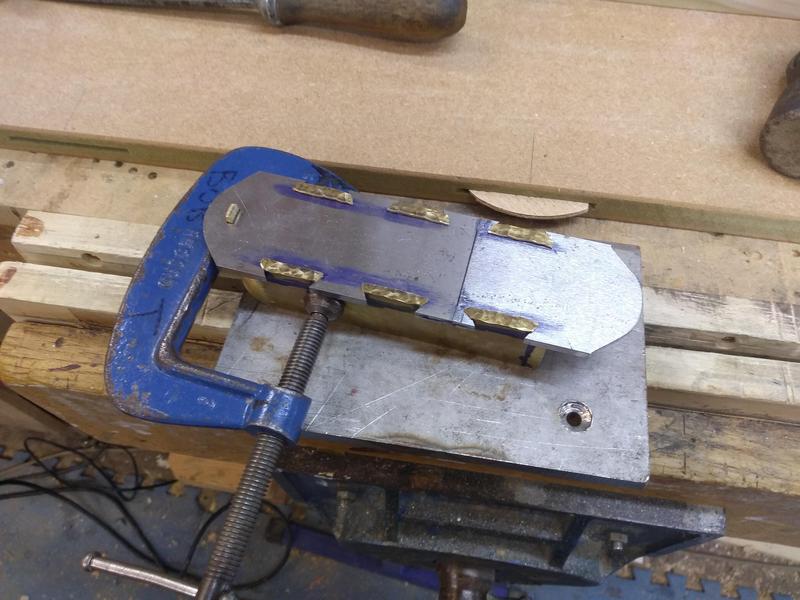
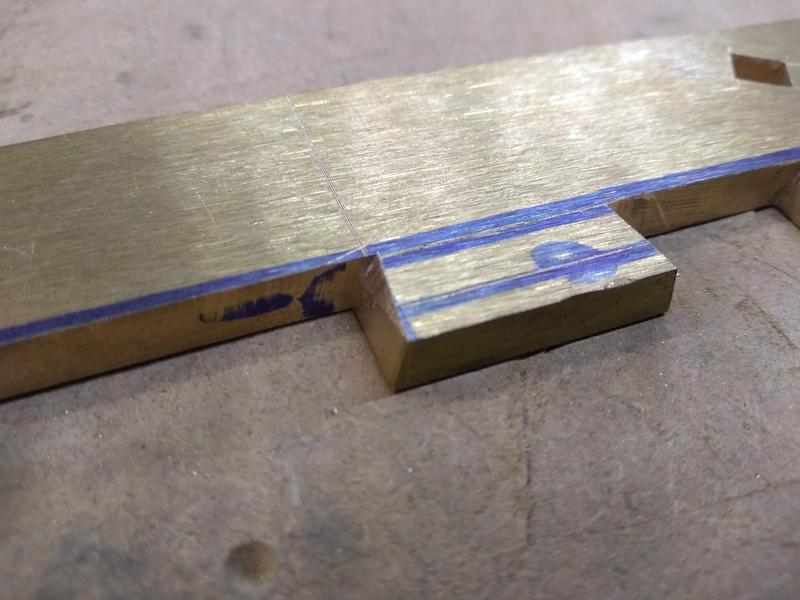
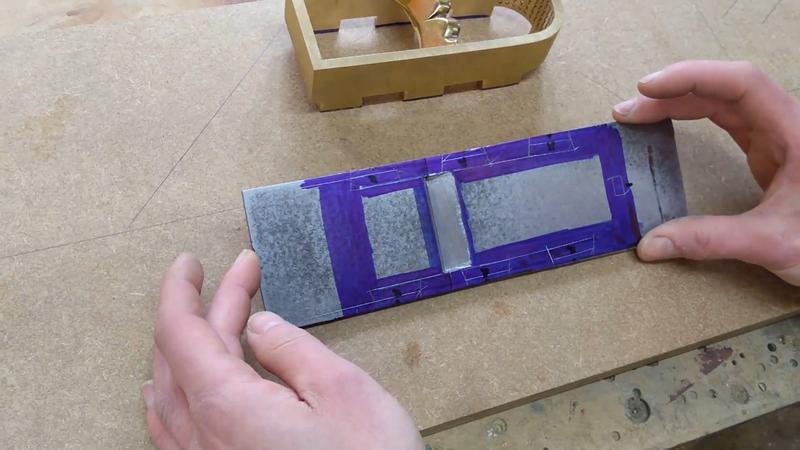
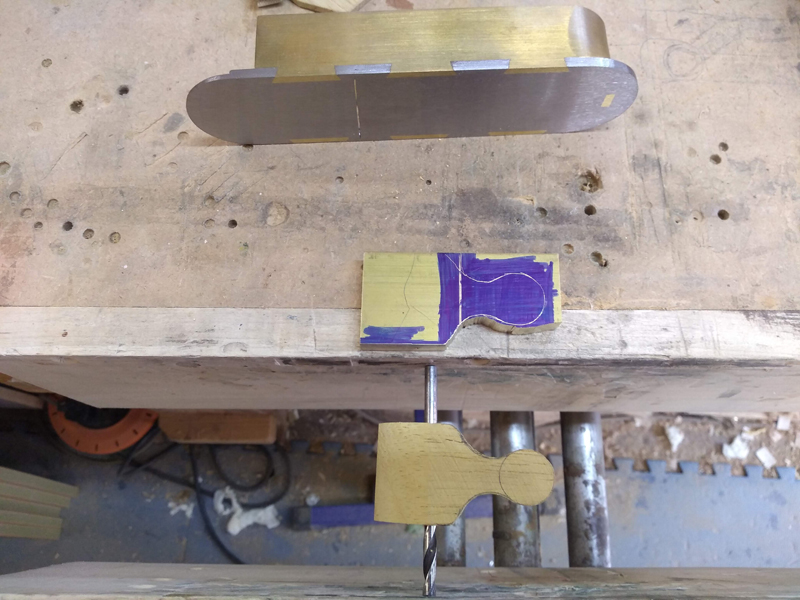
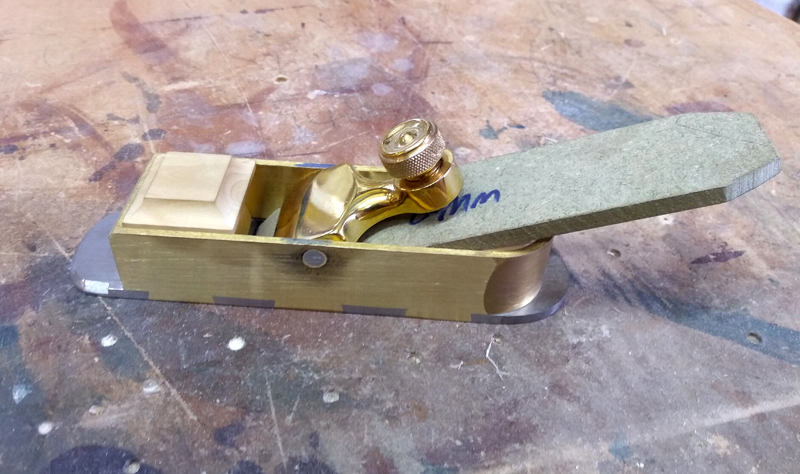
Yes, you sure don't need much of an angle for the dovetails to hold together very securely. As I said earlier, the angle is more for visual than structural effect. For an all-steel plane, I'd make the angle very shallow, and file a 'notch' in the corners of the tails, like this:
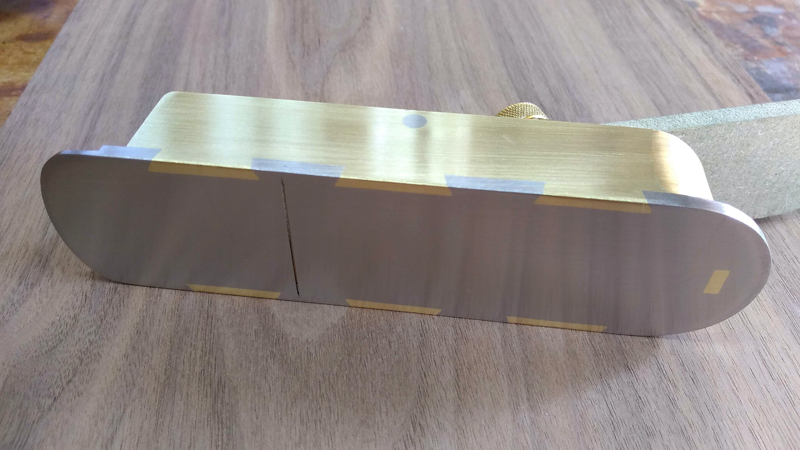
On one small plane I was making, I forgot to file a chamfer on the brass tails on one side. I'd started peening when I remembered. #-o I had hardly begun to fill any of the gaps, so I thought I'd wriggle them apart. But no way were they going to separate without risking severe distortion, so I just hammered them up as they were. After I'd finished & filed off the waste, I was amazed to find I could not easily pick the side that I'd not chamfered from the side I did! Both have quite distinct angles when viewed from the sole side.
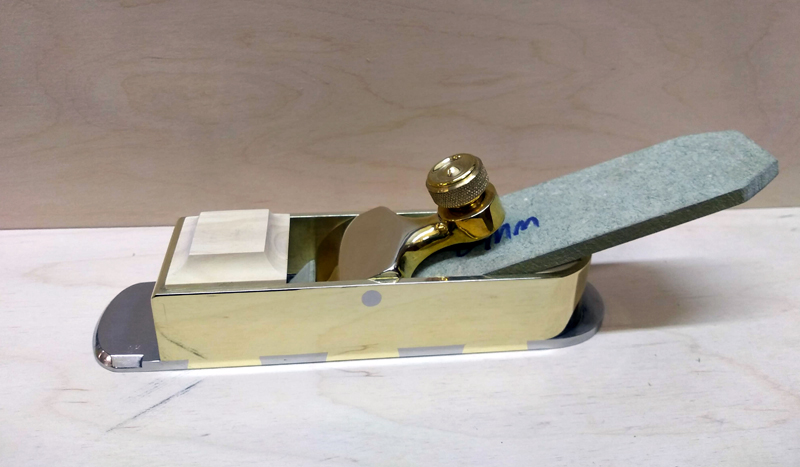
As long as all the gaps are filled, it doesn't matter how wonky the notches are for an all-steel body. I notched the pins on this plane far more than necessary (a conclusion I quickly came to when hammering them up!) but you can't see any of the notches, just a couple of faint lines where the shoulders of a couple of tail sockets weren't as tight as they should have been.

I think there's an ideal amount of extra metal one should allow for peening. To little is obviously disastrous, but you can also have too much. You've allowed what looks like close to 3mm on your mitre plane, whereas I rarely allow more than 1.5 mm (although with big gaps to fill like on those straight dovetails, I might have added another .5 or so). If there's too much extra metal (& this applies to rivets as well), it's hard to get the metal to come over evenly & fill the whole gap from the bottom up. It's too easy to pound it over so the gap
looks closed, but after filing off, you discover nasty voids. Took me a few planes to figure this out & learn to judge the right amount. It's as much art as science because it depends on the actual metals you're working with as well as complications like curving sides when a pin falls on a bend......
But it's all god fun. I think you are learning much faster than I did - I'd give you top marks for all your efforts so far (at least what you've shown us - surely you've made a few good blunders along the way?!

)
Cheers,
Ian


