Comp WIP - Extending Table - Completed! Animation added.

UKworkshop.co.uk

Help Support UKworkshop.co.uk:

This site may earn a commission from merchant affiliate links, including eBay, Amazon, and others.
Well it is finally finished :D

Few more pictures from along the way first

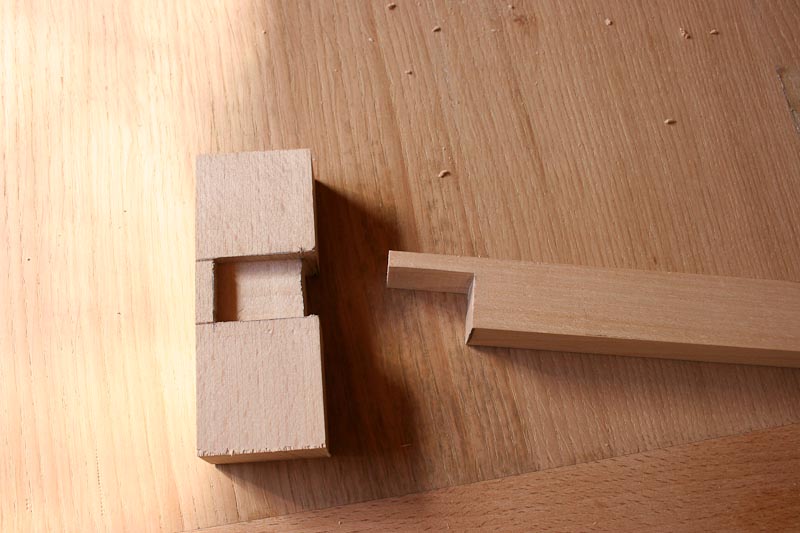
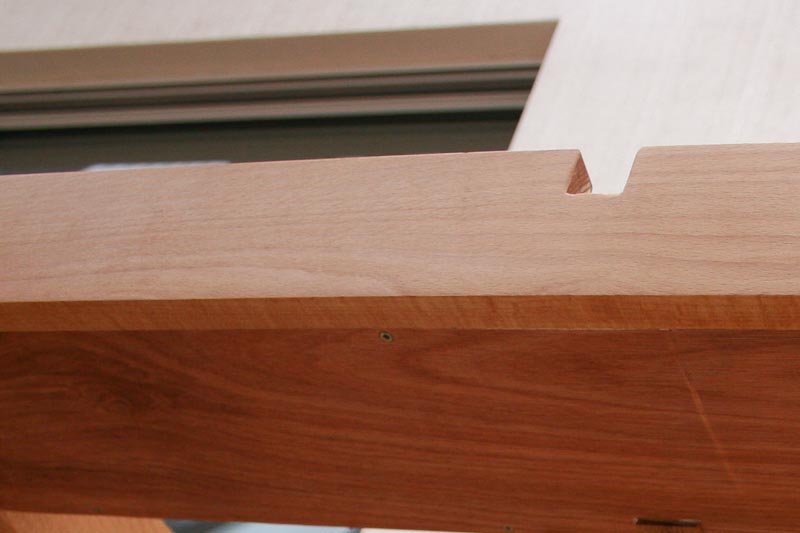
Wanted a strong joint to the handle so did this and glued it up before making the hand hole on the router table
Table053.jpg


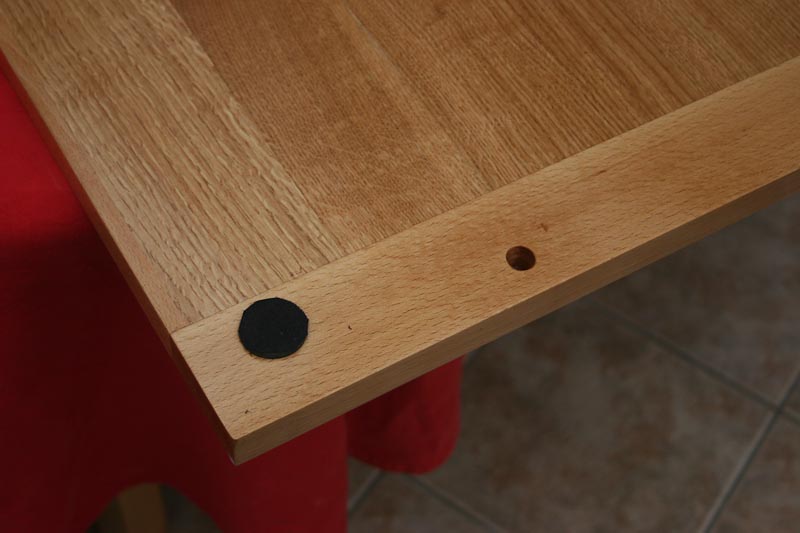
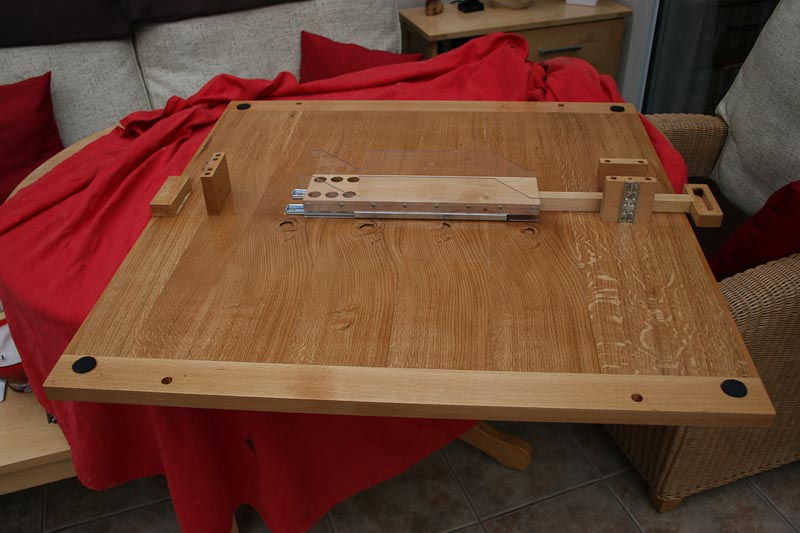
So that the table panels were not wood on wood I drilled some 30mm holes and made some 'rubber' buttons from some semi hard foam with a fabric top surface that I had. You can also see a tapered hole that I added to locate the wings when extended.
Table055.jpg


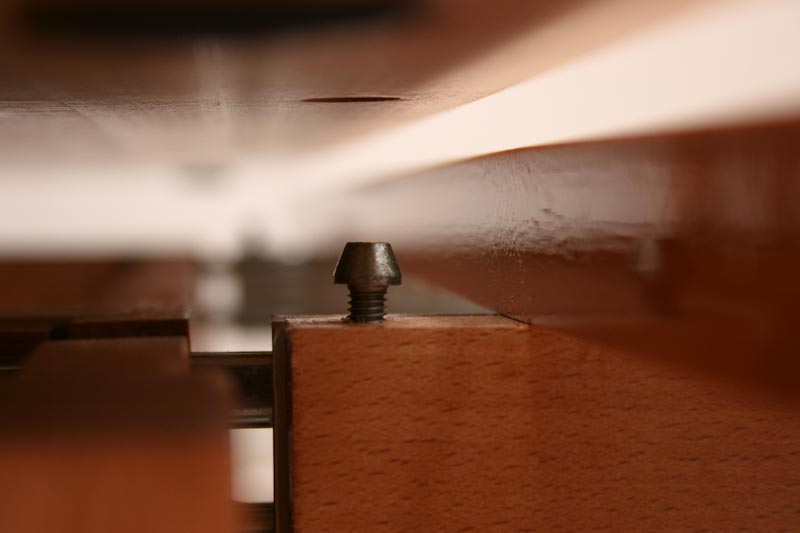
This is the ground head of a stainless steel cap screw that is the alignment pin. It is set in the rail that has the wing fixed to it. This was taken with the table assembled so you can see that tapered hole above it.
Table078.jpg


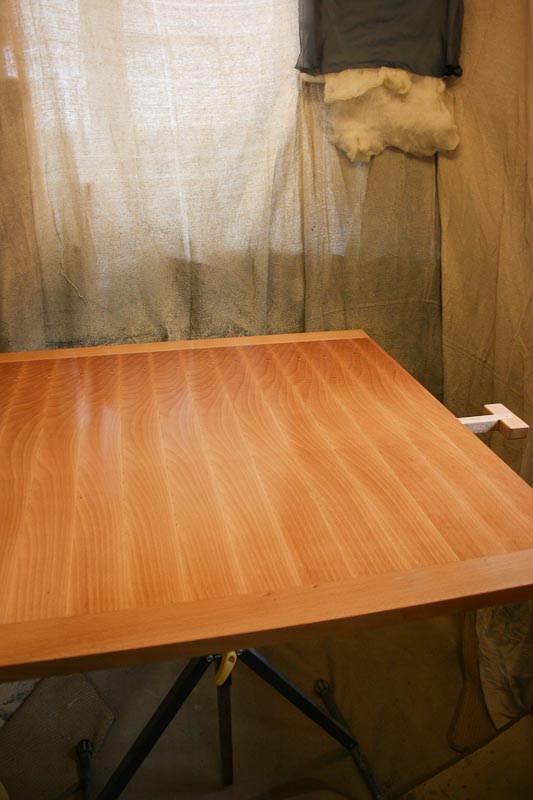
I took advice at the Cressing Temple show and bought some finishing oil. Having tried it out on the leg frame and a test piece for the tops I have to say I don't like it. I tested it against Toolstations Flag branded yacht varnish (which by the way smells very similar) and the yacht varnish was more resistant to marks and abrasions. It also went on a lot nicer. Thinned down to the same viscosity as the 'oil' I couldn't tell much difference between them so i used it thinned as a soak in undercoat. Anyway suffice it to say I sprayed the tops with the yacht varnish.
Table054.jpg


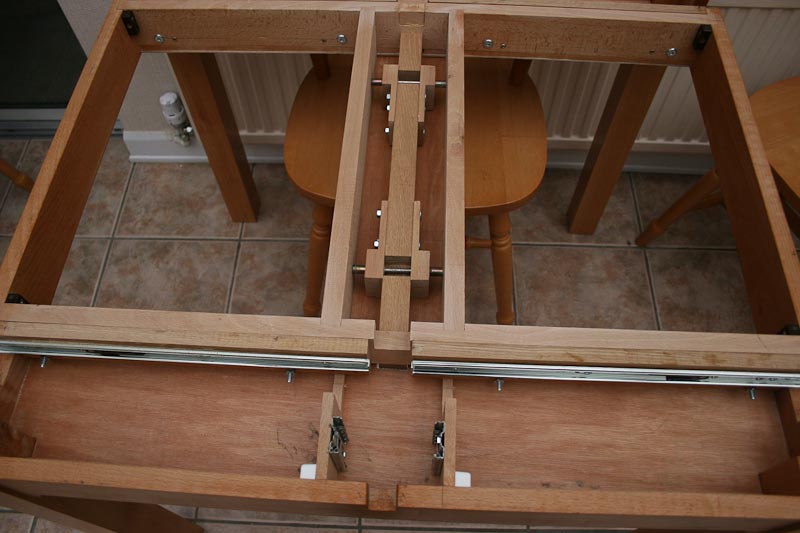
The underside with its raising mechanism and handle. yes those are open knot holes in the Oak but they are well sealed with varnish.
Table056.jpg


I added some mounting strips and enclosed the moving areas to keep out wandering hands under the table.
Table057.jpg


Underside view
Table058.jpg


And finally....

I couldn't face making a video of it in action so I took a series of pictures with the camera on a tripod and a cable release. Then I downloaded a trial of a easy gif animator program and made what you should see below.

Table.gif


It's a bit grainy as I tried to keep the file size down.

Chairs can wait till next year :)
 
Just noticed the thread where I have to post my entry. Wonder if the animation counts as one picture or 16 ? :)

I'll sort something out later.
 
That mechanism is very clever, well done for sticking at it. I'm not sure about the veneered top yet. Got some full res pics?
 
RobertMP":3ja6izbv said:
Just noticed the thread where I have to post my entry. Wonder if the animation counts as one picture or 16 ? :)

I'll sort something out later.
I happy with the animation sequence counting as one pic, so you can post another 5 plus your 350 words in the Competition entries thread - Rob
 
Jeees that is technical! Nice job fella. That Oak on the underside looks really nice too!
 
Well, there goes second place then!! :D

Seriously, I'm pleased to see that your design appears to work very well indeed - have you applied for the patent yet??? It's a modern take on a traditional design - you never know! :wink:

On the one hand, I share wizer's reservations over the appearance of the top... But also, I completely understand why veneered-MDF is desirable here and I think you are to be commended for cutting all those veneers yourself! :) You would have otherwise had to work through a lot of wood to get 'more attractive' grain for the top, while working within the capacities of your bandsaw.

Your animation sequence is also brilliant. by the way.
 
The grain is a bit dominant for beech and if I was starting again I may well of gone for something blander. We think it looks OK :)

I'll try and get a tabletop view tomorrow to add.

Thanks for the comments. Have to confess I'm surprised and pleased it really does work as well and as easy as it looks in the animation.

I spent my working life solving design problems for custom applications albeit in sheet metal and with CNC machines. Nice to know I can still make something original and make it work.
 
I was also going to ask you what this 'mechanism' adds to the cost of your build and also, does it add much to the weight? I can't see it being more than another solid timber panel, just wondering.
 
Well done Robert, great work on that table top lifting mechanism.

A really nice unique and useful table.

Good luck in the competition. Hopefully we can keep Olly in the bronze medal position. Youngwhippersnapper. :wink: :lol:

Cheers, Tony.
 
OPJ":rfbdb24z said:
I was also going to ask you what this 'mechanism' adds to the cost of your build and also, does it add much to the weight? I can't see it being more than another solid timber panel, just wondering.

The cost was 4 x 400mm 35kg rated drawer slides for the wings, 2 x 250mm for the lifting slider and one from a pair of 500mm slides that I butchered for the 3 short slides.. Think the whole lot was sub £20. The polycarbonate flat shapes was material from my old lighting business that I had in the shed. Think I paid something like £60 for the beech. Then there was 1 sheet of 18mm MDF, glue and varnish. So not too much over £100... but a lot of labour.

The mechanism doesn't really add much weight. There is some mechanical advantage in the slope of the lifter so it's not too hard to raise and lower the main panel in a controlled way... even if the table had stuff on it.

Just been to look at the grain pattern again after the comments. Think it is better than OK. I'm still happy with it :)
 
Back
Top