Coffee table and small cabinet - Completed

UKworkshop.co.uk

Help Support UKworkshop.co.uk:

This site may earn a commission from merchant affiliate links, including eBay, Amazon, and others.

RobertMP

Established Member
Joined
29 Mar 2006
Messages
863
Reaction score
1
Location
Woodford Green
Finally getting round to starting on 2 items to compliment the sideboard I made last year. Nothing difficult or unusual about them but I thought I might as well take some pictures as I go along :)

Both items are in Beech and will have the same gloss finish that we have grown to like on the sideboard.

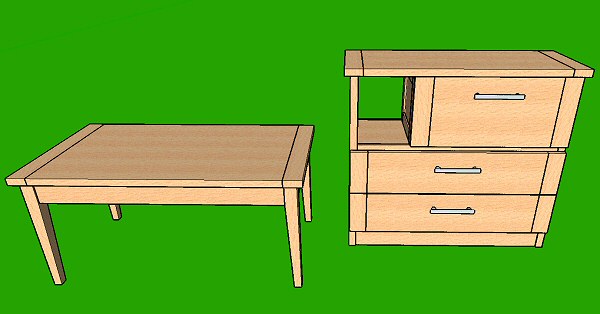
here is a screen cap. of the sketchup

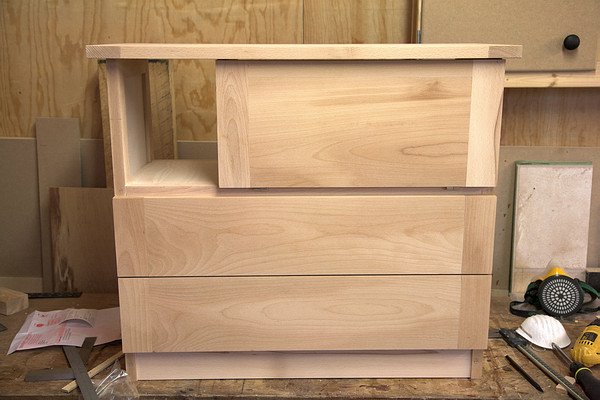
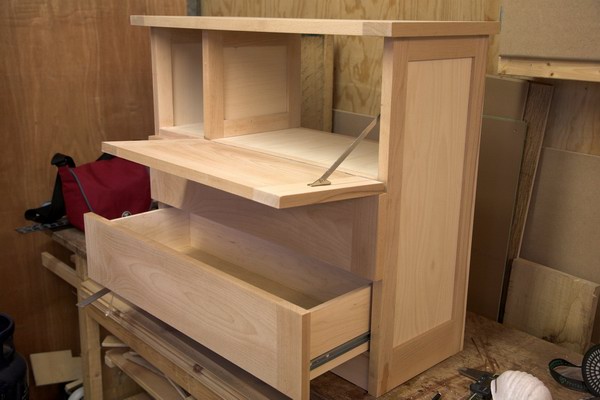
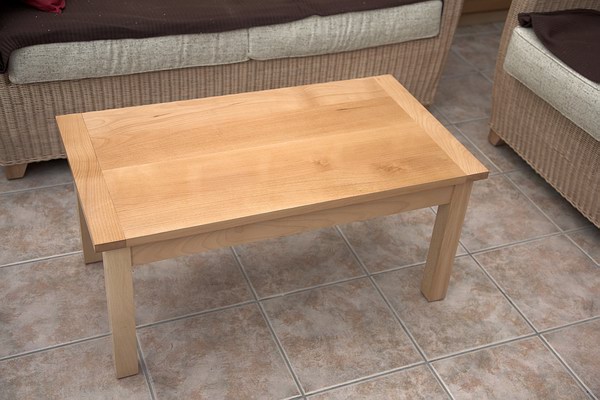
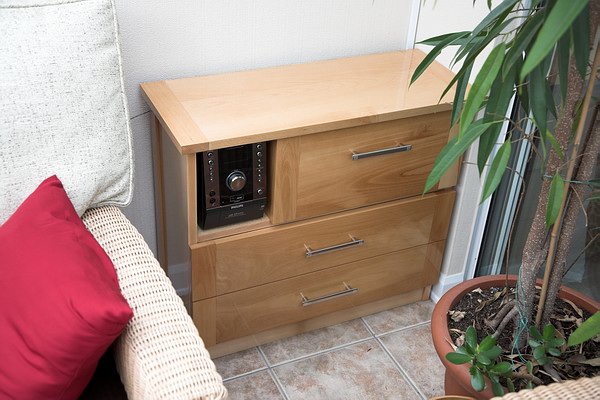
The table is 900 x 500mm on the top and the cabinet top is 780 x 320mm. The space in the cabinet is to take a small hifi unit and there is no back on that part or the space along side. The top drawer face is a drop down flap to give access to the Ipod dock for the hifi and the usual CDs etc that tend to accumulate.

I searched various threads on here for clever drop down flap hinges and found a few options but the prices for a pair of hinges seemed ridiculously high - guess they would normally have huge trade discounts taken off. Anyway I adjusted the design so that I can use a simple plain hinge of some kind and some stays.

tncsketchup.jpg


I'll update this thread as I go but I'm off for a holiday soon so there will be a break in proceedings :)

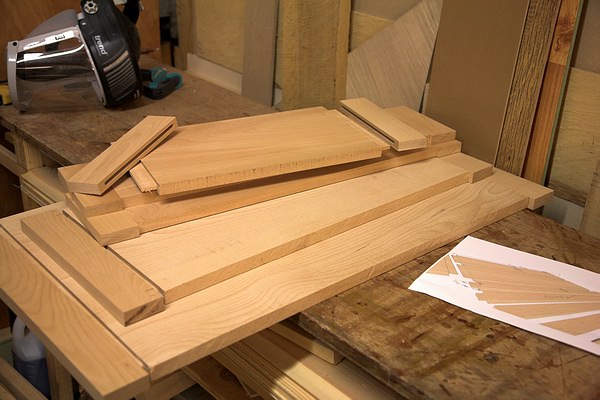
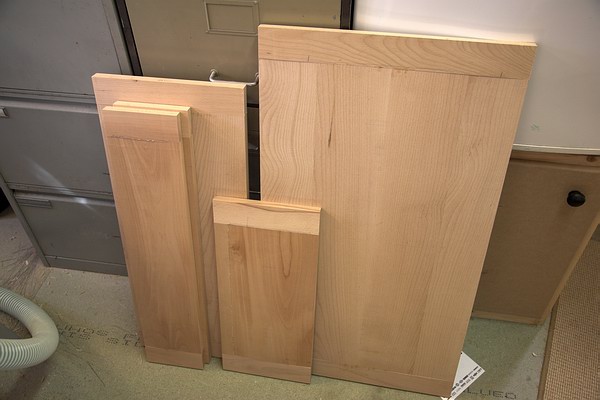
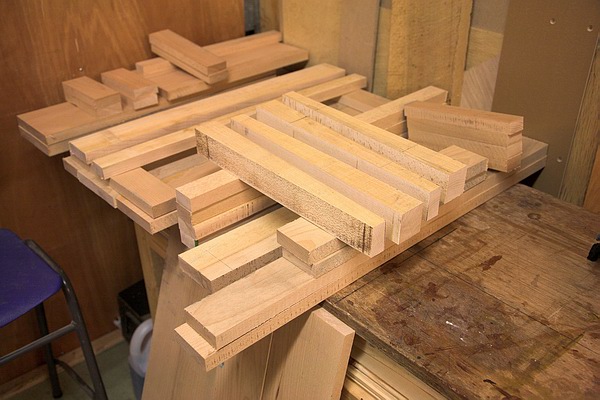
So having printed off reams of paper from sketchup I now have all my rough cutting done.
tnc01.jpg


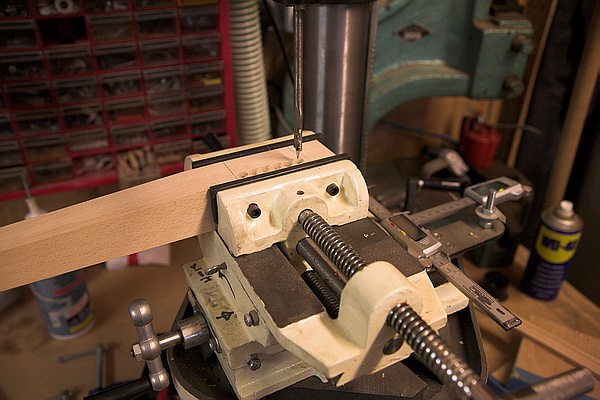
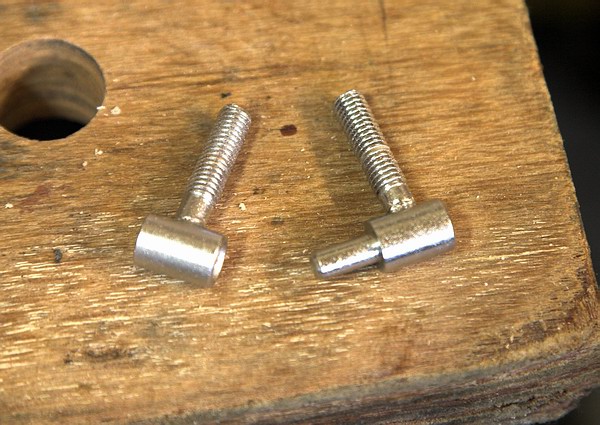
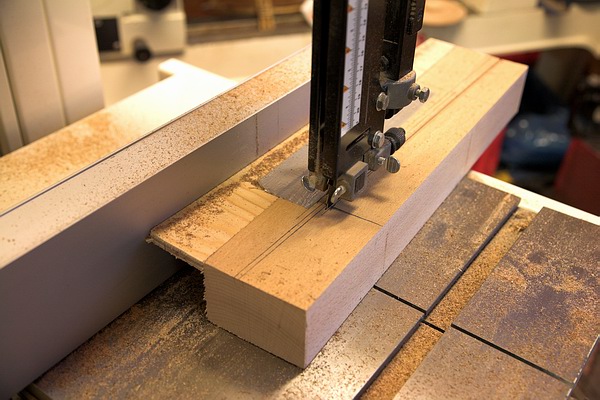
Wasn't sure how to go about the tapered legs. made a simple plywood wedge and taped it to the blank for 2 legs. Seemed to work. Bandsaw blade is starting to get tired now so cutting is slower than it should be. I'll get a decent make next time :)
I'll leave the second taper cut until I've squared the straight sides up.
tnc02.jpg
 
Not a lot to report. Got everything planed to finished size and all the bits with joints on the end cut to exact length.
tnc03.jpg


Routed slots for biscuits using my low tech jig.
tnc04.jpg


And got the main panel of the table top glued. Ran out of glue so the cabinet top has to wait until tomorrow. Fortunately the panel is over width so i can lose the bit where the corner came off when thicknessing. bin liners keep the glue off of the clamps.
tnc05.jpg
 
Cut the tenons using on the router with my 'squaring jig'
tnc06.jpg


Made a taller MDF face fence for making the deep grooves in the breadboard ends.
tnc07.jpg


Table top, cabinet top, drawer faces and door.
tnc08.jpg


Clamped the ends on and drilled for a dowel each end. Then took it off and elongated the hole in the tongue into a slot for movement.
tnc09.jpg


Made a start on drilling for the mortices. Pencil lines are for reassurance! positioning is from the 2 el cheapo digital verniers I butchered and attached to the compound vice for digital readouts. :)
tnc10.jpg
 
having been away and left this for some time I thought I'd better just revisit the thread to say i have completed these items at last!

Didn't take a full set of pictures along the way, but i did take some so...

tnc11.jpg


The side and back panels are set into grooves. the shelf panel is set flush in a rebate. Piece of ply in the bottom makes the whole thing completely rigid.
tnc12.jpg


Tops and drawer faces before sanding
tnc13.jpg


Had a plank of maple I didn't need so that got resawn to make drawer boxes.
tnc14.jpg


trial assembly before finishing
tnc15.jpg


tnc16.jpg


All the hinge solutions I found I didn't like! Then I saw these pin hinge things in B and Q. M6 threads on both parts. I drilled and tapped 2 holes in the face panel and with the hinge pins facing each other marked and drilled 6mm holes in the cabinet face. Then pilot drilled for small woodscrews to bite the threaded rod from underneath so they do not come back out of the holes. Quite pleased in the end as it is very neat and works well.
tnc17.jpg


Finished table. Tapered legs ended up in the bin as it was decided straight ones would look better.
tnc18.jpg


And the finished cabinet. Ipod dock and other things with wires attached are behind the drop flap - hence the backless design.
tnc19.jpg


I'm pleased with the way they turned out and they compliment the sideboard well.
 
Great Job Robert! I really like both the cabinet and the table. Are you going to use any CD rack inserts?
 
Very nice, Robert =D> Have you noticed much movement of the breadboard ends on the sideboard since you made it?

Cheers :wink:

Paul
 
The little stereo takes those usb stick things as well playing mp3s on a CD and having an ipod dock... so there shouldn't be too many CDs laying around :)
 
Very nice Robert - and many thanks for the WIP piccies. I've always been nervous of breadboard ends for all the reasons given - but I guess it'll depend on how dry and well seasoned the timber was. And I believe beech is pretty stable anyway. Lovely finish - what did you use?
 
They both look really good Robert. Your comment about chucking the tapered legs has got me thinking. I'm finalising a design and it is a question of whether to taper or not. That table certainly shows parallel legs can look the business too.

David
 
Very nice work, I'm particularly interested in the coffee table design as I'm planning something similar very soon for myself. It does appear to work very well with the square legs. I intend to add a lower shelf to my design, so may consider tapering below this... I guess that's where SketchUp will come in and answer that question for me! :wink:

Can I ask, how have you fitted the top to the frame? Buttons and screws are my preferred method, but I'm concerned about fixing in to the breadboard or, having to compensate for that by adding a narrow breadboard instead... Just interested to know what you did.

I'm pleased to see that you were brave enough to attempt dropping on to the router cutter when it came to cutting the grooves in the breadboard. Steve Maskery keeps telling me how safe this kind of operation can be, but I might use the morticer and several tradtional tenons instead. :)

I bought the Ash for my project back in October, after it had been air-dried and very briefly dried in a kiln. It's been indoors ever since - I think it should be dry enough for breadboards, don't you? :wink:
 
The designs and methods are all based on the sideboard I made. There are pictures that show how the top is held on (page 3 i think) and the finish details etc.

https://www.ukworkshop.co.uk/forums/view ... hp?t=17429

As to dropping on to the the router cutter - it was completely un dramatic I am pleased to say. I am grateful to those that post their woodworking injuries on the forum though - I am constantly aware of not putting my hands somewhere they could slip towards a cutter!

Thanks for the comments :)
 
Couple of nice looking pieces here Robert, well made and finished. Personally, I would have stayed clear of cleated ends as I've had some disappointing results in the past with shrinkage in two different planes but the ones you've done on these pieces look to be sound - Rob
 
Yes, a nice job overall. Neat and clean. I agree with Rob about the 'breadboard' ends, but that's because they remind me of Wartime utility furniture, where they were adopted to hide the laminations of plywood, often including mitred frames all around.

I have one of those small Hi-Fi players. Great for playing my downloaded jazz from the Memory stick!
Nice one
John :)
 
Back
Top