Build thread- My concrete workshop. Pg4 Bench built.

UKworkshop.co.uk

Help Support UKworkshop.co.uk:

This site may earn a commission from merchant affiliate links, including eBay, Amazon, and others.
I would skip the pva and just paint it, plus i would use white to keep it as bright as possible :)
 
Good news then, one less thing to do haha.

I'll stick with the light grey so it doesn't get as dirty as quickly, plus grey will still be a hell of a lot brighter than the dirty ply colour it is now.
 
PAUL_TDI":pd5v14q9 said:
Good news then, one less thing to do haha.

I'll stick with the light grey so it doesn't get as dirty as quickly, plus grey will still be a hell of a lot brighter than the dirty ply colour it is now.


It'll look like the inside of HMS Invincible :lol: :wink:
 
Well it's only taken 11 months to get electric down there but now it's in I'm just itching to get my bench built and actually start using it for other things other than building it.

As always, pics speak a thousand words...

Mu twin security light, 1 pointing towards the path to the house, then one for more towards the shed and workshop doors aswell as Penny the ferret should we need to attend to her later in the evening.


Here is my impatient mount of the light so my spark didn't have to try and get a good fit directly to the concrete. Impatient being that in future I'll wait A LOT longer between coats.


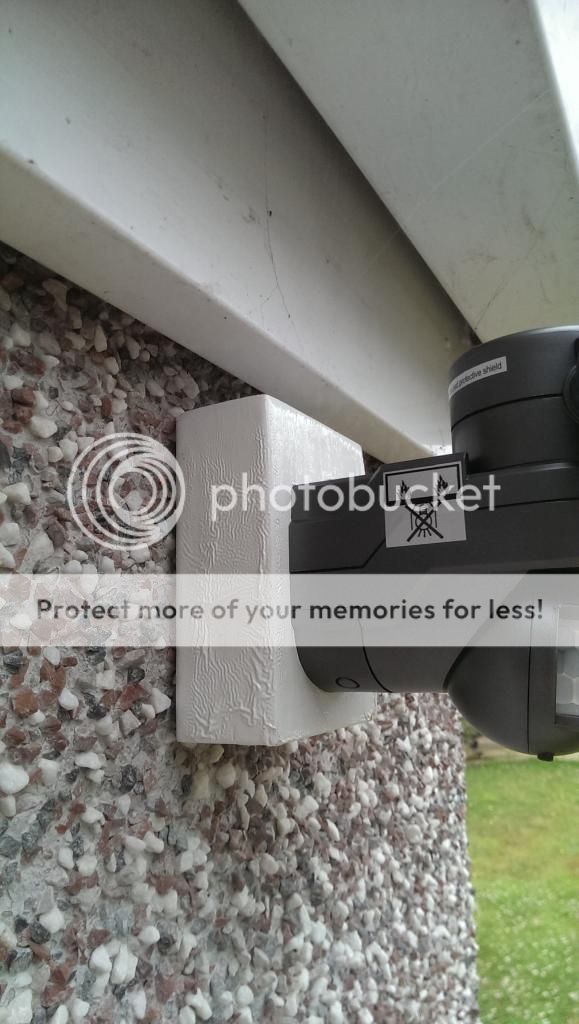
Thankfully due to the forward thinking (read: fluke) My ply lining had a small 2'x1' board on the other side of where the security light was going, so I was able to remove this board and insulation and drill some holes, 1 for a screw to mount the mount and 1 slightly larger hole which matched up with a hole in the mount to pass the cable inside neatly.


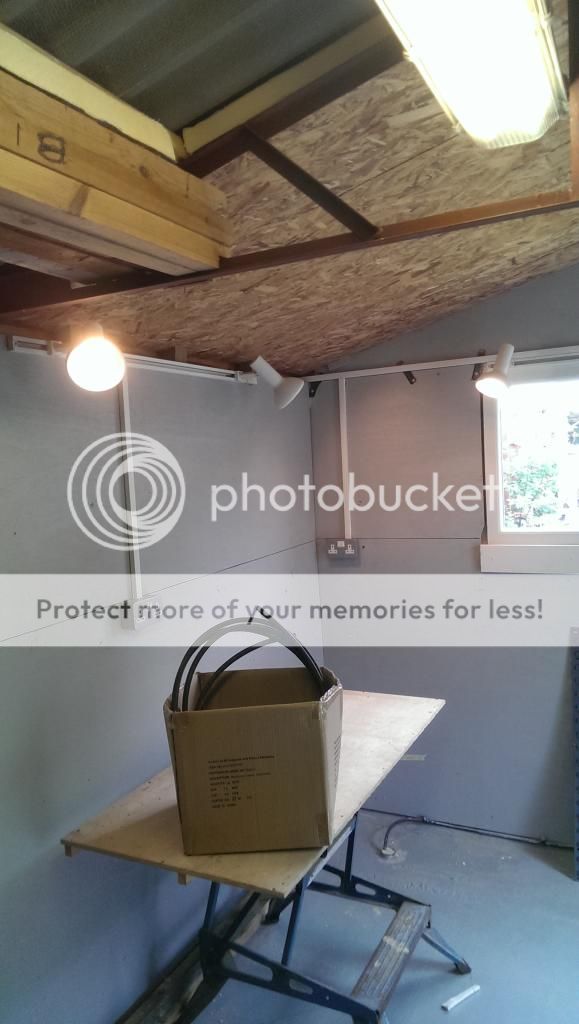
I only have power down this end because everywhere else is basically going to be storage. My Dad donated me the rather handy sliding spot lamps.


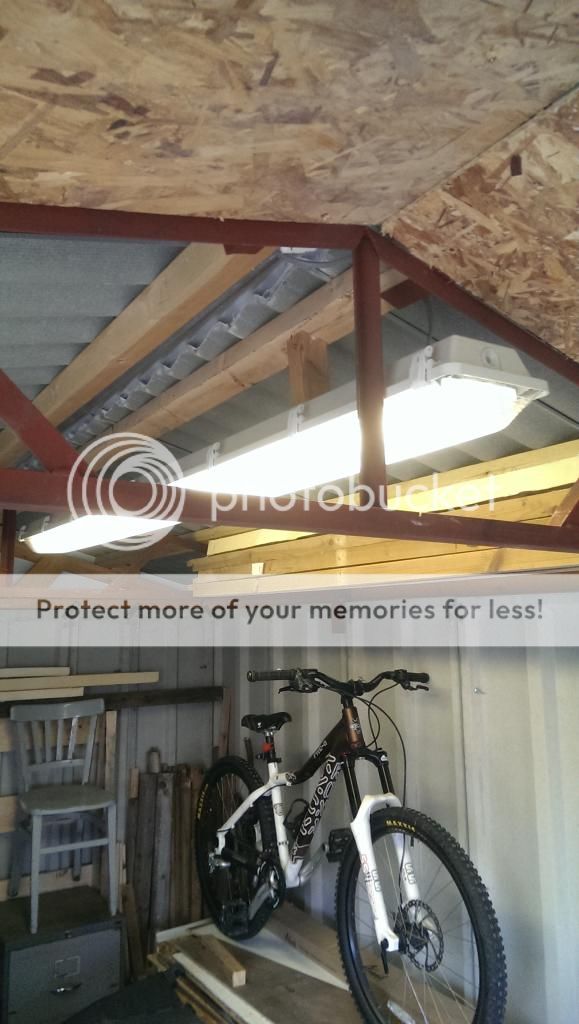
And my father in law donated me this double flourescent tube unit which lights the rest of the workshop very well. My sparky made a couple of timber mounts to get it to sit where I wanted it.


Then away from the electrics after a few failed attempts I finally got my grubby hands on some steel racking each shelf being 3'x2', I have only used 5 upright lengths to do this so far;


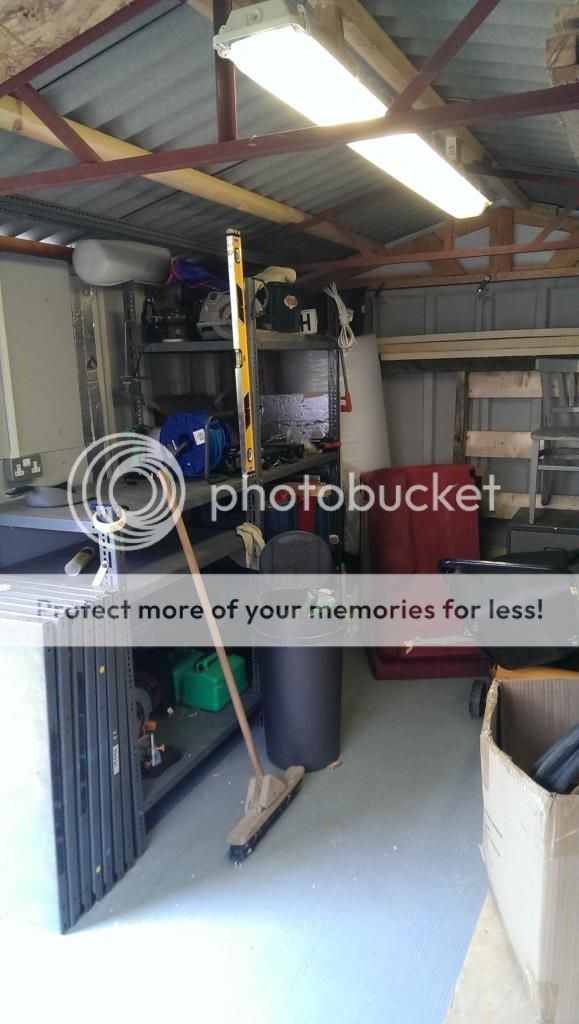
I still have 5 left and more shelves than I can shake a stick at! Possible bargain for the build, 35 quid for 10 uprights, 21 shelfs, bag of bolts and some cross braces from another type of racking. I have to say after looking more closely at the uprights it's Dexion 225 slotted angle stuff......£110 odd for 5 uprights!!!!! Couldn't believe my luck after being picked to the post on ebay and facebook twice already.

I've got my eye on some 8x3 reclaimed beams to use as my bench top, I already have some old 4x4 fence posts for the legs, some 4x2 for the main top frame and plenty of 3x2 and 2x2 for various other cross member and bracing.
 
I've still not had a chance to start work on my bench.

However my old workbench is now in the right building at least..


And the shed got the OSB treatment mainly to try and use some of the offcuts that are still in the workshop.


I have a few woodworking tools on there way to enable me to build the bench in the coming weeks.
 
So when you go to start building your workbench out of lovely reclaimed timber only to realize that its very twisted, now I'm sure a good carpenter could of made do with it and made adjustment to the joints, but I didn't want that problem to overcome.

So bought the cheapest wood I could find which happened to be fencing timber.


4 hours of labouring over the above has left me this....


I've also got the front upper and lower beams cut with joints, so will do the back ones then assemble front and rear frames.

I also made my first little project in the workshop last weekend...


Base and stalk are made of spare timber I have knocking about and the 'house' is made out of pallet slats. I've since given it a couple of coats of yacht varnish.
 
The finished (nearly) article.

Top side rails on, annoyingly my 4x2" timber was smaller than the fencing 4x2, so the sides sit a little lower.


Bottom side rails in, no fancy joints here.


Prepared bracing for the bottom shelf


Put some side cross braces in


Very pleased with my cutting for the nifty fit


And in situ...


Will probably get 4 lengths of 6x3" for the top and use some thin ply as a back board.

I'm very pleased with it, even without the top on it doesn't wiggle a mm, only rocks a couple of mm where I have placed it due to bad floating on the concrete as it's where my electrics pipe poked through the floor.
 
Another trip to Wickes today, I bought 6.0x100mm screws for the top, by the time I drive them through the top 10-15mm that will leave a good 25-30mm in the frame.

I have also bought my first plane! An old Record No.4, it needs cleaning up a little but it was in usable condition which was the idea for the time being to shave down the heights of my shims on the ends, which after a little sharpen up on the wet stone it worked very well, even with my limited knowledge on plane adjustment and use.


Dodgy crack in handle (tote?)


In the end I bought 9x3" for the top as it's all my local yard had in 3" thickness which they insisted on me buying the offcuts. I've trimmed the 9x3" off cuts to fill some of the space at the back which will leave me with a 24x4" tool well at the back, which I'm trying to build with slopped ends for easy brush out.

The pics...

Trimmed and glued a thin plank to the top of the side rails...


I used the circular saw to cut the excess off which turned out to be tall enough to glue straight onto the other end. I then used the plane to bring down the shims to the correct height so they were flush with front and back.


A little mock up of how the top will be...

 
Got some more time out there this afternoon.....

First plank glued and drilled readying to be screwed down...


I don't have any long clamps so out came the ratchet straps to pull the planks into position before screwing


So the back part is made up on some 3x2 with a 45 degree cut as each end, some 12mm chipboard in the middle, merely to raise the bottom and then 9mm ply on top.


Voila....


Just need to the trim the ends, once thats done I'll mount the back board properly, Just has a couple of screws in at the moment for the pics.
 
Back
Top