


RossJarvis
Established Member
Well then, I thought you might be interested in my further attempts at backyard chipentry. Even if you’re not I’m still going to start posting about it anyway. Having got a couple of Japanese saws I thought I’d look up my Japanese tool book again. In there, the author mentions the traditional Japanese Carpenter’s tool-box, which seems very basic and simple and functional. “Hey hey” says I, “even I could make that, shouldn’t be too difficult!”. How wrong could I possibly be? Scouting around t’internet there’s a good few how to do these and probably a few on UKWorkshop too. However this is different, this is a “how not to build a Japanese(ish) tool box!”.
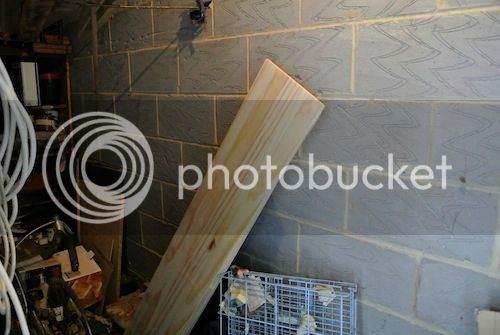
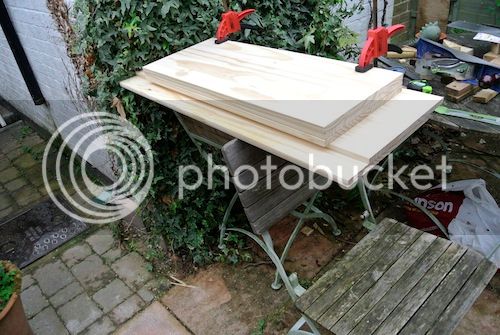
So then, I found a passing friend going to B&Q, cadged a lift and got some 12” by 1750mm boards;
…got round to finishing some low Japanese saw stools I’d started;

and ventured once more into the “workshop”;
I had bought 3 boards, having “ahem” carefully worked out how many I might need to do the job from my immaculate plans;

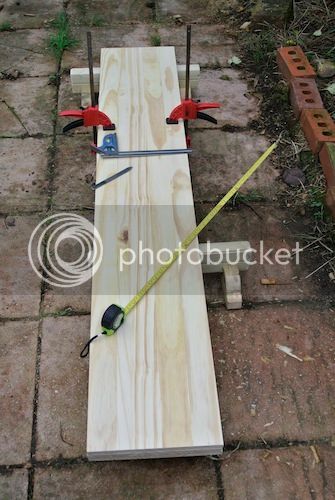
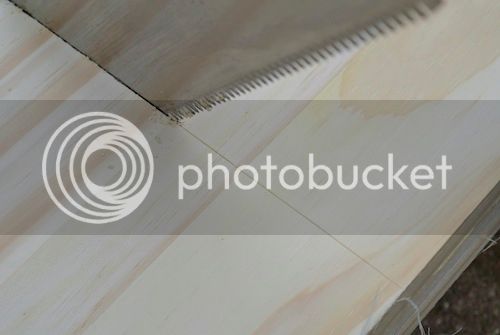
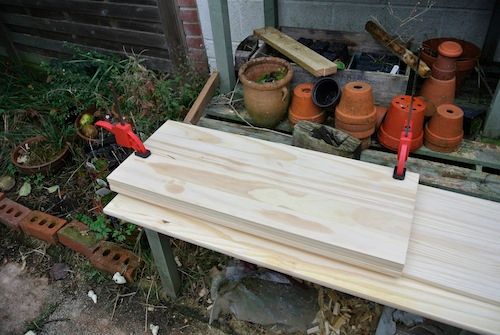
First thing was to work out how long to make it, my initial idea was to make it as wide and as high as a board and long enough for the longest tool to fit in. As this is going to be my longest saw, I stuck a saw on the board at the end at an angle;
The front? of the saw is where the end of the inside of the box will be and there’ll be a bit of board across the top end about 3 inches wide, so I added 3” onto the end of the handle and rounded it up to a nice round number, this’ll be 30” long. Next I marked square across the board;
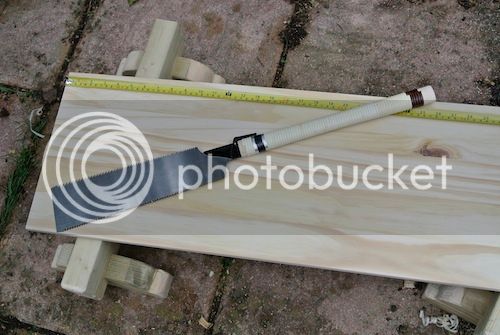
…notice my nice new Japanese marking knife? My old Footprint is not pointy and only works one way round, so instead of grinding it pointy I spent some money instead. ……and then cut three boards all at once;
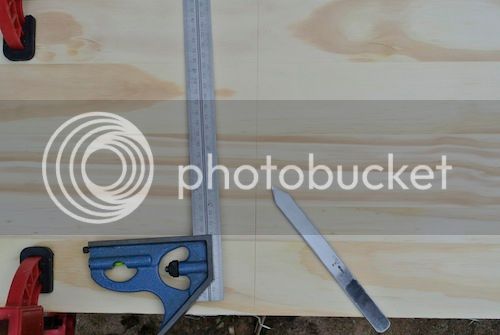
…at this point I’m quite chuffed by following the line very closely and cutting right next to it and it’s cut square;
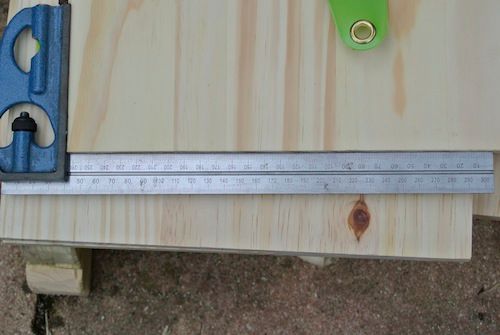
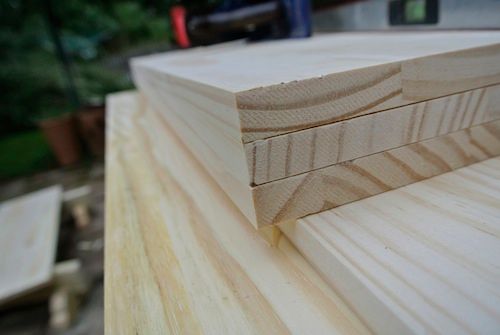
Next thing I realise is the board is rounded down one edge, “It’s shelving you plonker, course it’s got a rounded edge!”, plus one of the boards is a few mm narrower than the other two;
Hmm, this quick and easy five minute job’s starting to look like a bit like a two or three day-er now. So time to sit down and have two cups of tea to sort out what to do. The boards’ll need to be the same width, or two will at least, plus I think I’ll need to have flat tops or bottoms to glue to the other bits. Wot I needs to do is plane the edges flat, together. I could try clamping them together and standing them up, but I’m sure there’s a better way. Aha, why not make a shooting board says I!;
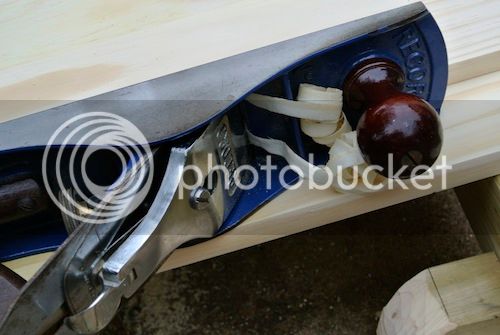
So I get two of the other board ends, one sticking out to run the plane on, and one recessed to give clearance for the iron to plane edge and out with my trusty 5 ½ ;

Shhh shhh shhh and some nice long shavings;
However, after a little while the old lumbago started playing up and I realised why the Japanese sit on the floor with pull-planes, so I thought I needed some elevation;
…nope, that aint working;
…yep, that’s better, a couple of clamps and some wedged strips and oooh look at those nice fine shavings;

(it almost looks like I know wot I’m doing for a second!). shh shhh shh for a bit and;
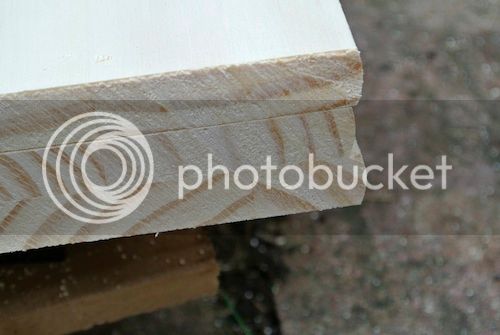
there’s some nice level boards and….;
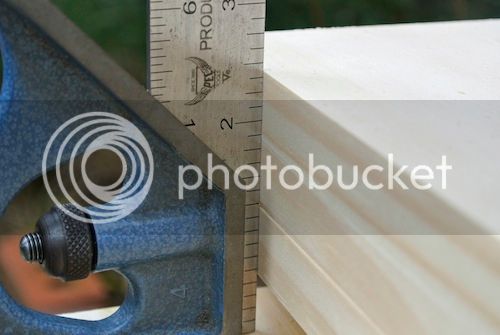
yep, that’s square;
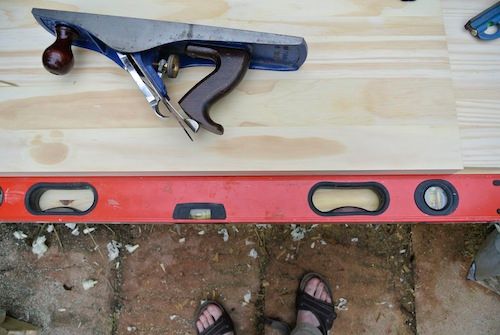
and straight.
To be continued…….
So then, I found a passing friend going to B&Q, cadged a lift and got some 12” by 1750mm boards;

…got round to finishing some low Japanese saw stools I’d started;

and ventured once more into the “workshop”;

I had bought 3 boards, having “ahem” carefully worked out how many I might need to do the job from my immaculate plans;

First thing was to work out how long to make it, my initial idea was to make it as wide and as high as a board and long enough for the longest tool to fit in. As this is going to be my longest saw, I stuck a saw on the board at the end at an angle;

The front? of the saw is where the end of the inside of the box will be and there’ll be a bit of board across the top end about 3 inches wide, so I added 3” onto the end of the handle and rounded it up to a nice round number, this’ll be 30” long. Next I marked square across the board;

…notice my nice new Japanese marking knife? My old Footprint is not pointy and only works one way round, so instead of grinding it pointy I spent some money instead. ……and then cut three boards all at once;

…at this point I’m quite chuffed by following the line very closely and cutting right next to it and it’s cut square;

Next thing I realise is the board is rounded down one edge, “It’s shelving you plonker, course it’s got a rounded edge!”, plus one of the boards is a few mm narrower than the other two;

Hmm, this quick and easy five minute job’s starting to look like a bit like a two or three day-er now. So time to sit down and have two cups of tea to sort out what to do. The boards’ll need to be the same width, or two will at least, plus I think I’ll need to have flat tops or bottoms to glue to the other bits. Wot I needs to do is plane the edges flat, together. I could try clamping them together and standing them up, but I’m sure there’s a better way. Aha, why not make a shooting board says I!;
So I get two of the other board ends, one sticking out to run the plane on, and one recessed to give clearance for the iron to plane edge and out with my trusty 5 ½ ;

Shhh shhh shhh and some nice long shavings;

However, after a little while the old lumbago started playing up and I realised why the Japanese sit on the floor with pull-planes, so I thought I needed some elevation;

…nope, that aint working;

…yep, that’s better, a couple of clamps and some wedged strips and oooh look at those nice fine shavings;

(it almost looks like I know wot I’m doing for a second!). shh shhh shh for a bit and;

there’s some nice level boards and….;

yep, that’s square;

and straight.
To be continued…….


 . Looking at a lot of Japanese joinery, there's a strange reliance on very crude nailing for much work, wheras the Western tradition is more on tenoning and dovetails etc.
