Toolbox - WIP

UKworkshop.co.uk

Help Support UKworkshop.co.uk:

This site may earn a commission from merchant affiliate links, including eBay, Amazon, and others.

carlb40

Established Member
Joined
17 Dec 2012
Messages
2,347
Reaction score
0
Location
birmingham
Further to this thread
some-pre-toolbox-cabinet-wip-questions-t76029.html


Well i have been wanting to make a toolbox for a while, so i have decided to go ahead and start one. It will be for my door hanging / 2nd fix hand tools only.
I will be mainly using materials i already have. It is going to be just a plainish rectangular box, nothing too fancy. ;)

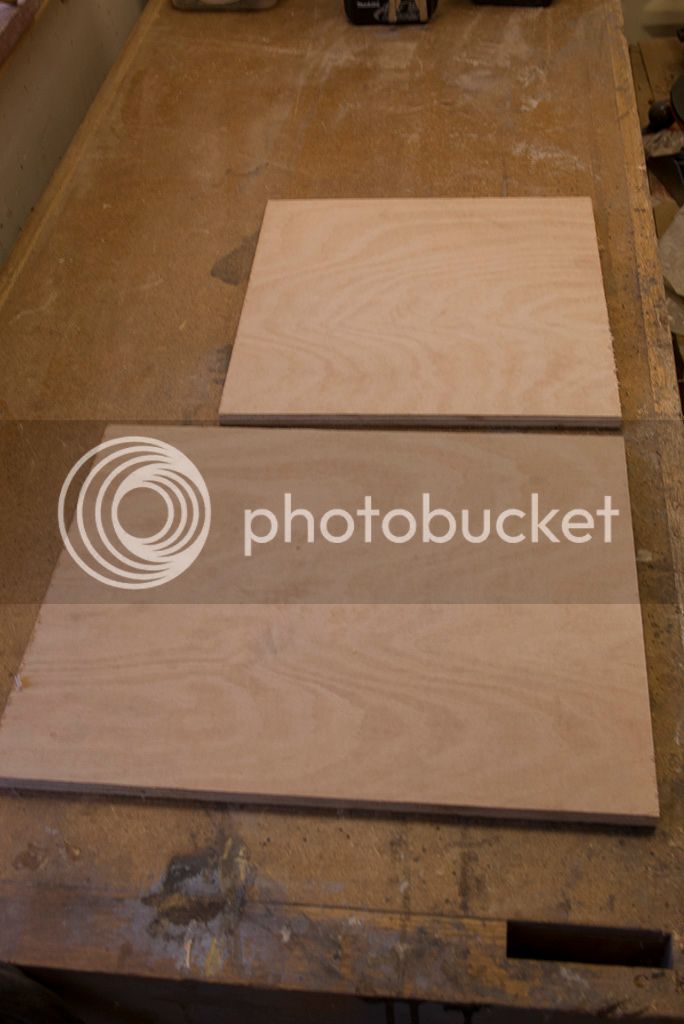
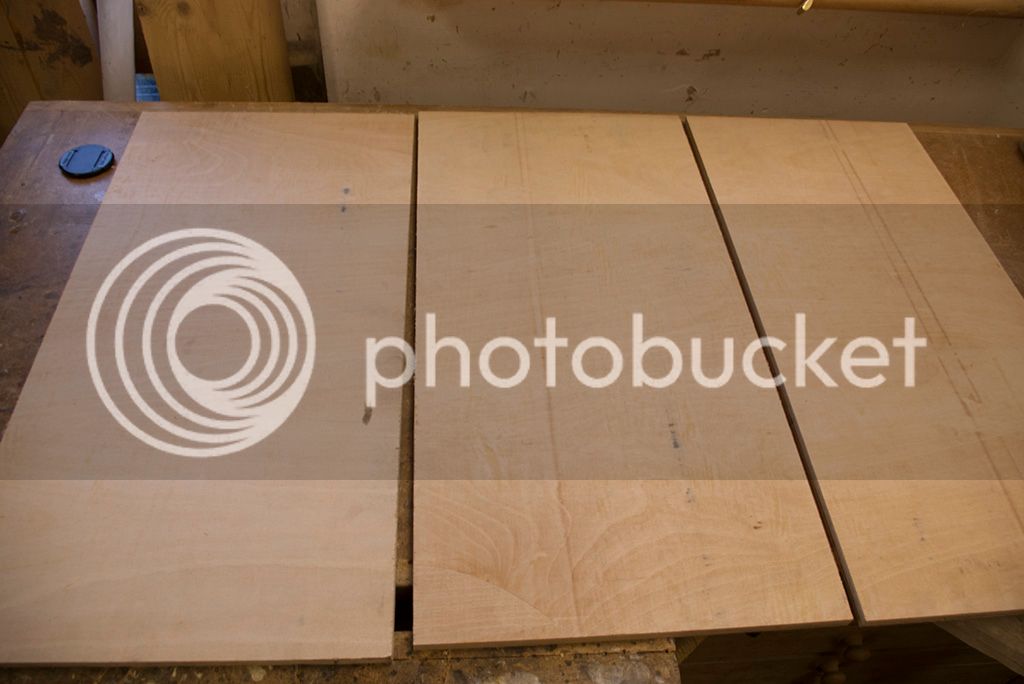
The main box will be 12mm hardwood exterior ply - acquired from a job last year. While not up there with birch ply, this stuff ( from travis perkins ) is quite good with very few voids. :)

Any way the drawing of said box.

plan.jpg

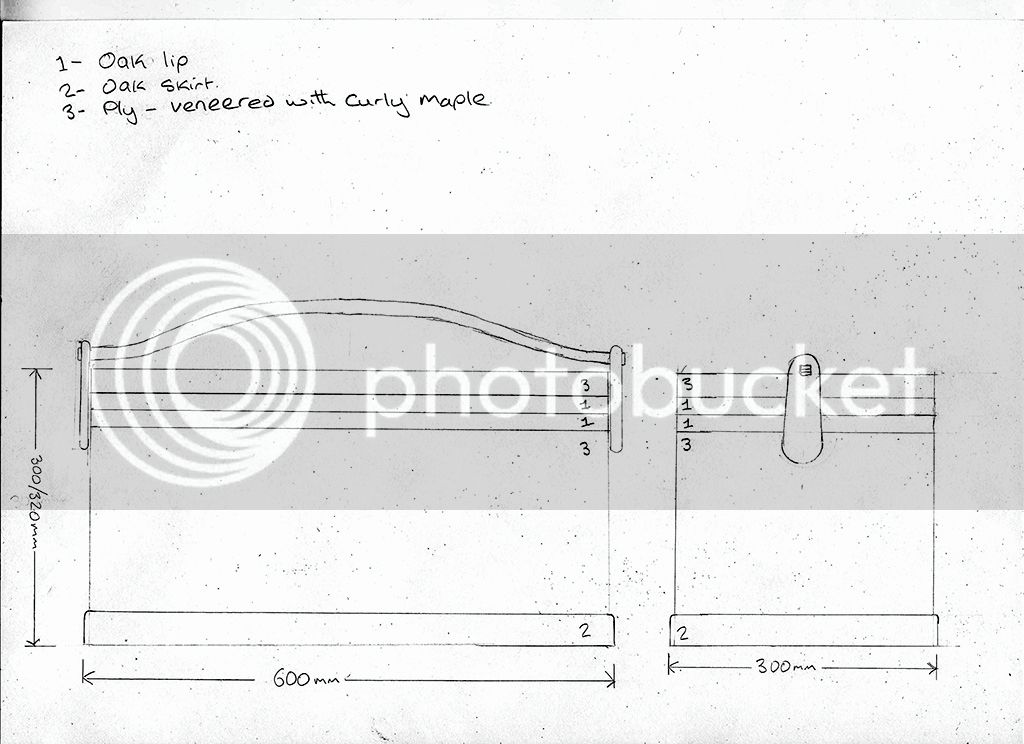
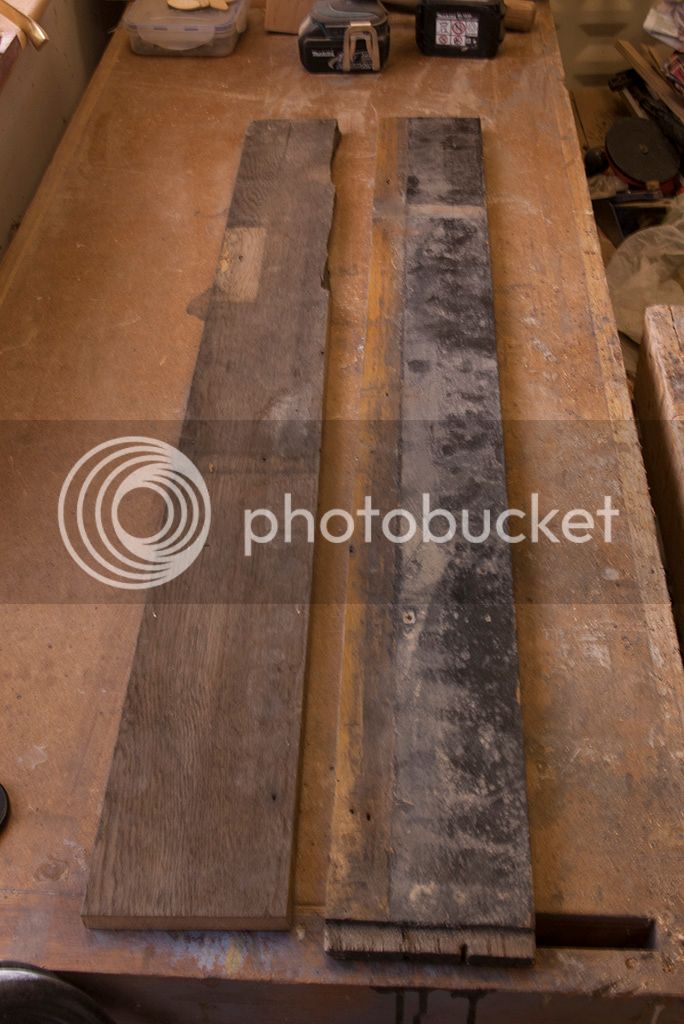
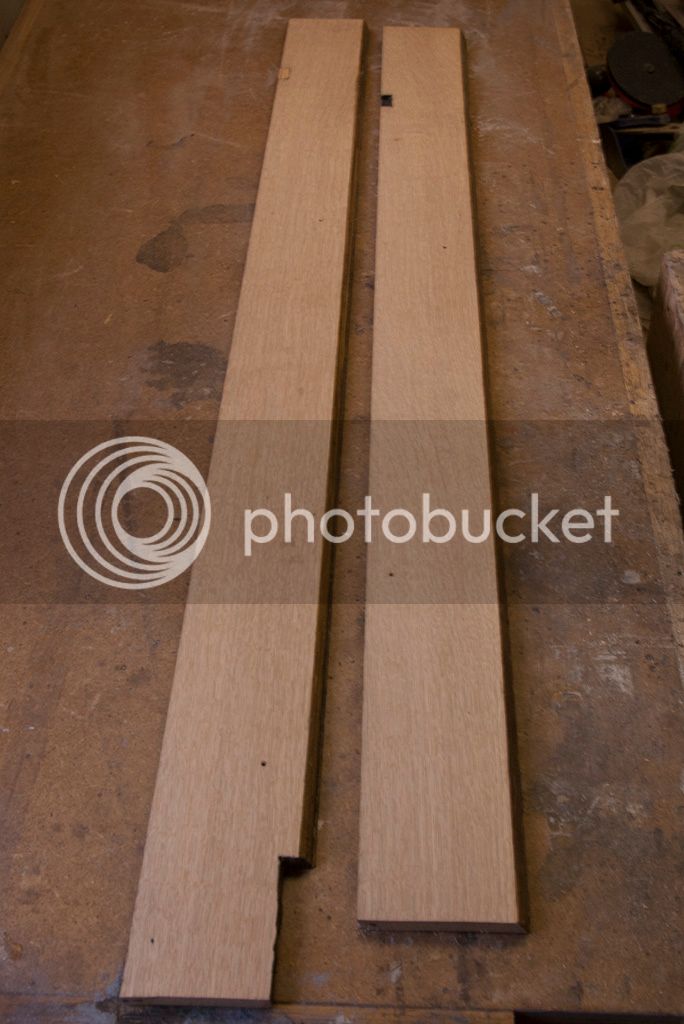
As you can see - starting at the bottom. It will have an oak skirt to give some protection to the bottom.
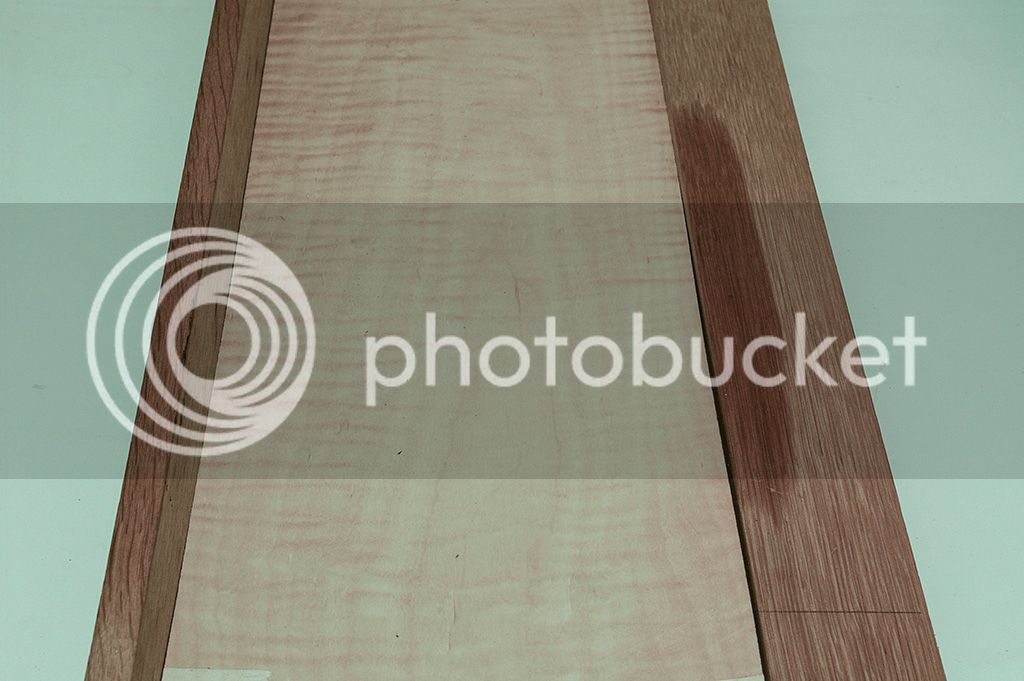
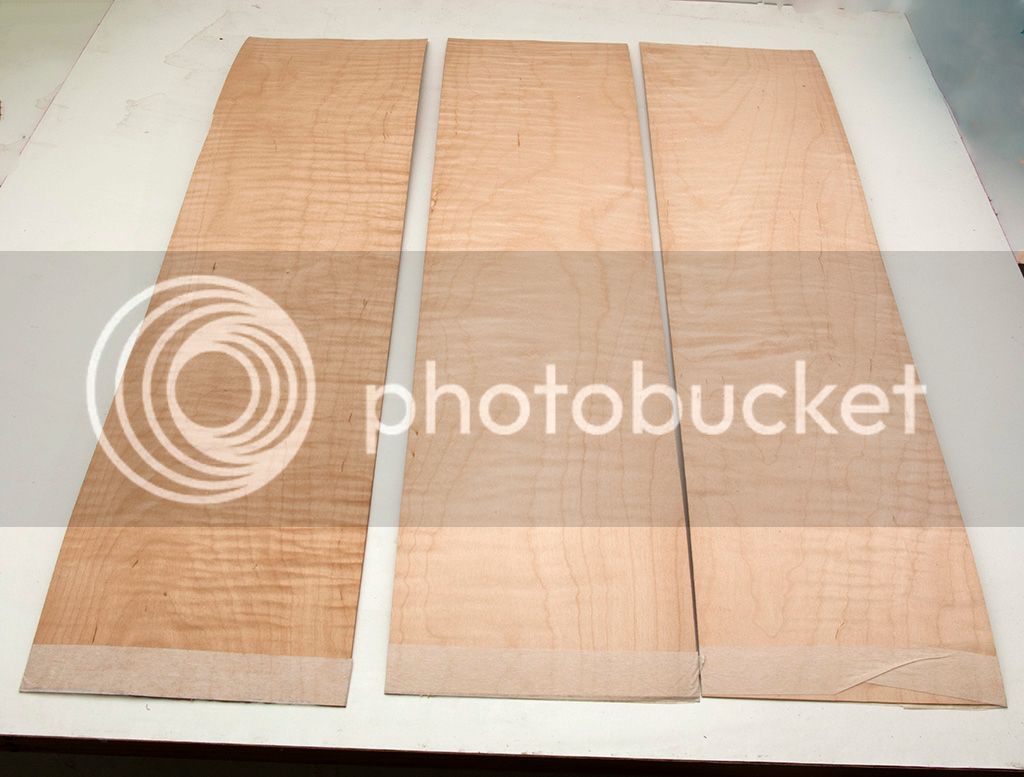
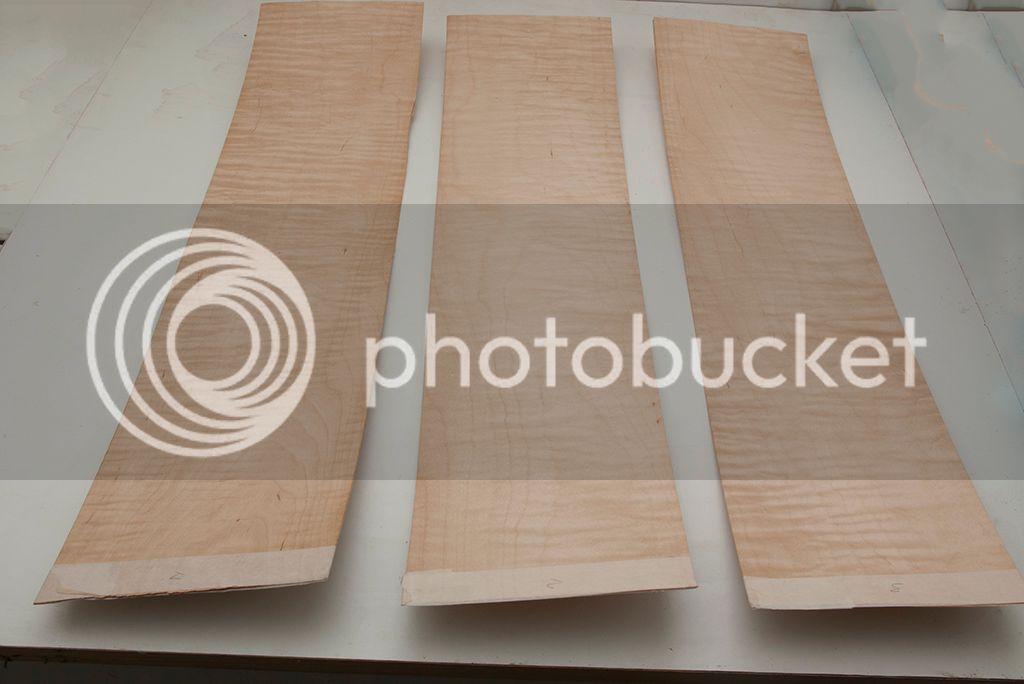
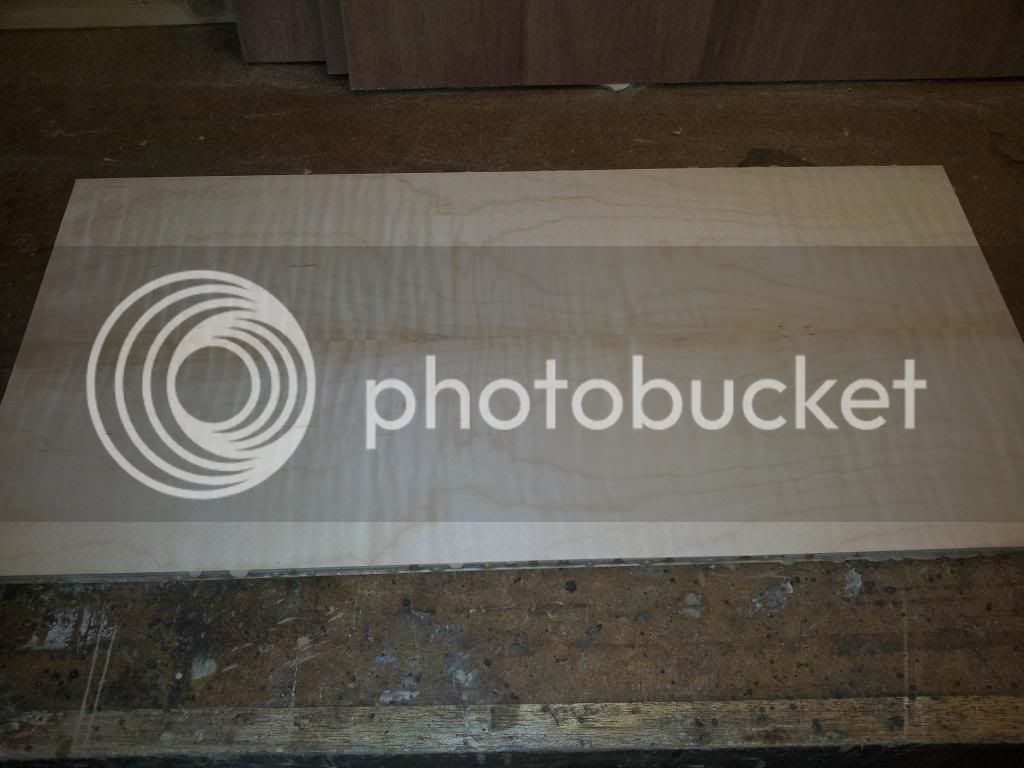
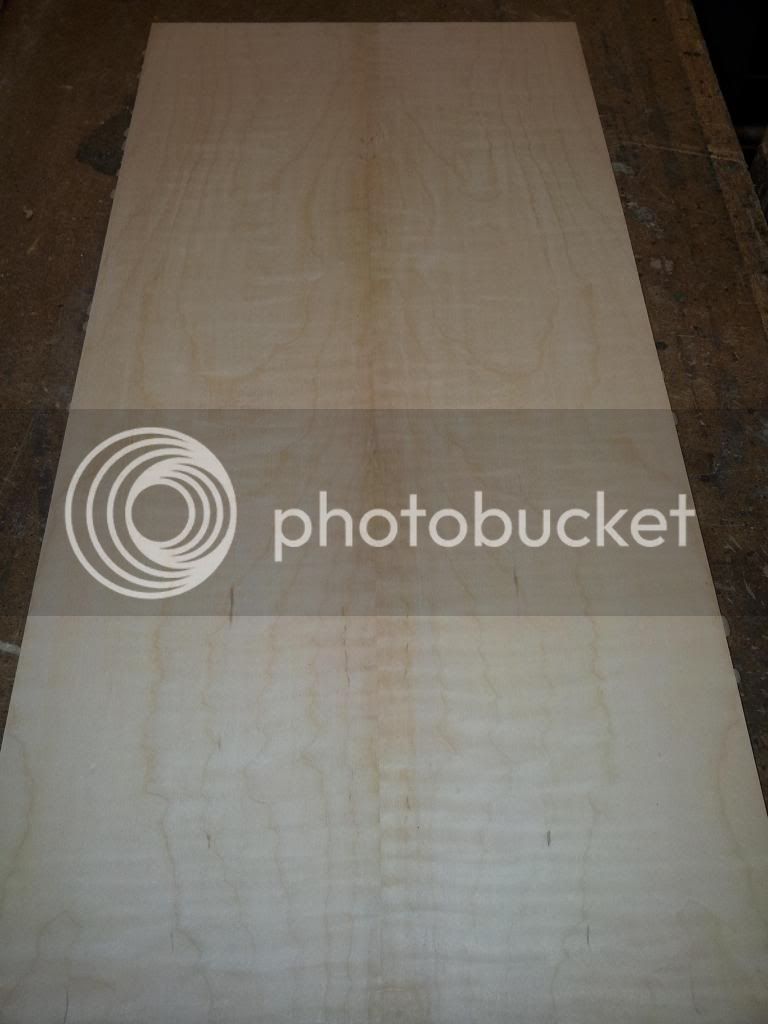
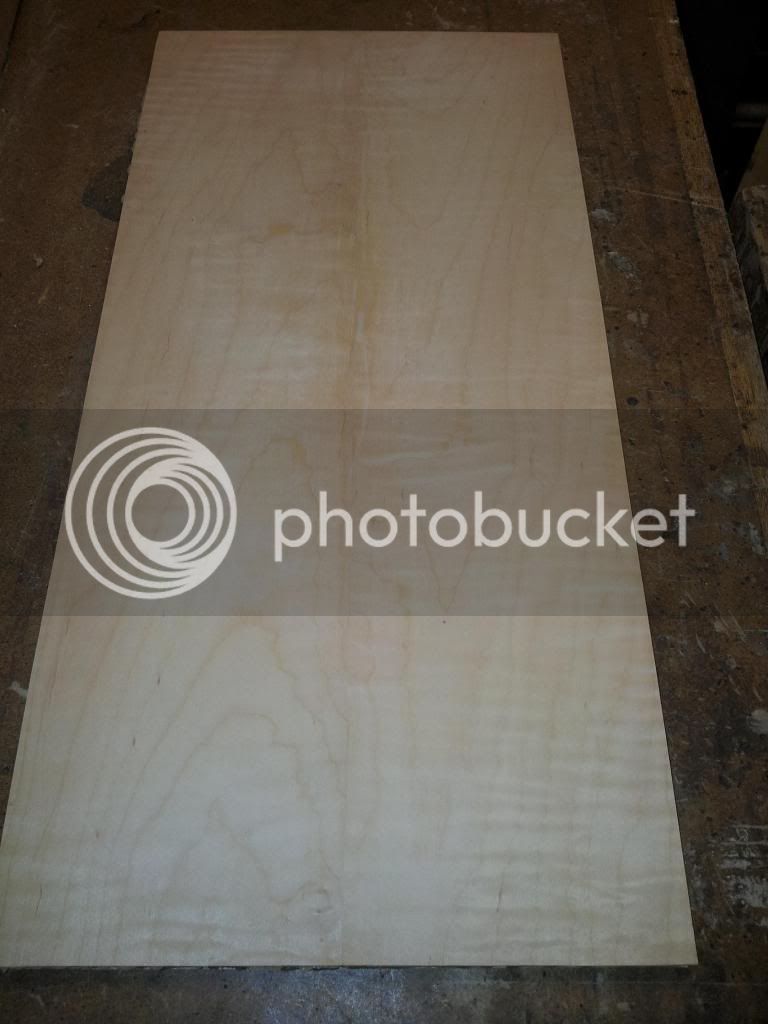
Then the ply - yet to be veneered - This will be my first time veneering. :shock:
Then we have 2 lots of oak lips again for decoration/ protection.
Then a bit more veneered ply to form a lid.
One detail not shown on the drawing. The corners will be mitred and reinforced with biscuits. Then further reinforced with dovetail splines.

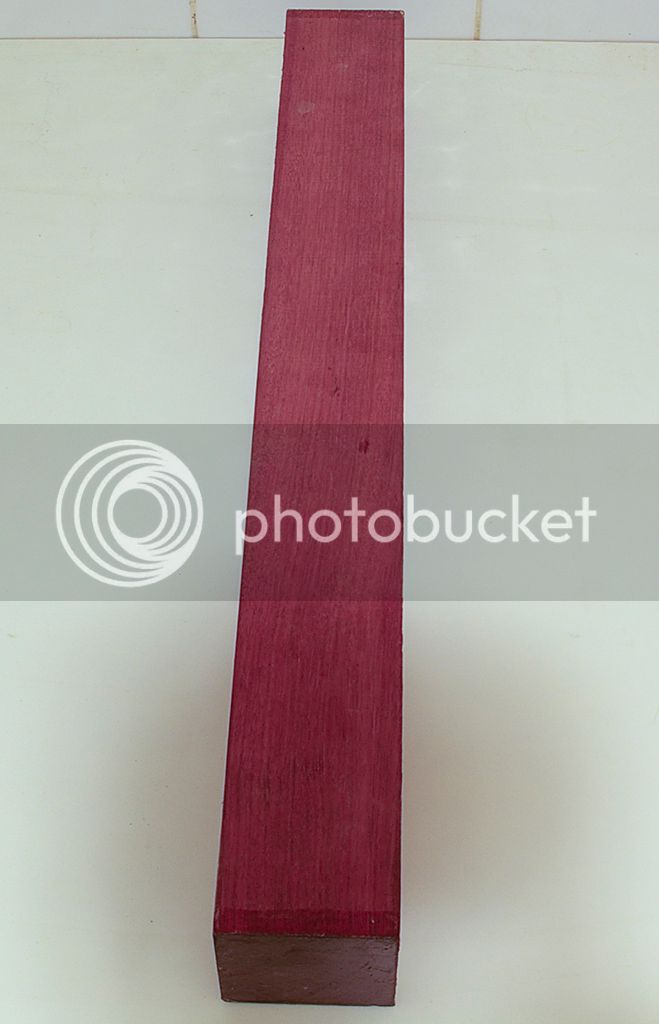
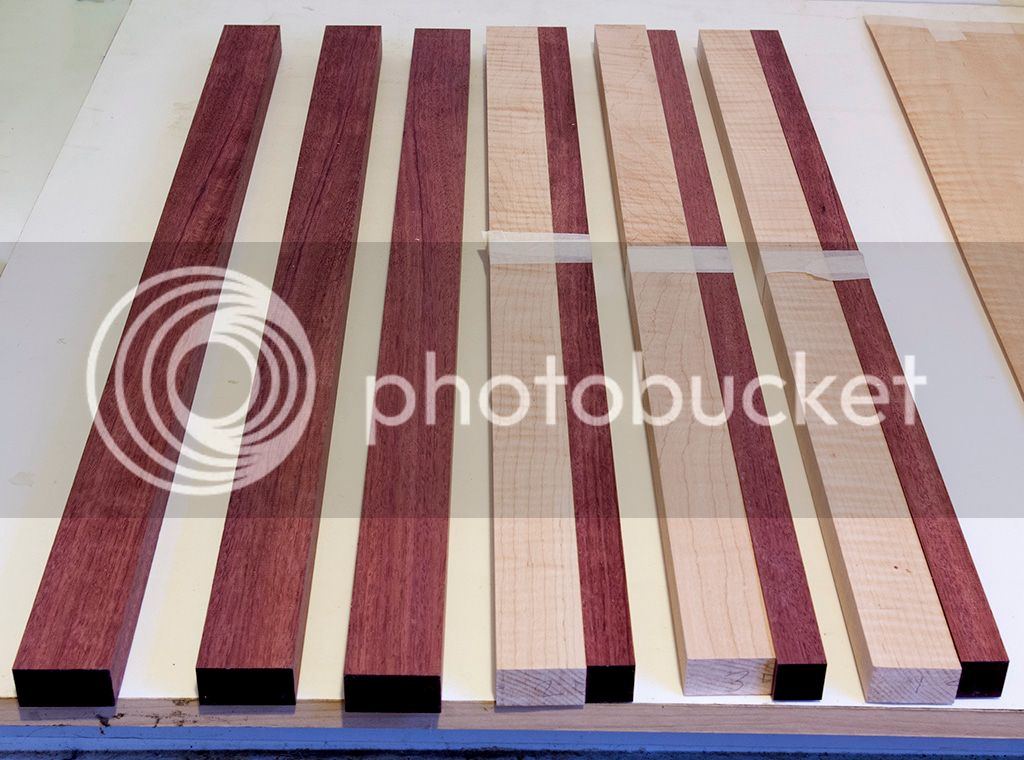
The handle will be a curved contrasting hardwood, through wedged tenoned into the hardwood tear drop shaped pivots on the box sides.

Inside will be a lift out tray -made from solid oak. Mainly for the various marking/measuring tools.

Some details still need to be worked out. Hardware is still to be decided on.

If anyone can see any glaring issues please mention them.

EDIT

After popping down to the workshop and looking at the full size profile drawing, The height of the box will actually be around 260/265mm not the 300/320mm shown in the drawing. :oops:
 
After sorting through some oak and seeing what i could salvage/ use from my stock pile oak. I found some that could be used. Spent a few hours denailing/ machining up the timber.

Here we have some of the timber for the tray, i forgot to take pics of the stuff for the lipping/ skirt #-o It looked very similar to the other oak, but without the medullary rays once machined :|

This is how it all looked at the start.

oakbefore.jpg

Then after machining it turned out quite good.

oakafter.jpg


As you can see? It has some quite good quarter sawn markings, so should be quite stable.

quartersawn.jpg


Then cut the ply to rough size

ply1.jpg


ply2.jpg
 
Well after all the oak was machined up, a bit of disappointment set in. The oak designated for the skirt/lippings was plain and not really what i wanted. So i placed a piece of the veneer on some ply along with some of the oak.

oak1.jpg


oak2.jpg


I left it for a few days, kept looking at it. Seeing if it would work for me or not. There was some contrast there, but to me the oak/ maple seemed too similar. Wiping a bit of oil on the oak helped, but i just wasn't happy with it. :|
So off i tootled to google and searched for oak/ curly maple box. I think out of all the hits, one oak/maple sample turned up. I guess there is a reason curly maple/ oak aren't used together much. :lol:
Also i had a small piece of walnut which was brought to life with a quick wipe of the oil. So that and a piece of purple heart was placed by the veneer.

The contrast i was after was there. :D

Now while i was thinking the box out originally, my thoughts were to use either purple heart or walnut. However i was trying to save a few quid by using my oak up.
During my oak/maple box search i came across something - a smallish box and in my eyes it gave me the look i was after. :D :D

So the search began for some suitable timber. Ebay provided a few pieces, not too expensive and were added to my timber list. However some of the other timbers seemed a tad expensive for the sizes available :shock:

So i tried a general net search and found a piece that would do the skirt and lippings and leave some spare.

Soooo after some umming / ahhhing between the timbers i added ***** to my basket. It was delivered friday 3rd jan. new year delaying things. :roll:
 
Not trying to cause an argument here, but is oak the best timber to use for the tray? When metal tools are left on oak for any length if time they rust don't they? At least that's what I was always told.


~Nil carborundum illegitemi~
 
deserter":23qx4f23 said:
Not trying to cause an argument here, but is oak the best timber to use for the tray? When metal tools are left on oak for any length if time they rust don't they? At least that's what I was always told.


~Nil carborundum illegitemi~
No argument, i'm always open to suggestions :)

I forgot about that, oak and metal don't mix too well. #-o Well i guess plan B needs to be authorised ;)
 
Kalimna":320493k1 said:
Not sure if it's too late now, but have you thought of increasing the contrast by ebonising the oak with steel wool/vinegar?

Adam
Hi Adam.
Thank you for reminding me. I did think that myself and while i never tried ebonising, i did try shellac/ oil/ van dyke crystals and mixtures of them on a sample board. None were really doing anything for me. :|
 
For those reading, i ordered a nice 3 x 3 x 600mm Purple heart turning blank from Yandles. Which duly arrived a few days later :)

purpleheart.jpg


I made a scale drawing and it looked like i would have enough and some spare.

I then decided to cut the veneer to rough size, and enter my first mistake. :oops: Not thinking properly i cut 3 lots of 610mm. What i should have done was cut 610, 300, 610, 300. That way the grain would flow around the box. Luckily this lot of veneer is for the inside, so won't be so visible. :oops:

veneer1.jpg


veneer2.jpg

Still needs to be flattened a bit more. Not too bad now considering it's been rolled up for a year.

Then came a slight set back.


Popped into the workshop yesterday to find some of the ply had mould on it :shock: Not sure why as it has always been kept in my workshop.
So i set about it with some watered down bleach. Then vinegar to neutralise it, then washed it off with water. Left it overnight. Back in there this morning and it was worse. :evil:

So no messing this time, everything was wiped over with neat bleach and popped by my heater to dry. So far it looks ok, that will teach it to mess with me. :lol:

Well after the oak has been dismissed. The original plan was to have a piece of veneered ply to form the lid. However now i have gone over to purple heart, i decided in for a penny and all that.

Soooo i cut a 610mm section off my curly maple timber - a piece of 10ft 5 x 1 i found by chance on ebay last year. So the new plan is. Purple heart lip, curly maple upstand ( to form lid) with a piece of ply sitting in a rebate to form the top of the lid.
 
After fitting new blades to my planer. The purple heart was rough cut to size, planed and thicknessed. Then the maple was cut/planed.
timbersized.jpg


Enter the 2nd mistake. :roll: :oops:
The full size drawing showed i could get everything i needed out of the one piece, along with some spare. However after adding a few mm to each piece to allow for planing etc, i am short of timber. :oops:
So i now have to buy more purple heart. So things may slow down on this for a bit. :roll:
 
Hi Carl,

good luck with this and thanks for another warts and all WIP, really interesting to see somebodys journey through a project so ta for the educating i'm getting :)

Dean
 
Yep and i'm glad you do, owe you at least one official thank you thingy by now for that at least :lol: but i'll take the example as well and there's WIPs planned......

Have fun!

Dean
 
Well today saw me start to sort the veneers out. The sheets i had cut to length for the inside was jointed. Not having time or space to build a shooting board long enough to use a hand plane. I used a straight edge and router. :oops:

After the 3 sets were jointed, i set about joining them together. I started on the first side with selotape, nice stretch to it and pulled the veneer together nicely.

Then on the reverse ( face side) i tried the veneer tape i bought specifically for this job. Not sure if it was me, or the fact it was my first go with veneer tape. I couldn't get on with it. Some parts wouldn't stick properly, others didn't dry even after an hour. :? So i went back to the selotape. :D

Then once together, i tried working out how to get the intended corners to meet. After moving the sheets about, nothing seemed to want to work. I know it's for the inside of the box and won't be seen so easily as the outside.

So i have a question to put out to you guys. Do i

A - Try again with the veneer and the spare piece from when i cut it to ( wrong ) lengths, and try to get 3 sides to match?

B - I have some other curly maple veneer. That i started to purchase 1 roll a week for my tool cabinet, but wasn't able to get the required amount needed. With this i could have all 4 internal panels with flowing/matching grain, apart from the last corner where they meet.


I think i know which way to go, just some other opinions. :)

TIA
 
Well today saw me in the workshop at 7.30 this morning :shock:

I think i had pretty much decided on which way to go with the veneers. But i would still like to thank everyone for their help/advice on deciding. :lol: :lol:

So first thing i did was unroll and measured one of the long veneers for the tool cabinet job. It came in at about 3mtrs. I only need 1.8mtrs for the toolbox. ;)

After putting that away i started on the new plan of attack. I had jointed 3 sets of veneers ready for the inside.
So new plan, 2 of the veneers to do the base of the box. 3rd one for the inside of the lid.
Then take 1.8mtrs ish from the roll and that will be for the inside parts of the panels.
I then trimmed the 2 veneers for the base - left slightly oversize. I then sorted out my clamps and some ply for platens. :)
Over the last few days i had been racking my brains as to what i could use for cauls. Last night i remembered i had some 2 x 2 from work before xmas still in the car.
Grabbing them and finding they were just the right size for the job. :D Everything was placed on my bench ready for the glue up.
Everything was there set up. Packers to lift the bottom cauls off the bench, 2 pieces of 18mm ply, grease proof paper. Then the same again ready for the top.

I then mixed the glue - i'm using cascamite. Rolled it onto the ply, put veneer down and used a roller to flatten. Turned the board and did the same on the other side. Then grease proof paper, ply and clamped. Let it sit for 7hrs.

So after the 7hrs it was removed :(

Enter mistakes No 3 and 4 :( No 3 was using ply for platens. I have 2 pieces of mdf i was going to use, but i was lazy and never cut them up. doh: Now on one side i have a small solid bump from where there was a dent in the ply :oops:

Mistake No 4 i will see if you can spot tomorrow when i add pics.

There were no WIP pics today as this was my very first attempt with veneering, i haven't even done a trial run. :lol:
So today i concentrated on getting it wrong :lol:

However tomorrow i will be cutting that mdf up. :D
 
A few pics from the first attempt at veneering. The jointing wasn't as good as i would have liked. :|

Anyhoo.
Glued up - waiting to be trimmed to size.

20140120_154511.jpg


20140120_154521.jpg


And can you spot the mistake here? :(

20140120_154540.jpg


Yep, i was too busy trying to get as much curl in as possible. I jointed and glued the veneer without book matching it. doh:

Hopefully anyone who checks the toolbox out in the future won't lift it up to check the underneath. :lol:
 
Back
Top