


TheTiddles
Established Member
I don't normally post a WIP till the piece is complete, firstly as it allows me to hide all the mistakes and secondly I hate waiting for someone else to finish a piece for me to be able to read about it.
However, I'm going to make an exception.
I started this about a year ago when I began scrounging aluminium extrusions from whoever I could get them from, colleagues in manufacturing, our suppliers, husbands of friends etc... This took a while and in the end I had to resort to the most extreme of actions... and paid money for some, albeit with a massive discount, thanks very much to "you know who you are" and indeed all who gave so generously to this very good cause.
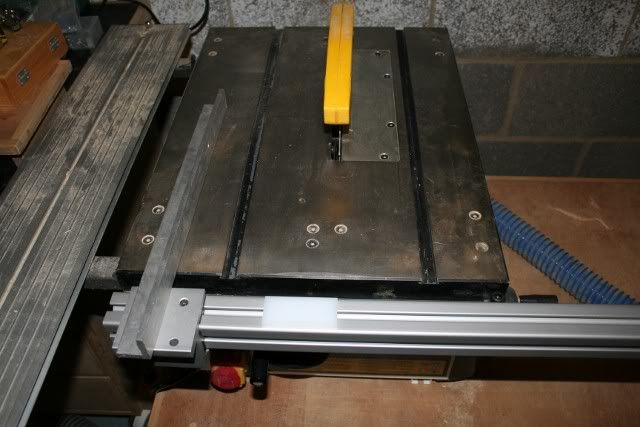
Begin by stripping off all the usual accessories of the saw and laying out the intended main rail...
At the front of the saw you can see the slide that will carry the fence, this can be bought with a brake kit but for some unknown reason, I didn't and made my own.
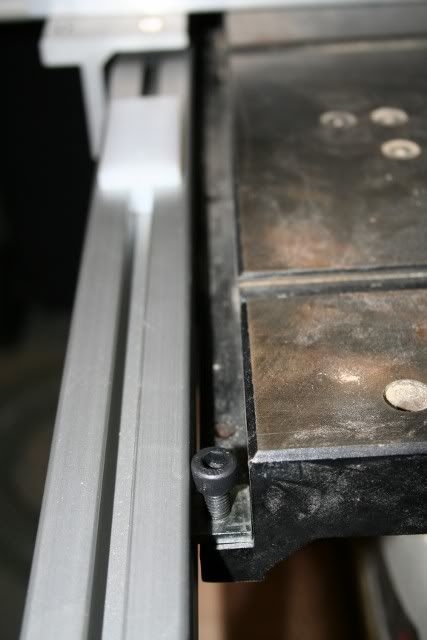
The front rail is bolted to the cast iron table with 2 pieces of angle iron, the previous attempts used CNC machined plastic and aluminium and didn't work nearly so well as this somewhat more agricultural method. The iron drills like cheese which was a pleasant surprise, though the angle iron steels were quite the opposite and I resharpened several bits (badly) in the process.
However once attached, the rails back and front are rock solid and dead parallel and level without the need for shims which is a relief.
A cross-rail at the end keeps them from waggling and a second slider on the back with another brake holds the fence rigid. The front clamp locks it perpendicular to the front rail and parallel to the mitre-slots and the saw blade which I made sure were aligned first. The fence is two 40x80 sections bolted together to make 80x80 for most of it but keeping a pocket for the router cutter, the ends are capped with acrylic to keep the dust out.
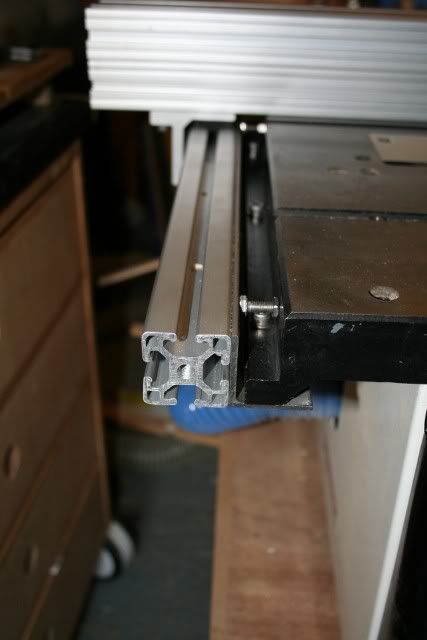
Some "torsion control screws" control the final axis of rotation on the rails and keep them nicely upright.
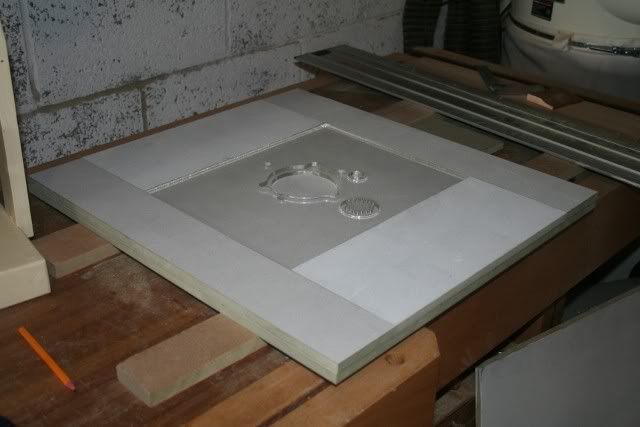
The router insert is two pieces laser cut 6mm acrylic laminated together so I can have the features I want without having to machine a 12mm block which is a lot of cash. I want the router table to look like a giant block of plastic, of course matching the rest of my machinery, so white. I looked at the price of a 30-40mm thick piece of PP or PMMA but the price even at trade minus everything I could cheekily get off from flirting with the company secretary was still more than everything else together. So MDF it is, 3 pieces of 12mm laminated together. The top being formed from 4 strips butted up against the insert to get a nice tight fit, the two underneath it being solid.
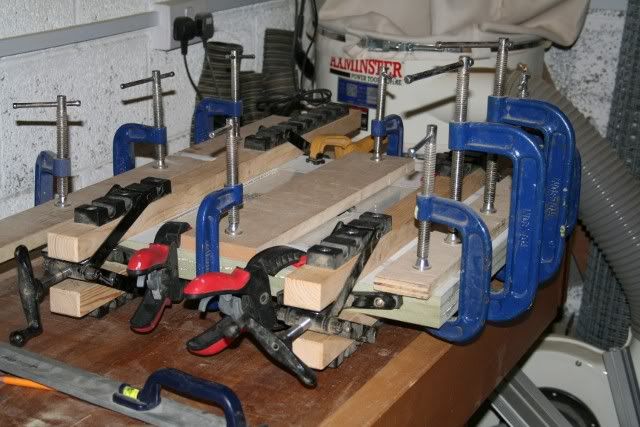
The pieces were screwed together and then clamped up overnight with standard PVA, giving this the next day, very flat and quite weighty.
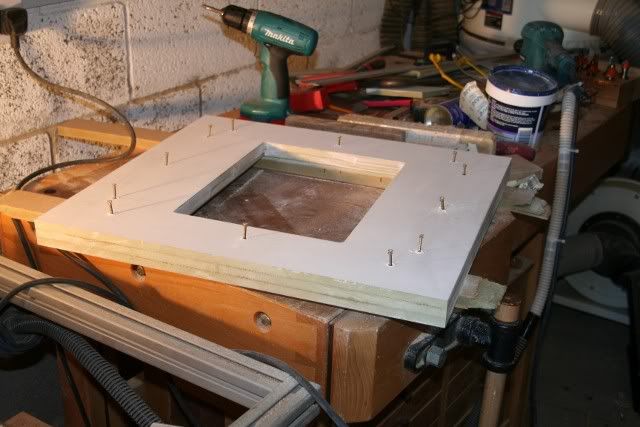
The screws no longer needed they were taken out and replaced with hardwood plugs, the theory being now if I needed to route anything in I wasn't going to hit them.
The centre section is then removed by routing it out with a guide bush, this gives a consistent overlap all round the insert. I prefer to sit the insert on a flat as opposed to screws as then it's uniformly supported instead of point loads at the corners, much harder to do of course...
The MDF is primed so that the thin plastic I have to cover it with doesn't have a green tinge showing through from underneath it.
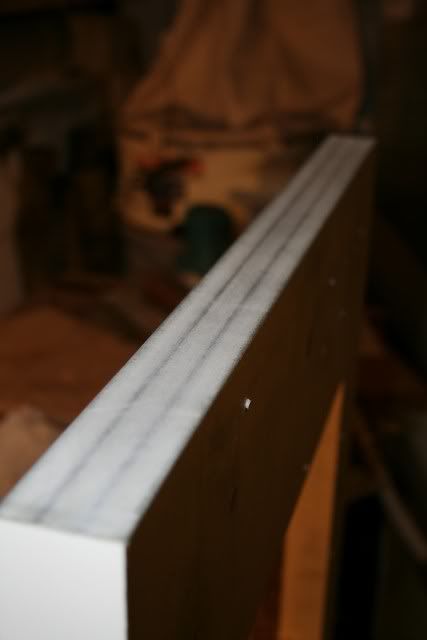
The surface of both the MDF and the plastic is cleaned with white spirit and then I apply boxtape to the MDF and remove it, this lifts any detritus left behind. Next, carpet tape is used and the plastic adhered down and rolled to give a good bond like so...
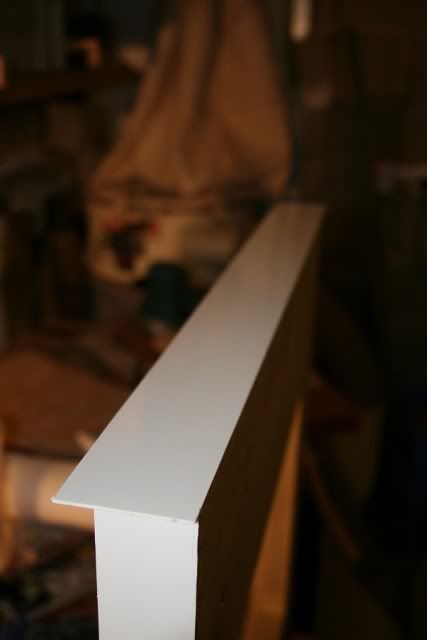
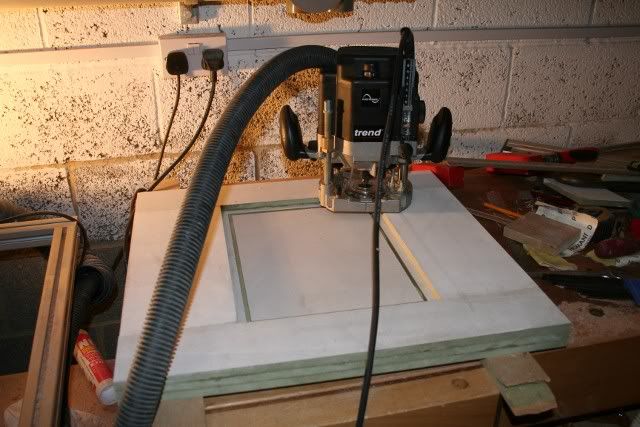
The edges are trimmed flush with a bearing guided router, the plastic and remnants of adhesive tape making a total mess of the cutter and bearing and necessitating a clean every few feet.
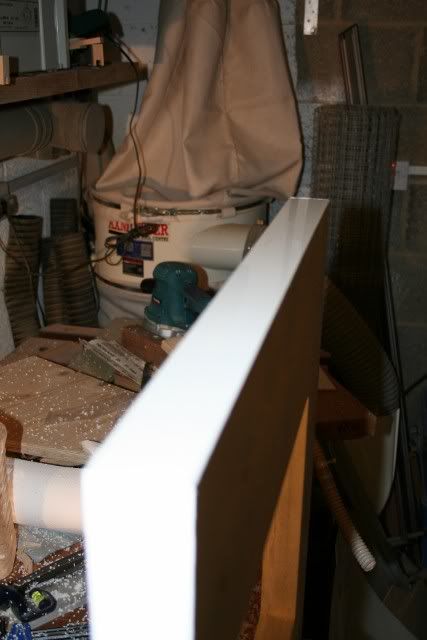
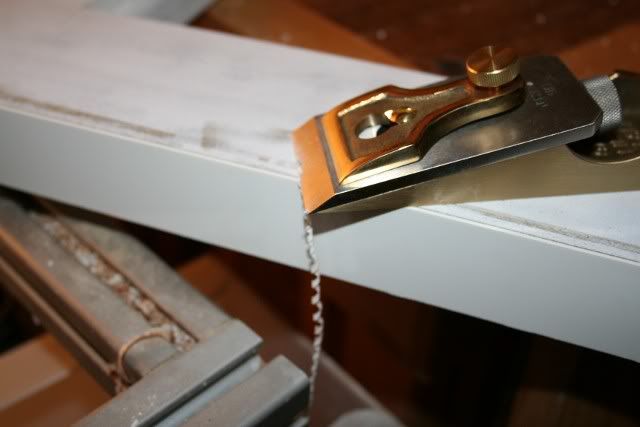
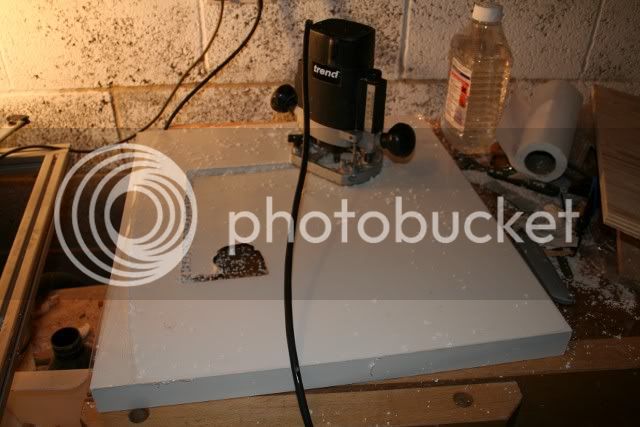
The final flush trim is done by hand with my new toy
Now for the hard bit, the top.
Here's the top covered in "exfoliating" box tape

And now with the double-sided tape
The plastic is laid onto it then rolled down, the tack is good so I'm straight in with a router and bearing guided cutter to flush trim all the edges.
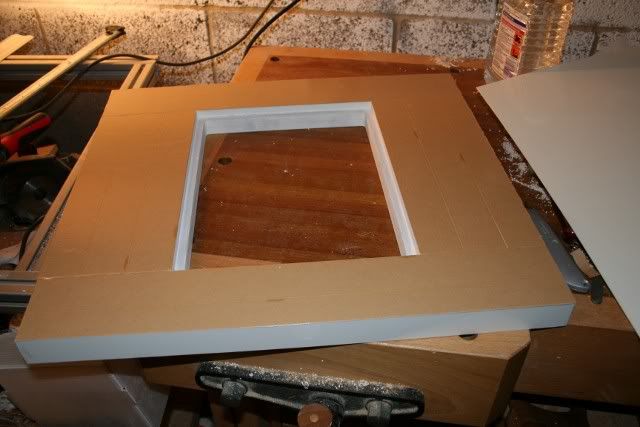
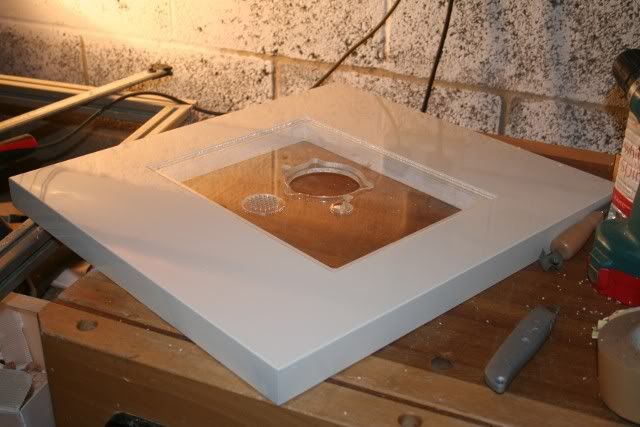
Here's a trial fit with the insert, the top of which is now the thickness of the plastic below the top, where as before it was dead flush.
So we now line the insert lip with the same plastic
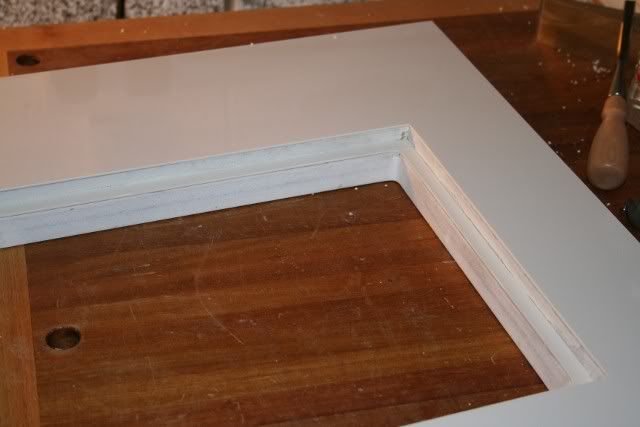
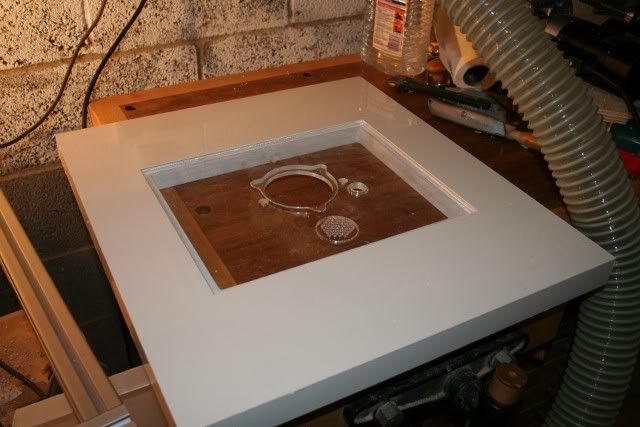
And we're back to super smooth
A quick trial fit into the saw rails supported with joists clamped on below...
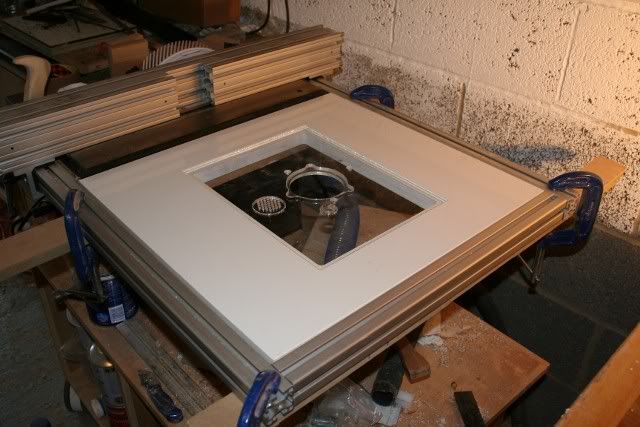
and we're looking good, or at least as we intended
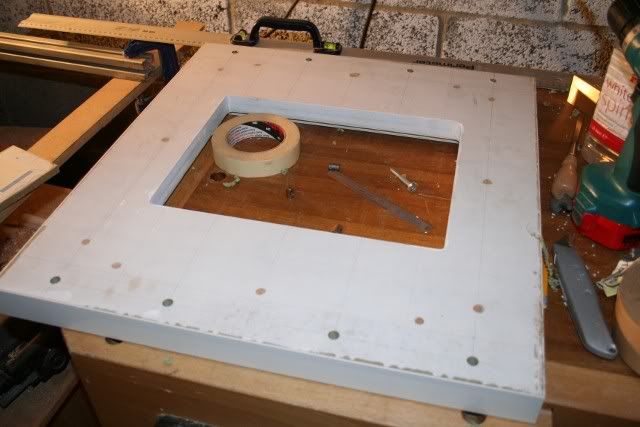
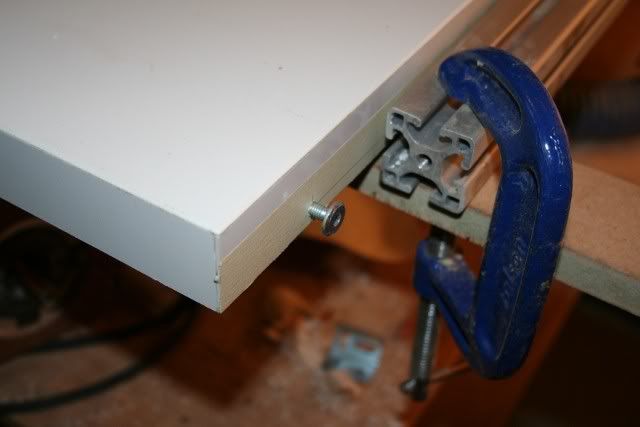
The top is now drilled for cross dowels and the rails drilled accordingly so they can be tightened in situ. Some nylon washers take up any slack between the table and the rails and it simply slides in (on attempt 4)
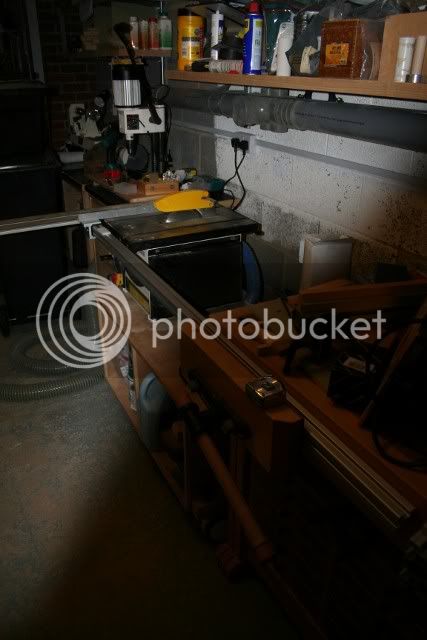
This is where we are to date
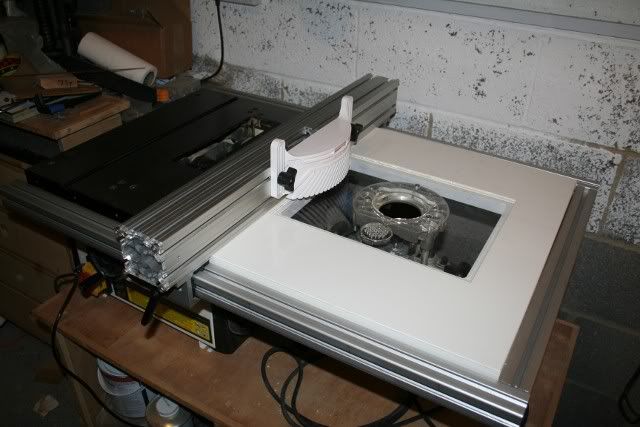
With the router hanging nicely upside down and the table looking like a giant lump of plastic. There's a lot more to do yet, I've just dropped the feather board on to show the intentions. A new riving knife, crown guard, extractor hoses and fence faces are to be added and I'll post them when they're ready
Aidan
However, I'm going to make an exception.
I started this about a year ago when I began scrounging aluminium extrusions from whoever I could get them from, colleagues in manufacturing, our suppliers, husbands of friends etc... This took a while and in the end I had to resort to the most extreme of actions... and paid money for some, albeit with a massive discount, thanks very much to "you know who you are" and indeed all who gave so generously to this very good cause.
Begin by stripping off all the usual accessories of the saw and laying out the intended main rail...
At the front of the saw you can see the slide that will carry the fence, this can be bought with a brake kit but for some unknown reason, I didn't and made my own.
The front rail is bolted to the cast iron table with 2 pieces of angle iron, the previous attempts used CNC machined plastic and aluminium and didn't work nearly so well as this somewhat more agricultural method. The iron drills like cheese which was a pleasant surprise, though the angle iron steels were quite the opposite and I resharpened several bits (badly) in the process.
However once attached, the rails back and front are rock solid and dead parallel and level without the need for shims which is a relief.
A cross-rail at the end keeps them from waggling and a second slider on the back with another brake holds the fence rigid. The front clamp locks it perpendicular to the front rail and parallel to the mitre-slots and the saw blade which I made sure were aligned first. The fence is two 40x80 sections bolted together to make 80x80 for most of it but keeping a pocket for the router cutter, the ends are capped with acrylic to keep the dust out.
Some "torsion control screws" control the final axis of rotation on the rails and keep them nicely upright.
The router insert is two pieces laser cut 6mm acrylic laminated together so I can have the features I want without having to machine a 12mm block which is a lot of cash. I want the router table to look like a giant block of plastic, of course matching the rest of my machinery, so white. I looked at the price of a 30-40mm thick piece of PP or PMMA but the price even at trade minus everything I could cheekily get off from flirting with the company secretary was still more than everything else together. So MDF it is, 3 pieces of 12mm laminated together. The top being formed from 4 strips butted up against the insert to get a nice tight fit, the two underneath it being solid.
The pieces were screwed together and then clamped up overnight with standard PVA, giving this the next day, very flat and quite weighty.
The screws no longer needed they were taken out and replaced with hardwood plugs, the theory being now if I needed to route anything in I wasn't going to hit them.
The centre section is then removed by routing it out with a guide bush, this gives a consistent overlap all round the insert. I prefer to sit the insert on a flat as opposed to screws as then it's uniformly supported instead of point loads at the corners, much harder to do of course...
The MDF is primed so that the thin plastic I have to cover it with doesn't have a green tinge showing through from underneath it.
The surface of both the MDF and the plastic is cleaned with white spirit and then I apply boxtape to the MDF and remove it, this lifts any detritus left behind. Next, carpet tape is used and the plastic adhered down and rolled to give a good bond like so...
The edges are trimmed flush with a bearing guided router, the plastic and remnants of adhesive tape making a total mess of the cutter and bearing and necessitating a clean every few feet.
The final flush trim is done by hand with my new toy
Now for the hard bit, the top.
Here's the top covered in "exfoliating" box tape
And now with the double-sided tape
The plastic is laid onto it then rolled down, the tack is good so I'm straight in with a router and bearing guided cutter to flush trim all the edges.
Here's a trial fit with the insert, the top of which is now the thickness of the plastic below the top, where as before it was dead flush.
So we now line the insert lip with the same plastic
And we're back to super smooth
A quick trial fit into the saw rails supported with joists clamped on below...
and we're looking good, or at least as we intended
The top is now drilled for cross dowels and the rails drilled accordingly so they can be tightened in situ. Some nylon washers take up any slack between the table and the rails and it simply slides in (on attempt 4)
This is where we are to date
With the router hanging nicely upside down and the table looking like a giant lump of plastic. There's a lot more to do yet, I've just dropped the feather board on to show the intentions. A new riving knife, crown guard, extractor hoses and fence faces are to be added and I'll post them when they're ready
Aidan

