Nail
Established Member
Good evening,
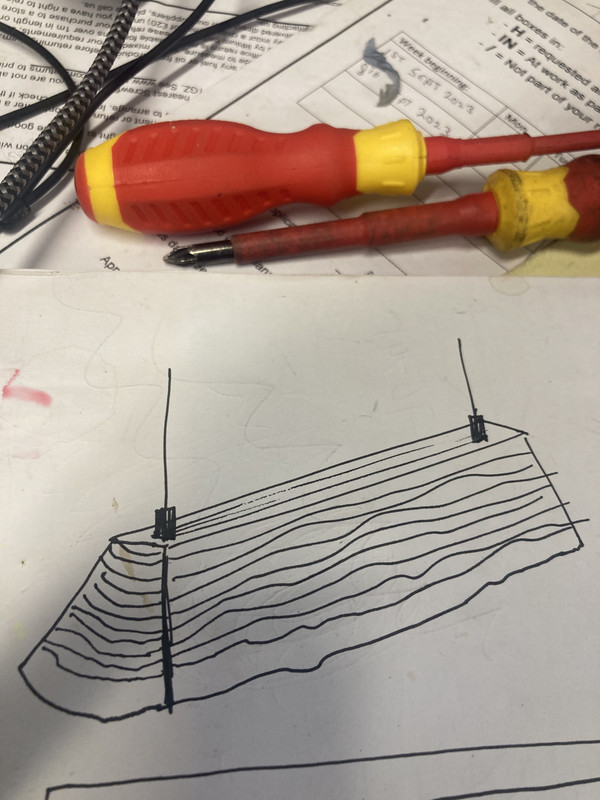
I’ve meant to ask this for a while but kept forgetting. I had planned to do a little sketch but perhaps text will suffice.
Essentially, I’m wondering if anyone has a view on a type of light for recessing into a log as a feature light.
A standard bit of strip LED would be too narrow and I’m conscious of the outer appearance. I could use multiple lengths to increase the width ( no set width yet - trying to be good and plan it first!) but then there is the appearance issue.
I’ve seen side emitting LEDs used for one but again, narrow.
I have wondered about cannibalising an LED baten for inner parts and also the diffuser but before I got into it too far wondered if anyone else had solved this problem of mine!
Thanks!