


SkinnyB
Established Member
At work recently they were throwing out some Phenolic cubical doors. I kept one in the hope of turning into a router table top. I had heard it is pretty hard to cut. I thought I would give it ago anyway. I had been looking at purchasing a commercial Phenolic pre-made router top. However they fetched upwards of £300 for the size I was after.
First job was to cut it down to 600x1200mm (its 16mm thick).
The track saw did and ok job with light 3mm passes. I then switched to the table saw which cut far better. Slow going but left a reasonable edge.
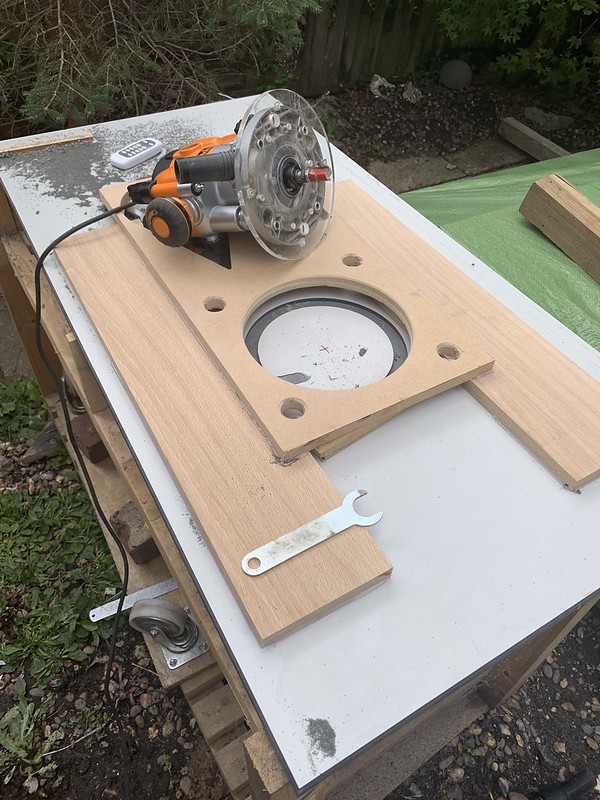
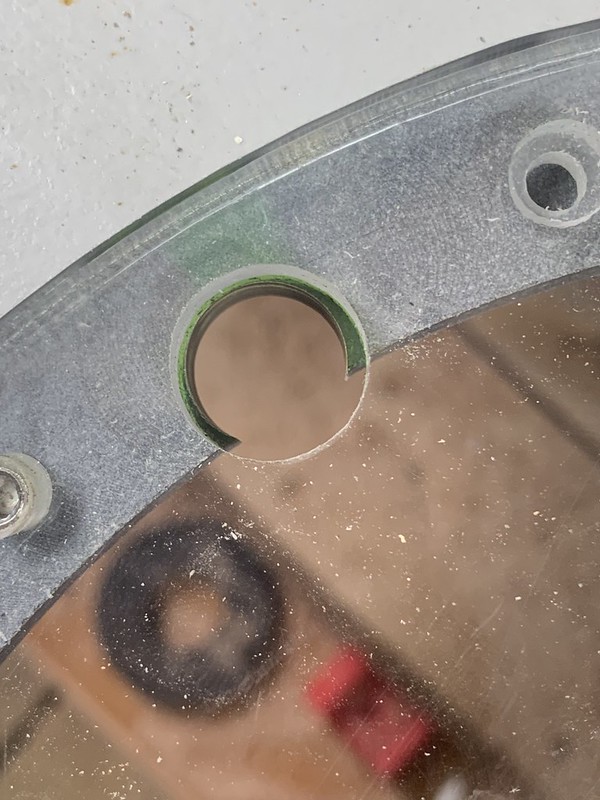
Next was to start routing out a place the router plate to sit. I am using my own 8mm Acrylic plate which I have designed. It has been cnc and laser cut. It has 8 grub screw levelling points. 100mm opening. It is just a little larger than the base on the Triton router so I should not see any sagging once it is bolted to the base of the router.
I cnc cut a template and used a flush trim template bit to edge my way down to 8.5mm. I used a cheap tct cutter as from what I read the material can dull blades fairly quick. I went down 1mm at a time until I reached the correct depth.
 IMG_8104 by jamie skinner, on Flickr
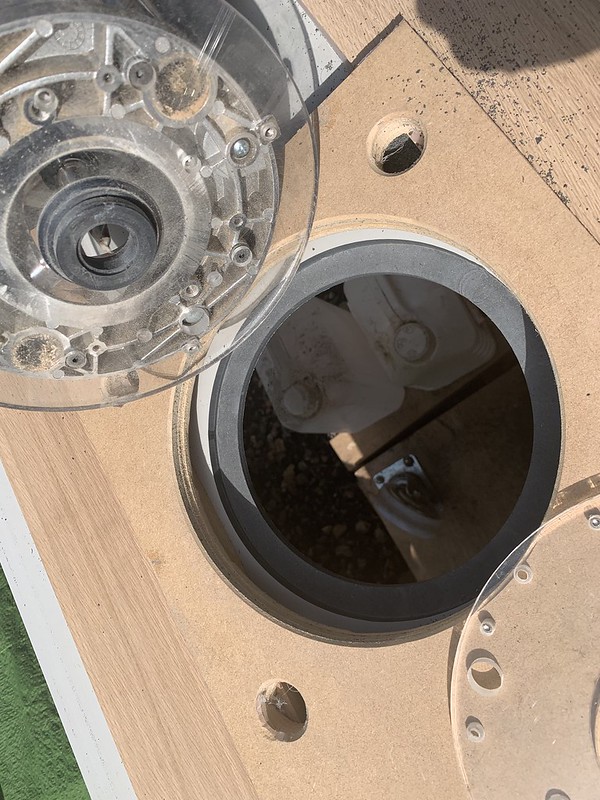
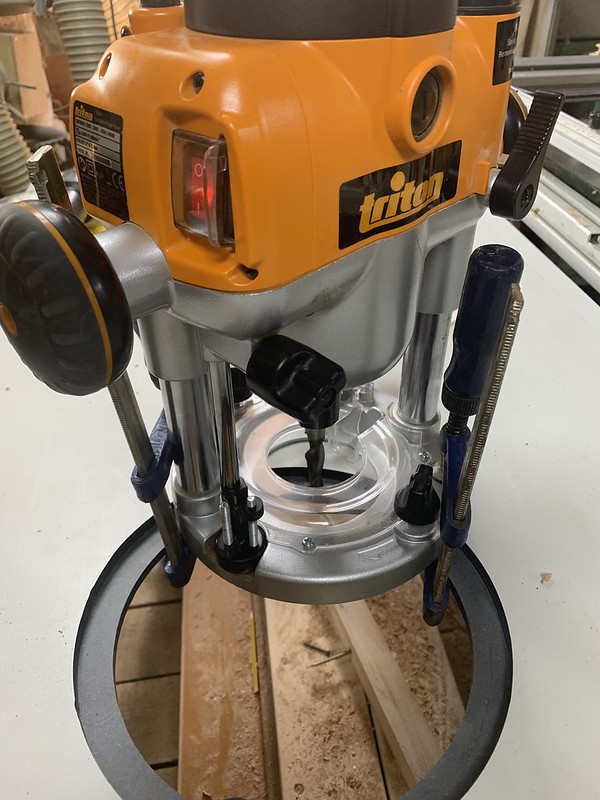
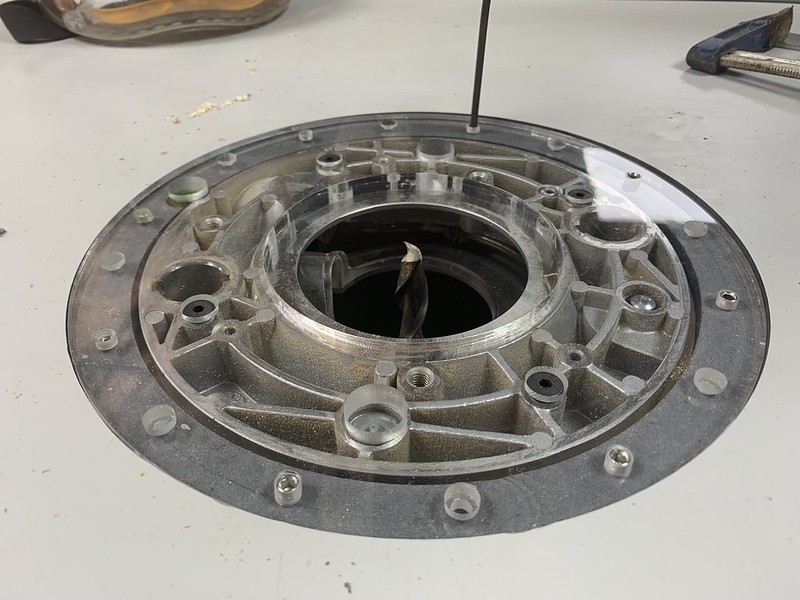
Then I switched to a 1/2 hss upcut bit as I needed a fairly long bit to reach. This felt a little slower going but with 1mm depth of cut I got there and left a nice edge. I used a bushing to offset the bit.
 IMG_5362 by jamie skinner, on Flickr
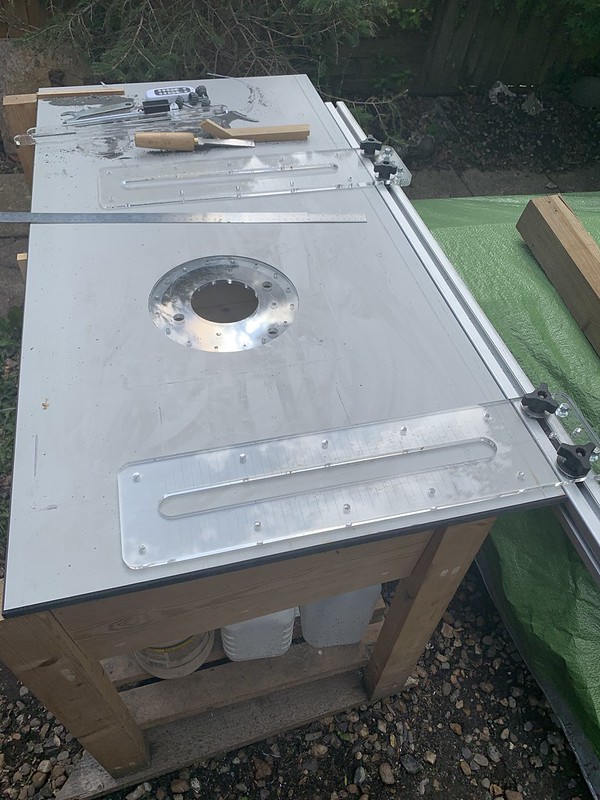
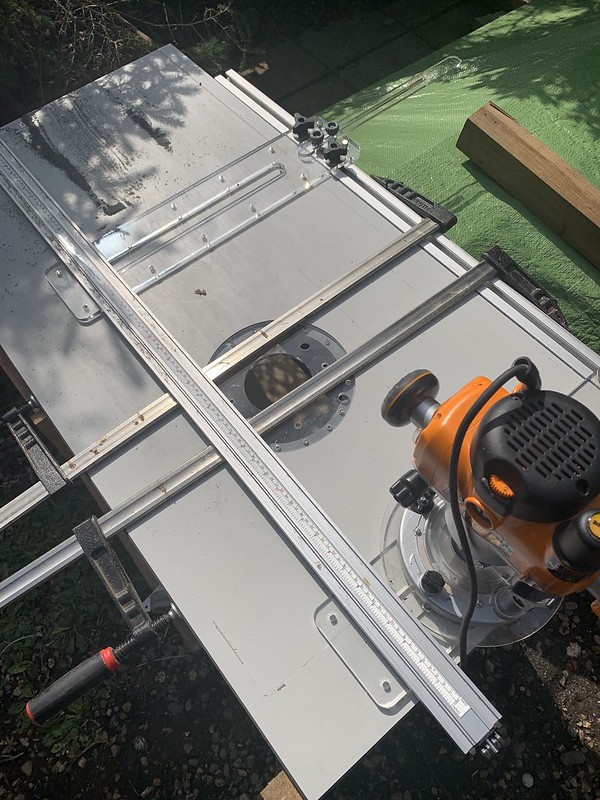
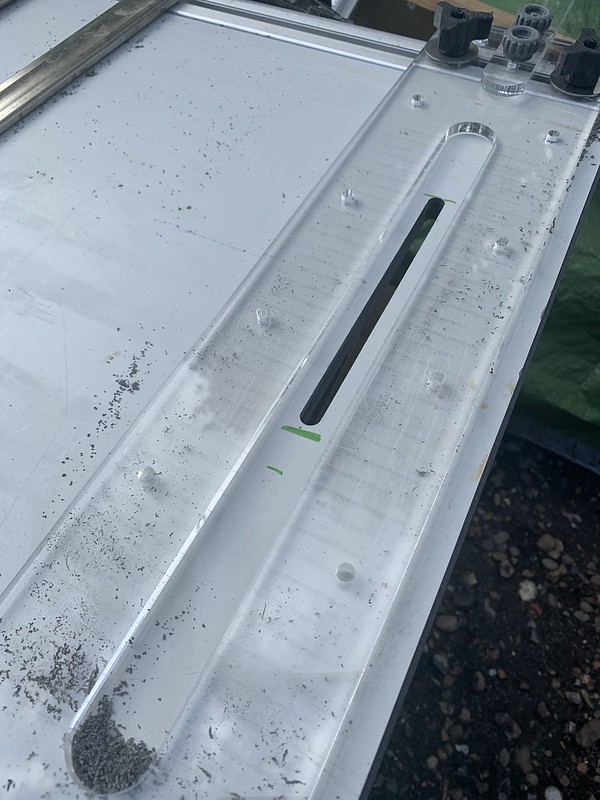
Next I setup my double dado jig to cut the slots for the fence mounting. It has 30mm slots in which a 30mm bushing on a router fits into. My first mistake here is that I should have made this cut from the bottom as I had to flip it around and cut a wider recess int he back. Luckily it worked well anyway.
 IMG_5365 by jamie skinner, on Flickr
Clamped in place. I used a bar clamp to set the stop not he opposite end.
 IMG_5366 by jamie skinner, on Flickr
 IMG_5367 by jamie skinner, on Flickr
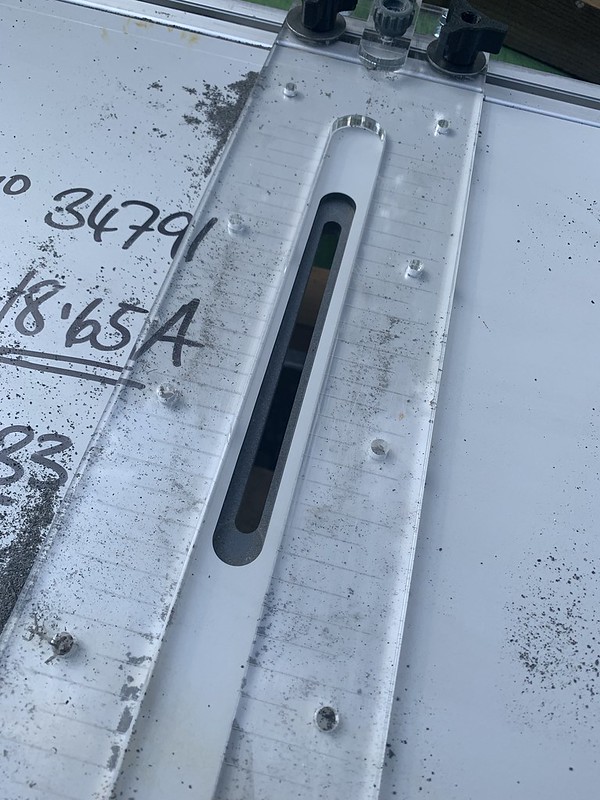
Flipped and recessed.
 IMG_5368 by jamie skinner, on Flickr
Next I needed to create a small hole for the handle which raises and lower the router. Second mistake is that I made it in the wrong place. It gets covered by the fence... I still have easy access under the router table so its not a big issue. I will more than likely rate the router to put it in a better spot.
 IMG_5370 by jamie skinner, on Flickr
 IMG_5371 by jamie skinner, on Flickr
 IMG_5372 by jamie skinner, on Flickr
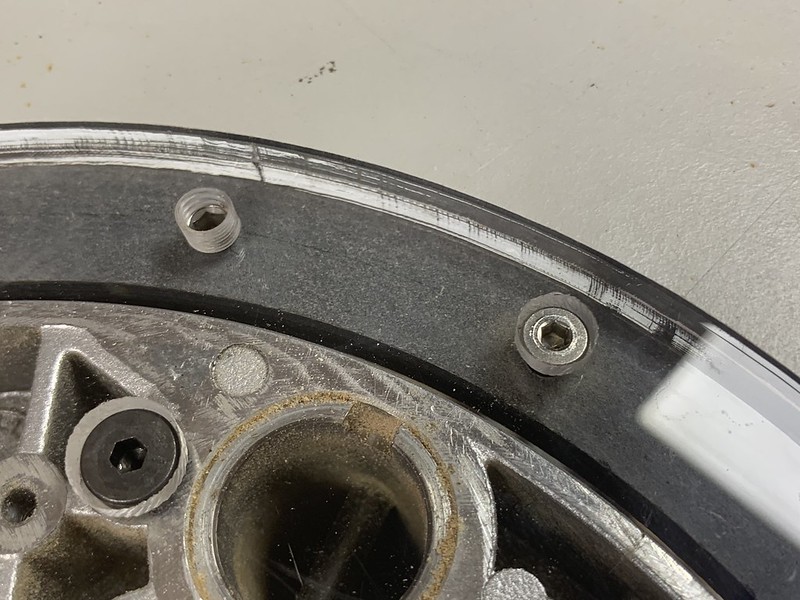
Adjusting the router plate height.
 IMG_5373 by jamie skinner, on Flickr
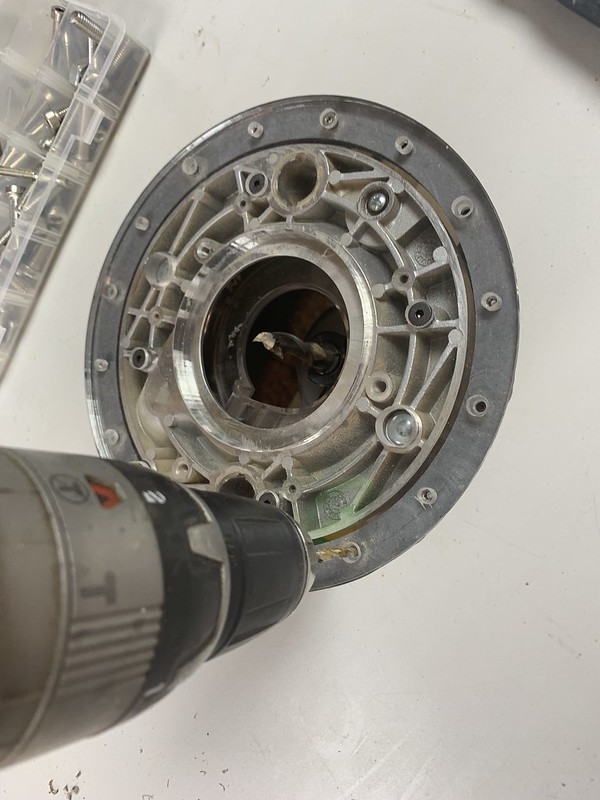
Drilling holes to secure the plate. What I really should have done here was drill under sized holes and then tapped some traps into the top.
 IMG_5375 by jamie skinner, on Flickr
 IMG_5376 by jamie skinner, on Flickr
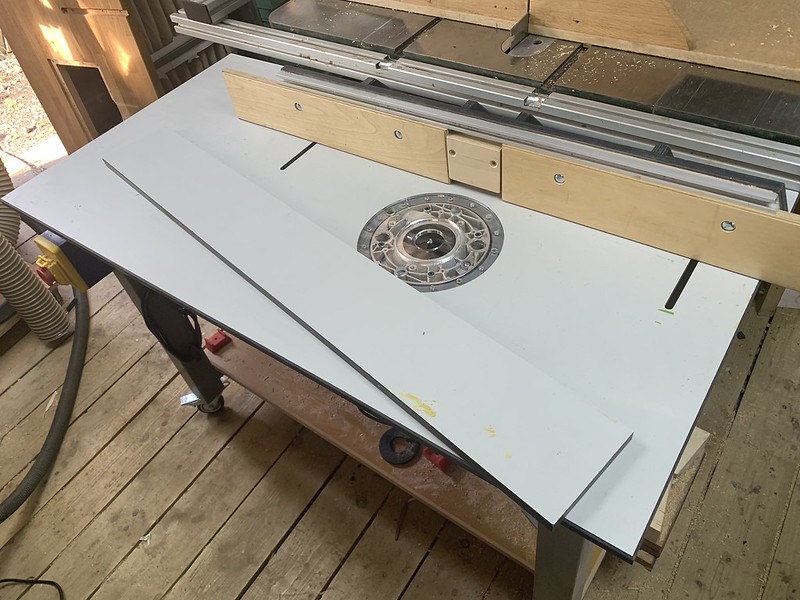
Thats as far as I have got. I have some left over to make a new split fence. I am going to add two 1/4 routers on the left side for a permanent chamfer and rounder over bit. I need to add some support under the top to stop the top from sagging. Over all it is far better and flatter the the oak worktop I was using before.
 IMG_5378 by jamie skinner, on Flickr
First job was to cut it down to 600x1200mm (its 16mm thick).
The track saw did and ok job with light 3mm passes. I then switched to the table saw which cut far better. Slow going but left a reasonable edge.
Next was to start routing out a place the router plate to sit. I am using my own 8mm Acrylic plate which I have designed. It has been cnc and laser cut. It has 8 grub screw levelling points. 100mm opening. It is just a little larger than the base on the Triton router so I should not see any sagging once it is bolted to the base of the router.
I cnc cut a template and used a flush trim template bit to edge my way down to 8.5mm. I used a cheap tct cutter as from what I read the material can dull blades fairly quick. I went down 1mm at a time until I reached the correct depth.
IMG_8104 by jamie skinner, on FlickrThen I switched to a 1/2 hss upcut bit as I needed a fairly long bit to reach. This felt a little slower going but with 1mm depth of cut I got there and left a nice edge. I used a bushing to offset the bit.
IMG_5362 by jamie skinner, on FlickrNext I setup my double dado jig to cut the slots for the fence mounting. It has 30mm slots in which a 30mm bushing on a router fits into. My first mistake here is that I should have made this cut from the bottom as I had to flip it around and cut a wider recess int he back. Luckily it worked well anyway.
IMG_5365 by jamie skinner, on FlickrClamped in place. I used a bar clamp to set the stop not he opposite end.
IMG_5366 by jamie skinner, on Flickr
IMG_5367 by jamie skinner, on FlickrFlipped and recessed.
IMG_5368 by jamie skinner, on FlickrNext I needed to create a small hole for the handle which raises and lower the router. Second mistake is that I made it in the wrong place. It gets covered by the fence... I still have easy access under the router table so its not a big issue. I will more than likely rate the router to put it in a better spot.
IMG_5370 by jamie skinner, on Flickr
IMG_5371 by jamie skinner, on Flickr
IMG_5372 by jamie skinner, on FlickrAdjusting the router plate height.
IMG_5373 by jamie skinner, on FlickrDrilling holes to secure the plate. What I really should have done here was drill under sized holes and then tapped some traps into the top.
IMG_5375 by jamie skinner, on Flickr
IMG_5376 by jamie skinner, on FlickrThats as far as I have got. I have some left over to make a new split fence. I am going to add two 1/4 routers on the left side for a permanent chamfer and rounder over bit. I need to add some support under the top to stop the top from sagging. Over all it is far better and flatter the the oak worktop I was using before.
IMG_5378 by jamie skinner, on Flickr