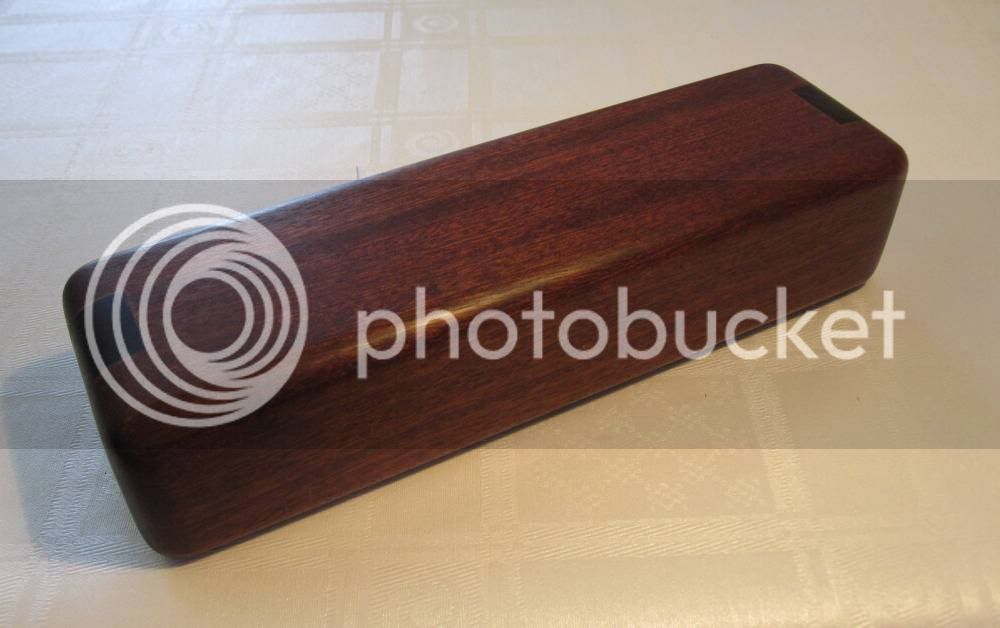
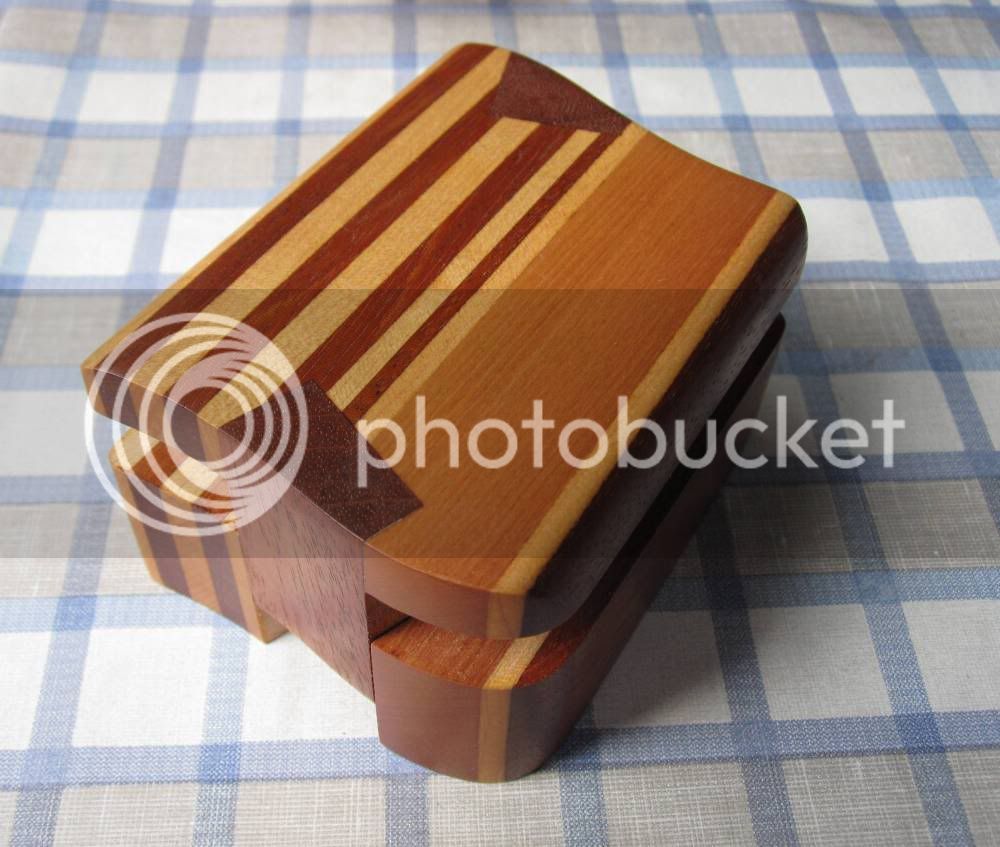
This box is already some 4-5 years old. I picked it up yesterday, waxed it and decided to take some pictures. I have made these kind of boxes of various styles more than 30 but less than 50 different. Most of them are given away as presents.
It is mainly routed with the aid of jigs. (I had a small Makita for 19 years serving me well, and it got finally KIA. Rest in peace.)
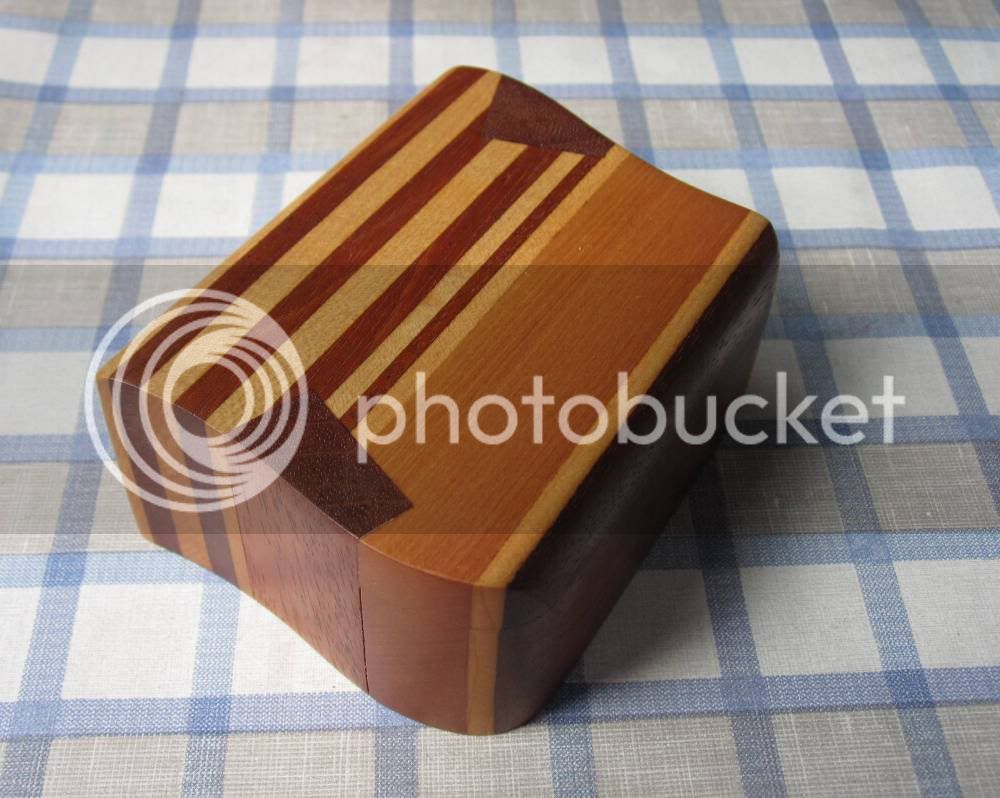
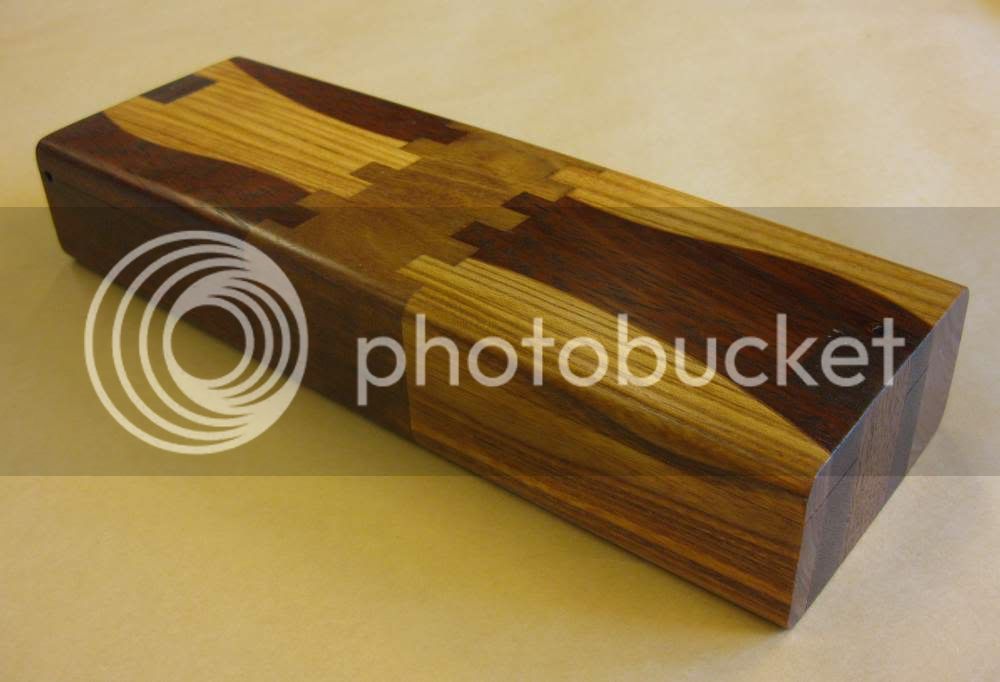
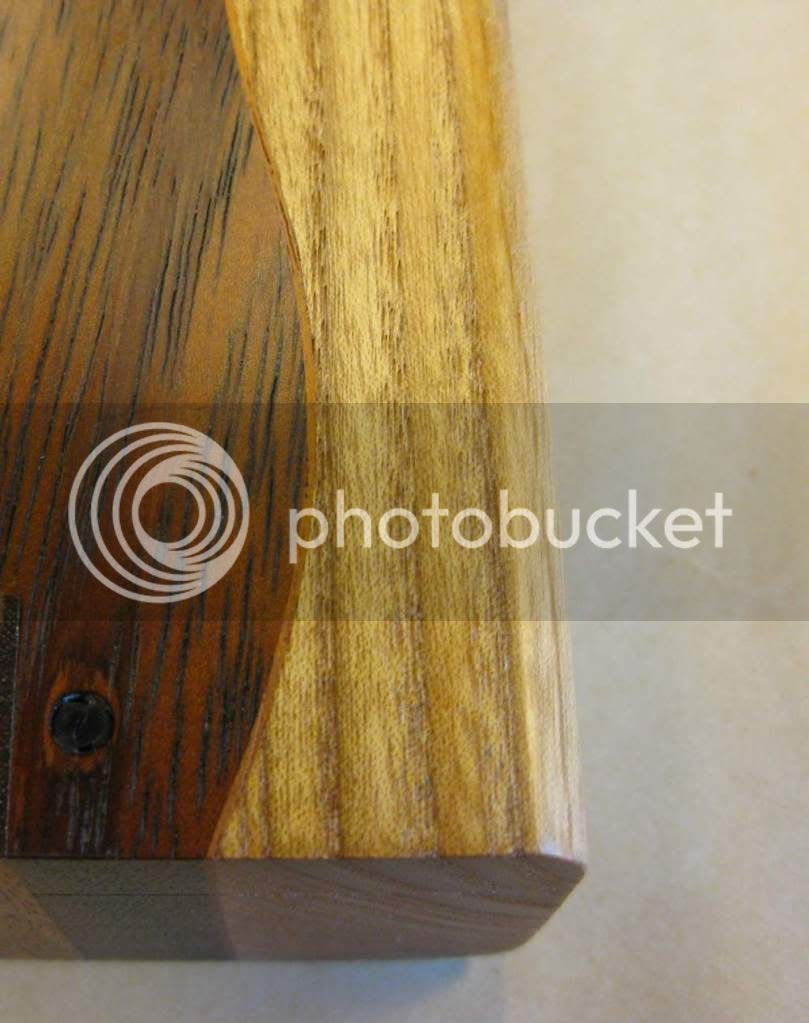
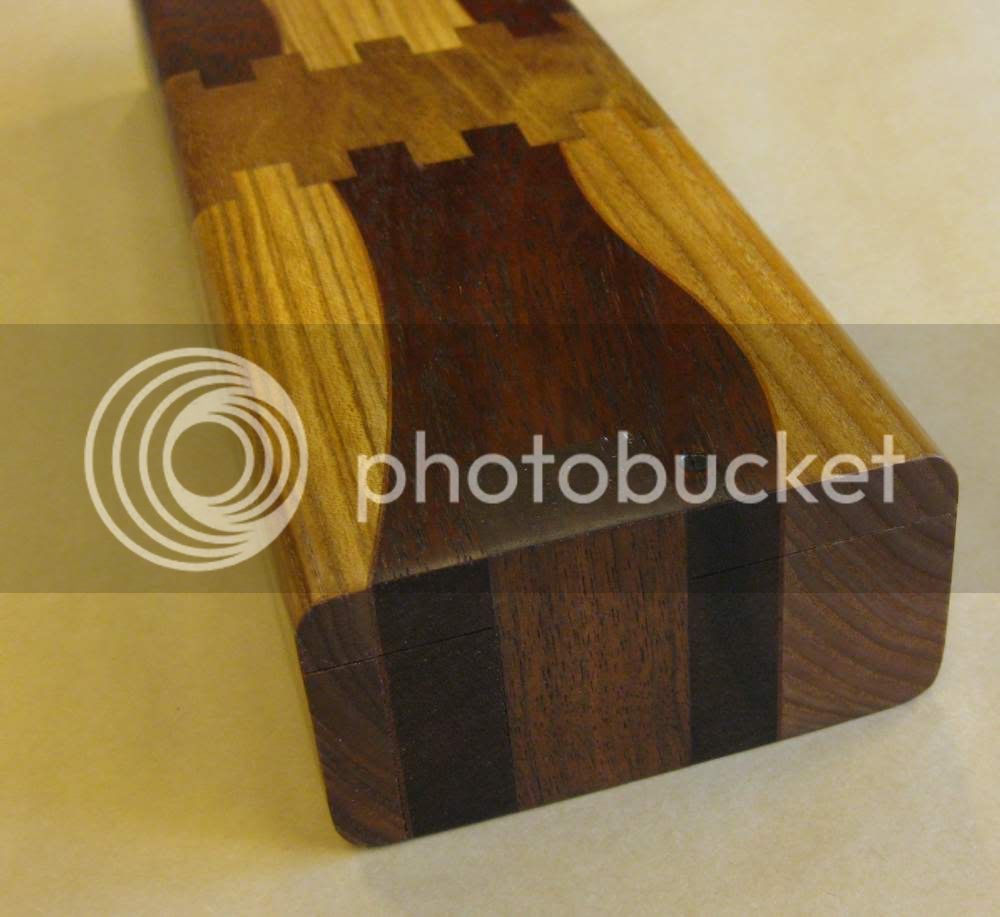
The order of make was to stack the squared blocks of zebrano and jatoba and sawing the curves through both of them with a bandsaw. I switched the center pieces and glued them together, including a slice of mahogany veneer in each joint, to compensate the loss of wood by the saw kerf.
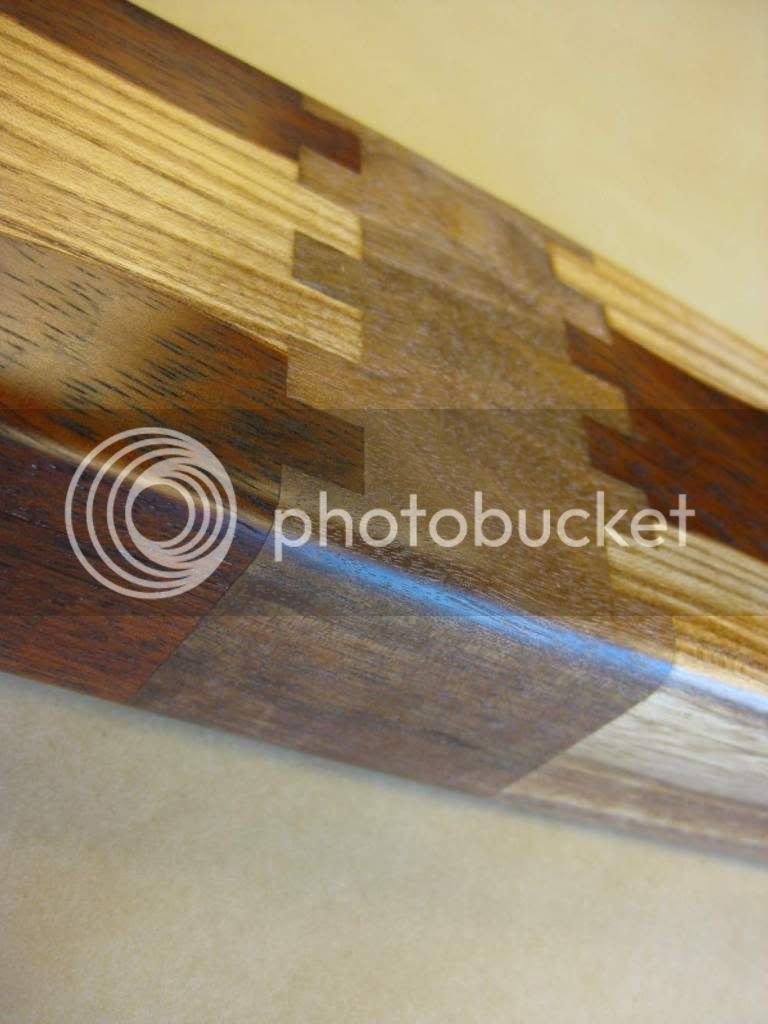
I squared the pieces again, and routed the fingerjoints. I decided to add that piece of walnut in the middle, and glued all the pieces together.
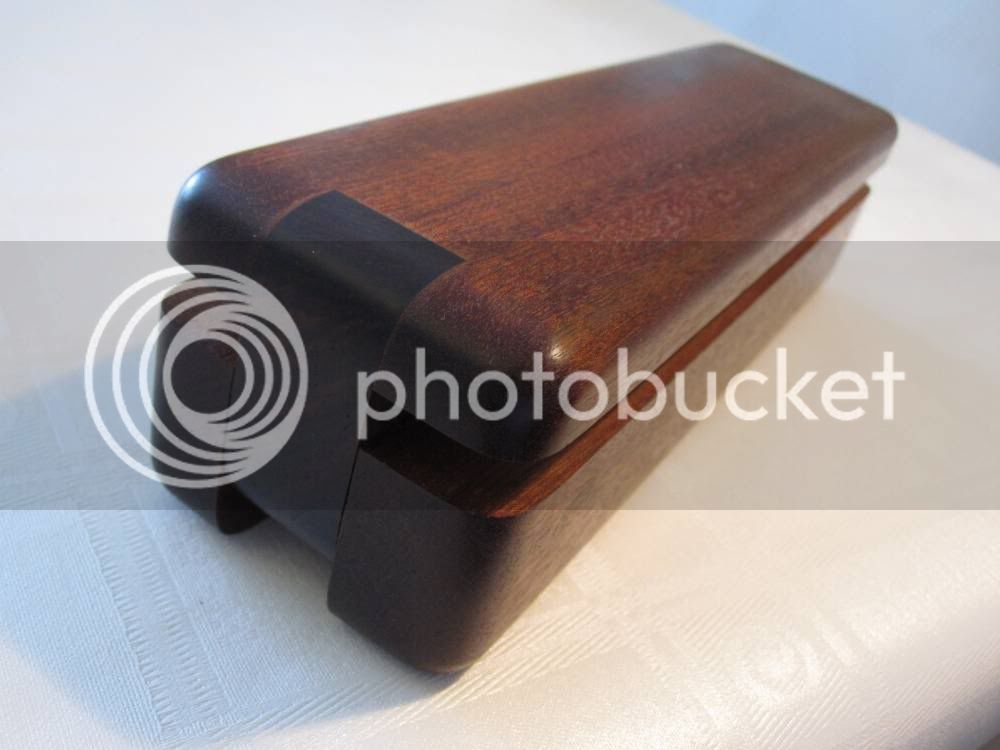
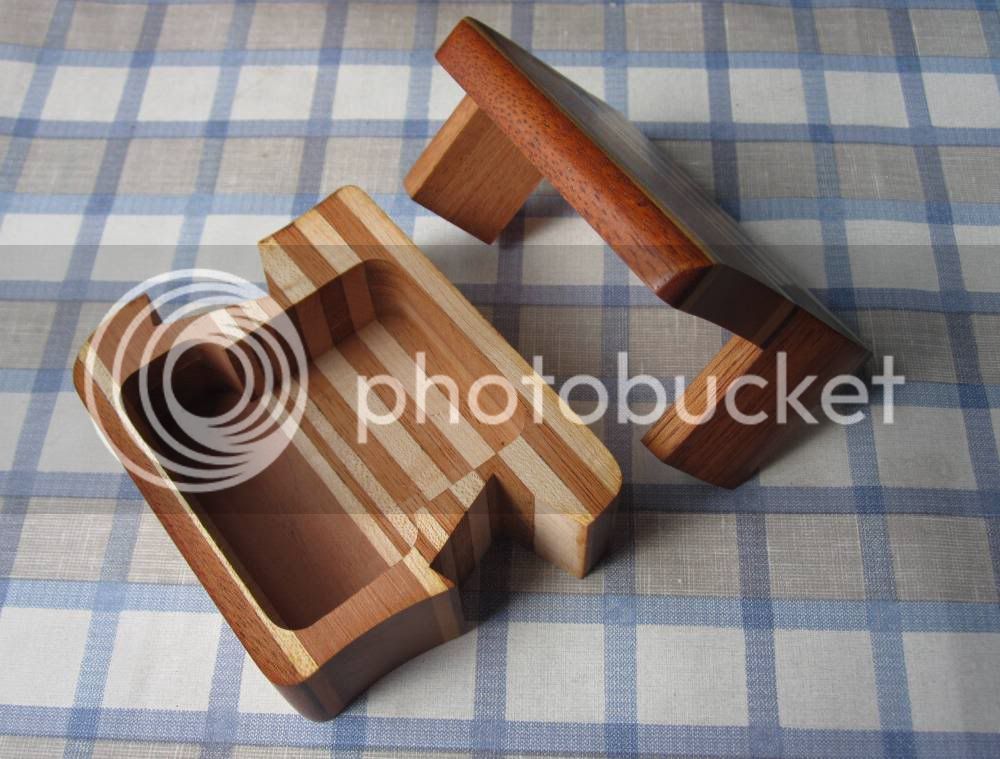
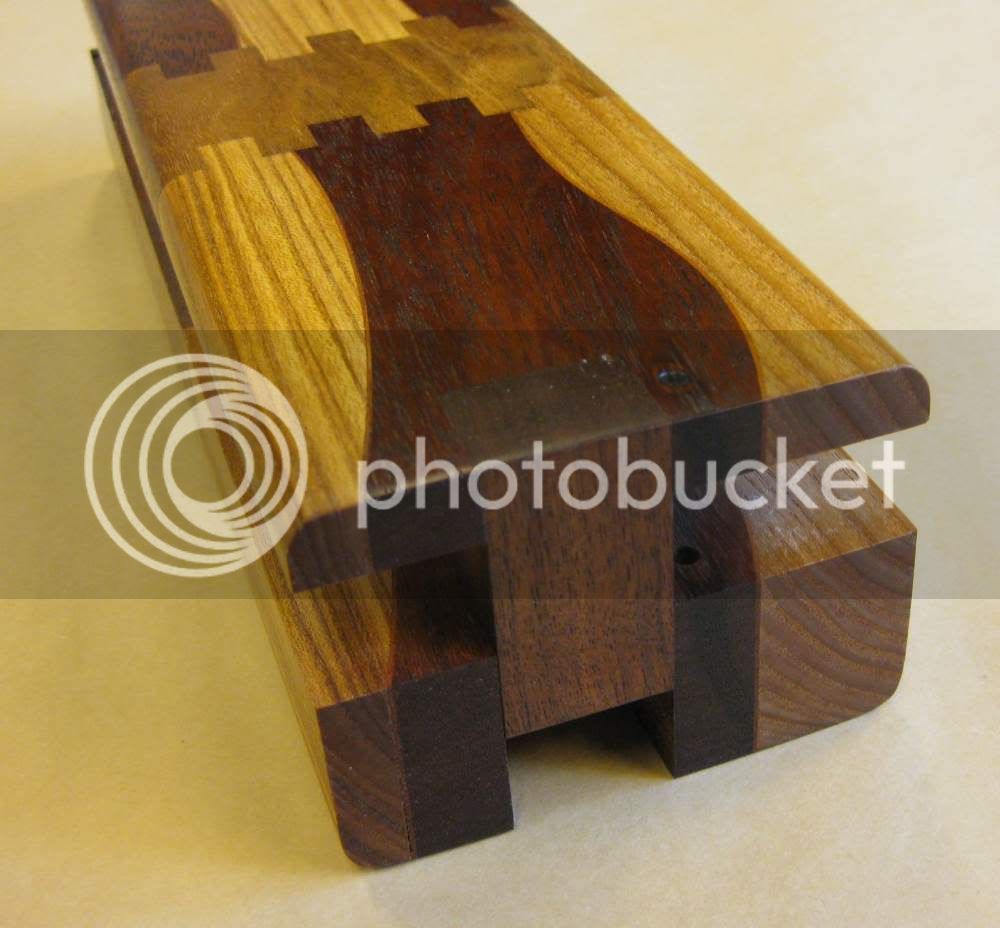
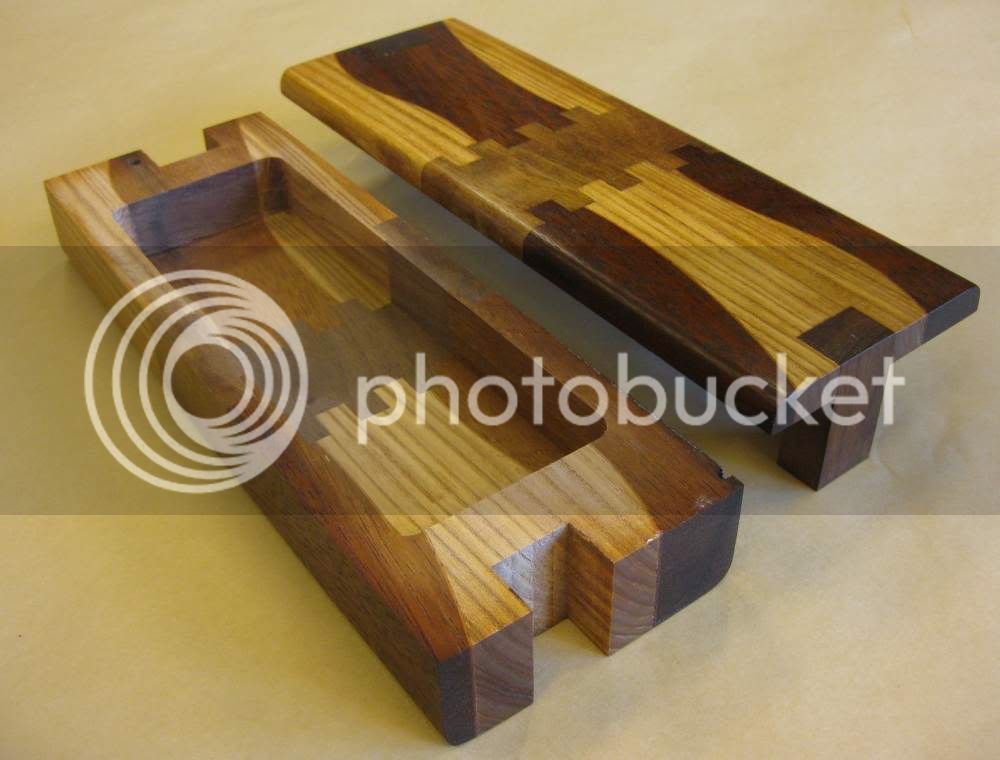
Then I squared it again, and cutted the lid part off with a bandsaw, and smoothed the mating surfaces. Then I fitted them back together as accurately as possible to connect the joint lines run smoothly again, clamped them together and routed grooves for those sliding guides. I routed the box cavity by using a self-made template I had plenty of different sizes and types in stock.
I fitted and glued the sliding guides so that at first I turned the box and lid upside down, lid against tabletop. I placed 10mm thick spacer blocks inbetween the lid and the box. That way I could clamp the guides with one clamp extending from end to end of the box. This way they were forced to be positioned pretty much perfectly so, that when I cleaned the excess dried glue, the box closed so tightly that not even a hair couldn't fit in between the lid and the box. (Since then it has twisted a little bit, and the fit is no more that precise.)
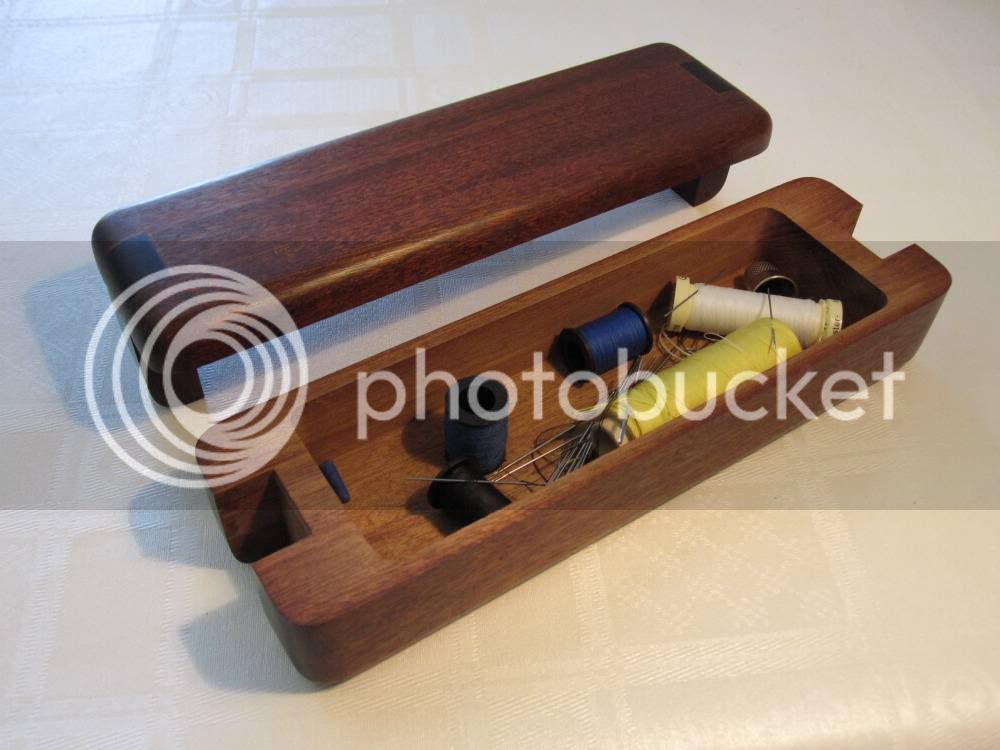
I had now a working box "template" looking like a colourful block of wood. From now on I could do any kind of freeforming for the outer surfaces. Here, I deciced to just round the corners like that. I used block plane for the endgrain, scraped the rest of the surfaces, oiled the box lightly and after a couple of weeks I sanded it smooth with a 0000 steel wool and cleaned the residues with pressurized air. Then I waxed it.
I did not do much for the interior, just scraped off some larger prints left by the router.
Samu
It is mainly routed with the aid of jigs. (I had a small Makita for 19 years serving me well, and it got finally KIA. Rest in peace.)
The order of make was to stack the squared blocks of zebrano and jatoba and sawing the curves through both of them with a bandsaw. I switched the center pieces and glued them together, including a slice of mahogany veneer in each joint, to compensate the loss of wood by the saw kerf.
I squared the pieces again, and routed the fingerjoints. I decided to add that piece of walnut in the middle, and glued all the pieces together.
Then I squared it again, and cutted the lid part off with a bandsaw, and smoothed the mating surfaces. Then I fitted them back together as accurately as possible to connect the joint lines run smoothly again, clamped them together and routed grooves for those sliding guides. I routed the box cavity by using a self-made template I had plenty of different sizes and types in stock.
I fitted and glued the sliding guides so that at first I turned the box and lid upside down, lid against tabletop. I placed 10mm thick spacer blocks inbetween the lid and the box. That way I could clamp the guides with one clamp extending from end to end of the box. This way they were forced to be positioned pretty much perfectly so, that when I cleaned the excess dried glue, the box closed so tightly that not even a hair couldn't fit in between the lid and the box. (Since then it has twisted a little bit, and the fit is no more that precise.)
I had now a working box "template" looking like a colourful block of wood. From now on I could do any kind of freeforming for the outer surfaces. Here, I deciced to just round the corners like that. I used block plane for the endgrain, scraped the rest of the surfaces, oiled the box lightly and after a couple of weeks I sanded it smooth with a 0000 steel wool and cleaned the residues with pressurized air. Then I waxed it.
I did not do much for the interior, just scraped off some larger prints left by the router.
Samu
")