LuptonM
Established Member
A short intro before we get right down to business ( a long first post BTW):
I am a 20 yr old student who goes by the name of 'Marc' whom is attempting to make something out of wood (no previous experience nor knows anyone who knows what they're doing- whats with these old ppl and they're oil stones and their can of spam under the stairs?)
Anyway I am having trouble making shavings with a hand plane I got from a carboot (a stanley bailey no 4 - originally had beech handles)
I am a little confused since I've never used a hand plane so I am not sure what to expect. Since I am having trouble I'll go through my sharpening process as well
I've lapped the sole with some wet and dry on some float glass to make sure the sole is flat. I also grinded the blade on a whetstone grinder at 25 degrees on one of these http://www.axminster.co.uk/axminster-ax ... rod781392/ (my dad has one since I suggested he should buy one to clean up his chisels as my mum uses them to open paint tins and they are in a shocking state).
I then used a axminster basic honing guide (BTW the projections are hard to read on it since the writing just looks like a blob due to the poor casting)
to fine tune the grinding on some sandpaper up to p500 sand paper.
I then flattened the back of the blade on p80 intiitally and then all the way up to the 0.3 micron paper that workshop heaven sells (I did use p240,p400,p600, p800,p1500,p2500, 1micron intermediate grits to make sure I did a good job)
After the back was flat I honed the cutting edge at 30 degrees from p800 to 0.3 micron sand paper. On the 0.3 micron sandpaper I tried to remove the wire edge by alternating between honing and flattening the back for 3 strokes a couple of times.
The blade could shave my arm hair at p2500 grit, but the addition of the 0.3 micron paper made the 'shave' very clean, sorry Gillette looks like I won't need any of your 'not so resonably priced' replacement blades
After this I lapped the chipbreaker up to p2000 to make sure it had good contact with the blade and attached it to the back of the plane iron, leaving about a 2mm gap from the blade edge, making sure the cap screw was tight and installed it into the plane body
I then sighted down the plane sole and adjusted the lateral lever such that the blade was as close to parrallel to the plane sole as possible.
I then set the depth of the blade to be make a cut as shallow as possible but at the same time to try and make some shavings
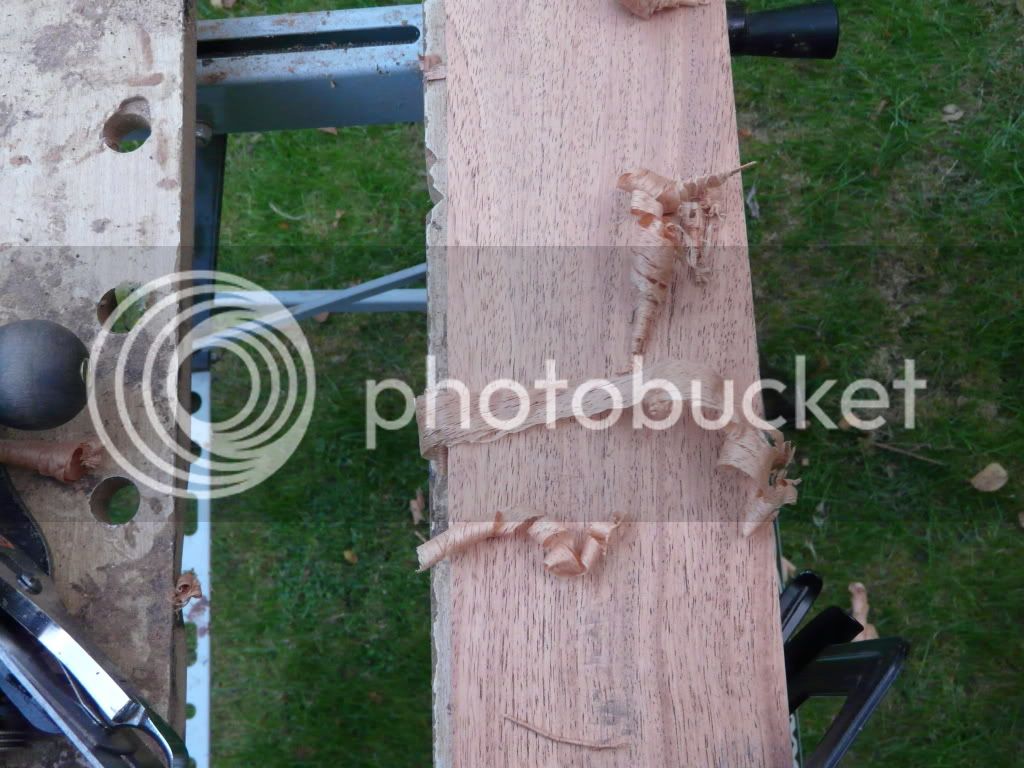
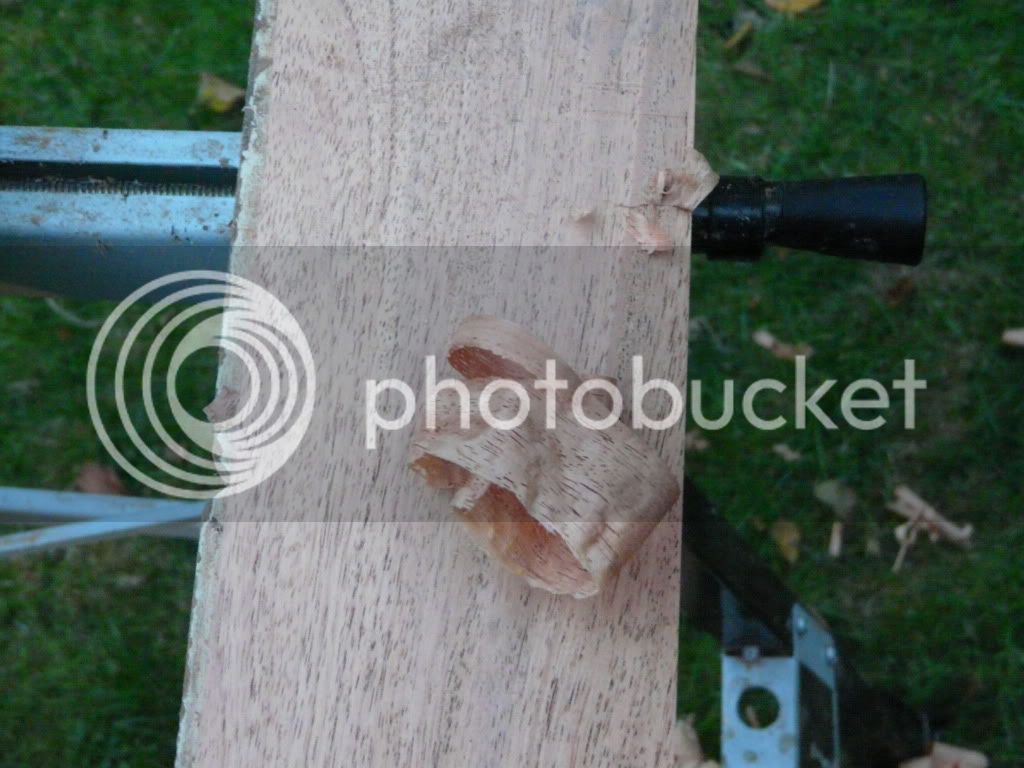
Buts thats were it stops, I tried planing oak (I know that planing in one direction across the board results in a better finish so I tried both) but still I am unable to get full length shavings easily and it seems quite alot of force is needed to make any at all. The 0.3 micron paper made things a bit easier as before (up to p2500) I had to put my whole body weight through the plane to get full blade width shavings and these only exstended 15cm at most (ie. not the whole board length) and were quite thick.
Since the the 0.3 micron paper a little less force is needed but the results are not much different
See-through shavings don't seem to be achievable as the blade either does very little or seems to take quite thick shavings. When it does do very little the thinner shavings only seem to be at less than half of the blade width.
Can anyone help???
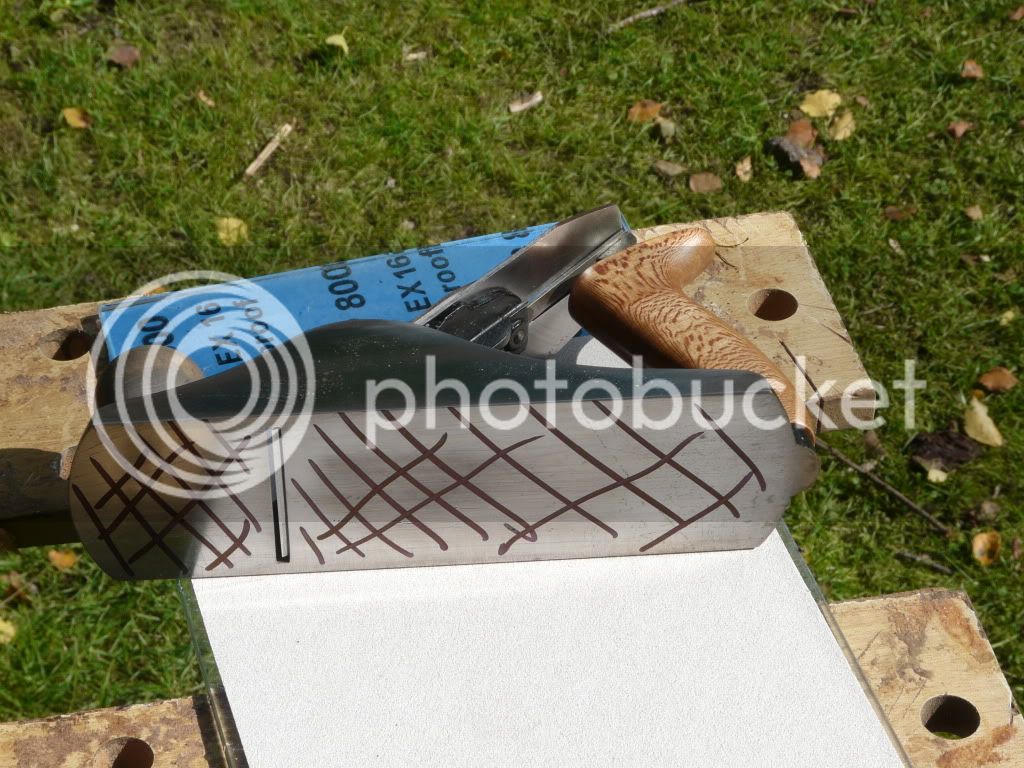
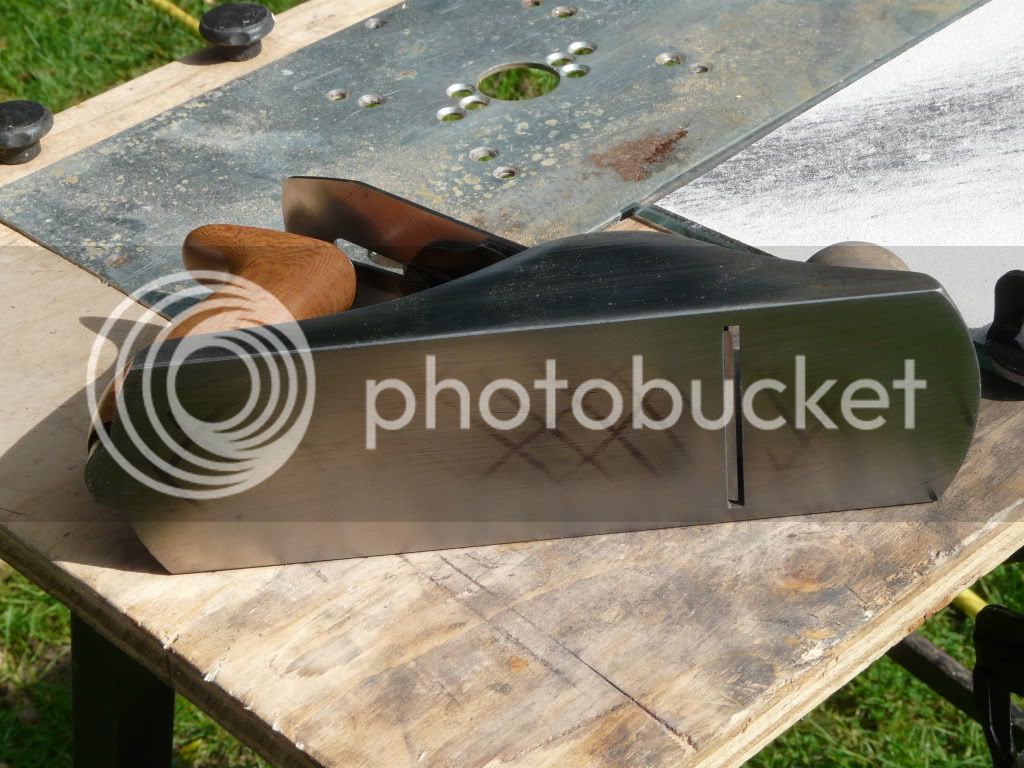
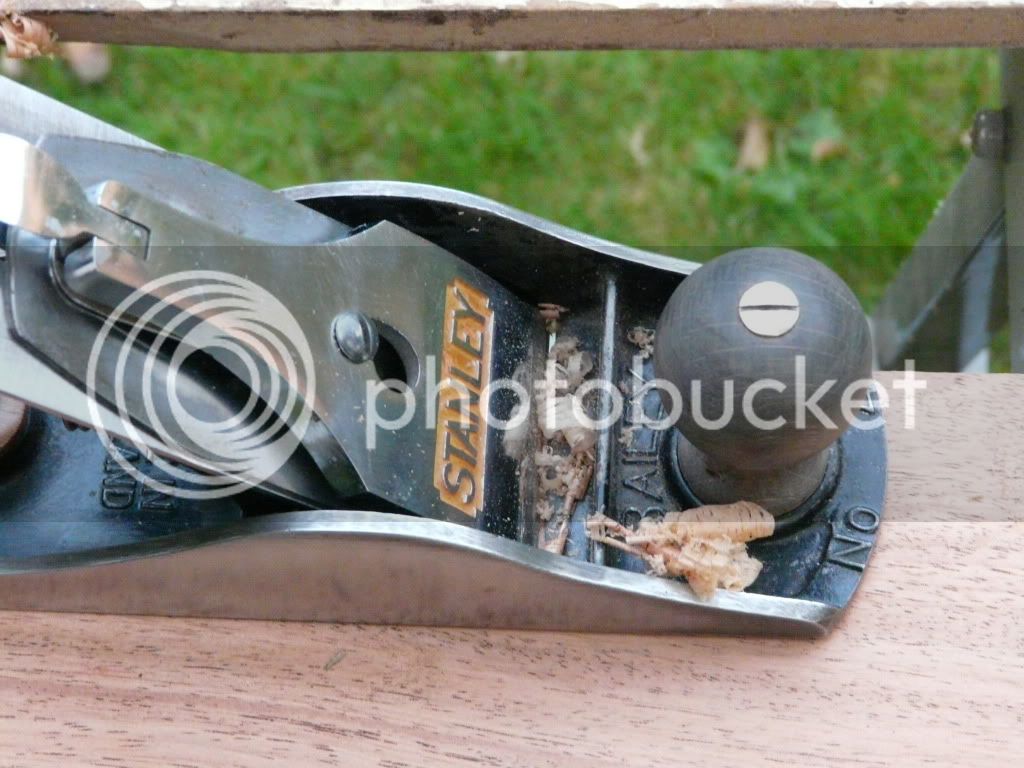
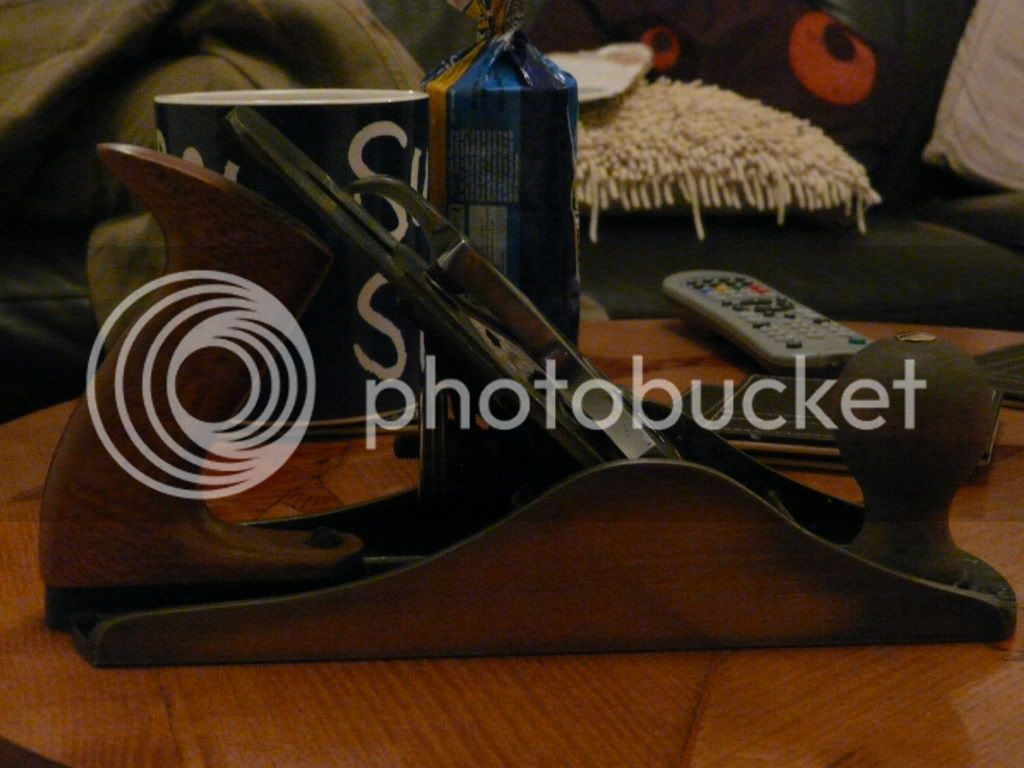
Here a picture of the plane. I've replaced the tote with one of my own creations and will replace the knob soon(sorry for the image quality- low light). You prob can't see but the tote is now made of london plane
I was also wandering if anyone had some scrap bits of rosewood/cherry or something to make replacement handles for the no 6 I scored on ebay and for a no 4 my grandad has- I'd be happy to pay for p and p, but the blanks for the tote have to be big enough for the lee valley templates
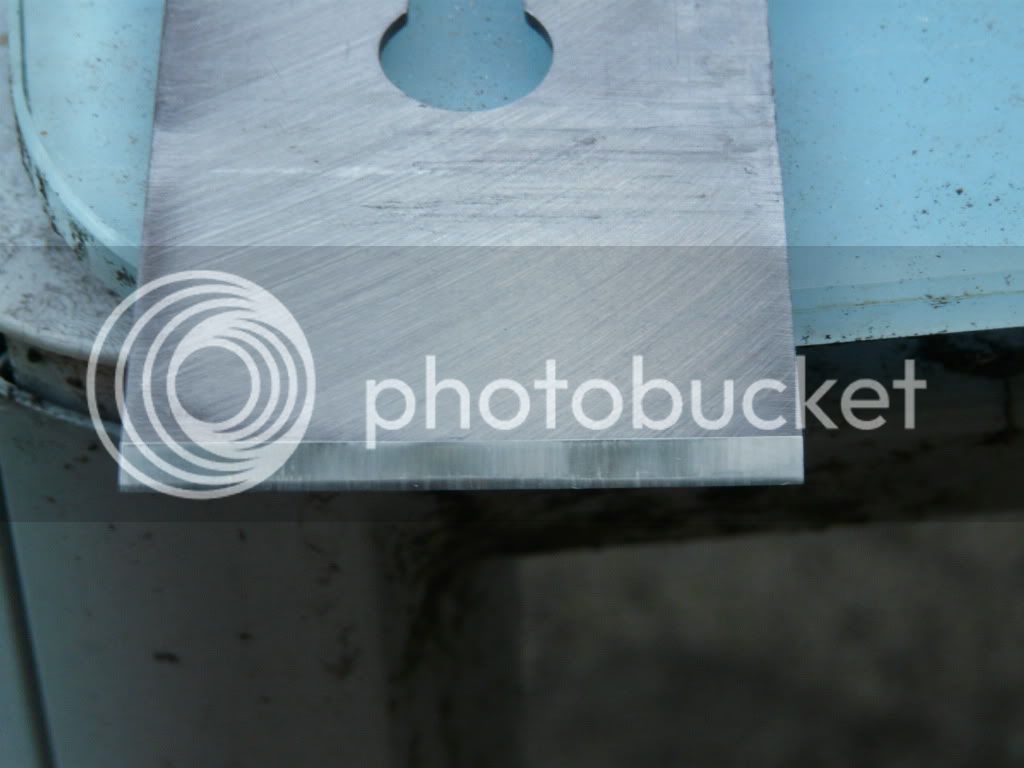
Annoyingly the seller forgot to mention the broken tote, the bent lateral adjustment lever, the bent blade.
You should have seen my dad use a sledge to flatten the blade, just hilarious , nearly as funny as him flattening his chisel backs on a high rpm cheapo grinder
I am a 20 yr old student who goes by the name of 'Marc' whom is attempting to make something out of wood (no previous experience nor knows anyone who knows what they're doing- whats with these old ppl and they're oil stones and their can of spam under the stairs?)
Anyway I am having trouble making shavings with a hand plane I got from a carboot (a stanley bailey no 4 - originally had beech handles)
I am a little confused since I've never used a hand plane so I am not sure what to expect. Since I am having trouble I'll go through my sharpening process as well
I've lapped the sole with some wet and dry on some float glass to make sure the sole is flat. I also grinded the blade on a whetstone grinder at 25 degrees on one of these http://www.axminster.co.uk/axminster-ax ... rod781392/ (my dad has one since I suggested he should buy one to clean up his chisels as my mum uses them to open paint tins and they are in a shocking state).
I then used a axminster basic honing guide (BTW the projections are hard to read on it since the writing just looks like a blob due to the poor casting)
to fine tune the grinding on some sandpaper up to p500 sand paper.
I then flattened the back of the blade on p80 intiitally and then all the way up to the 0.3 micron paper that workshop heaven sells (I did use p240,p400,p600, p800,p1500,p2500, 1micron intermediate grits to make sure I did a good job)
After the back was flat I honed the cutting edge at 30 degrees from p800 to 0.3 micron sand paper. On the 0.3 micron sandpaper I tried to remove the wire edge by alternating between honing and flattening the back for 3 strokes a couple of times.
The blade could shave my arm hair at p2500 grit, but the addition of the 0.3 micron paper made the 'shave' very clean, sorry Gillette looks like I won't need any of your 'not so resonably priced' replacement blades
After this I lapped the chipbreaker up to p2000 to make sure it had good contact with the blade and attached it to the back of the plane iron, leaving about a 2mm gap from the blade edge, making sure the cap screw was tight and installed it into the plane body
I then sighted down the plane sole and adjusted the lateral lever such that the blade was as close to parrallel to the plane sole as possible.
I then set the depth of the blade to be make a cut as shallow as possible but at the same time to try and make some shavings
Buts thats were it stops, I tried planing oak (I know that planing in one direction across the board results in a better finish so I tried both) but still I am unable to get full length shavings easily and it seems quite alot of force is needed to make any at all. The 0.3 micron paper made things a bit easier as before (up to p2500) I had to put my whole body weight through the plane to get full blade width shavings and these only exstended 15cm at most (ie. not the whole board length) and were quite thick.
Since the the 0.3 micron paper a little less force is needed but the results are not much different
See-through shavings don't seem to be achievable as the blade either does very little or seems to take quite thick shavings. When it does do very little the thinner shavings only seem to be at less than half of the blade width.
Can anyone help???
Here a picture of the plane. I've replaced the tote with one of my own creations and will replace the knob soon(sorry for the image quality- low light). You prob can't see but the tote is now made of london plane
I was also wandering if anyone had some scrap bits of rosewood/cherry or something to make replacement handles for the no 6 I scored on ebay and for a no 4 my grandad has- I'd be happy to pay for p and p, but the blanks for the tote have to be big enough for the lee valley templates
Annoyingly the seller forgot to mention the broken tote, the bent lateral adjustment lever, the bent blade.
You should have seen my dad use a sledge to flatten the blade, just hilarious , nearly as funny as him flattening his chisel backs on a high rpm cheapo grinder