Kitchen Refresh - WIP - Now finished.

UKworkshop.co.uk

Help Support UKworkshop.co.uk:

This site may earn a commission from merchant affiliate links, including eBay, Amazon, and others.

RobertMP

Established Member
Joined
29 Mar 2006
Messages
863
Reaction score
1
Location
Woodford Green
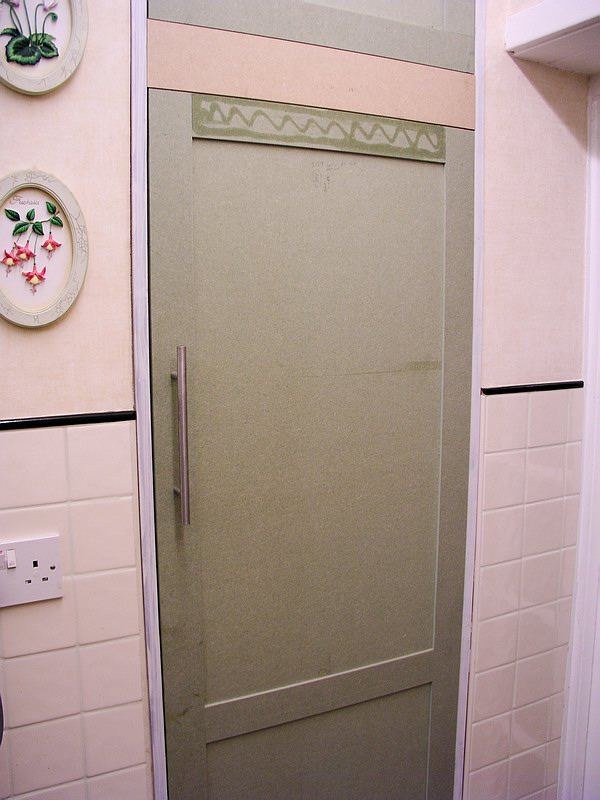
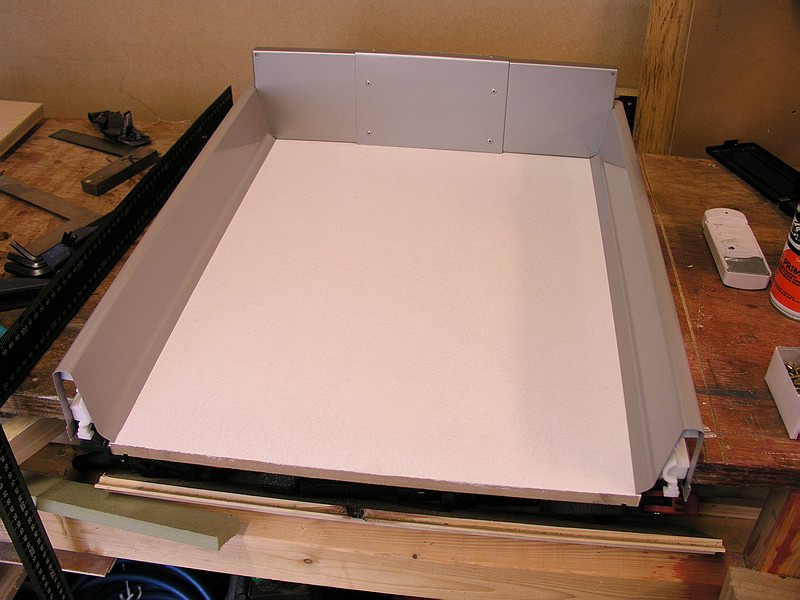
I wasn't going to start posting until after my upcoming holiday but as I've started cutting up the MR MDF and took a couple of pictures i thought i may as well start the thread off. I'm hoping logging my progress on here might spur me to get on with it as I seem to have developed a knack of leaving things until tomorrow :)

Anyway my take on board cutting...

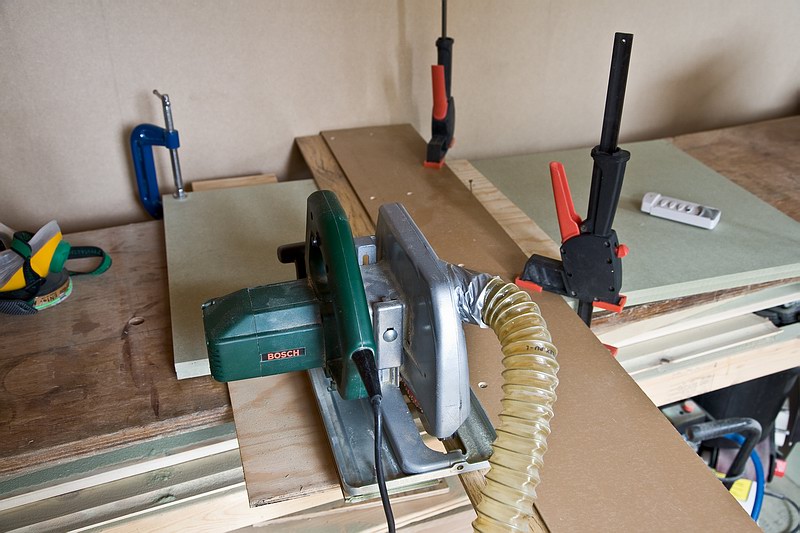
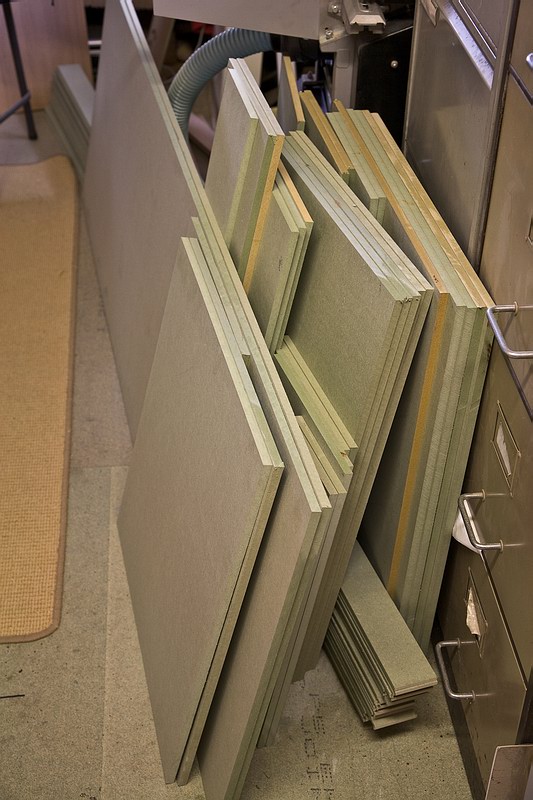
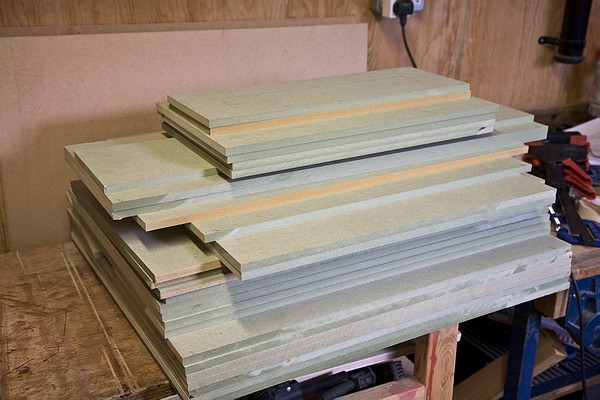
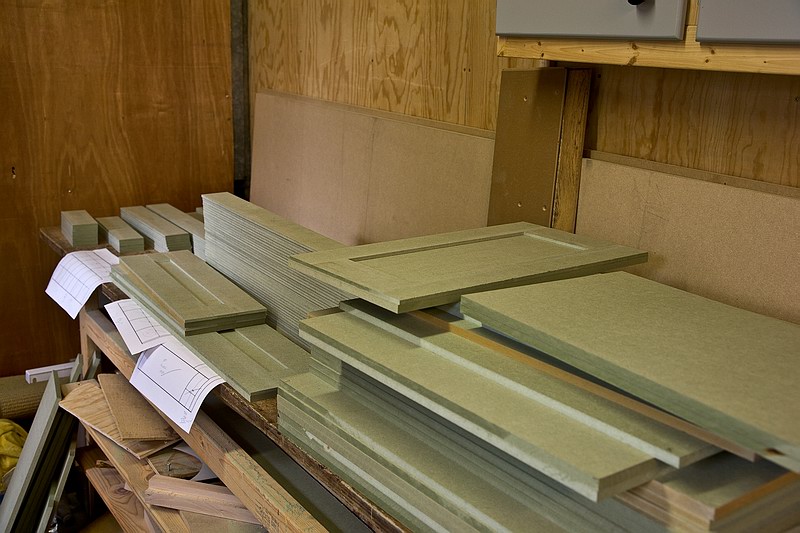
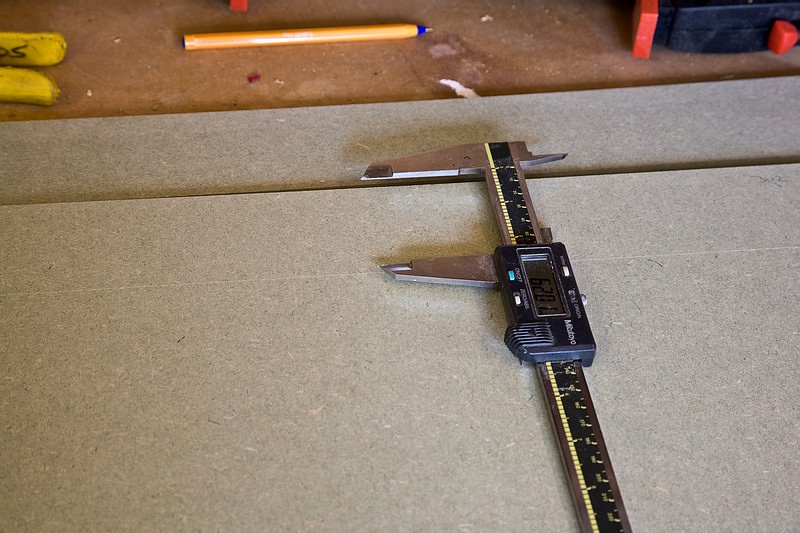
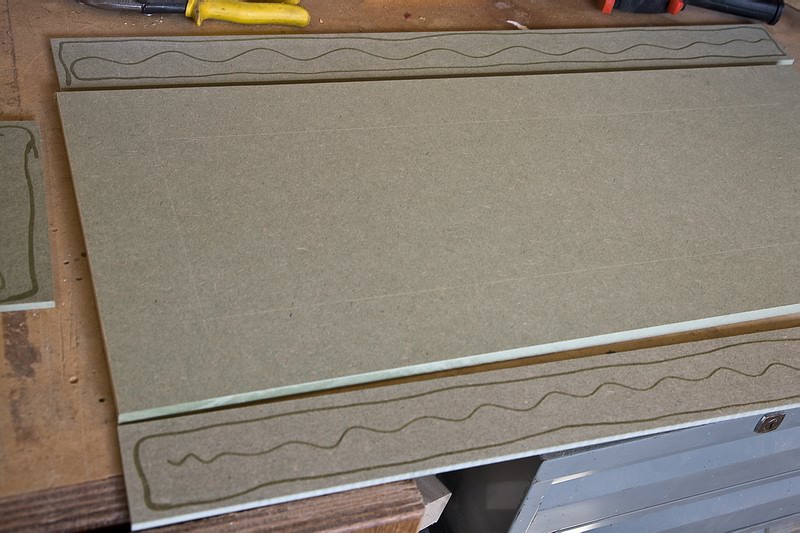
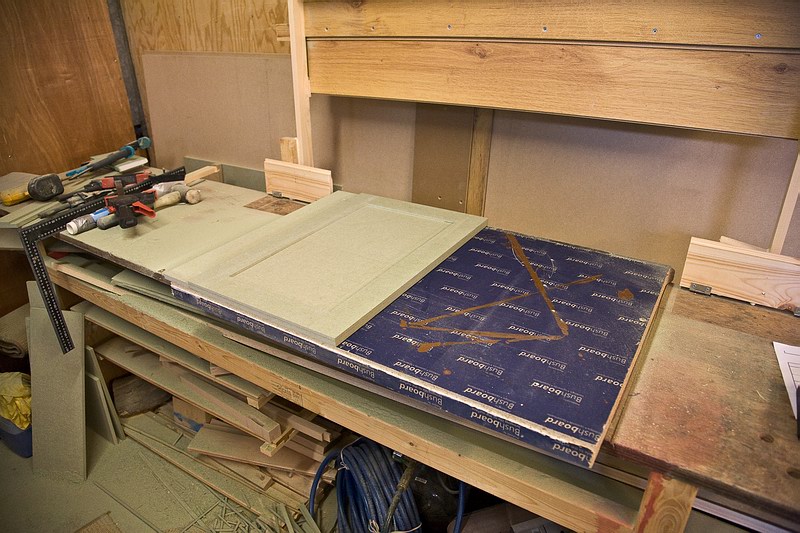
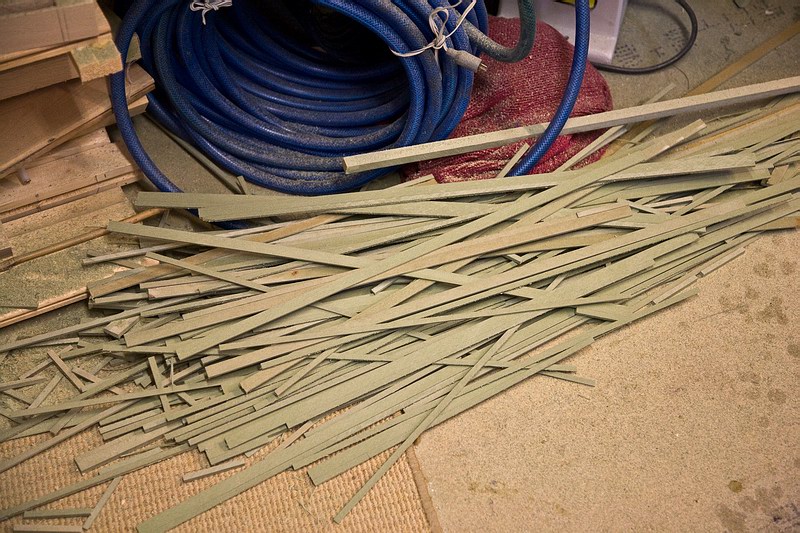
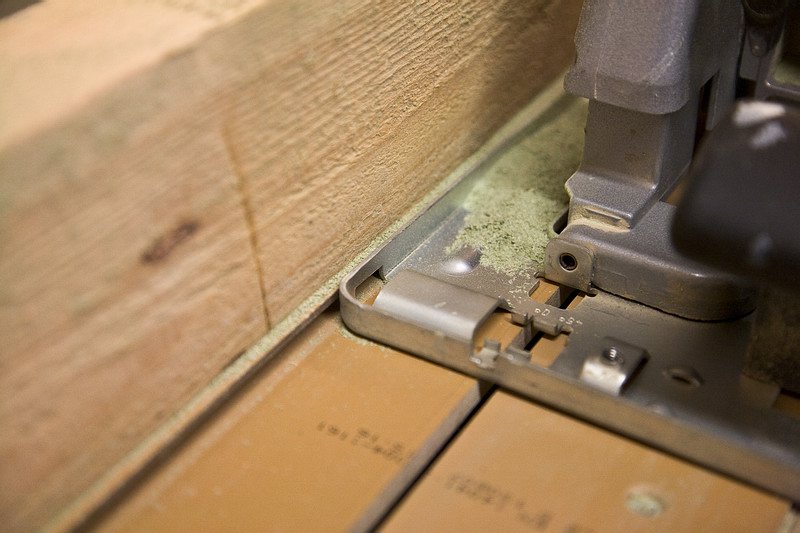
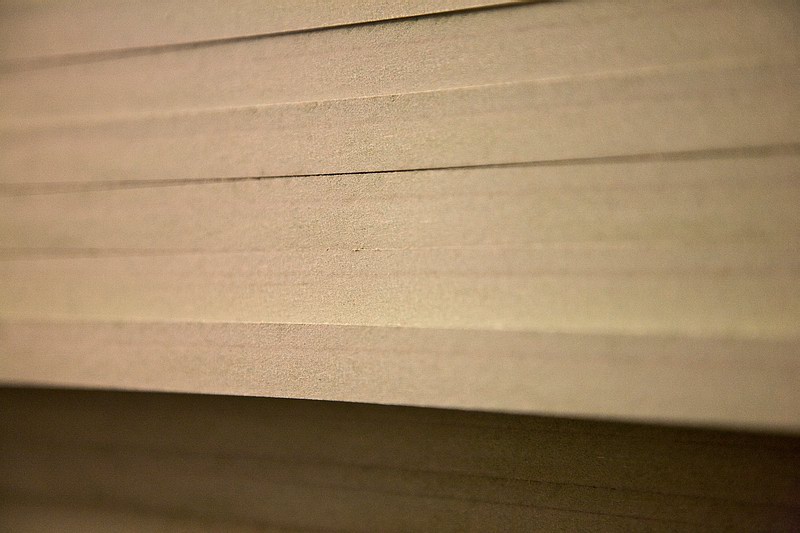
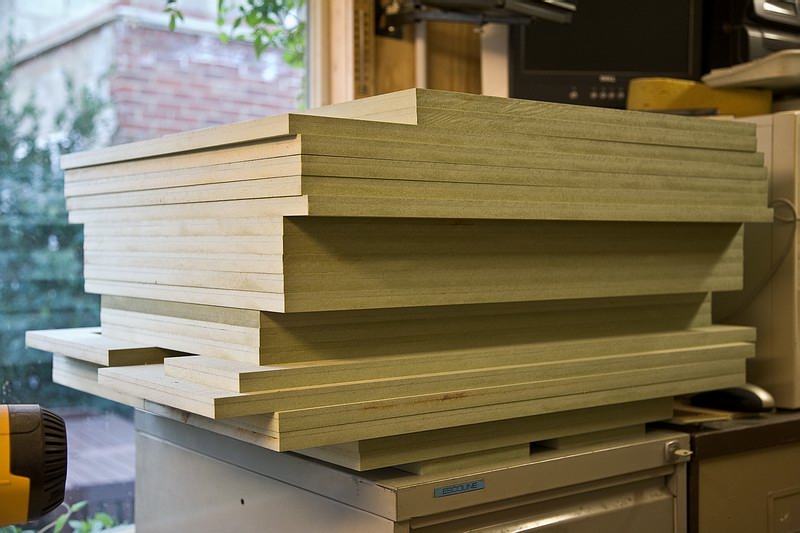
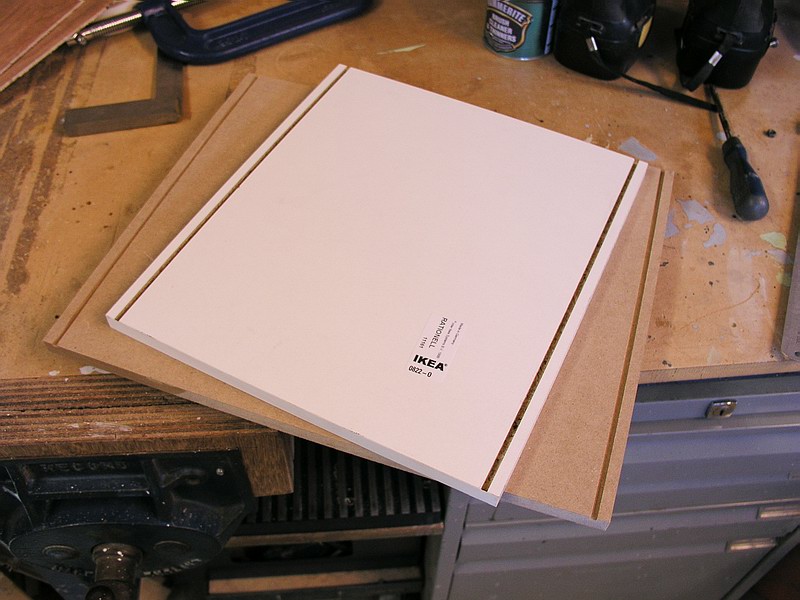
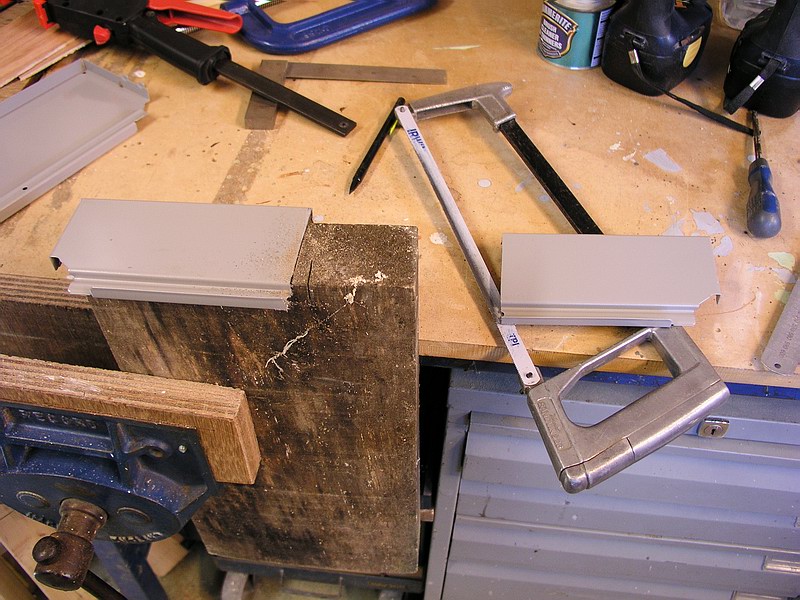
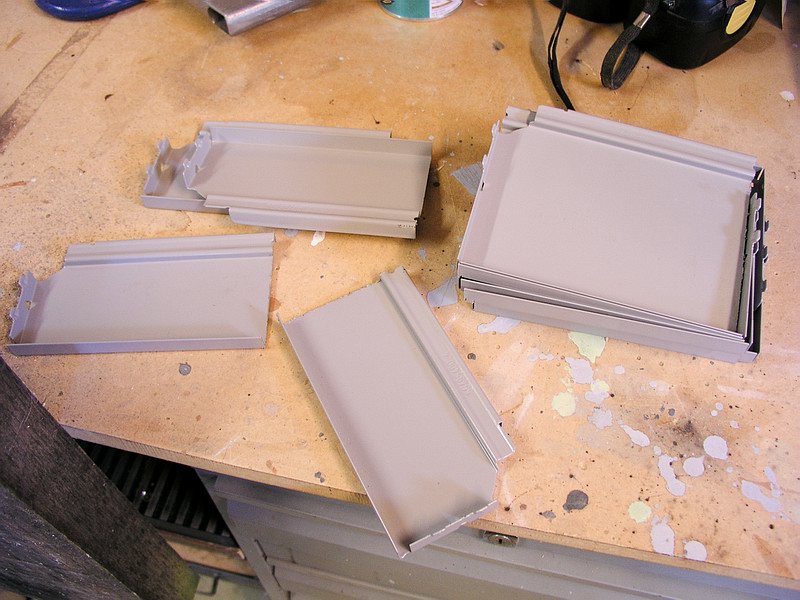
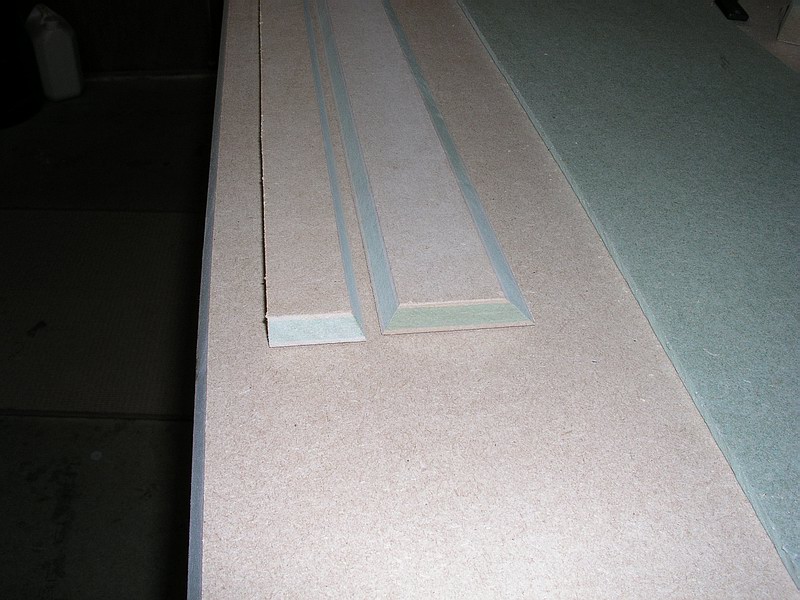
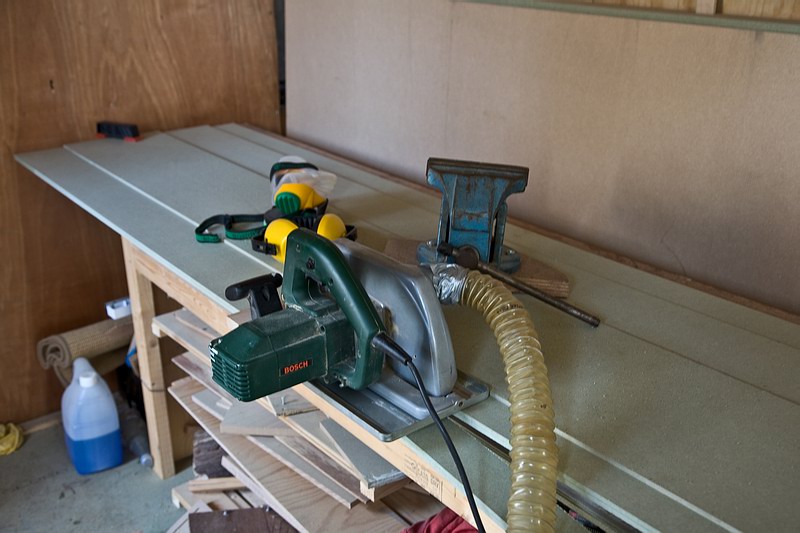
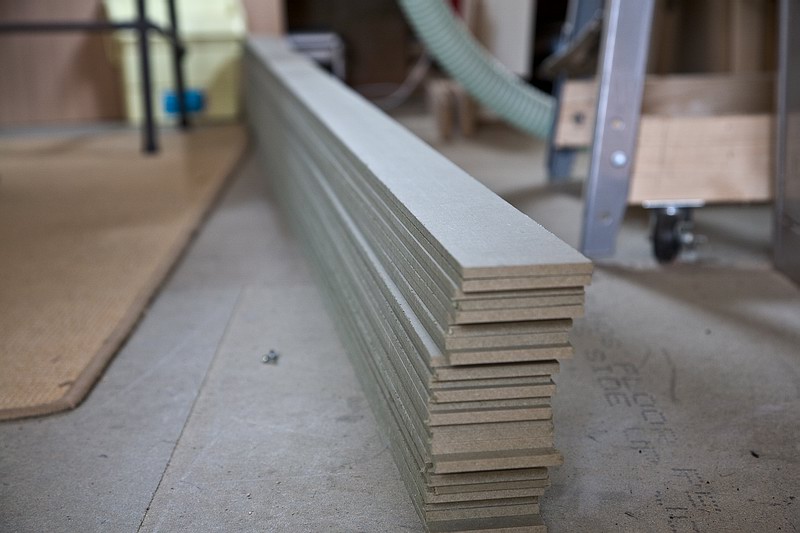
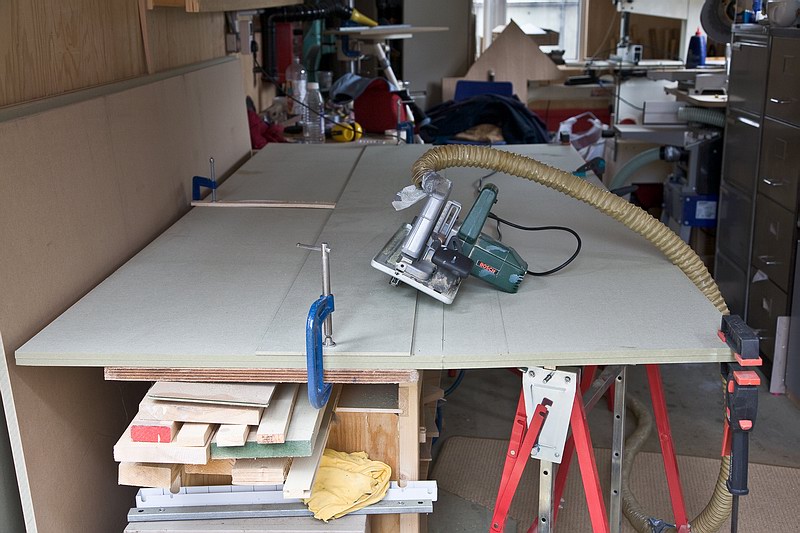
Need a lot of strips to stick round the edge of the doors to simulate panels so I cut a piece off of one 6mm sheet to use as a straight edge. Set my rule stop to allow for the blade offset on the saw and cut loads of 66mmstrips for my 60 mm finished edging. I cut the 2 sheets of 6mm together. The big vice is there to weigh the middle down so the board doesn't try to lift as i pass with the saw.

k001.jpg


k002.jpg


k003.jpg


Then 2 sheets of 12mm got cut to 716 + 498 and a bit of clean up allowance. Very tight out of 1220mm width but it should be OK.

k004.jpg


Lunch now :)
 
Robert can I suggest you have less blade sticking out of the saw. Not only is it much safer you will find that the blade exits at a shallower angle therefore giving less of a ragged edge on exit.

Would also be better to cut from the left to right, this will keep the wider part of the saw base in contact with "solid" board and stop the saw wobbling or be ing pulled down by th eweight of the hose.

I have the same saw and find these things give a better cut on the rare occasion that I now use the corded circ saw, though the same applies to using a cordless and blade depth on the table saw.

Keep up the good work
Jason.
 
Thanks. I'll reduce the depth of cut. Plenty more cutting to do yet. I can't cope with the cutting the other way idea - apart from feeling awkward the motor housing makes clamping more difficult. Stability is quite good right up to the last bit of cut and I'm ready for it then. The 8ft x 2ft bench with 1" hardwood ply top helps as the edge is supported all the way.
 
So far, so good, Robert :D .

If you dont mind me asking, how much did you pay for the MR-MDF? It looks like it does cut cleaner than regular MDF, from what I can see in the pics.

Cheers.
Bryn :D
 
The MR MDF came from Blumsons in Barking. I collected it using the roofrack on the car so I don't know what delivery would cost.

Ex VAT prices...

2 sheets of 6mm (stamped 'Medite' on the edge) £9.38/sheet

4 sheets of 12mm (No ID on this thickness) £17.66/sheet

1 sheet of 18mm (Medite) £23.48

I didn't try to bluff I was trade or anything so those are their retail prices. Came to about £136 in total.

With my limited experience of working with it so far I prefer it to the std stuff. It cuts a bit cleaner and the dust seems to settle quicker.
 
Is that for 1220 x 2440 or 610 x 1220 sheets?

If it works cleaner than the standard MDF, I'll definately give it a try for my next MDF jobs.

Many thanks!

Bryn :D
 
Thought I'd add the sketchup that I did a while back. Didn't draw in the hob and sink. doorways and window openings are shown though as is some intruding building structure.

k005.jpg


k006.jpg


The drawers are now std size at the top and larger below rather than all equal and the carcase end panels will all have a 'door' fixed to them rather than be plain as drawn.

Next time the kitchen is tidy I'll post a picture or 2 of the existing view.
 
Set up for cross cutting the 12mm. I use 2 strips of laminate flooring glued and screwed together and trimmed to the blade. laminate is nice and straight and slides easily on the saw. I have a rectangle of laminate I bolt to the saw foot to keep the saw horizontal. Some scraps of plywood space the panel off the bench. Only forgot to adjust the cut so I miss the bench a couple of times :lol:
All the panels are oversize to allow for trimming once glued.

k007.jpg


It looked like an awful lot of strips when I finished cutting the 6mm MR MDF..... now it looks like an awful lot of everything.
k008.jpg


Stacked the manageable panels on the bench but it still looks a lot! Wonder if you can buy superglue by the gallon :lol:
k009.jpg


Might have to consider some other glueing options. I'll start cutting and edging the strips tomorrow. looking forward to my holiday now :)
 
I like your 'setting gauge' and I'm impressed you are able to cut all this up inside your workshop! :shock: :wink:
 
My shop vac does a pretty good job - it's an industrial one that I kept when I closed my business. Also took the plate fan with me that also does an excellent job.... of propelling air out through the end wall of the workshop. Hopefully the greenhouse just outside is not too dusty :lol:
 
Coming on nicely.

I made a setting gauge after I saw Steve Maskery's DVD. Very useful, tho I cheated and used a length of T-Track Plus ;)
 
So far looking great! I am not confident enough with a curcular saw to cut that much. I would be more tempted to get my builder merchant to cut it all to size for me on their panel saw, or take it to the commercial workshop and cut it on our panel saw there.
 
Cut all the strips to length, prepared one edge and then cut square to dead length on those that fit inside the others. Sanded all the edges because they will be hard to get to once glued...... and it was all remarkably easy! MR MDF cuts nicer and sands to a smooth edge so much easier than std MDF.

Thought I'd only manage the cutting and some of the sanding today - instead I got it all cut and sanded and even glued the strips on a few drawer faces :)

k010.jpg


Need to think about the best way to position the strips on the larger panels to keep them square and central. Been using the mitre pro superglue to attach them. Dead easy to do but you don't get second chances :lol:
 
So far I've taken the simple approach with the larger panels. Double checked they were square cut, measured the width then took off the 'panel' width in the middle, divided that by 2 and scribed a line down the edge with my vernier.

k011.jpg


The one bottle (and aerosol spray) of Mitre Pro went a surprisingly long way. 2 more packs might be enough.

k012.jpg


Having applied the superglue to the strips I took the panel off the table and gave it a quick spray round the edge with the activator. back on the table and on with the strips.

After all that work I deserve a holiday... to be continued in 2 weeks :)
 
Is there enough glue on the strips to stick them to the panel. I only ask because I'm in the process of having a go at some similar doors.
 
Bit slow in getting back to this thread :)

Answer to above question first - I did have to knock one strip off quick after a second or so and the glue had spread out to nearly cover the whole surface. 3 seconds and it would have had to stay there :lol:

---
I have been working since getting back from my holiday...

So, I had all these door and drawer face panels and i needed to trim them to size and have them square edged. I don't have a table saw so all my cutting is with laminate floor strips made into saw guide tracks. With the requirement to cut a square edge i came up with this -
k013.jpg

The whole thing is hinged to the back of the table and the piece of kitchen worktop I used as a base for the work piece has a MDF square edge screwed to one side. because it is hinged it always comes down in the same place and is always square to the square edge stop.
Worked really well and i trimmed all the panels in no time just positioning them to measured pencil marks aligned to the cutting edge.
The saw guide presses down on the top edge and the worktop piece supports the bottom edge so there was no chip out on either face :)

just to show I do make some mess...
k014.jpg


A length of 4x2 attached to the straight edge lets me clamp the jig down at the ends and as it was slightly bowed provides pressure in the middle too. The piece on the right in this picture is to support the saw squarely. there is a 3x2 batten on the underside attached at the ends to the hinged arms.
k015.jpg


Close up view of the stack of cut panels showing the finish from the saw
k016.jpg


The whole stack.
k017.jpg


One thing I wanted to add to the kitchen was 3 plinth drawers to go in the unused space below some of the base units.They will only be used for near forgotten stuff so strength was not an issue - hence using up odd scraps of MDF to made the sides. I used up drawer runners I had rather than buy anything for the job.
k018.jpg


2" long M6 bolts into holes in the side provide the fixing method. The nuts act as jacks pushing the unit firmly up against the underside of the base usit. worked really well. Was easy to get in position then spin the nut by hand to take the slack followed by a few fiddly turns with a spanner. I don't have 2 drawers next to each other or I would have seen a flaw in the plan :) The fronts are screwed on and easy to remove when the time comes to paint them.
k019.jpg

There is plenty of PU glue holding them together so the one place the MDF did crack is not a problem.

The doors are now all sanded (which was pretty easy) and have the hinge holes drilled. They are ready for painting but I want to get as much made as possible before starting on clean things.
k020.jpg


I have a few Large doors to make yet. new fridge freezer arrives Friday and I have a larder size boiler cupboard to do. Not to mention cornices etc. long way to go yet!
 
Absolutely fascinating, such ingenuity and so simple, thanks for showing us Robert, I can hardly wait for the next instalment.

Regards,

Rich.
 
Next was the boiler cupboard. Didn't take any pictures during this!

These scraps show the softwood section I produced on the router table to trim the sides of the cupboard so that I could mount similar style doors to it to match the kitchen.
k029.jpg


I have temporarily fitted the doors that I just made. They have not been filled or sanded. The softwood trim is screw fixed so everything can be demounted when i get to the painting stage. The eagle eyed may notice the strip I placed wrongly and lifted straight off in a panic :) . As I didn't press down the superglue did not spread much. Sanded the door panel for re-glueing but it was easier to just turn the strip over and sand the glue off another time! used my old compact camera for these shots hence the lens distortion - it is straight honest..
k030.jpg


And so to the drawers....

I looked at so many drawer runners and boxes and all of the good ones seemed pretty expensive. Ikea sell drawers as accessories and the price of a drawer with soft close is considerably less than I can buy a soft close system elsewhere - and they run very nicely.

Problem then is that Ikea don't do standard sizes! I need 6 drawers for 500mm bases units and of the 4 styles I need they only do one of them in 500 width. So I bought 400mm drawers and modified them :)

Ikea standard drawers are 500mm deep (front to back) but having checked, with a bit of modification to the base unit back panel position, that will not be a problem.

3 drawers need to be shallow because of a column in the way and Ikea do a 350mm deep drawer that is perfect depth (but not width of course).

As an example a 350mm x 400mm drawer with soft close is £17 and it does seem a quality mechanism.
k020a.jpg


metal back panels.
k021.jpg


Home made base panels to correct width and same depth at originals.
k022.jpg


End plates attacked with hacksaw
k023.jpg


didn't take long :)
k024.jpg


So there is a bit missing. I was intending to bridge the gap with something wooden but as i still have a few metalworking tools I set to with some sheet aluminium.
k025.jpg


I kept a fly press from my business closure a couple of years ago and setting it up with a vee bending tool was the first use it has had to date!
Sheet metal punch came in handy too as did the air rivet gun.
k026.jpg


Considering it will be at the back of the drawer and hardly ever seen it does not look too bad once spray painted (aerosol). Again the camera is making it look a little curved when it is straight (and strong).
k027.jpg


So with the drawers prepared I cut some strips ready to glue together for a cornice profile for the top of the wall cupboards. 3 at 2.4m long and one at 1.2m should cover it.
k028.jpg


need to work out the best way to glue them lengthways now. Mitre adhesive may be a bit too challenging :)

Still plenty to do but the list is going down. Setback on the fridge freezer - miller brothers having promised me a delivery date changed their tune when I chased them to not actually having one. They debited my card and have not yet refunded... and my statement date has now come.... grrr!!
 
Back
Top