I should think that with a fixed configuration that shims are the way to adjust the wheels on the spindles so that they become coplanar? Just a thought.
Jim.
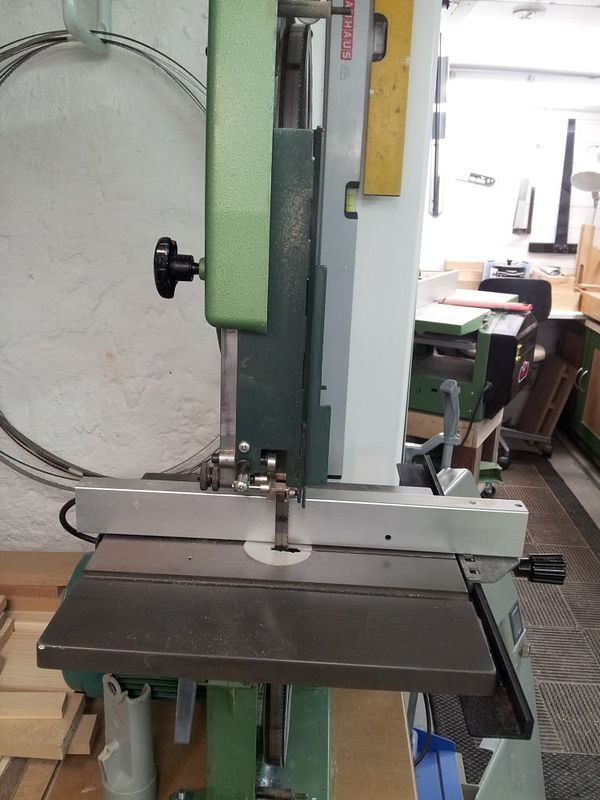
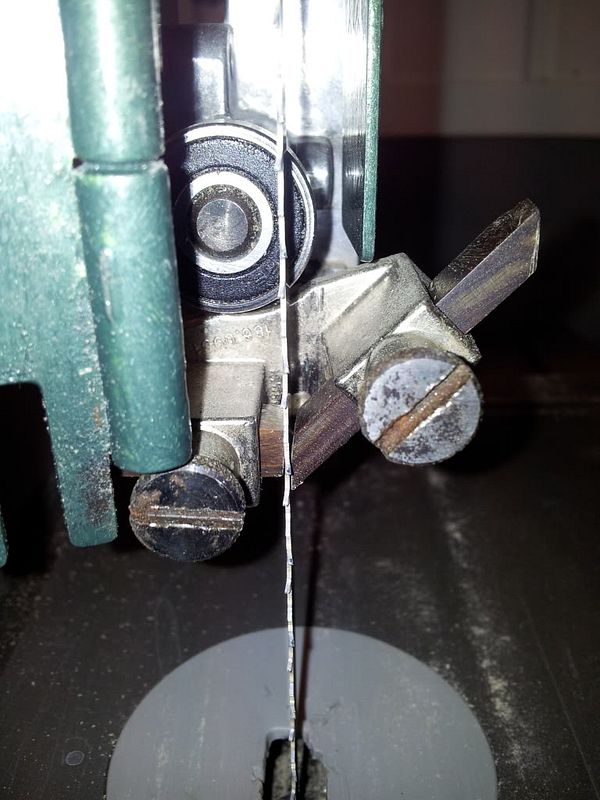
Good idea but won't work for this problem. The top wheel is all the way in on the spindle and still 5mm further out than the bottom wheel. Had the problem been reversed then, yes, I could shim behind the top wheel to move it out and use correspondingly fewer shims behind the circlip.
The bottom wheel doesn't have shims at all but is secured by a grub screw, and on my machine by a retaining bolt - unlike Jerome's which only has a grub screw.
Having a bit of trouble sourcing suitable shim washers locally here. What do you think of the beer-can idea ? Too inaccurate maybe ?
Mark


")