Dibs-h
Established Member
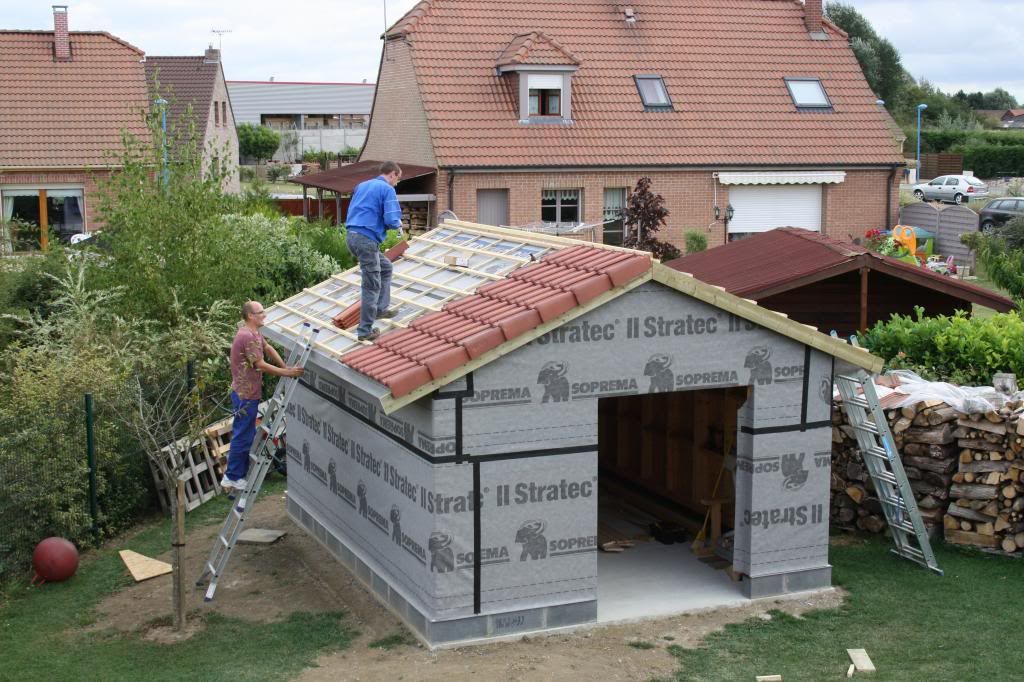
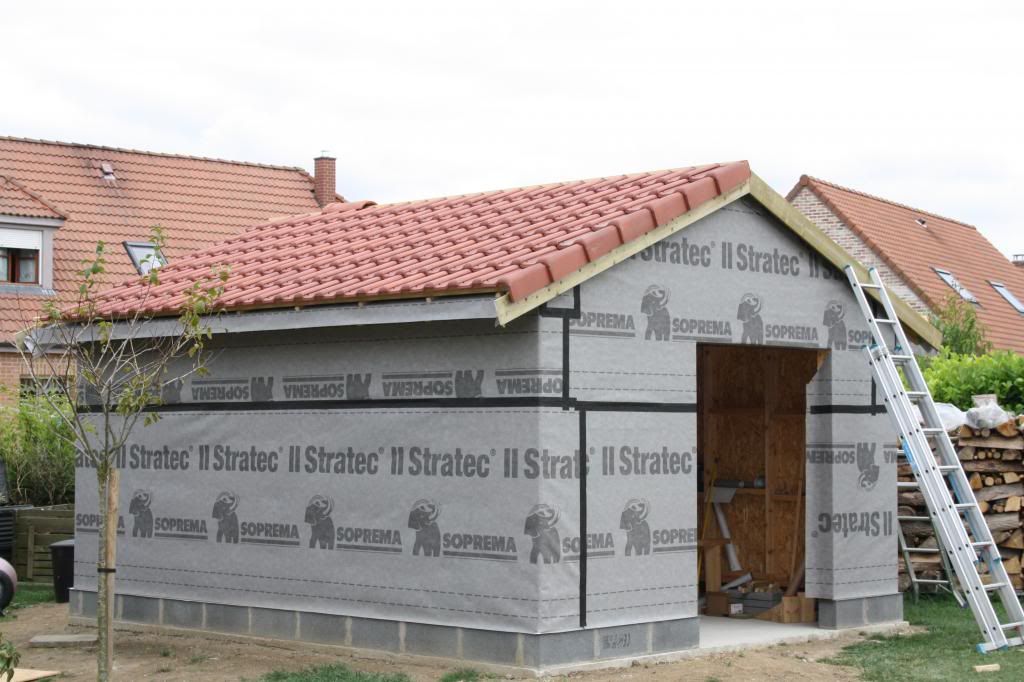
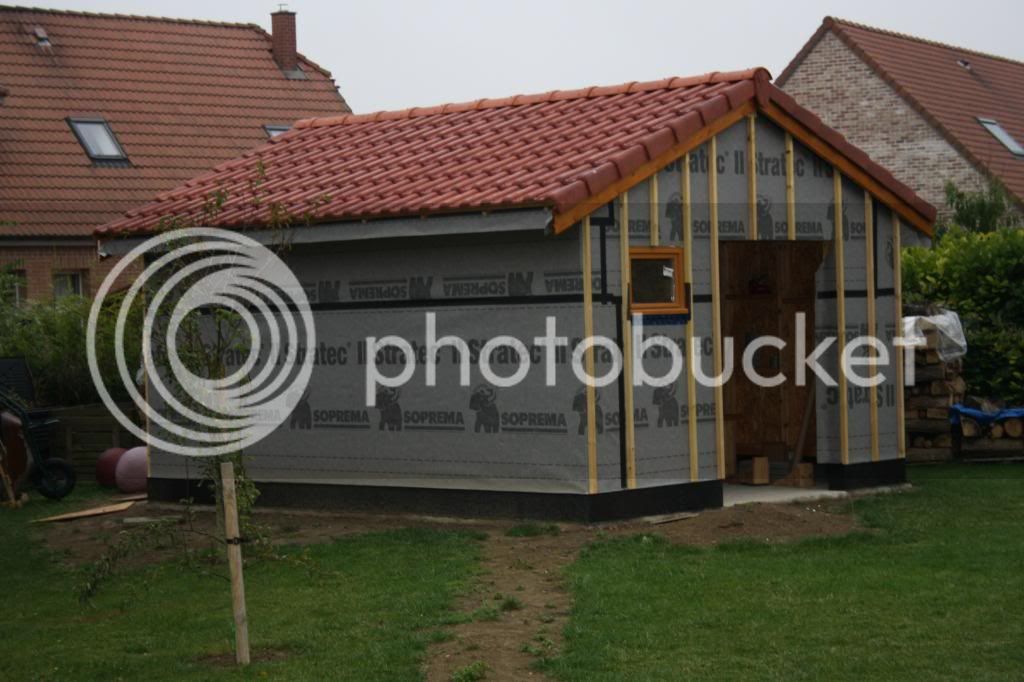
dlowry_uk":n30xszfx said:Ground level is already at least 50mm below the top of the slab all round ie 50mm below the mortar line of the blocks. I think the problem is that the slab is not exactly square, so in some places it extends a few cm beyond the blocks, leaving a small plinth where water can gather.
Drew
Either cut it back if you can with say a Stihl or apply a fillet of mortar (the cementious slurry type products may not be available there) at the joint. My money is the water is coming in along the mortar bed - i.e. between block and base. The fillet option is probably easier.
The cementious slurry product I used - I'll have to have a look in the "shed", I think I had some left over. It came in 2 parts - a fine powder that you mixed up by hand in small quantities and "pressed" into the mortar line (which you could use to then also form a fillet at the base) and another that you mixed up like thin plaster and brushed on (which you might not need).
HIH
Dibs
") Ok, I suppose the good news is I haven't done anything outrageously stupid, and it can be fixed. The easiest for me would be bitumen paint, assuming its readily available around here.
Ok, I suppose the good news is I haven't done anything outrageously stupid, and it can be fixed. The easiest for me would be bitumen paint, assuming its readily available around here.