Finished! Making a ukulele

UKworkshop.co.uk

Help Support UKworkshop.co.uk:

This site may earn a commission from merchant affiliate links, including eBay, Amazon, and others.
Now I'm into finishing, which means there is very little to show by way of photos. But I thought my process might be of interest, if only because (having tried most of the other possibilities) I think it's about the simplest possible for an amateur (other than simply spraying clear automotive lacquer from a rattle can, with which some can achieve rather good results, but at which I'm a complete failure!).

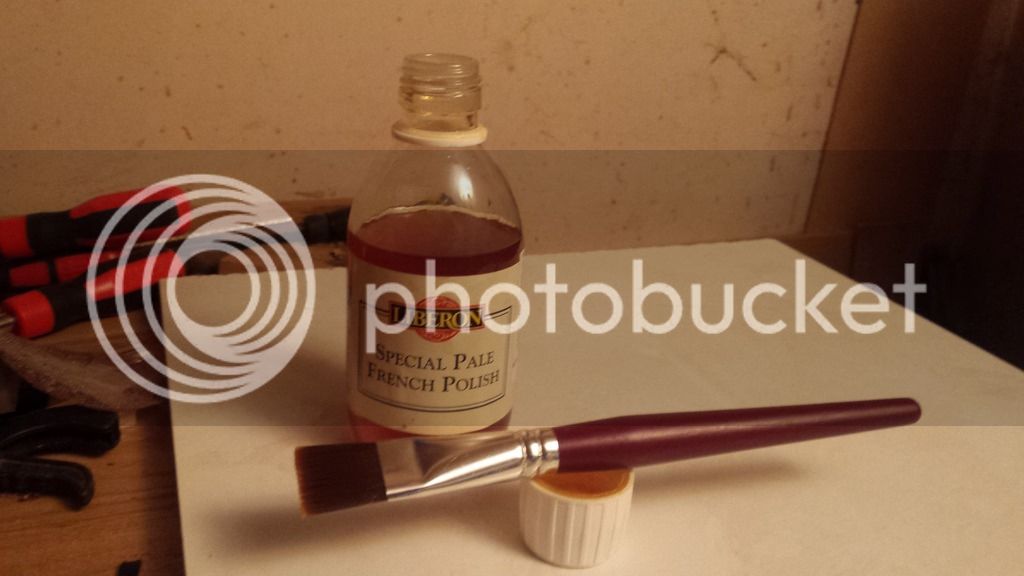
My finish of choice is clear shellac, bought ready-mixed (Liberon is your only brand here, though the cheaper hardware store brown ready mixes work quite well too). I'm not French polishing, but rather brushing it on. So I suppose my finish is spirit varnish.

20161008_181432_zpsjrswanyr.jpg


Once everything is scraped or sanded as well as I can I wipe on two thin coats with a paper towel, leaving an hour or two between them. This avoids end grain areas like the heel absorbing more finish than the rest and thus becoming darker.

Then I start on the neck, masking off the body and fingerboard.

20161008_181031_zpsdqjwinlt.jpg


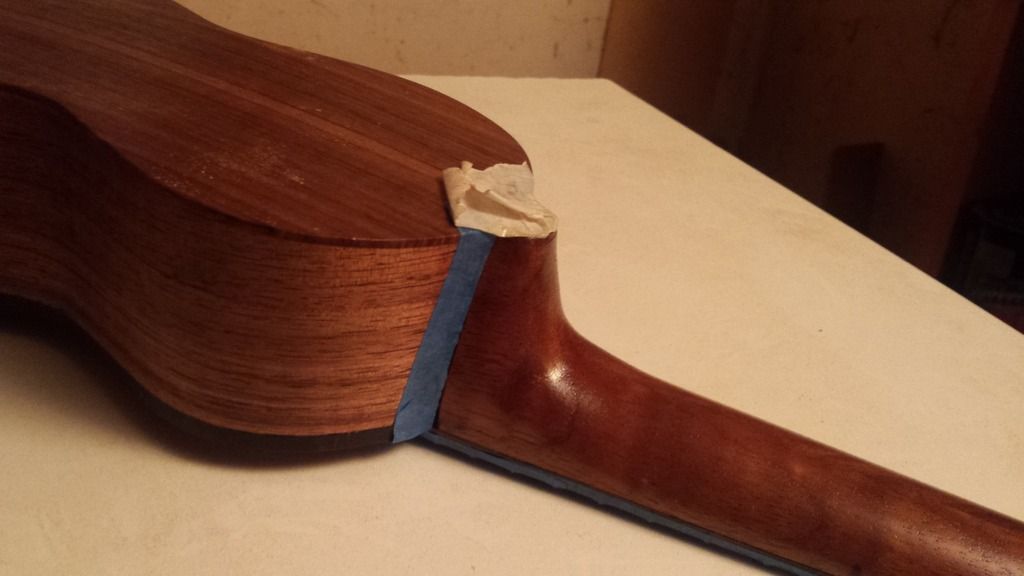
The reason for doing them separately is that it's impossible to brush into the neck/body join without getting finish on the other side of the join, with the result that a visible build-up of extra finish occurs either side of the join. This way the only bit which gets double treatment is the join itself, and that helps fill any gaps.

I use a flat, fine hair artist's brush, and apply the finish in a single coat, working from heel to headstock. It begins to dry immediately, so you mustn't go back and re-coat any bits you missed - catch them next time! After about 8 hours I can take any nibs off with P1000 paper on a cork block, sanding very lightly indeed, and then re-coat. No more than two coats a day.

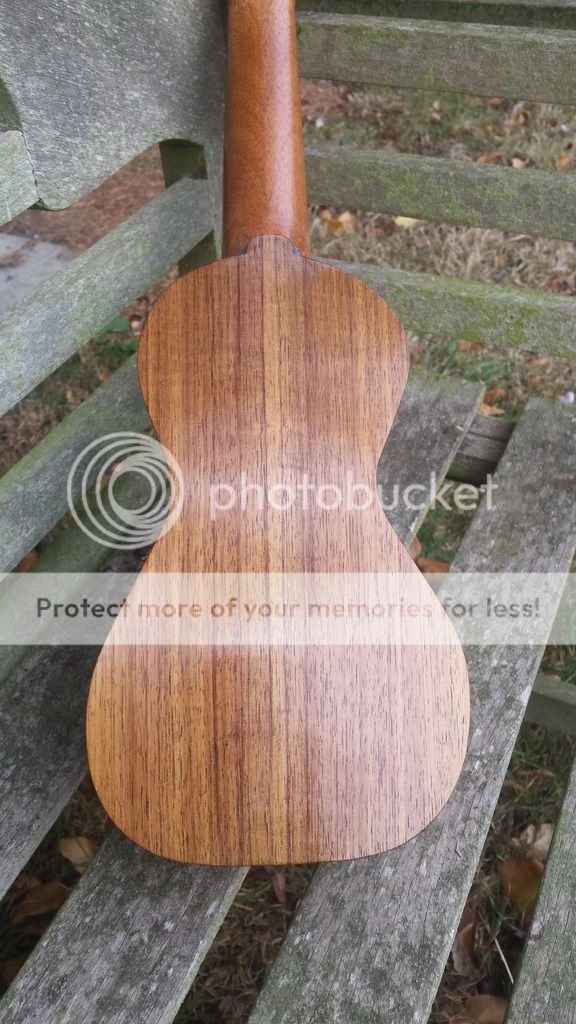
Here is the neck after three coats, and I reckon one more will do it.

20161008_181004_zpsoyfzrbn0.jpg


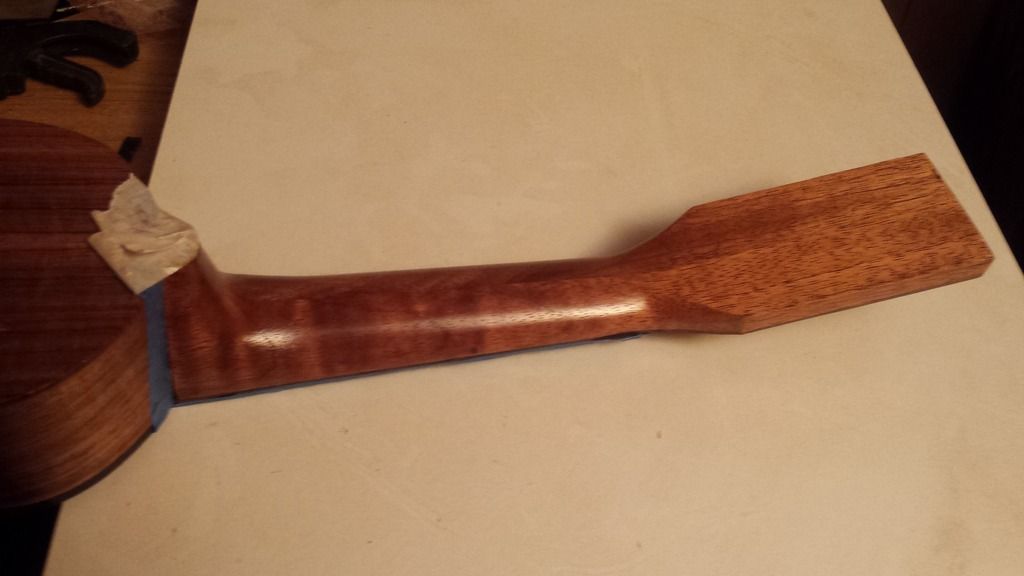
I'm happy with a fairly thick film of finish on the neck, because I don't want it to be so thin that it wears quickly away through playing. This mahogany has small pores and not too many of them, so I've left the pores unfilled. It gives a decent look, and helps stop the neck feeling too sticky when playing (a really high gloss can be a problem here).

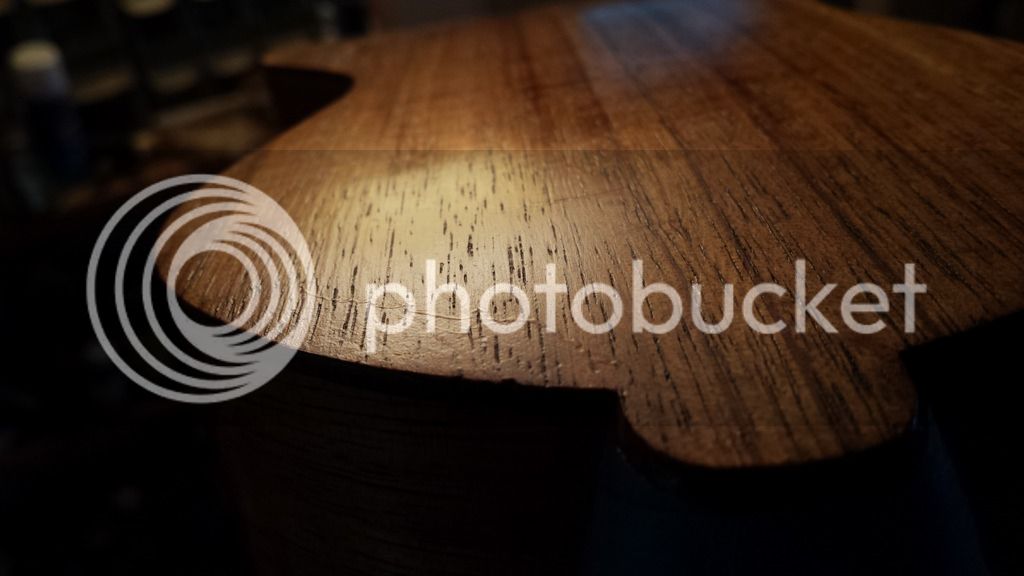
The koa headplate had some fairly large pores, so I brushed on three coats and then, using a finely set scraper, removed the finish back nearly to bare wood. This has pretty much left the pores filled with finish (for some reason I don't understand, shellac never fills up pores, but seems to settle to an even film which therefore includes pores as it builds up. But as there is finish in the bottom of the pores, once I've cut back most of them are now flat at the base).

Here is the headplate after the process and with one layer of finish brushed on top. I reckon a second coat is needed, and then there will be final shining up which I'll show later.

20161008_180827_zpsl9m9fnhu.jpg


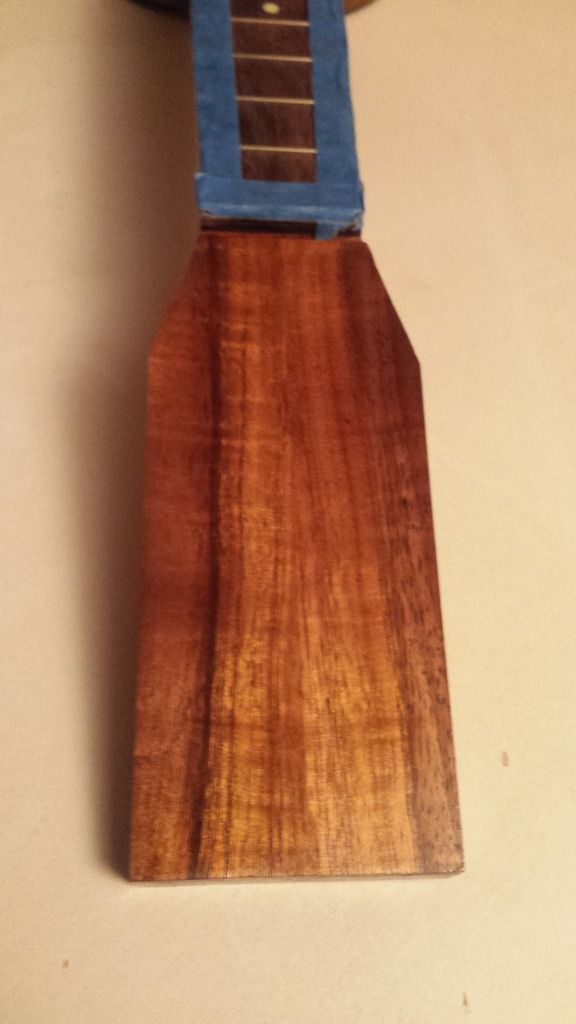
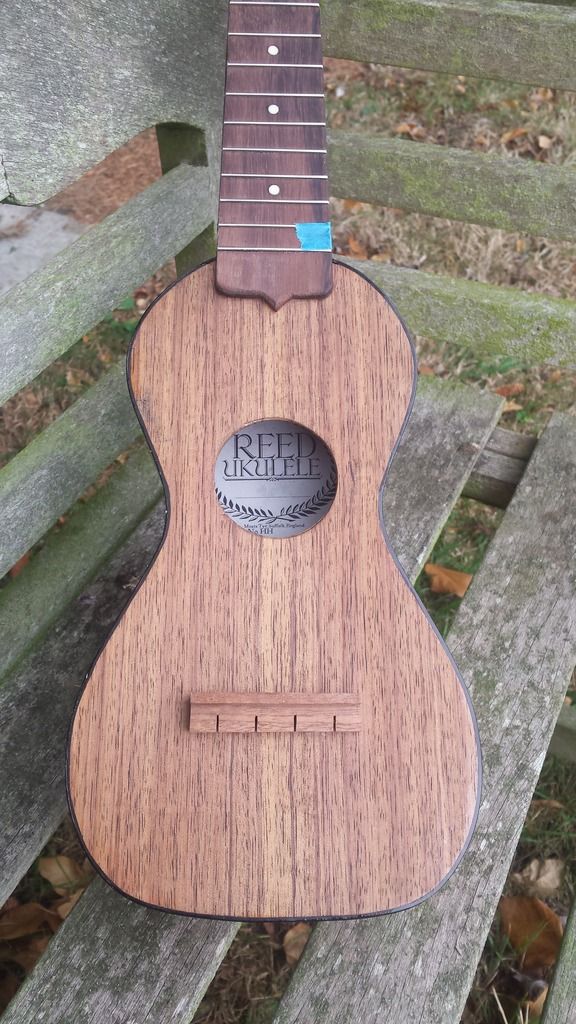
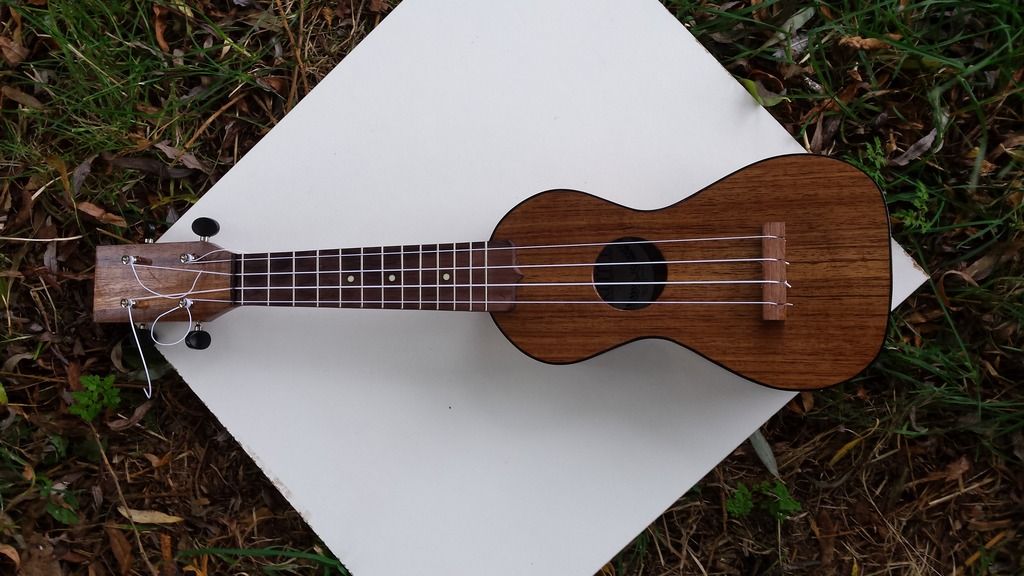
I like shellac because, as you can see, it really brings out the figure in the wood.

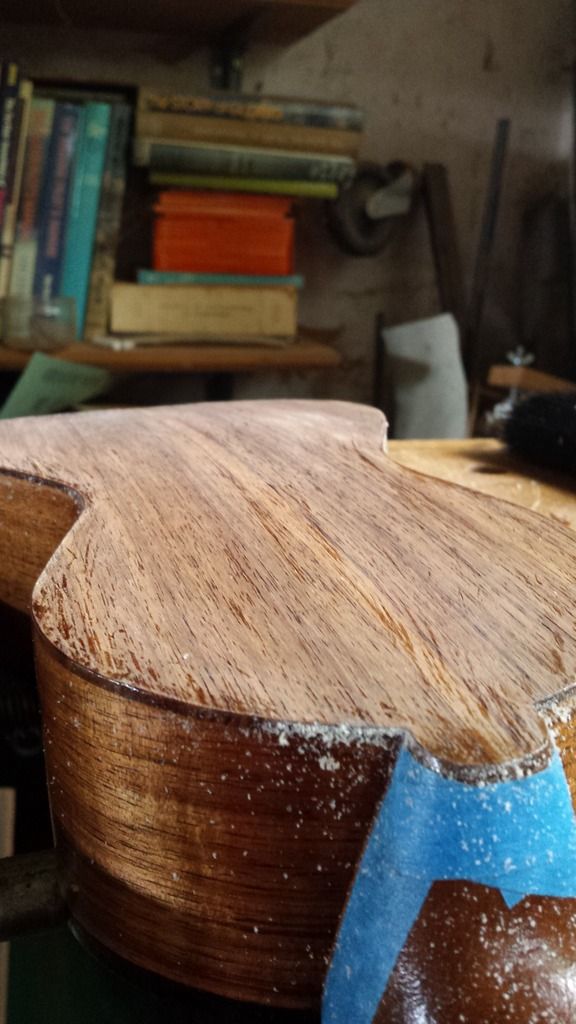
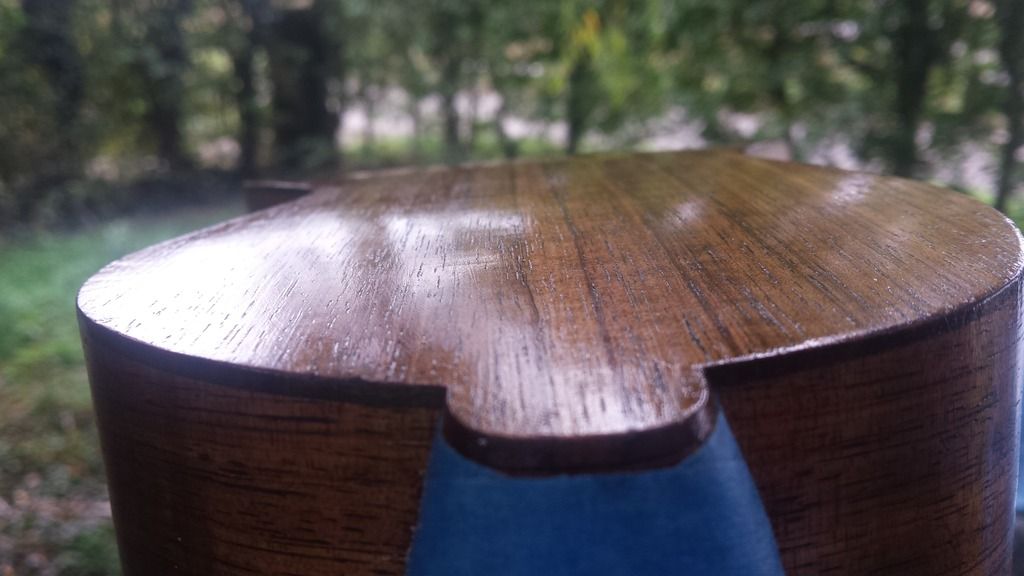
Next the body, which is a similar process to the headplate (but not quite, because we need a really thin film of finish to avoid killing the sound of the instrument).
 
You know how, when you're coming to the end of an excellent book, there's a tinge of sadness that it'll soon be over?

That's how I feel about this thread.

:cry:
 
The ending will be a little drawn out, because I'm waiting for tuners to arrive from China. Against my aesthetic judgment I have to use geared tuning pegs, rather than metal friction pegs, because young Jenna would find the frictions too difficult (and a uke she can't tune is no use to her at all). There appears to be a drought of geared pegs in the UK, with only the most ugly designs available.

But the ending will not just be pictures of the finished uke, because I do play a bit. So you'll also get a snippet of video to demonstrate that it does in fact work.
 
Finishing the body, and there is an important difference from the neck. In theory the finish on the neck could be as thick as I like, but on the body I want a really thin film. A uke is so small that it has trouble producing any sound at all, and a nice thick dipped finish will kill the sound completely.

So, a couple of wiped on coats of shellac, and then I begin brushing on the shellac as before, levelling back every two or three coats with a cabinet scraper with a very fine edge.

This is after two brushed on coats, not cut back, and you can see that the pores are still very visible.

20161013_155719_zps7nv4qgau.jpg


After five coats I remove almost all the shellac, just stopping short of the bare wood, which shows me that most of the pores are filling nicely.

20161014_105833_zpsicvkegfb.jpg


The question is where to stop. Another couple of coats and cutting back might give me a completely filled surface, but (a) I want this to look hand made, not produced with spray gear in a factory, and (b) even if I fill all the pores, the finish will shrink back over the next year or so, which means the boiled sweet effect won't last.

So this is where I stop brushing and wipe on shellac. After two wiped on coats it looks like this:

20161014_151907_zpshms9h9vg.jpg


I'll probably wipe on two more and then level the surface very lightly with cutting compound (T-Cut is what I use). Or, as it's pretty shiny, I might wipe on one more and then simply wax. I don't know precisely how thick the finish is, but definitely less than 0.1 mm.

You can see that this blackwood scrubs up well (back view with finish, front view has just one wiped on coat of shellac).

20161014_151951_zpsimraezty.jpg


20161014_151959_zpsgsk6lrqo.jpg
 
profchris":26yesqh3 said:
In theory the finish on the neck could be as thick as I like, but on the body I want a really thin film. A uke is so small that it has trouble producing any sound at all, and a nice thick dipped finish will kill the sound completely.

You mean those nigh-luminous painted ones in the Sue Ryder charity shop might be other than excellent?!

Say it ain't so, Joe!

BugBear
 
The Sue Ryder ukes are remarkable. I occasionally look at budget ukes to see how much work us needed to make them vaguely playable. The Sue Ryders are the only ones where I can see no way at all. The inch-thick finish is the least of it.

If you know a child whom you wish to deter from ever making music, this is the device to purchase. And the luminous green one, with fluorescent football decorations, is on special offer at £9.99!
 
The tuning pegs arrived from China, and I thought "Obviously, I should complete the finishing before I string up this uke, only sensible way to proceed." Oh yeah?

So here we have a preview of what the final product will look like, only it should be shinier.

20161021_145321_zps4zuyhvce.jpg


I'm delighted to say that the action (string height to the underside of the strings measured at the 12th fret) is about 2.4mm, and my target was 2.5mm. It may well rise to 2.6mm as the top deflects under string tension, but I don't expect any more than that. This makes the strings comfortably low, for easy playing, but still high enough not to buzz if you strum hard.

Readers may recall that I left the saddle unshaped, because I'd want to add compensation for each individual string. What I'm looking for is for the 12th fret harmonic* note to sound the same as the note when I press the string down at the 12th fret. I've placed the bridge so that for all four strings, the fretted note is a little sharp compared to the harmonic. To make them the same, I carve away a little from the front of the saddle, and keep comparing the two notes until they are as identical as my ear can detect.

[*Footnote: Harmonic notes are what you get if you touch the string in the right place and pluck it. In this case, the 12th fret is half the scale length, so I touch at half the string length and pluck. This makes each half of the string vibrate separately (don't ask me why; physics probably, or maybe pixies) and thus gives a note an octave above the open string (OK, almost exactly an octave for any physicists out there). My 12th fretted note should be an octave above the open string, so comparing this with the harmonic tells me whether I have the saddle shaped correctly.]

The result is a series of scallops in the front of the saddle. The thickest string needs most compensation, and you can (maybe) see that the scallop is deepest for that string.

20161021_145343_zps0bn9un9r.jpg
20161021_145359_zpsqt1acazz.jpg


Once this was done I obviously had to play it, to see how it would sound:

https://app.box.com/s/lidzck6lxpfa06iph44kf48db9eoafkm [click to play]

You will hear that I describe the G string as "buzzing like a wasp" (actually not that bad, but I'm allowed a little hyperbole at this stage). This is because the top of the saddle is still flat. As the string vibrates it touches different parts of the flat top several thousand times a second, each producing a fractionally different note, and thus the buzz.

To fix this I've removed the strings and rounded over the back of the saddle so that the strings curve gracefully across it and finally leave it at the point set by my scallop in the front. I've also cleaned up the front so that the scallops are gentle curves, rather than the gouges shown above.

I've also given the bridge a couple of coats of dark French polish, as bridges seem to look best if they're darker than the top. The fretboard has had a light coat of boiled linseed oil, so it too is darker and quite spiffy looking.

So now it's shellac/scraper/shellac on the top until I'm content, refit tuners and strings, and then I keep it and play it for at least a week in case I discover that one fret is a fraction high, or a fret end is uncomfortably sharp, or any other minor snag. Once it's as near perfect as I can manage it will go off to its new owner.

Not sure when the culminating video will be made, as I'm off to Singapore for a fortnight in mid-November. With luck the finishing will be complete before then, but Jenna won't get it until the end of November because I'll want to do a final polish (two weeks is perfect for the shellac to harden so it will take polishing) and fettling once I get back.
 
All done bar any final tidying which emerges as the uke settles down to being a uke.

Here is what it looks and sounds like:

https://youtu.be/v0ArGkl768Y

I'm off to Singapore for a trip, back late November, so when I get back I will do any last minute tweaking and then give it a final polish with T-Cut, as the shellac would be good and hard then. And of course, the formal handover ceremony will need to be arranged (I'm thinking the local Mayor to officiate, Rob Collins of tinguitar.com as donor of the wood on the big screen via Skype, brass band - nothing spectacular :) )
 
profchris":2exagb3s said:
The Sue Ryder ukes are remarkable. I occasionally look at budget ukes to see how much work us needed to make them vaguely playable. The Sue Ryders are the only ones where I can see no way at all. The inch-thick finish is the least of it.

If you know a child whom you wish to deter from ever making music, this is the device to purchase. And the luminous green one, with fluorescent football decorations, is on special offer at £9.99!

They're not only hideously over built - they're also underbuilt ?!

I saw one at a car boot where the bridge had separated nearly completely from the soundboard!

BugBear
 
bugbear":2vcnpzih said:
profchris":2vcnpzih said:
The Sue Ryder ukes are remarkable. I occasionally look at budget ukes to see how much work us needed to make them vaguely playable. The Sue Ryders are the only ones where I can see no way at all. The inch-thick finish is the least of it.

If you know a child whom you wish to deter from ever making music, this is the device to purchase. And the luminous green one, with fluorescent football decorations, is on special offer at £9.99!

They're not only hideously over built - they're also underbuilt ?!

I saw one at a car boot where the bridge had separated nearly completely from the soundboard!

BugBear

I suspect that's because the bridge was glued to the finish, no wood to wood contact. I think it's a thoughtful touch, building in inevitable destruction before anyone's ears suffer permanent damage.

BTW, Jenna got her uke just before Christmas and is very happy with it - I've seen a photo where she is cuddling it to keep it safe from grasping hands :)
 
Back
Top