Well I've spent some time pondering, thinking, planning, drawing, budgeting etc.
With work on the loft conversion due to start in 2 weeks (it's a big job and I'm not doing it) I'm hoping to get started on the garage in the next three to four before the weather goes too far south.
The plan thus far... (Apologies for being a bit pic heavy but it helps me think it through).
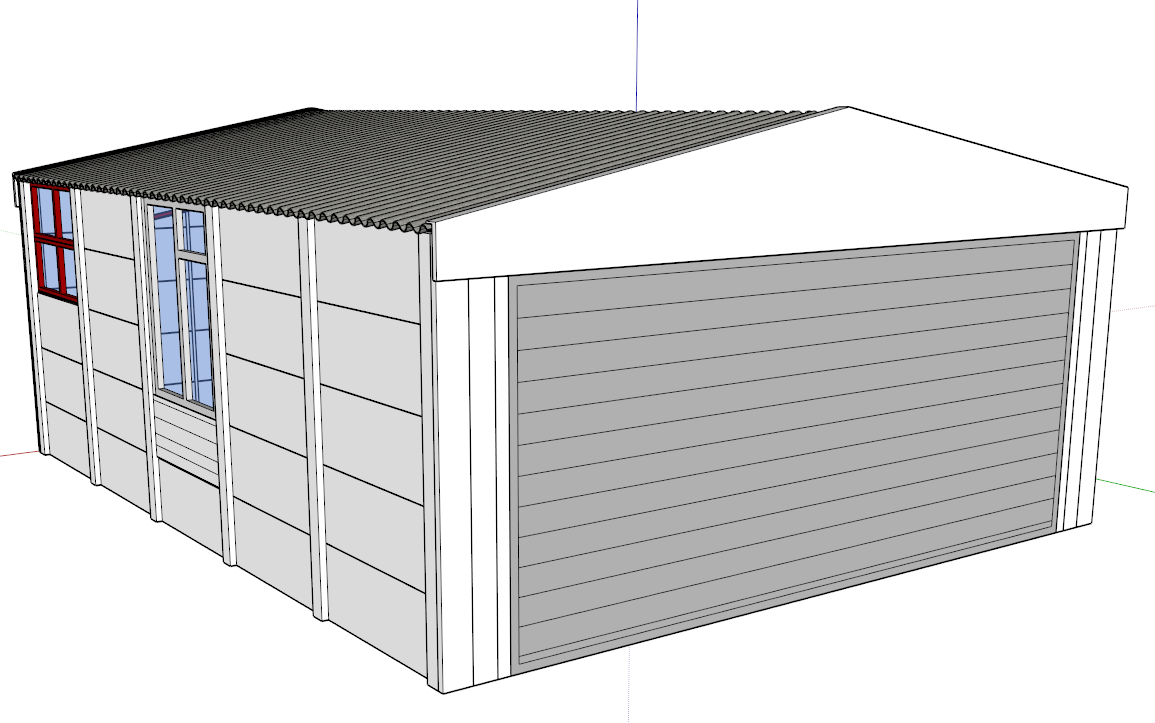
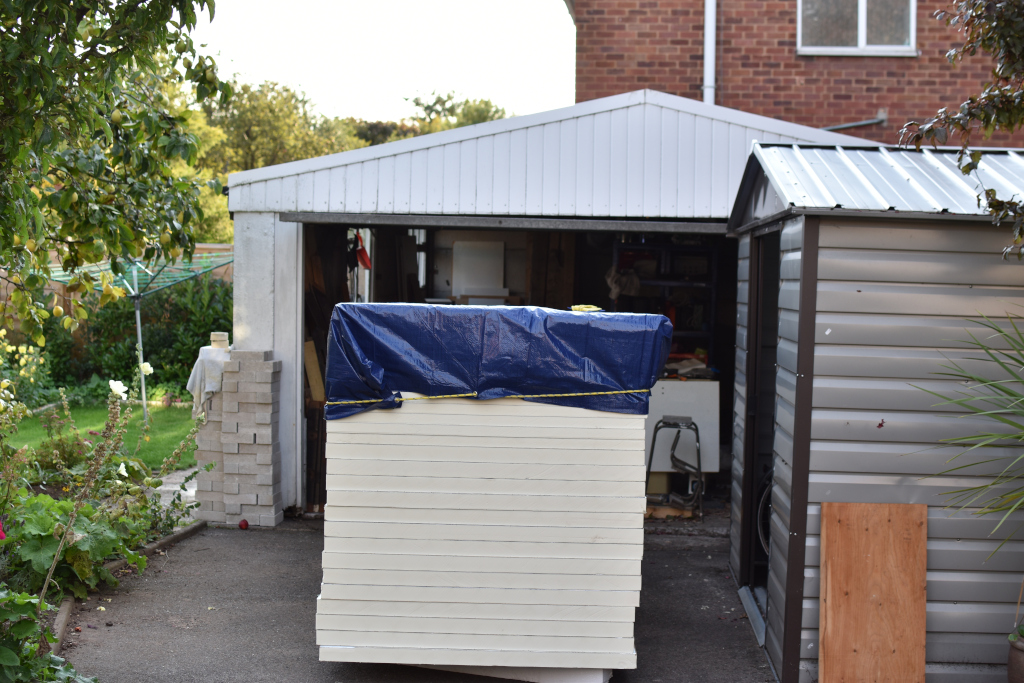
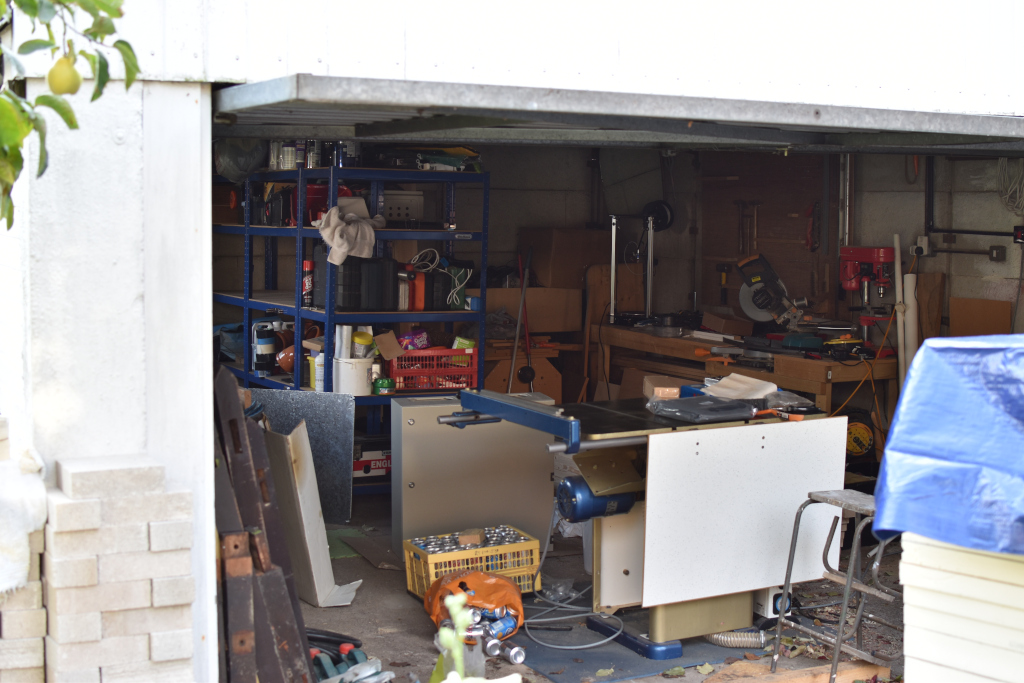
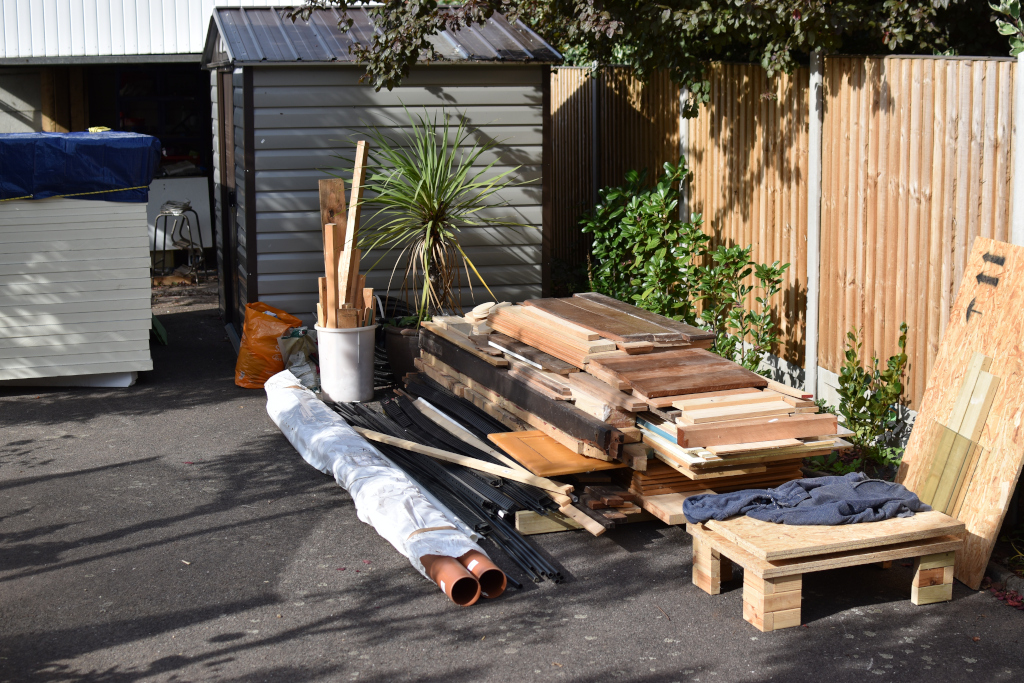
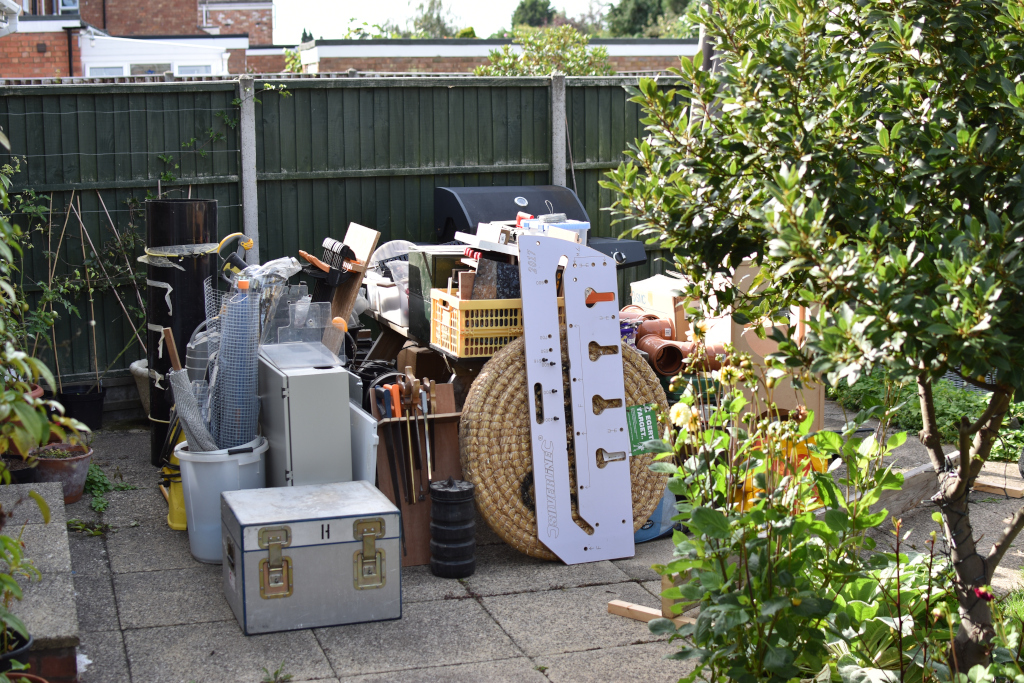
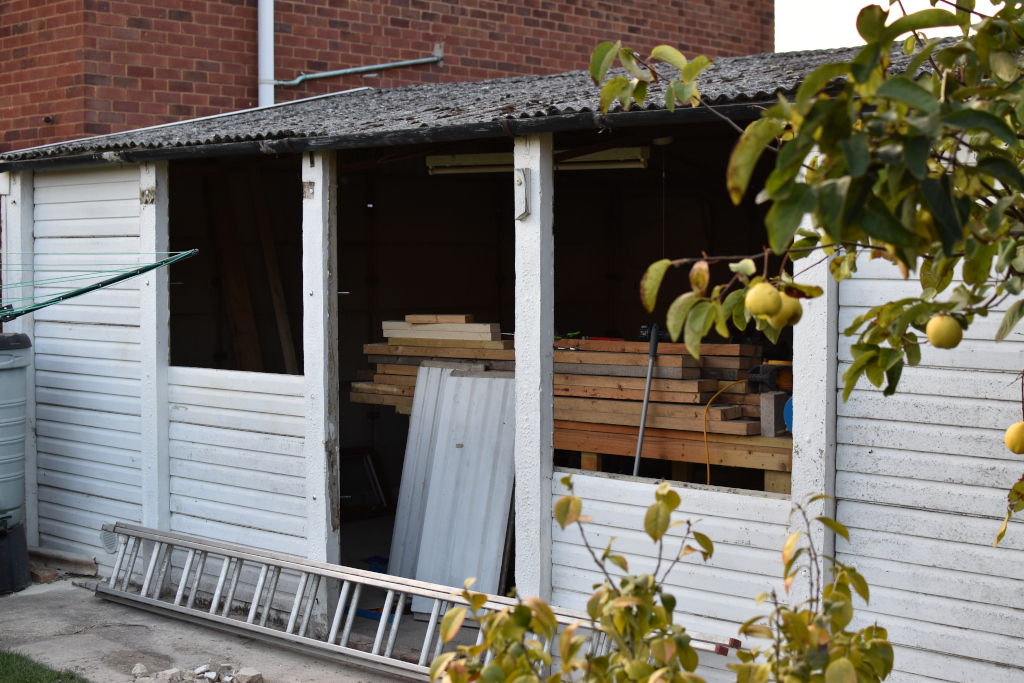
Here's where I'm starting from.
Step 1: Clear out the garage. (It really is a tip at the moment but I'm sure we've all been there!)
Step 2: Once I can see the whole of the floor and take a decent level, decide if any self levelling compound needs to be applied.
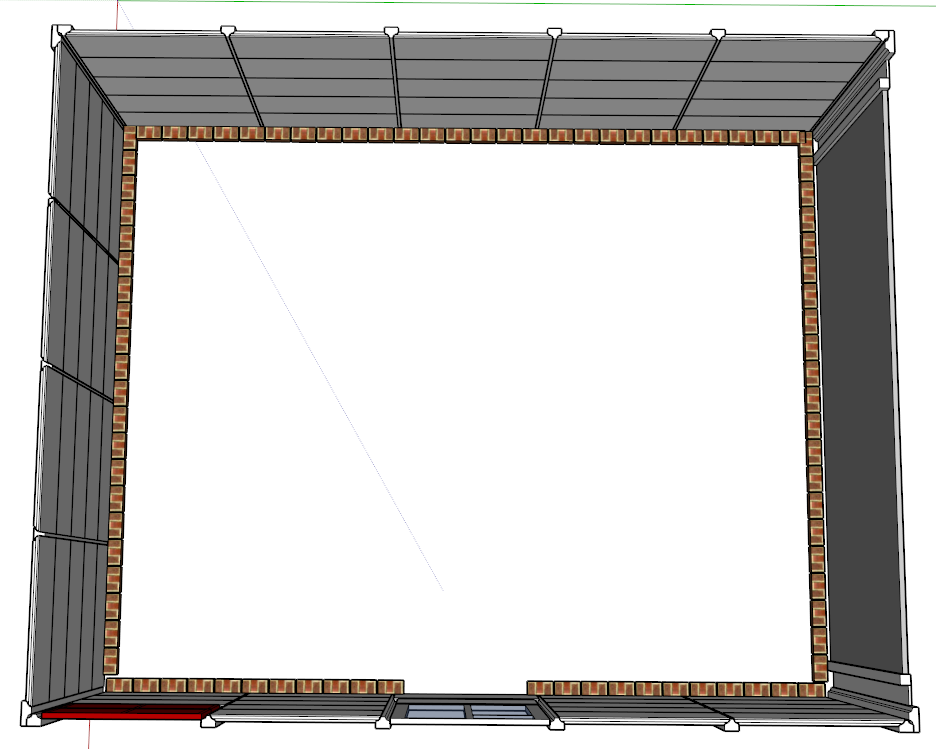
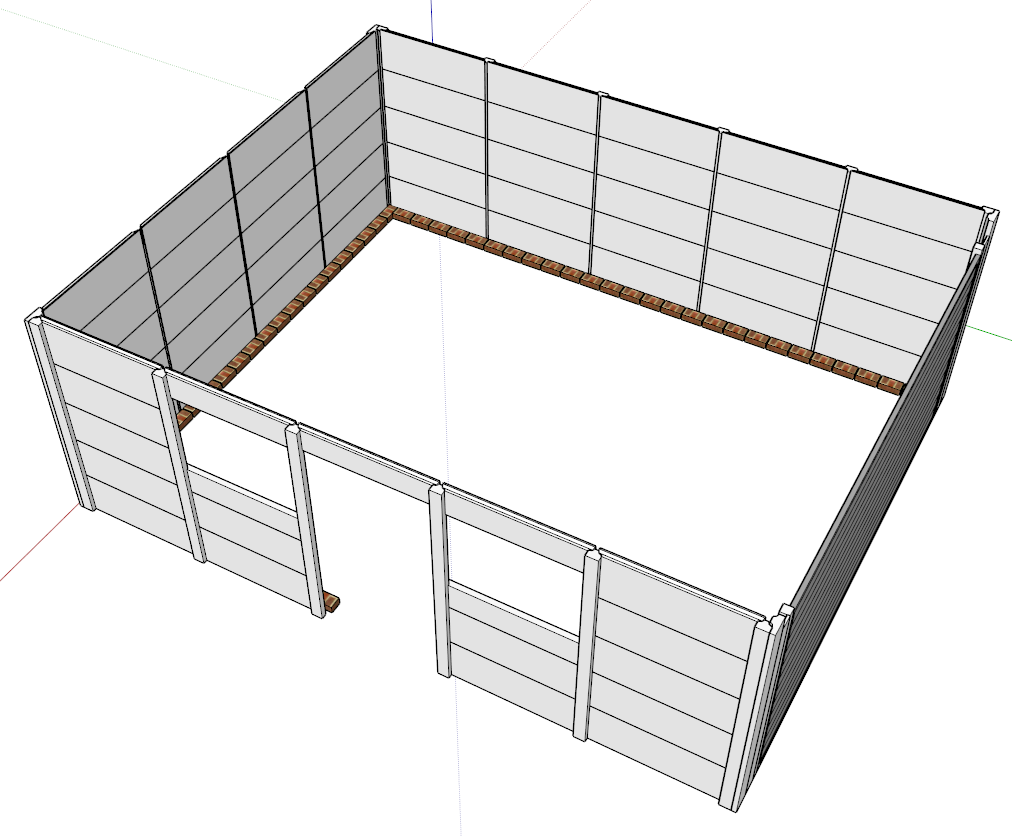
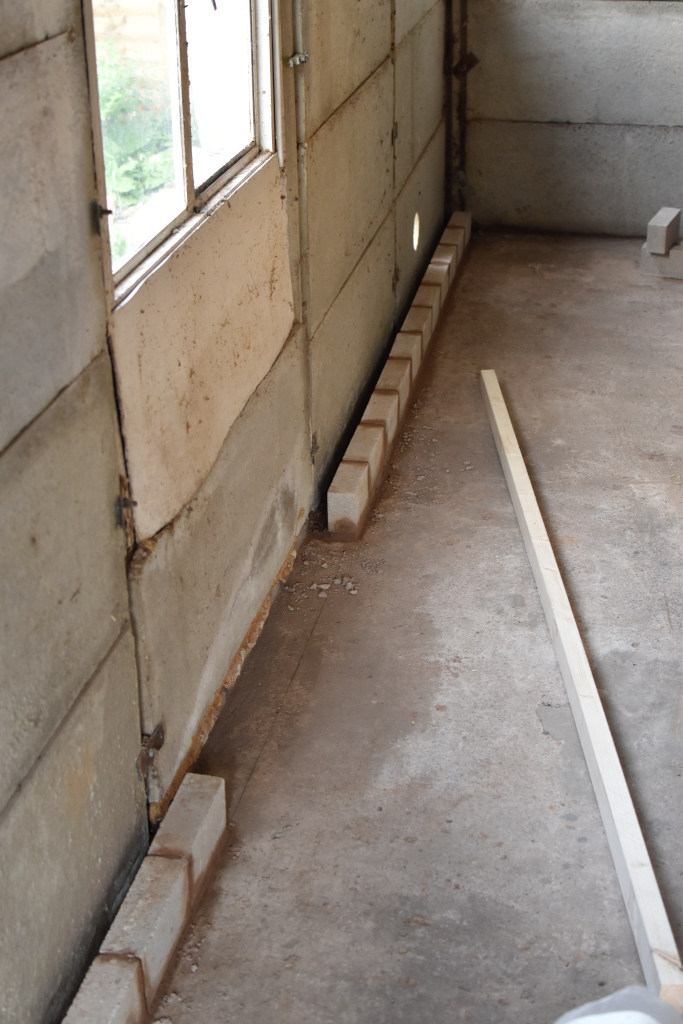
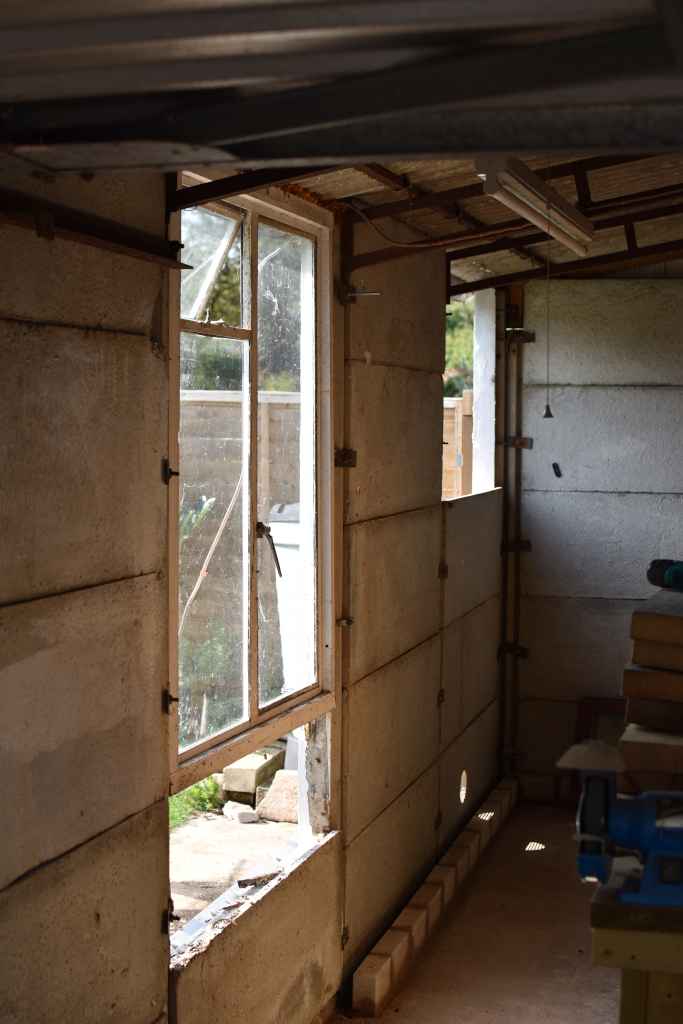
Step 3: Lay a course of bricks around the inside perimeter of the garage.
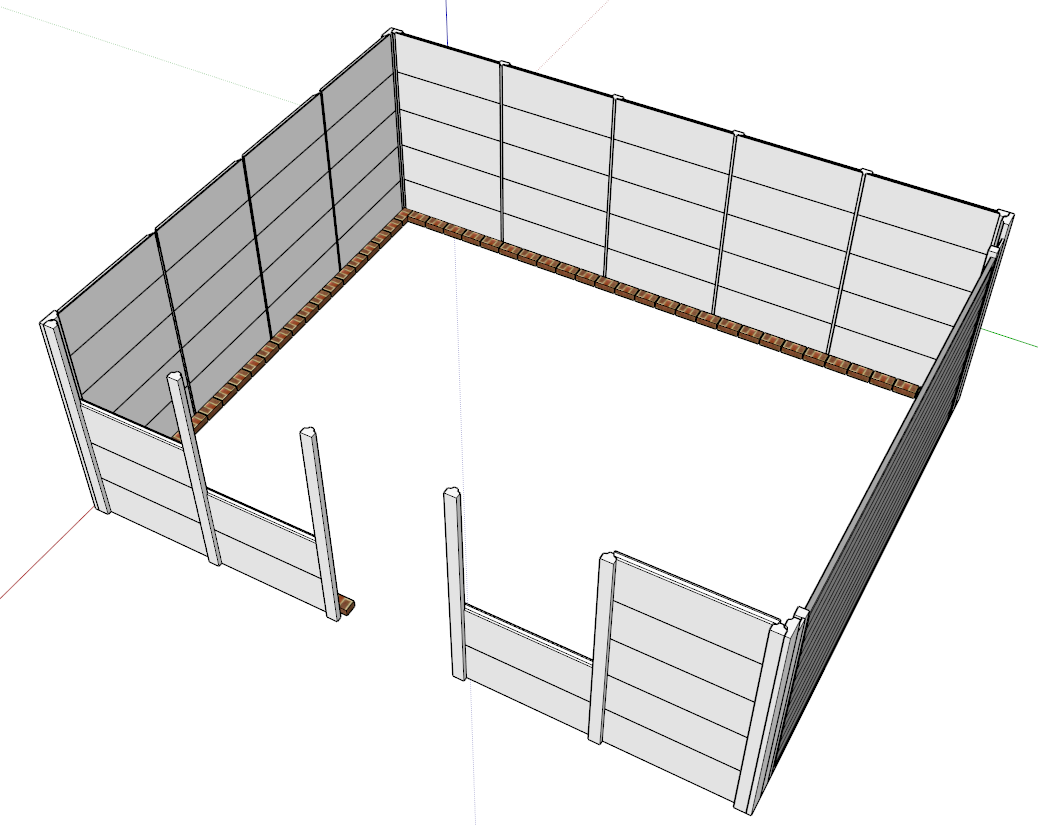
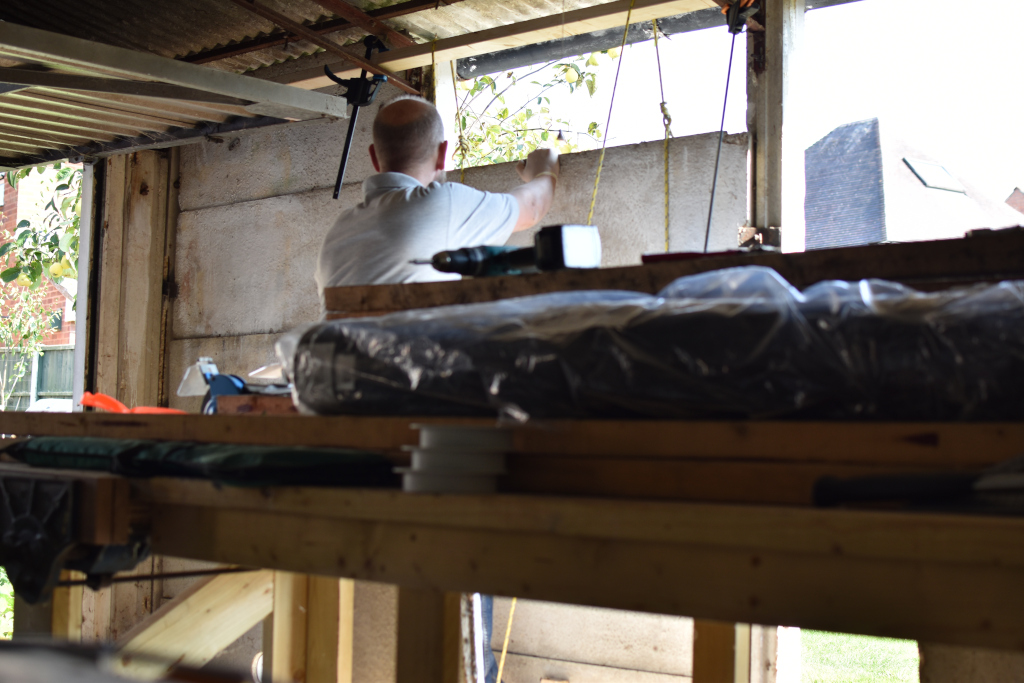
Step 4: Whilst the mortar is going off, remove the old windows and some of the wall panels for a bit of a rejig for windows and doors.
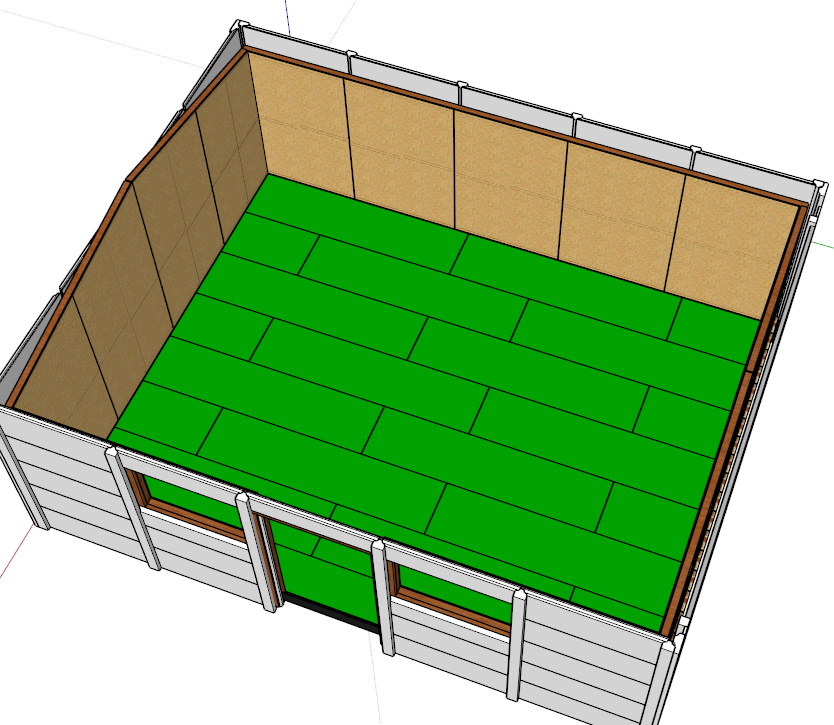
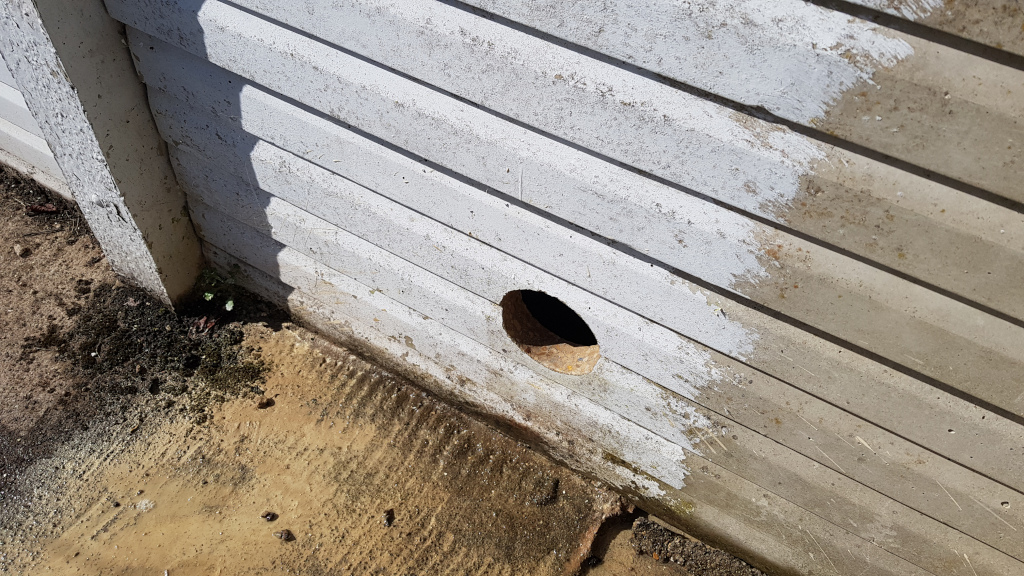
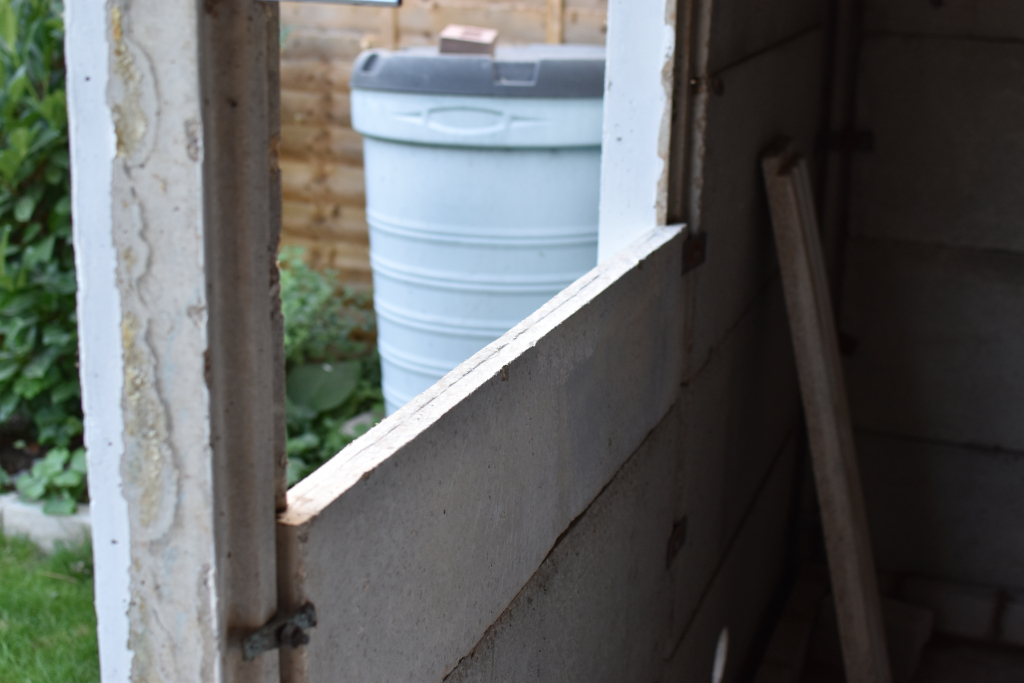
Step 5: Get the angle grinder out, trim some of the concrete panels and refit in the following configuration. Whilst in the mood for cutting concrete I'll drill holes for "air bricks" at two points in each wall with the exception of the up and over door. The budget is stretched at the moment so I will probably have to order and fit windows in the new year. For now I won't cut through the internal OSB and I'll weather proof the outer with some left over DPM and OSB, fitting some leftover PIR into the window sized hole between.
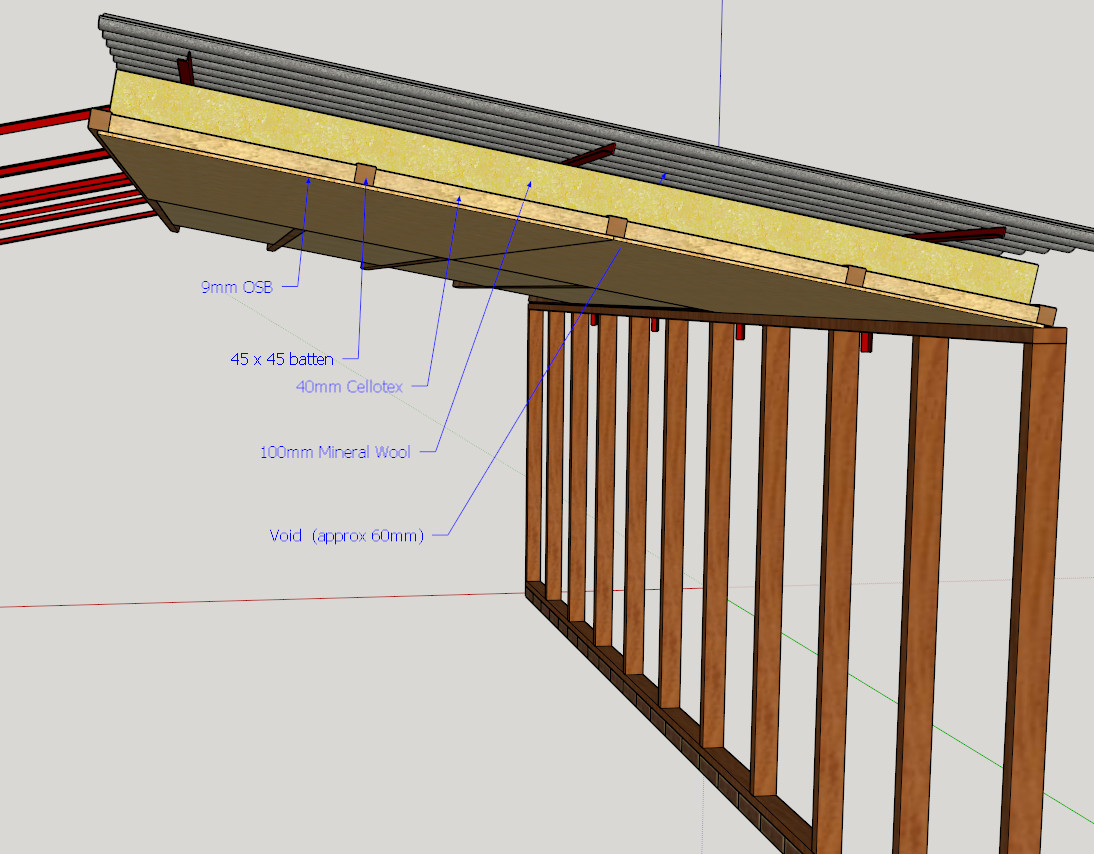
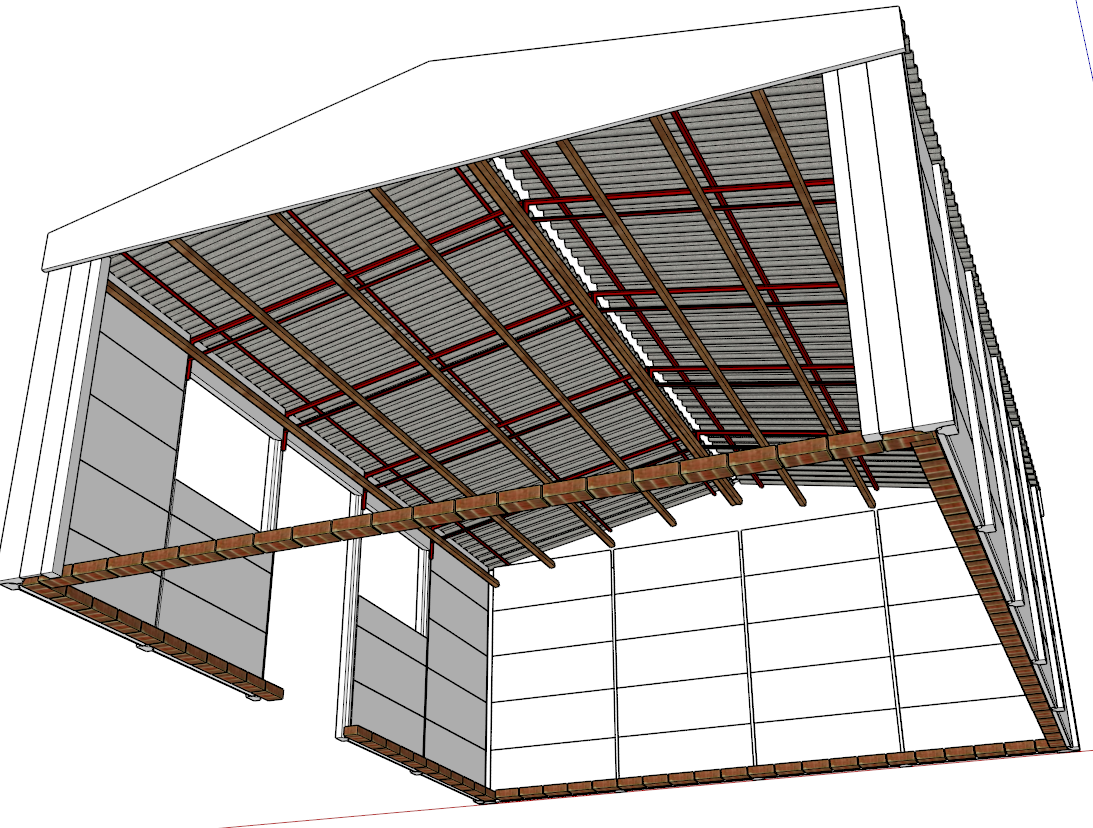
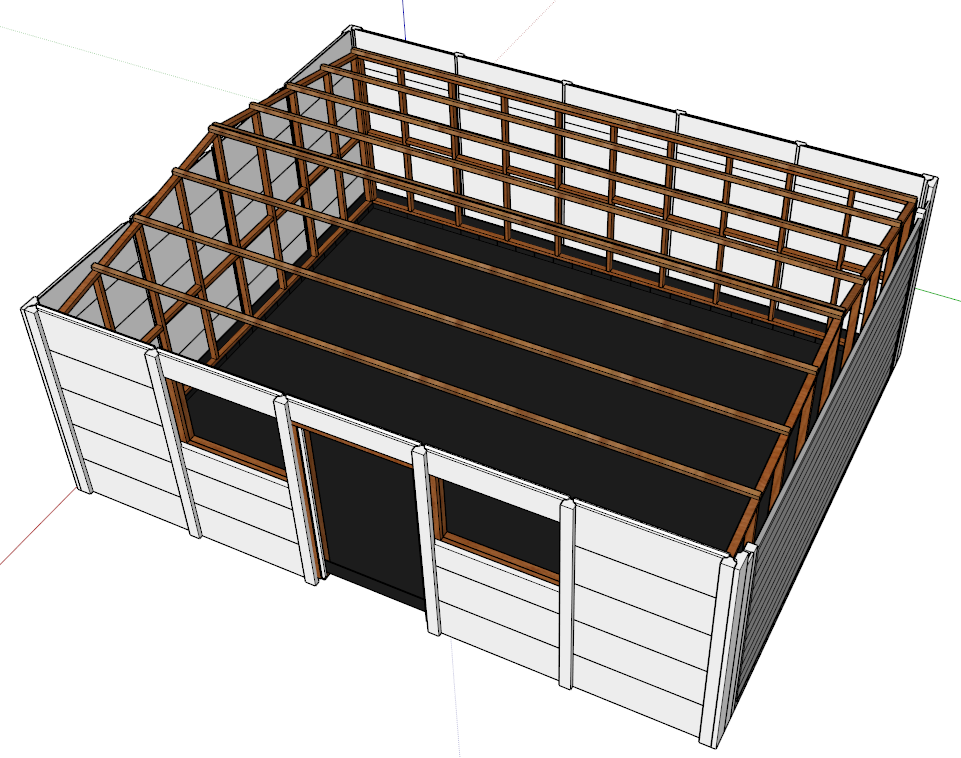
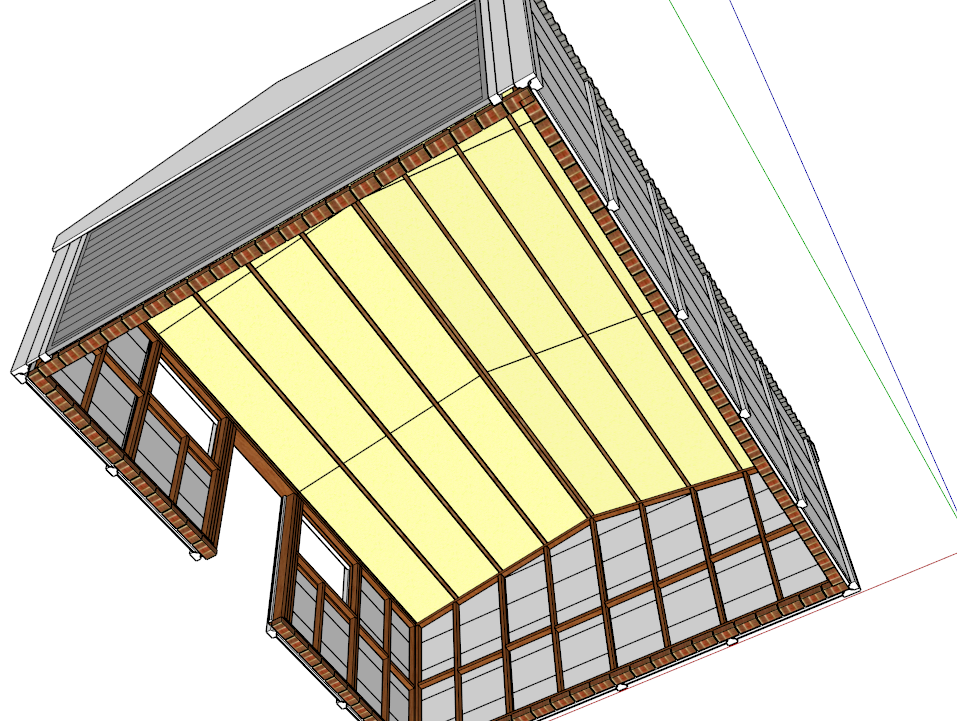
Step 6: Install the 45x45 purlins to the roof trusses.
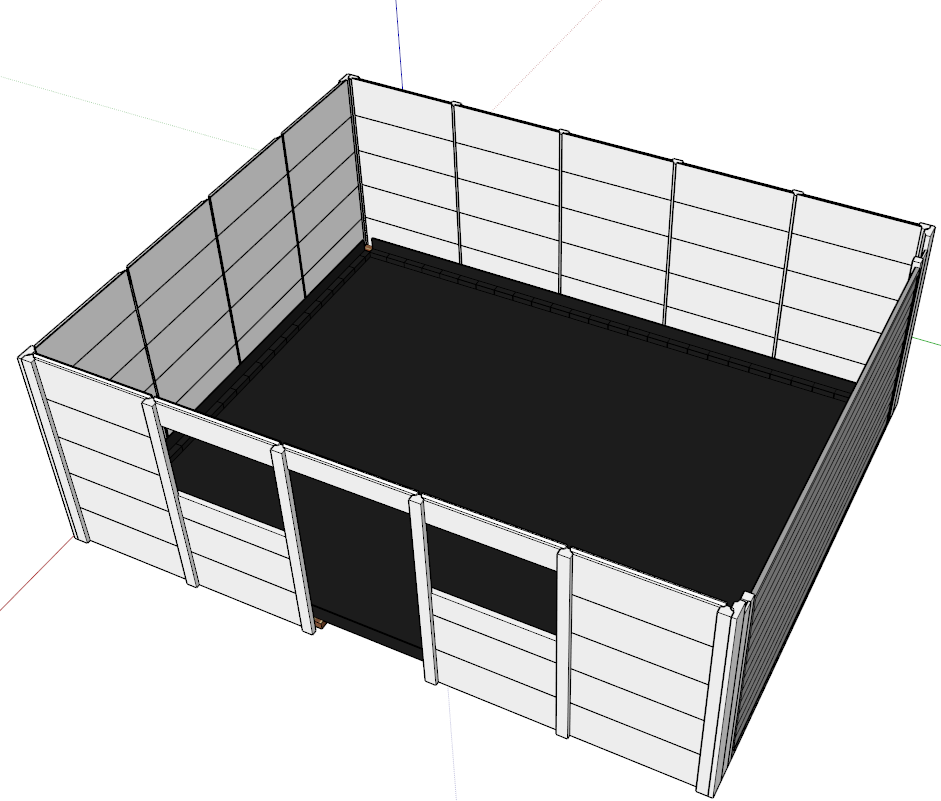
Step 7: With the mortar dry, lay down a DPM accross the whole floor. This will roll over the bricks so the stud sits on top of it.
Question: Can this finish at the outer edge of the brick or does it need to turn up the outside of the stud slightly?
Step 8: Erect the stud walls. (To be fixed top and bottom to the exisiting concrete posts, stood off the width of the cavity local to fixing points only.) I've chosen to go with 3x2 CLS for the studs.
a) Minimise lost space.
b) walls aren't loadbearing
c) dirt cheap at £2.50 per 8ft length.
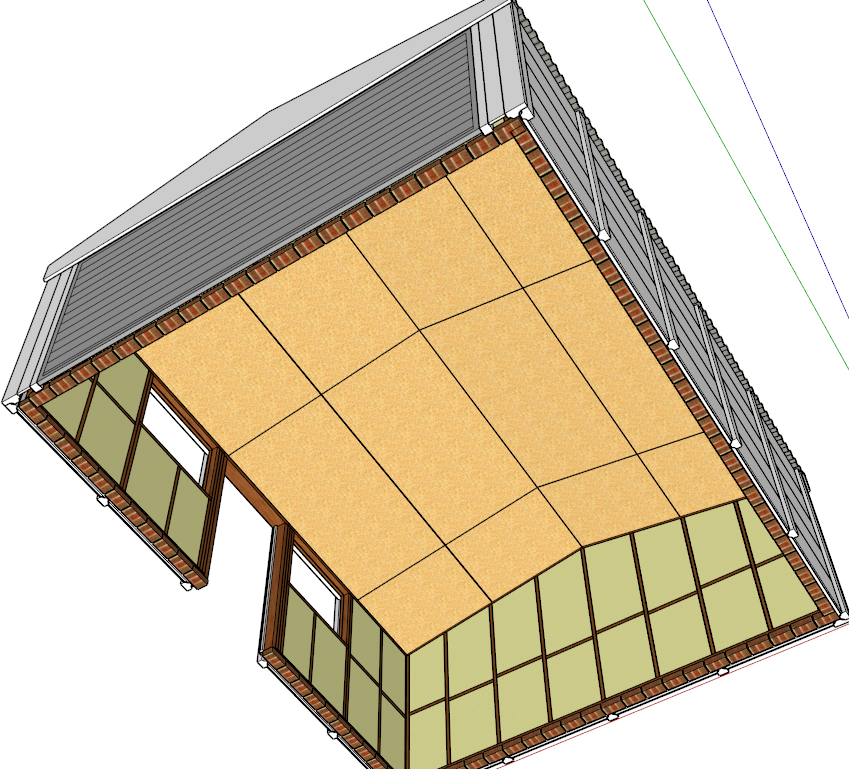
Step 9: Install the 100mm mineral wool over the purlins and friction fit 40mm PIR insulation between.
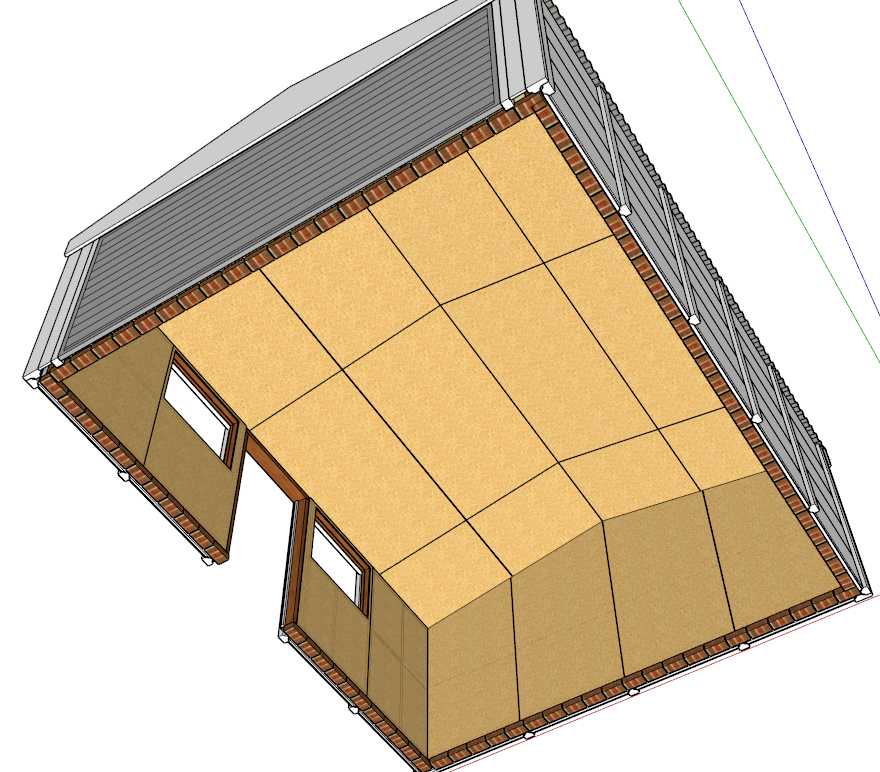
Step 10: Fit PIR insulation to the walls and board the ceiling with 9mm OSB.
Step 11: Board out the walls with 11mm OSB. (Despite the drawing I won't be cutting out the windows).
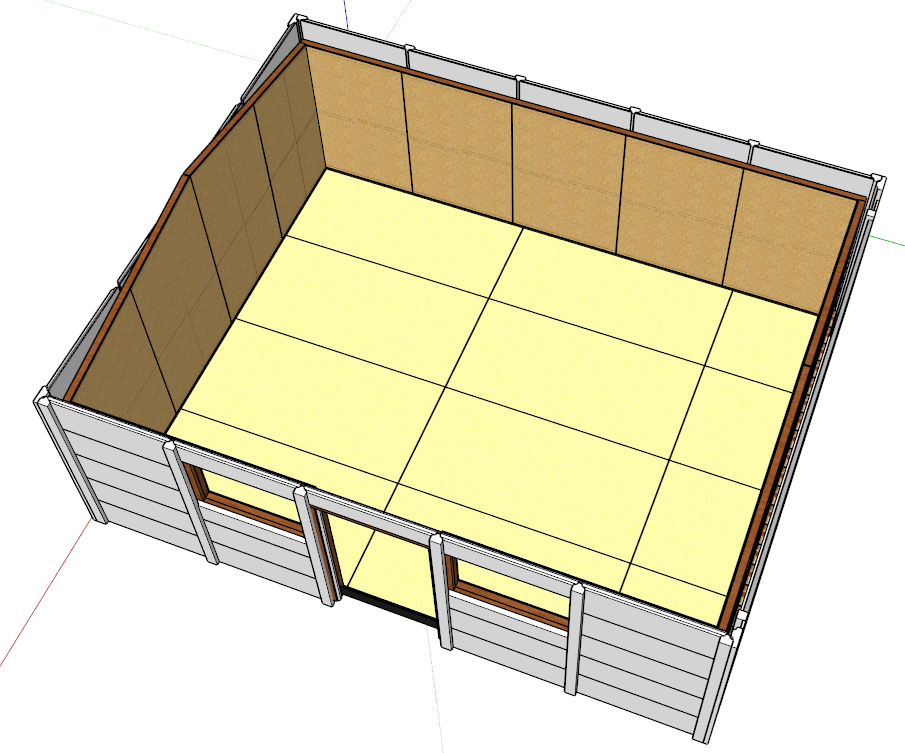
Step 12: Lay 25mm PIR on the DPM.
Step 13: Lay P5 T&G floor boards over the PIR.
Step 14: Paint
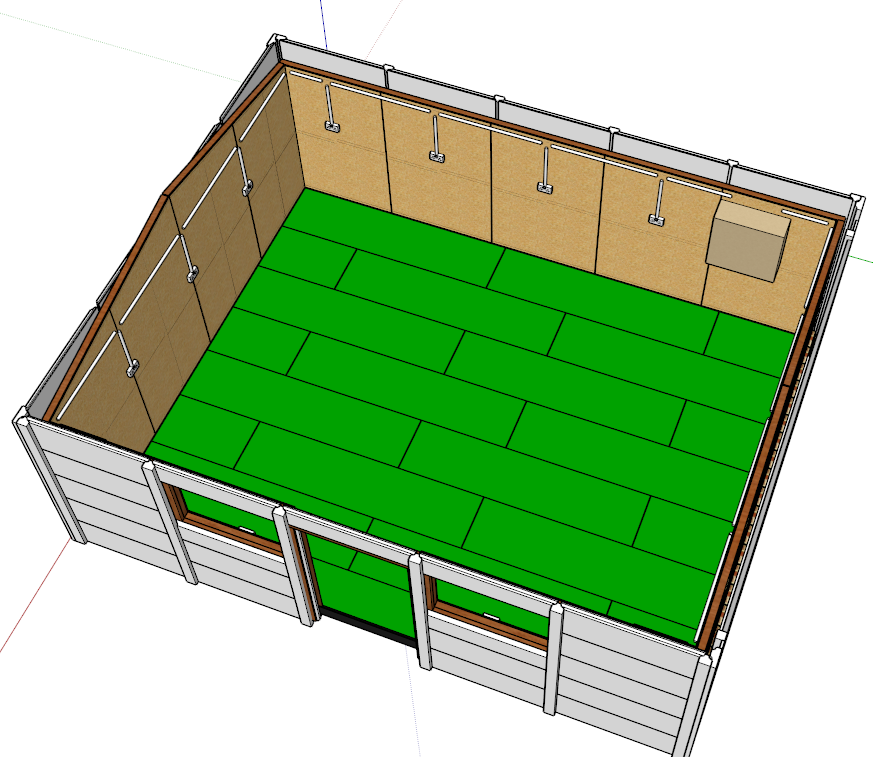
Step 15: Fit the electrics and lights.
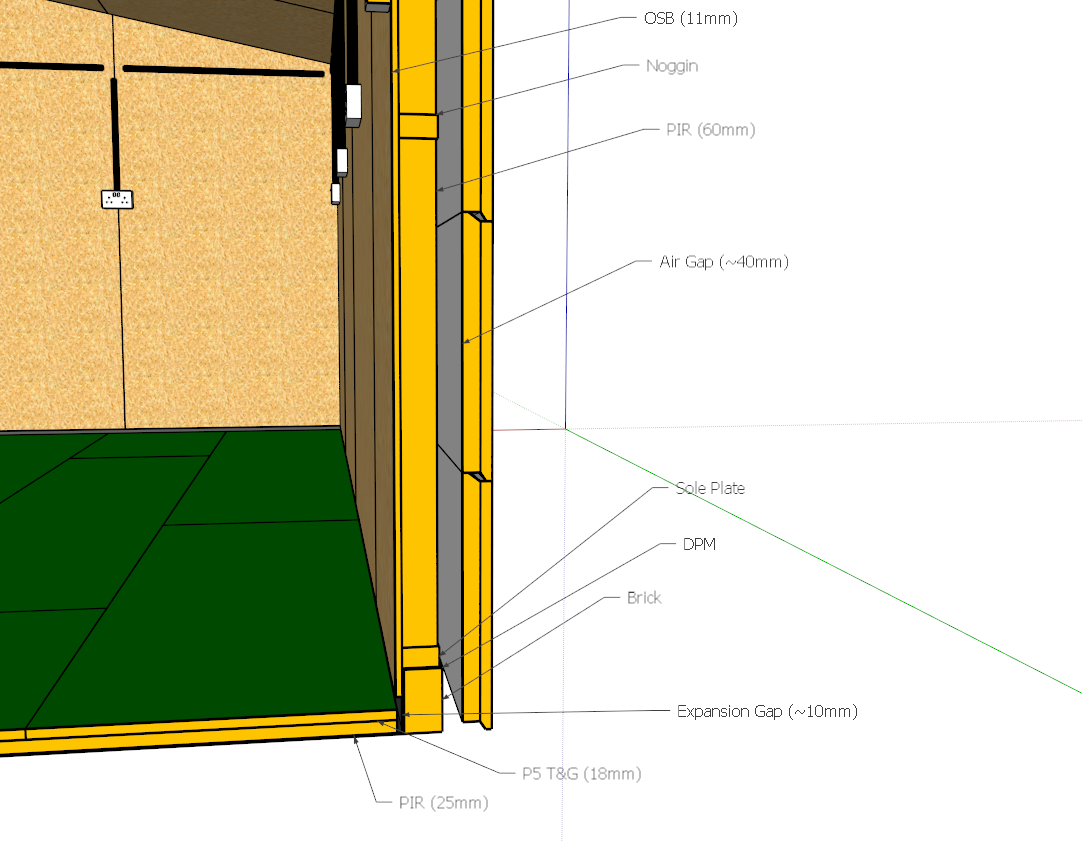
Finally, the section detail for the wall and floor.
The budget, excluding windows, is circa £1600. I've priced everything up and should be pretty much there or there abouts.
Everybody has been really helpful so far so any further comments and advice very much welcome.
Cheers
Dave


